Making Music With Just My Voice

Have you ever wondered how to make a track using only your voice well fear not as this guide will show you the step by step guide on how to make music using only your voice so get your microphone, DAW and FXs at the ready as I’ll walk you through it. I am using FL Studio and FXs from Arturia but feel free to experiment with your own FXs and plugins. If you want to follow along to this guide you can find the Arturia FX rack on Splice.com where you can rent to own the FX rack for $24.99 a month or get a 3 day trial if you are new anyway let’s get on with it shall we. 

Step 1 - Making The Beatbox

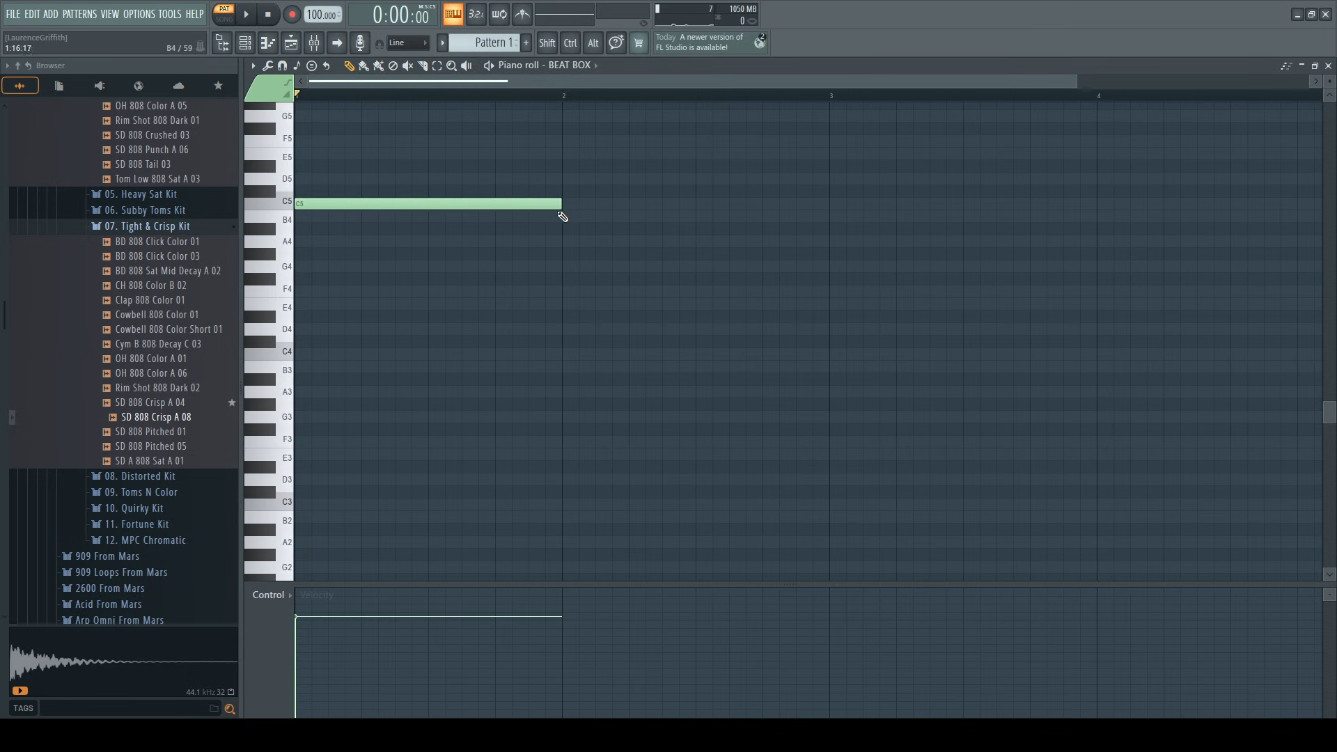
I like to start off with a bit of rhythm so I recorded my attempt of beatboxing making sure it’s at least two bars long in length and it has some sort of rhythm behind it.    

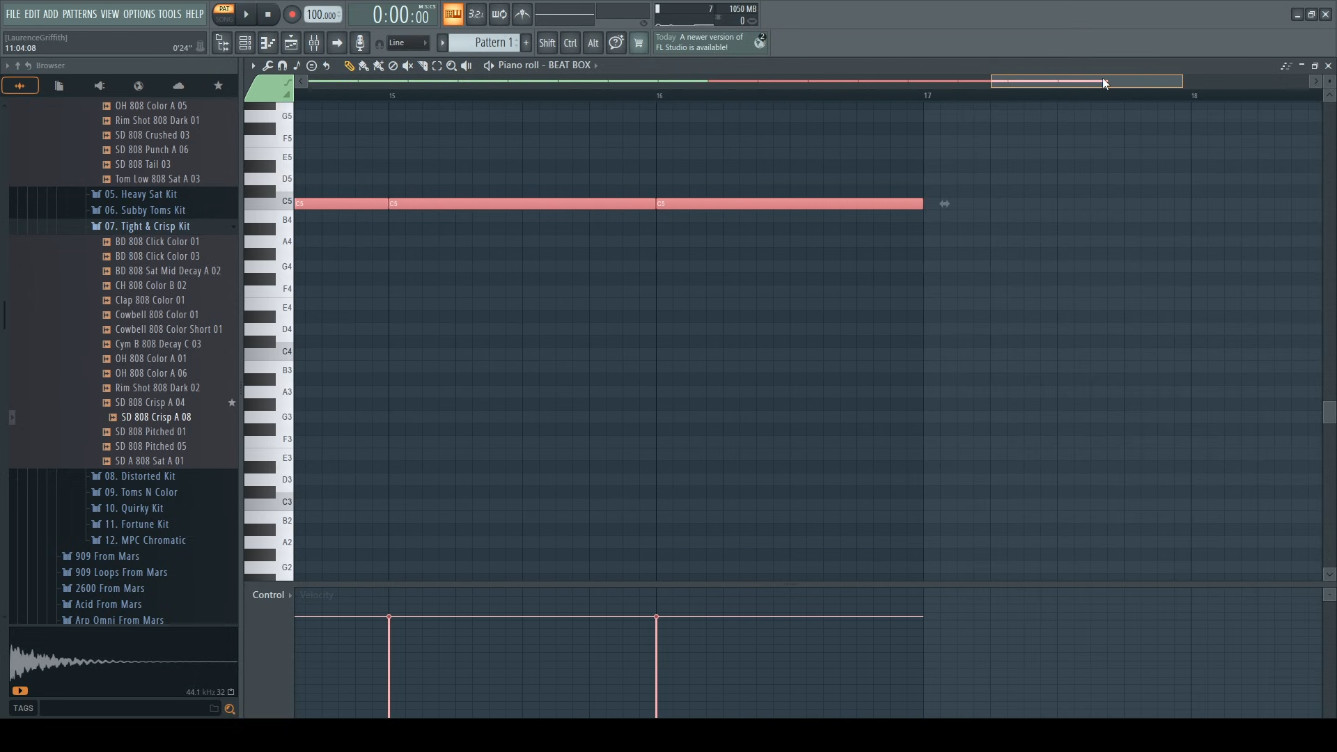
Next I placed it into my DAW (Digital Audio Workstation) Fl Studio well actually I made sure I had all the bits to the track before I headed over to my DAW but for the purpose of this tutorial I’m heading over to FL Studio. I laid out the sample stretching it out to two bars and repeating until at 17 but you can do it up to 9.  

If done correctly you can ignore this bit but it must fit snugly within each section and it plays a seamless loop. Try different BPMs until you get a seamless loop and it plays without any silent gaps on each section. For this one it’s at 125 BPM but yours might be different so it’s about trial and error. 

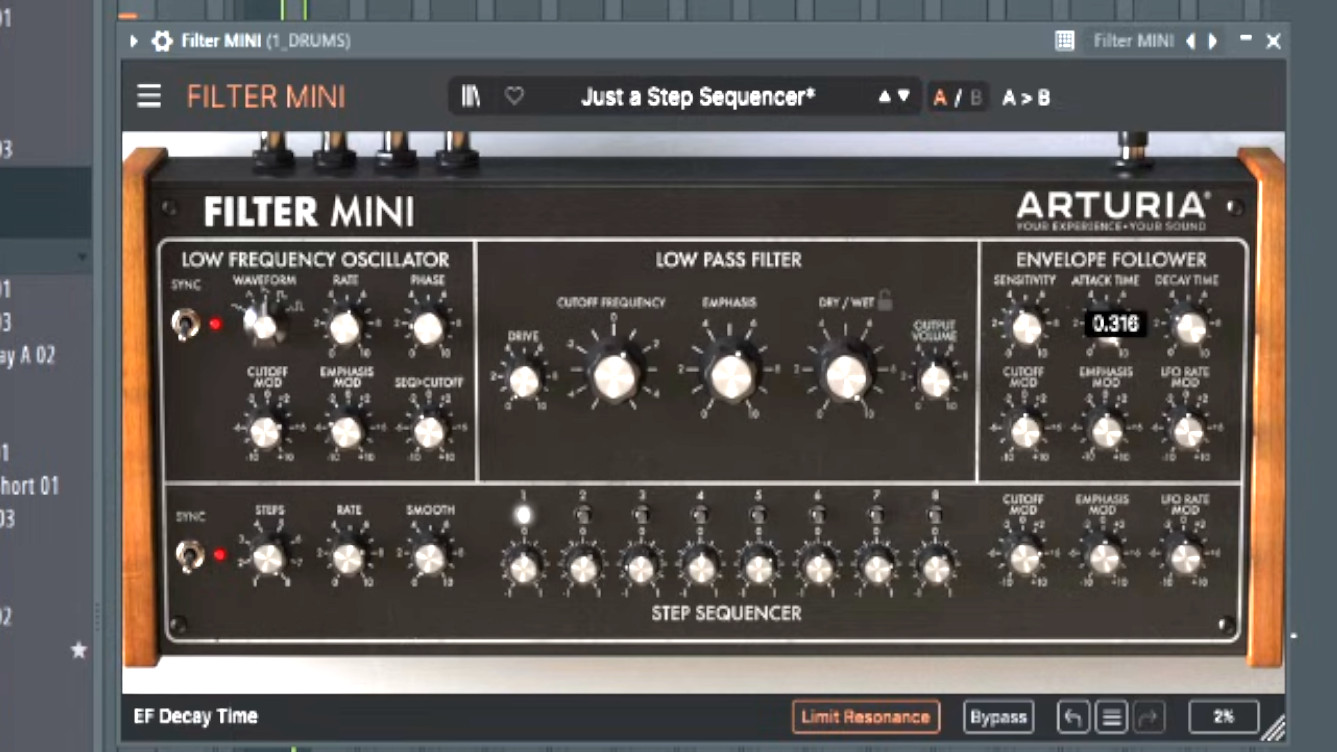
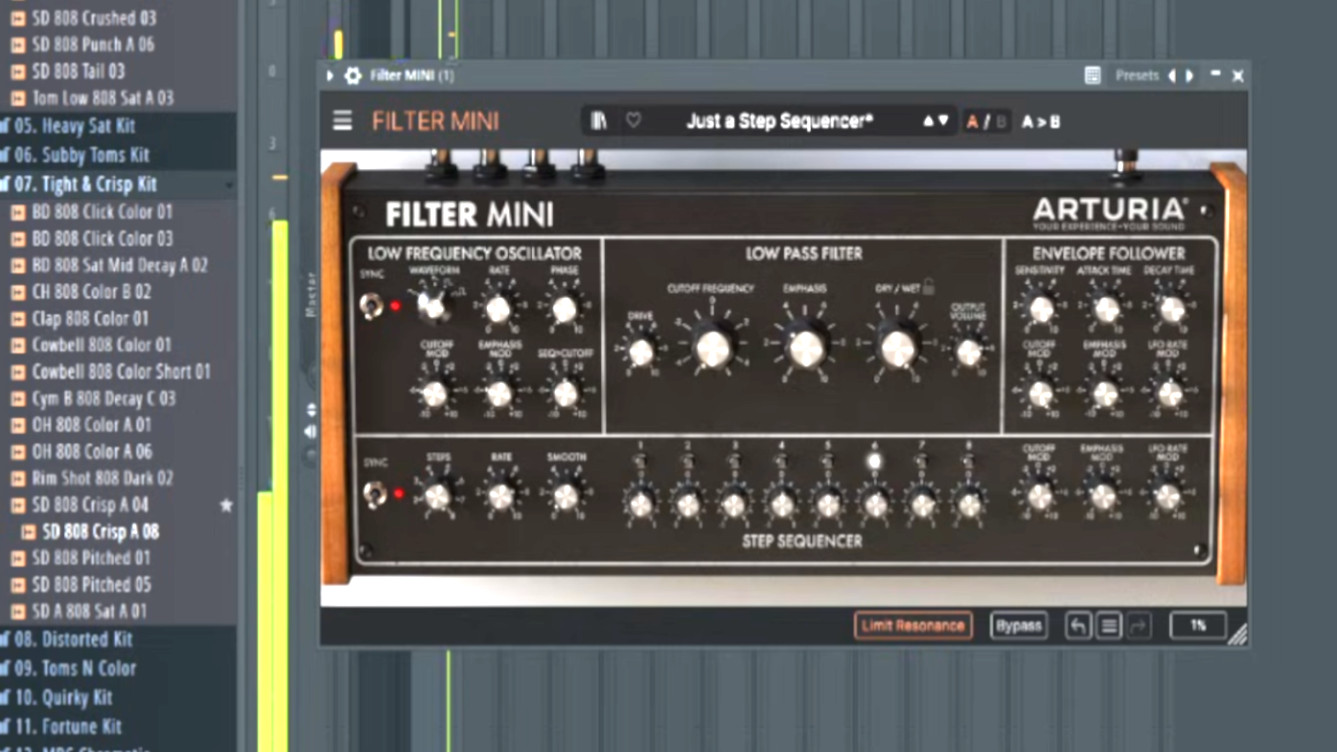
Next is the fun bit adding FXs to the sound and I used the Mini Filter by Arturia for this one now the best thing to do is to experiment with the knobs especially the Cut Off Frequency, Emphasis, Waveform, Cutoff Mods, Emphasis Mods, LFO Mods and Output Volume to whack up the volume and all the other knobs like Attack and Decay Time, and Rate to mold your sound. Feel free to copy the picture below but experimenting is best.

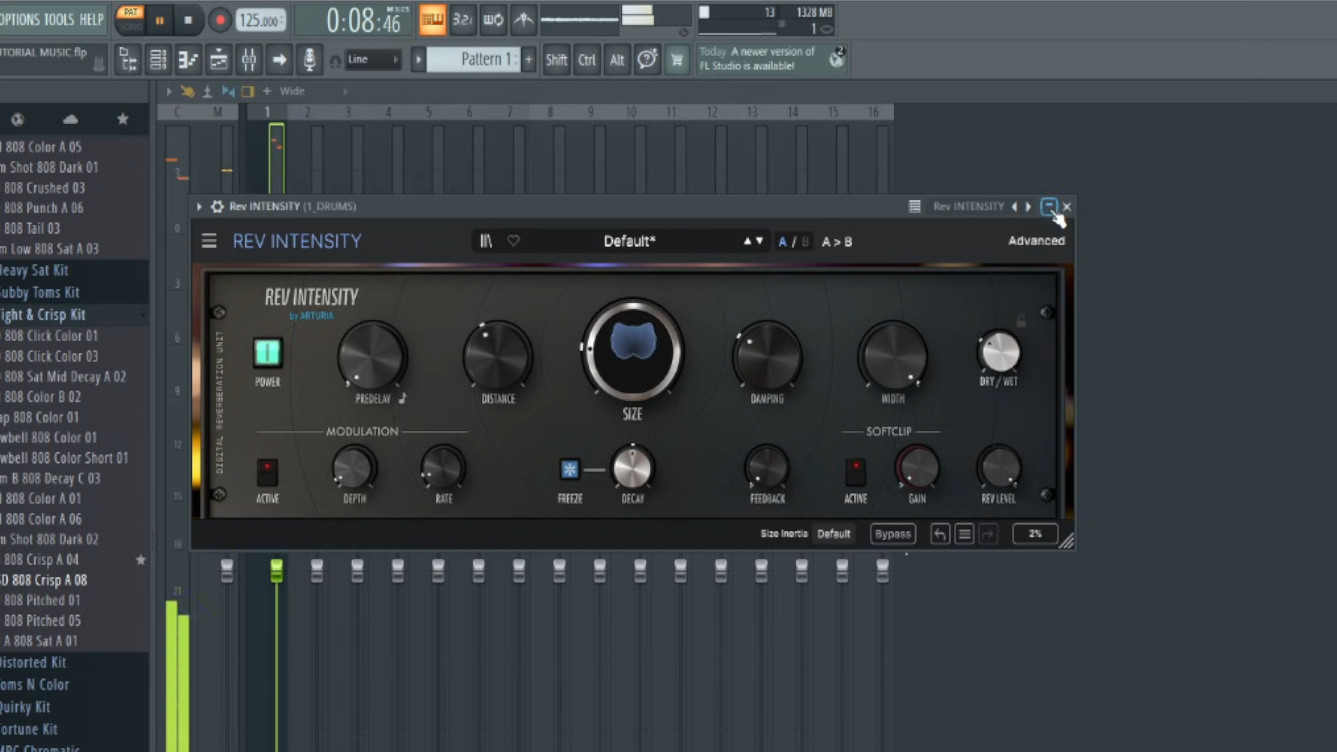
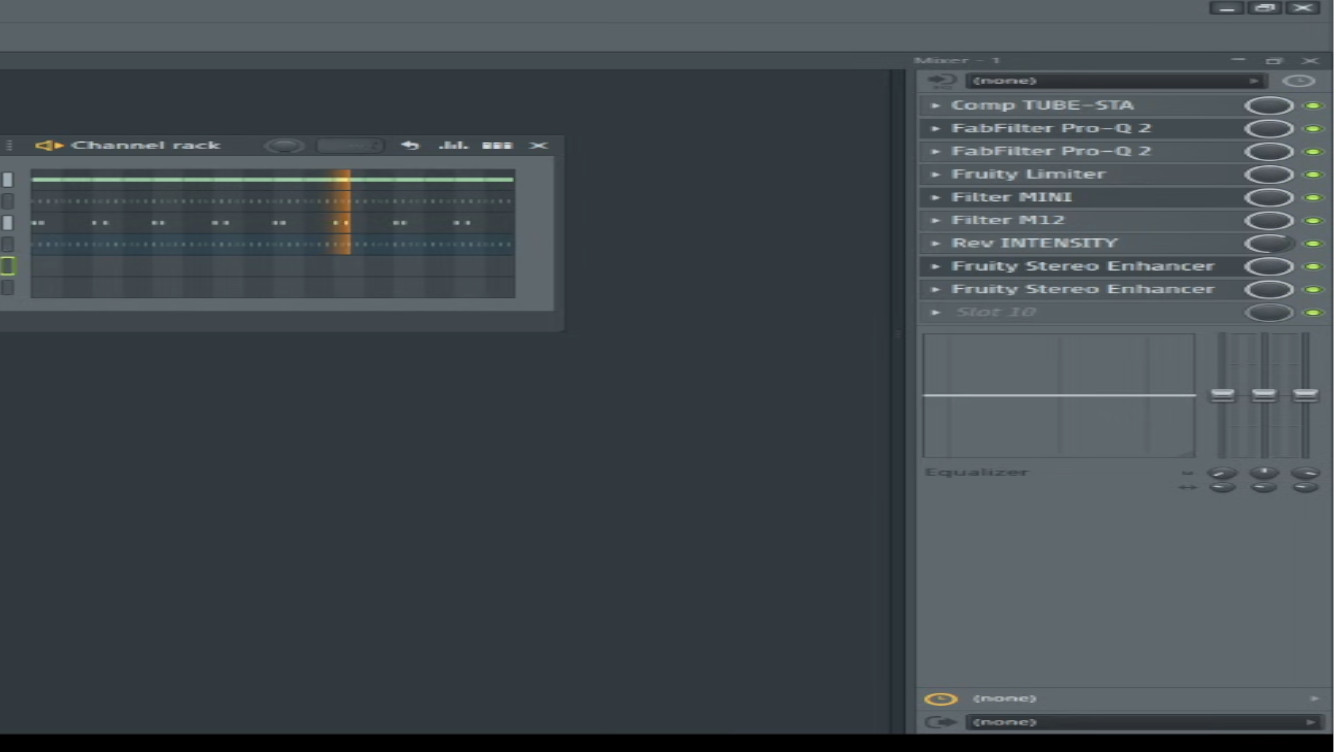
I added a bit of Reverb on the sample but not too much as it’s just to cushion the sample and make it clearer. I used Intensity by Arturia but you can use any Reverb you have at hand. Remember don’t drown the sound out and be sure to turn it down to around 1 o’clock in the Mixer if you are using FL Studio. 

Beatbox Final Product

Step 2 - Making The Kick

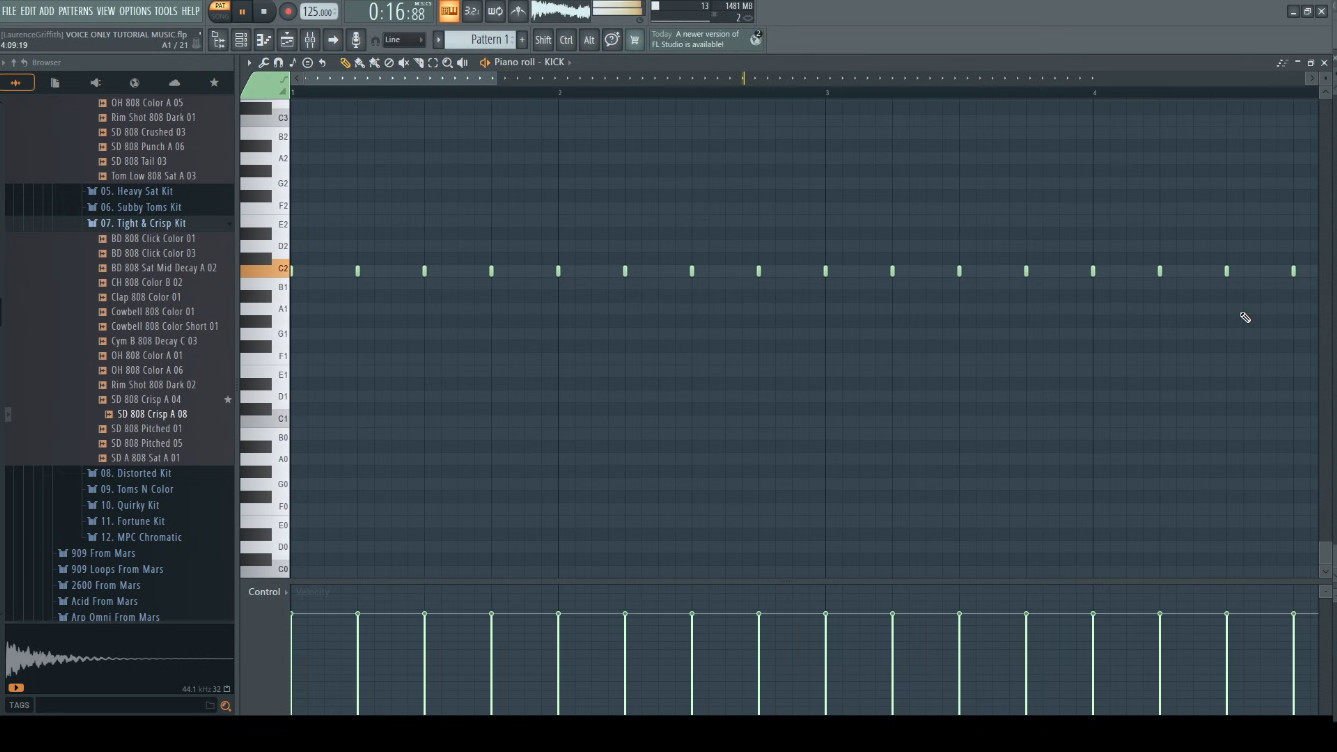
Next is the Kick and I put the sample in the DAW and made a 4×4 drum pattern putting it on a lower register to give it more of a kick sound to it. You might want to experiment again as it might sound better higher or lower where you put it. I did make sure when recording my voice for the sample sounded like a kick so a boom or duff does work fine.

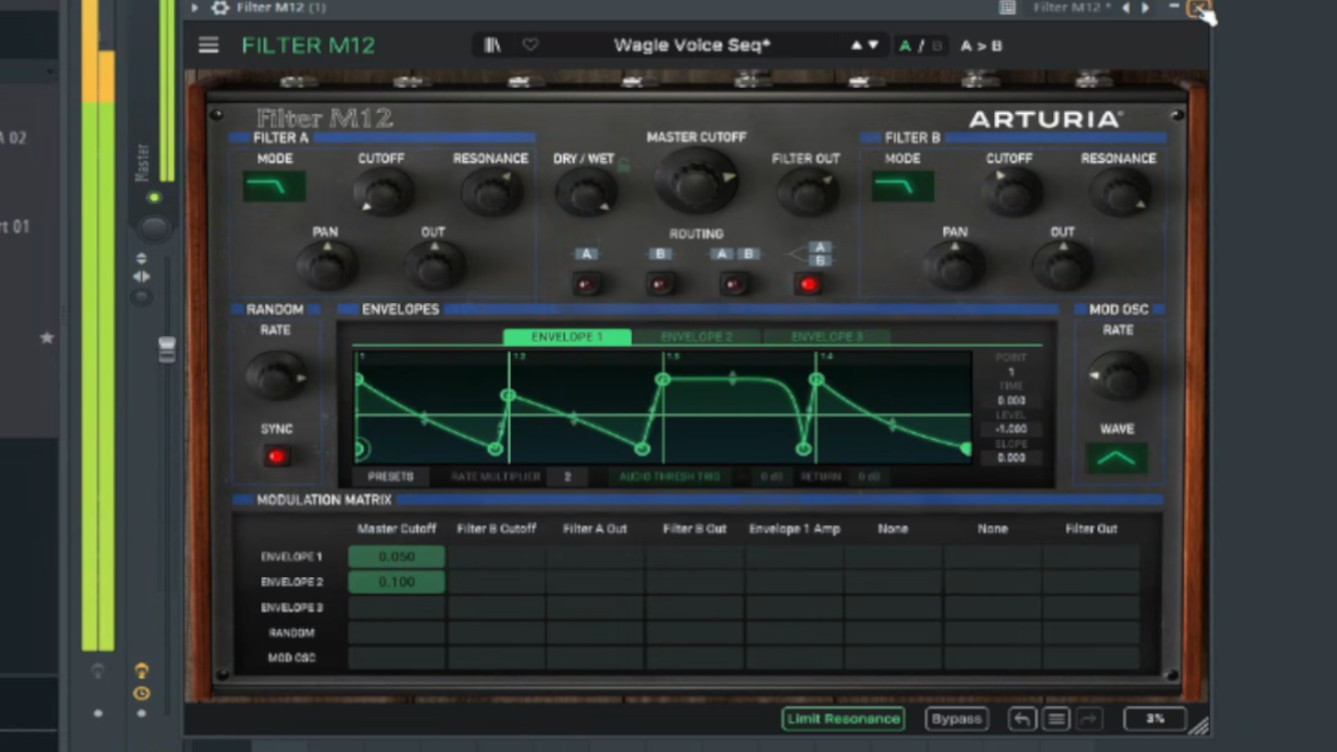
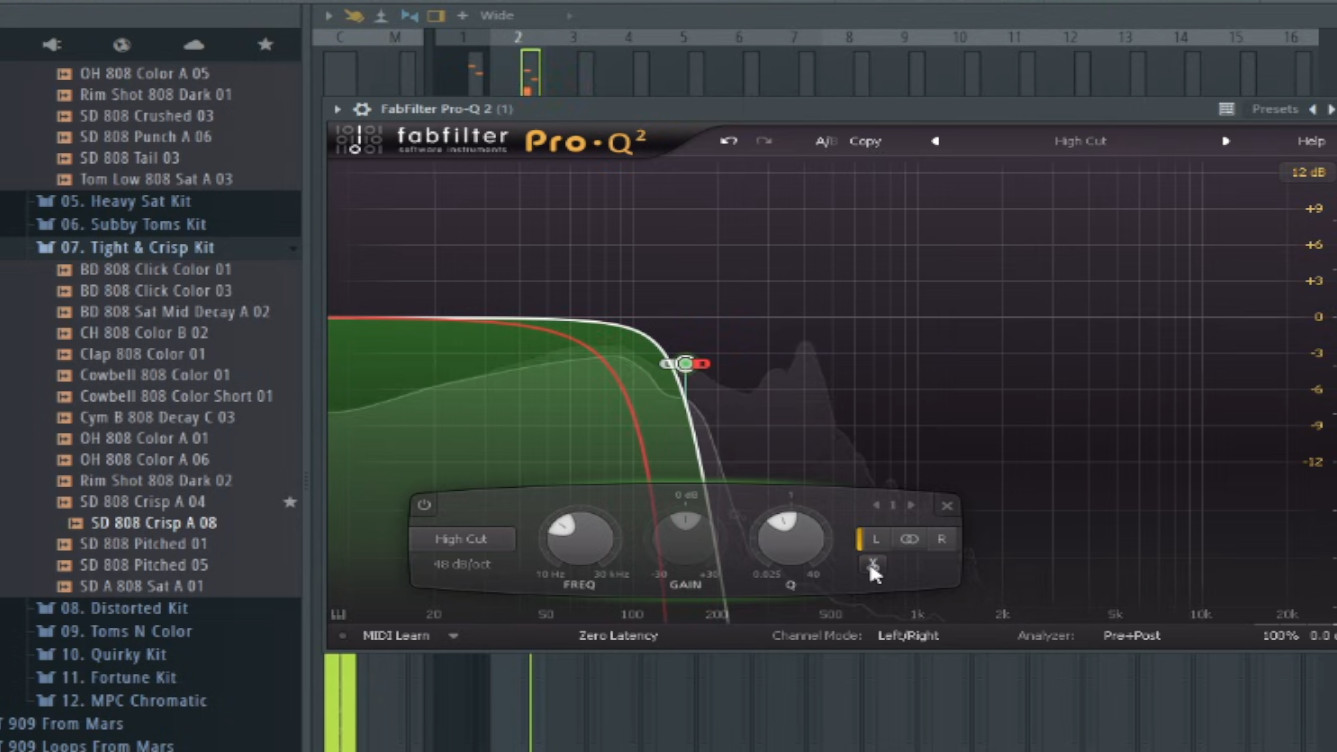
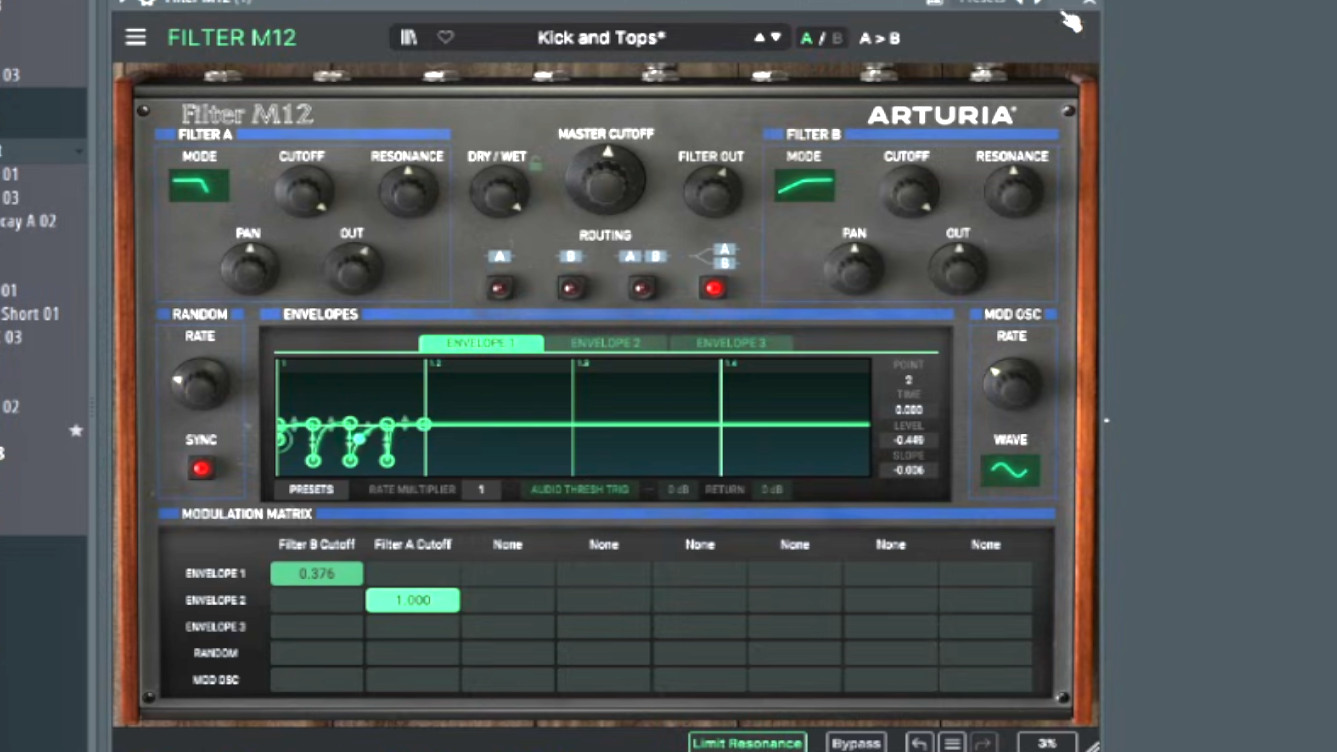
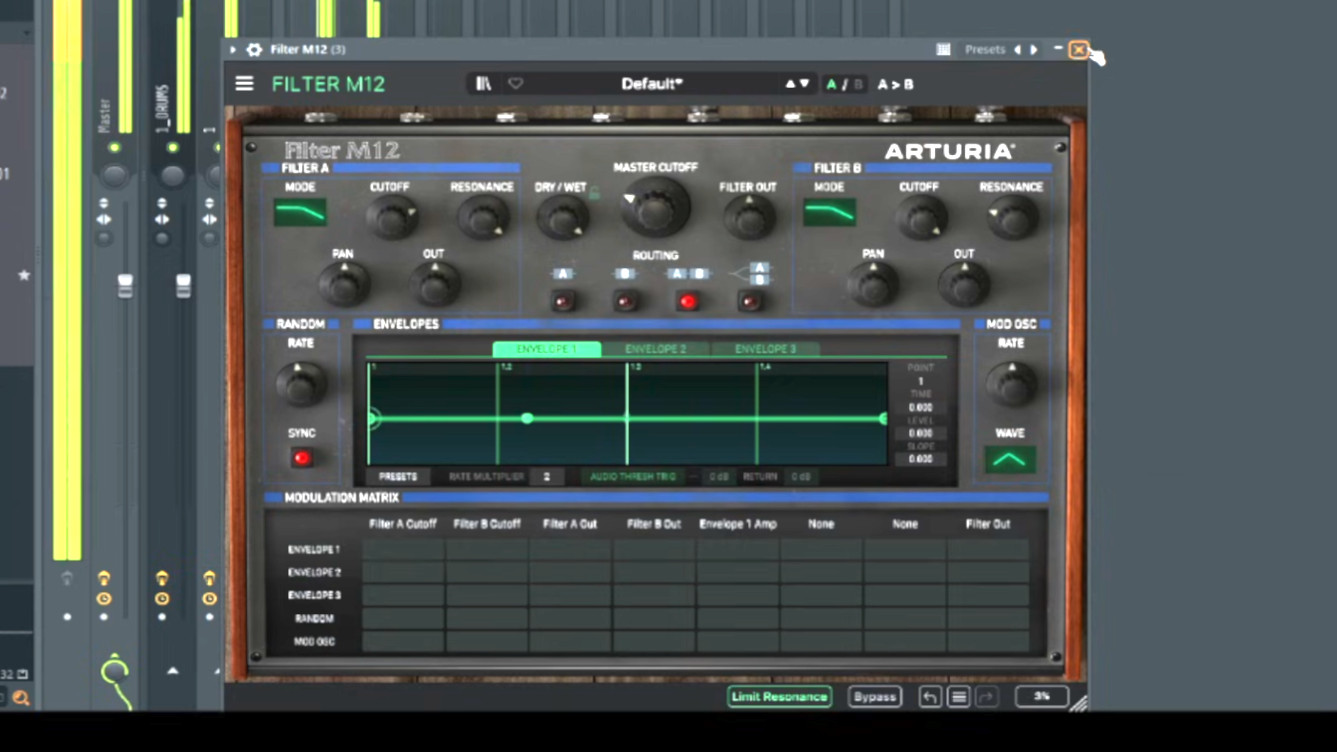
Now to add some FXs and I used two filters from the Arturia FX rack which are called the Mini Filter and the M12 Filter. I also used a High Pass Filter to cut off most of the high end frequencies. Again it’s best to experiment with the Filters and High Pass Filter I’m using Fab Filter for the High Pass Filter adjustment. 

With the Kick selected open up the sample if you are using FL Studio and make sure the Pitch and Mul is at 6 o’clock to add more bass and thump to the sound.

Kick Final Product

Step 3 - Making The Snare

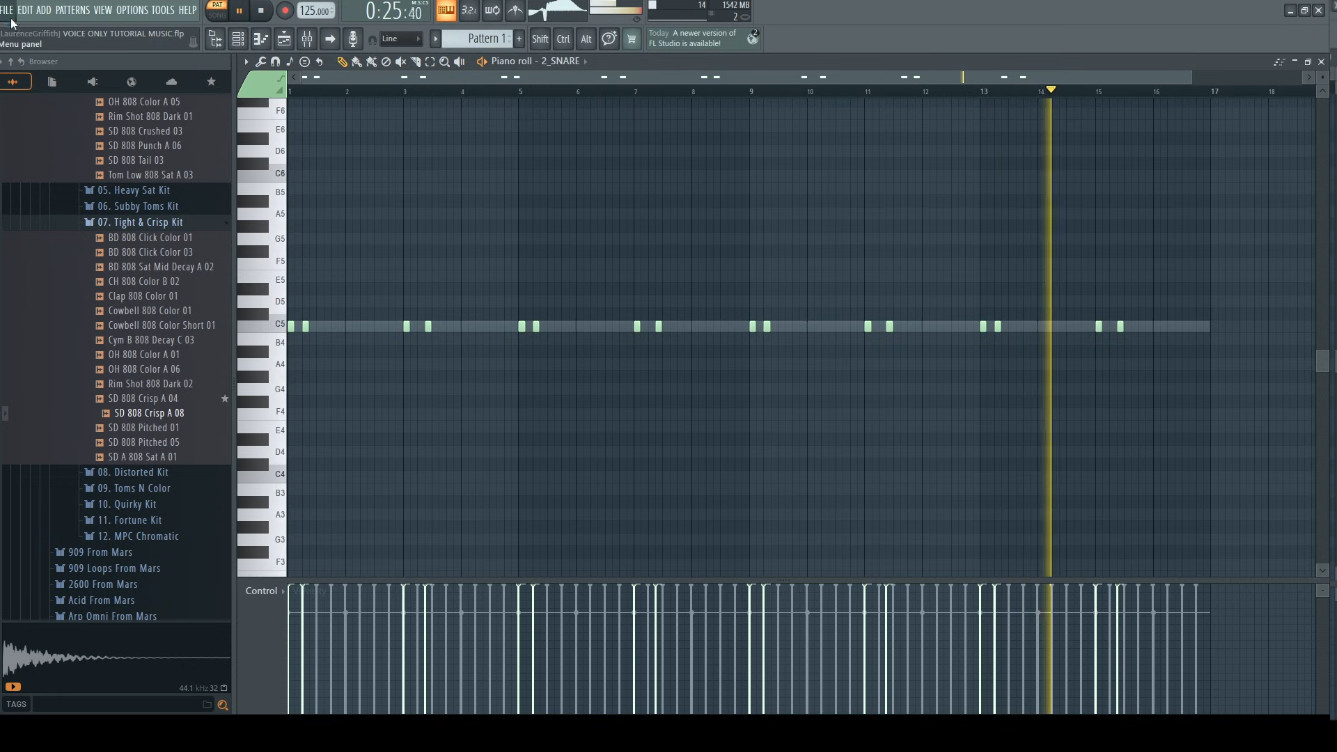
First I put the sound into the sampler and made a pattern you can try every 8 measures or what I did and freestyle the pattern to something that helps build the track. 

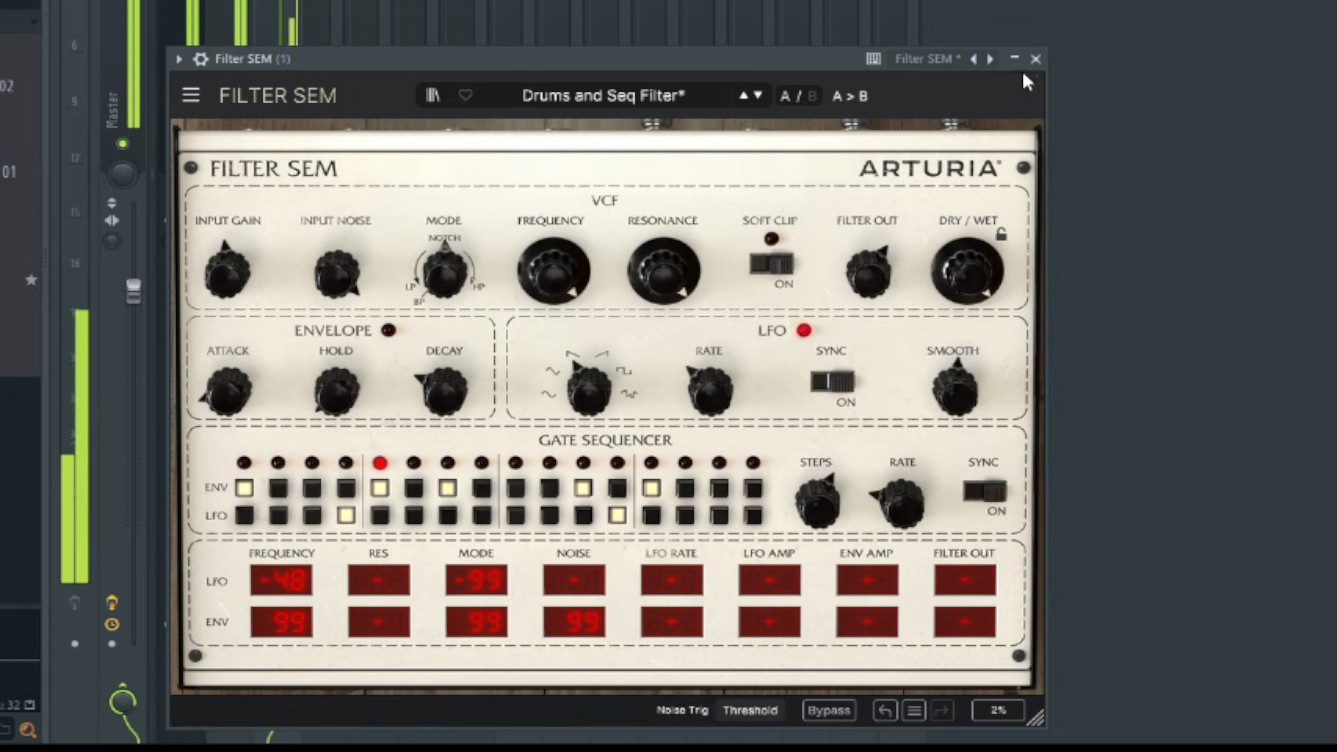
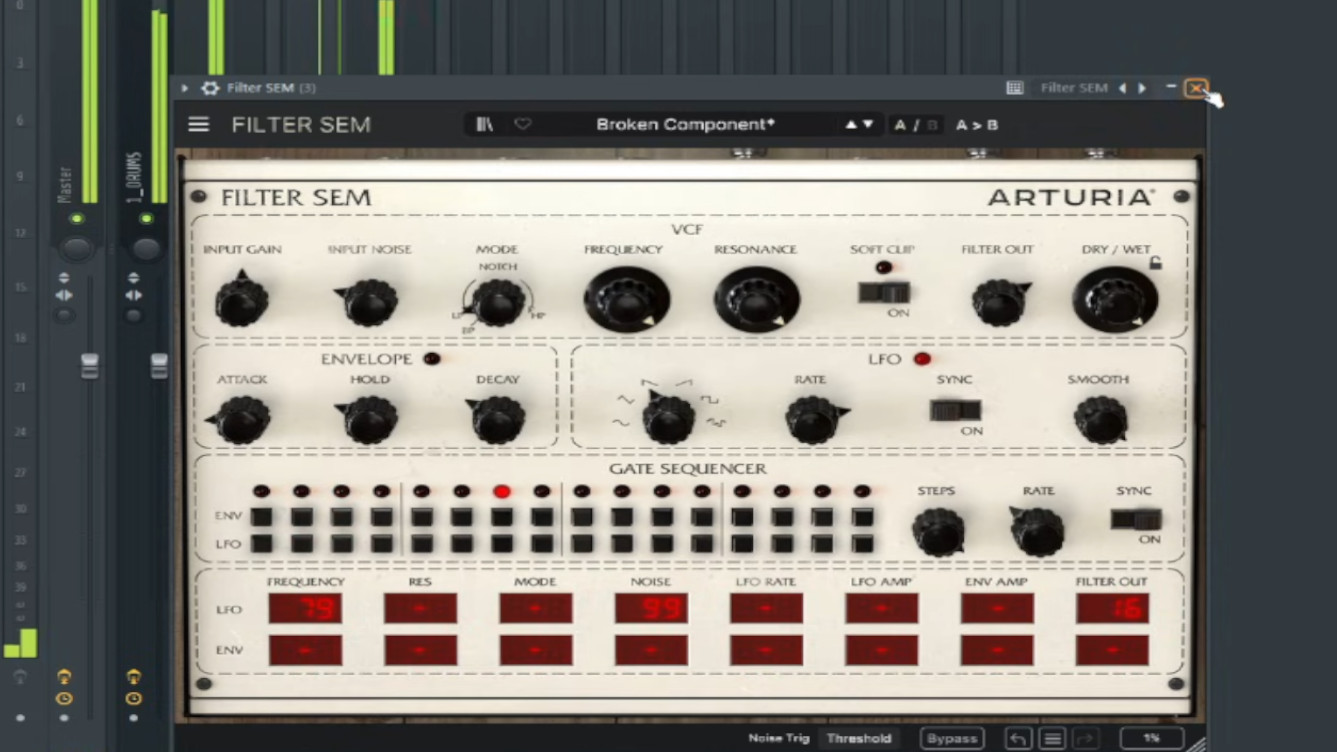
Back to the FXs and I used more hardware filters from Arturia the SEM Filter. Experimenting with the knobs to shape your sound is best but as always feel free to copy what I did below. 

Snare Final Product

Step 4 - Making The Hats

Firstly put the sample in the sampler and make a hat pattern. You can either have a 4×4 hat pattern or a triplets pattern or go mad and freestyle it. I went for a 4×4 pattern which is the most used pattern in music making for a steady beat that easy to blend parts together without it clashing but again it’s all about trial and error. 

Next it’s time to add more FXs and even more hardware Fxs from Arturia and this time it’s back to the M12 Filter. Repeating what I said on the other ones previous experimenting is key into molding your sound and using the high pass filter within the M12 Filter to magnify the high end and make it sound more like hats.   

Hats Final Product

Step 5 - Making The Bass

Add the sample to the sampler and start creating your pattern. You can have a long or short note and depending on what you recorded determines what kind of pattern you have for example short notes means you can make something more melodic and long notes means you can do straight notes IE a pattern on the same note. I also placed the notes lower down on the register on C2 to bring out the bass but again it’s worth experimenting on placement.

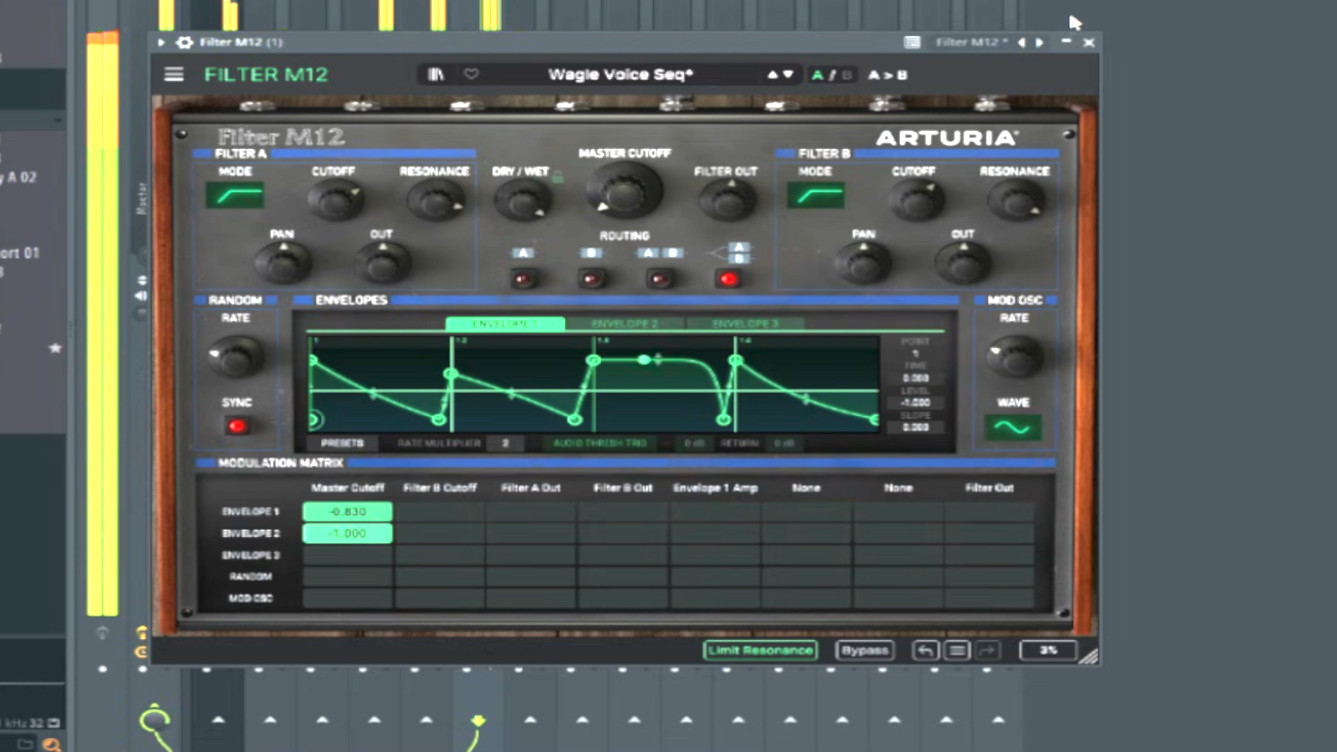
Next it’s back to mixer to add some FXs. I used two hardware filters from Arturia the SEM Filter and the M12 Filter once again and I’ve repeated this throughout but experimenting with the knobs to see what you come up with is best but feel free to copy what I did below. Remember this is a bass so you want to play around with the cutoff filter section on the M12 Filter enhancing the bass on both filters.

Bass Final Product

Step 6 - Making The Synth 1

Once you added the sound to the sampler start making the pattern. It’s time to freestyle and the same goes for making the synth sound long notes make better straight patterns and shorter notes can make better melodic patterns. I also put the notes on C6 one octave up to make it sound more like a synthesizer sound but feel free to place it wherever you wish. I repeat experimenting with the knobs is best practice and using the High Pass Filter within the M12 Filter to enhance the high end is best to make the sound come through better. Also messing about with the Envelope section at the bottom can help bring more melodics to the sound  and help mold it more.

Feel free to add some more FXs to the sound I like to use Delay and I use Eternity Delay from Arturia and is part of the FX rack you get. I left it on the default setting and changing it to Ping Pong on the top middle of the plugin for a faded out delay but feel free to experiment especially the right and left knobs and feedback for more off beat rhythms.  

Synth 1 Final Product

Step 7 - Making The Synth 2

Adding the sound to the sampler it’s once again time to make the pattern and same applies to this one as well with short and long notes. I like to reuse the FXs and stuff I put on the previous samples so highlight the mixer channel that has already been made up and the one you want to copy and you go to File>>>Save Mixer State As<<< inside FL Studio and drag it into the mixer channel you want to add the FXs and stuff to.  You will notice a white square box appear underneath the cursor arrow that’s how you know you are dragging the FXs to the place you want to copy from. Also like the last one I put it on C6 one octave higher from C5 or middle C to give it that synthy sound starting point.

Synth 2 Final Product

Step 8 - Making The Synth 3

Add your sample to the sampler and make your pattern and same still applies for short and long samples but feel free to get creative here by making notes longer or shorter using the Start and End Knobs and Length inside the sampler to make the notes shorter or longer. You can also use Start Offset also in the sampler to avoid gaps at the beginning or to make a shorter sound but it’s best to go into Edison if you use FL Studio by right clicking the sample and pressing the option>>>Edit In Audio Editor<<< to remove silent spots and unwanted noises. I used a longer note for this part as I feel it’s best to fill it up with both short and long notes for difference and contrast. Also like the other synth bits I made I put it on C6 a octave higher than C5 or middle C to get me halfway there.

I liked the sound that was generated for this part so once again I went to File>>>Save Mixer State As<<< inside FL Studio and dragged it into the mixer channel I wanted to add the FXs and stuff to. If you want a new sound feel free to experiment with all the FXs you have at hand from hardware filters like the one from Arturia I’ve been using and Soundtoys products are good for molding sounds you can get the bundle at a good price if you wait for the sales and you have a coupon.

Synth 3 Final Product

Step 9 - Making The Synth 4

Add a sample to sampler and create your pattern and it still applies to this one as well with short and long notes but feel free to mix it up with what I mentioned already with the sampler or anything that comes to mind. You can always mess around with Pitch and Mul inside the sampler to further mold your sound or just leave it as it is. 

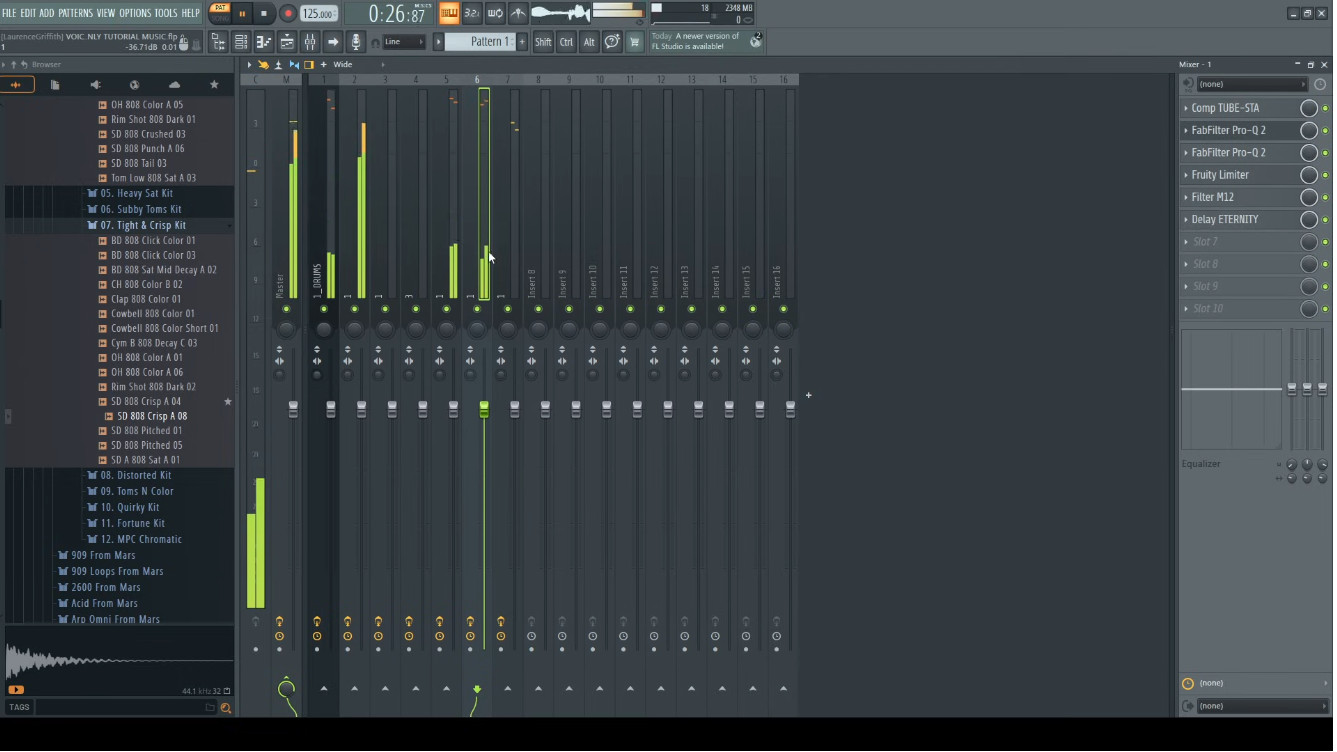
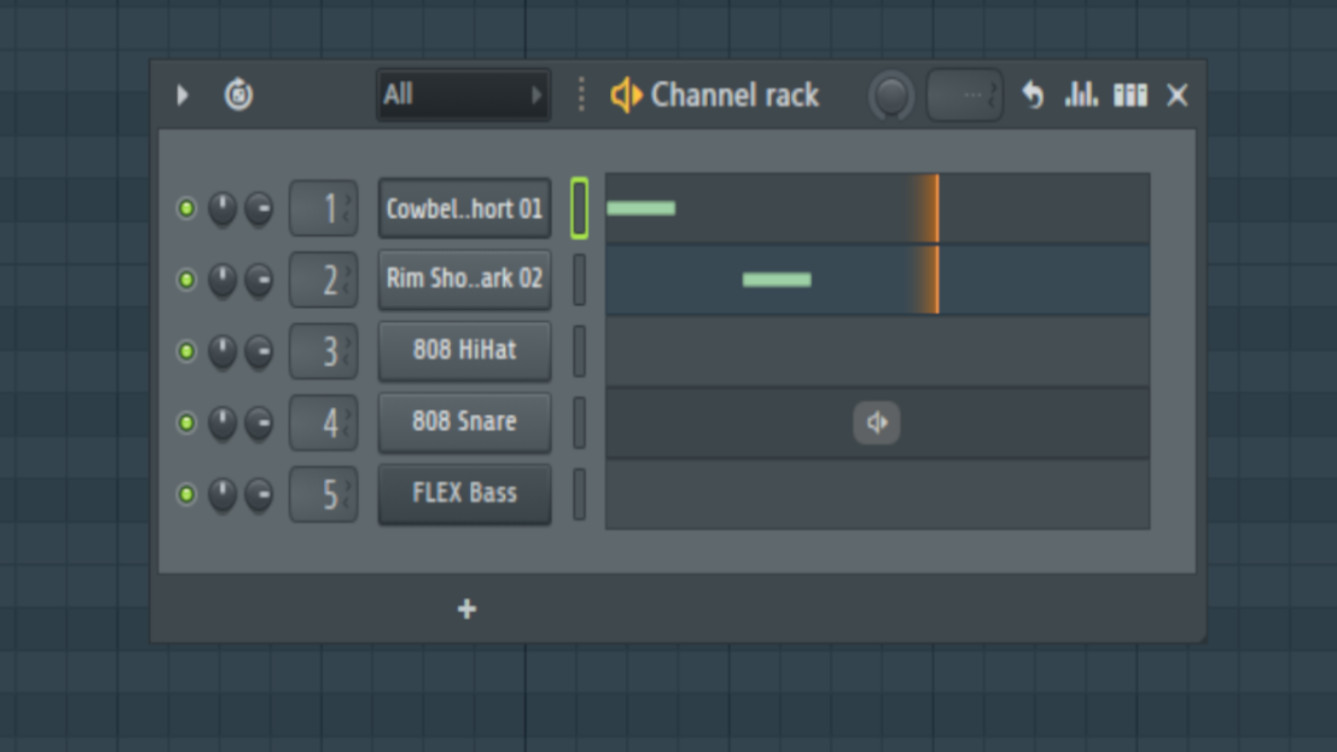
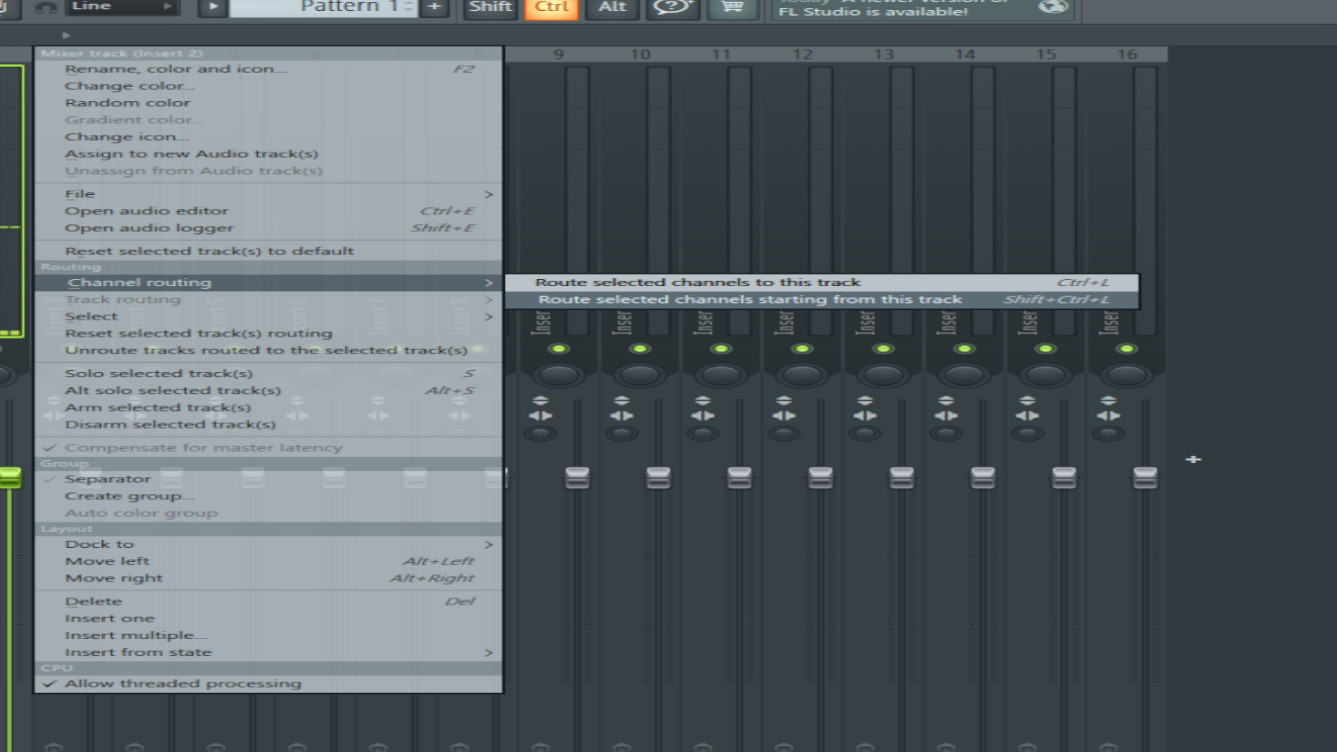
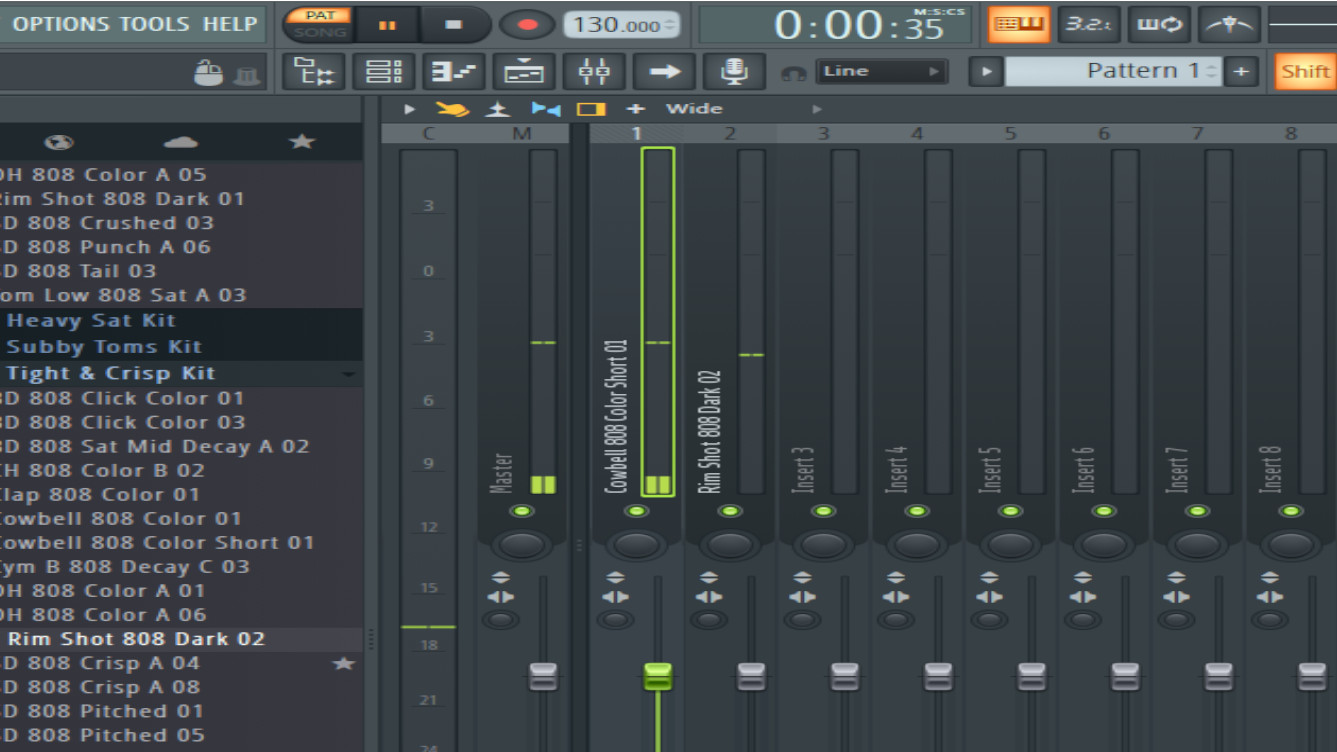
I should mention it doesn’t automatically add channels to the mixer and you have to do it by hand for each sound you make by highlighting all the samples you want laid out in the mixer and in the sampler or channel rack it’s called you go to the mixer and select the first column NOT THE MASTER CHANNEL but Insert 1<<<Right Click>>> then <<<Channel Routing>>> then <<<Route Selected Channels Starting From This Track>>>you should then see movement happening on each Mixer Channel and names of the sample instead of Insert (Number) EG 1.   

Once again I liked the sound that was generated for this part so I went to File>>>Save Mixer State As<<< inside FL Studio and dragged it into the mixer channel I wanted to add the FXs and stuff to. As it doesn’t add the channels automatically it’s set on the last channel wired to the mixer so it’s a great way to have a preview of what the next sound is like with the chosen FXs on the Mixer channels you’ve already done as it’s set to the last one wired up. I should also mention if you want the export all the samples you have to lay them out in the mixer separately in it’s own Insert or Mixer Channel. When I’m making songs I like to pair up the synthesizer if it’s the same sound say Hook 1 and Hook 2 which Hook 2 is the Crescendo and finale of the track or near to the end just for reference.  

Synth 4 Final Product

Step 10 - Making The Synth 5

Add the last sample to sampler and create your pattern and it still applies to this one as well with short and long notes just a reminder short notes work best with melodic stuff and long notes works best with straight notes IE on the same key but you can freestyle if you wish or keep what you have and follow along to that. 

Again I liked the sound that was generated for this part so I went to File>>>Save Mixer State As<<< inside FL Studio and dragged it into the mixer channel I wanted to add the FXs and stuff to. And there you have it you now have enough samples to make up the track if you havn’t done already.

Synth 5 Final Product

Final Product

You’re actually not done just yet as there are a few things to tie over before you make up the track if you haven’t done already. Below is a list of the last couple of standard things you have to do before publishing it to the world or wherever it is. I’ve also put a download button with all the samples in this tutorial below in case you want to use them and be sure to email me at gasnolight85@gmail.com with your links to the creations so I can show them off on a new page I will create. 

***PLEASE DO NOT SEND FILES***

<<<THANK YOU>>>

Finishing Off

1. Click on each sample and <<<Remove DC Offset>>> <<<Reverse Polarity>>> and <<<Swap Stereo>>> for clearer sounding samples.

2. Click on each sample and change from <<<Resampling>>> to <<<Stretch>>> to make it all in sync with each other.

3. If you haven’t already <<<Rename>>>and <<<Renumber>>>the <<<Mixer Channels in Mixer>>>

4. Use <<<Fab Filters>>>or something similar to clean up the high and low end by using <<<Hi and Low Cut>>> for the synths and bass and the <<<Drums Preset>>> for the drum parts Kick, Snare, Hats and Beatbox parts.

5. Add <<< Tube Compression and Limiters>>> to each sample for loudness and more clearer sounds and samples. It’s best to use the presets you’ve been given for faster finishing time and for clarity.


Now you should have;

x5   – Synth Samples

x1 – Beatbox Sample

x1 – Kick Sample

x1 – Snare Sample

x1 – Hats Sample

x1 – Bass

😀
0
😍
0
😢
0
😡
0
👍
0
👎
0

Leave a Reply

Your email address will not be published. Required fields are marked *