
Respirator Animation Tutorial
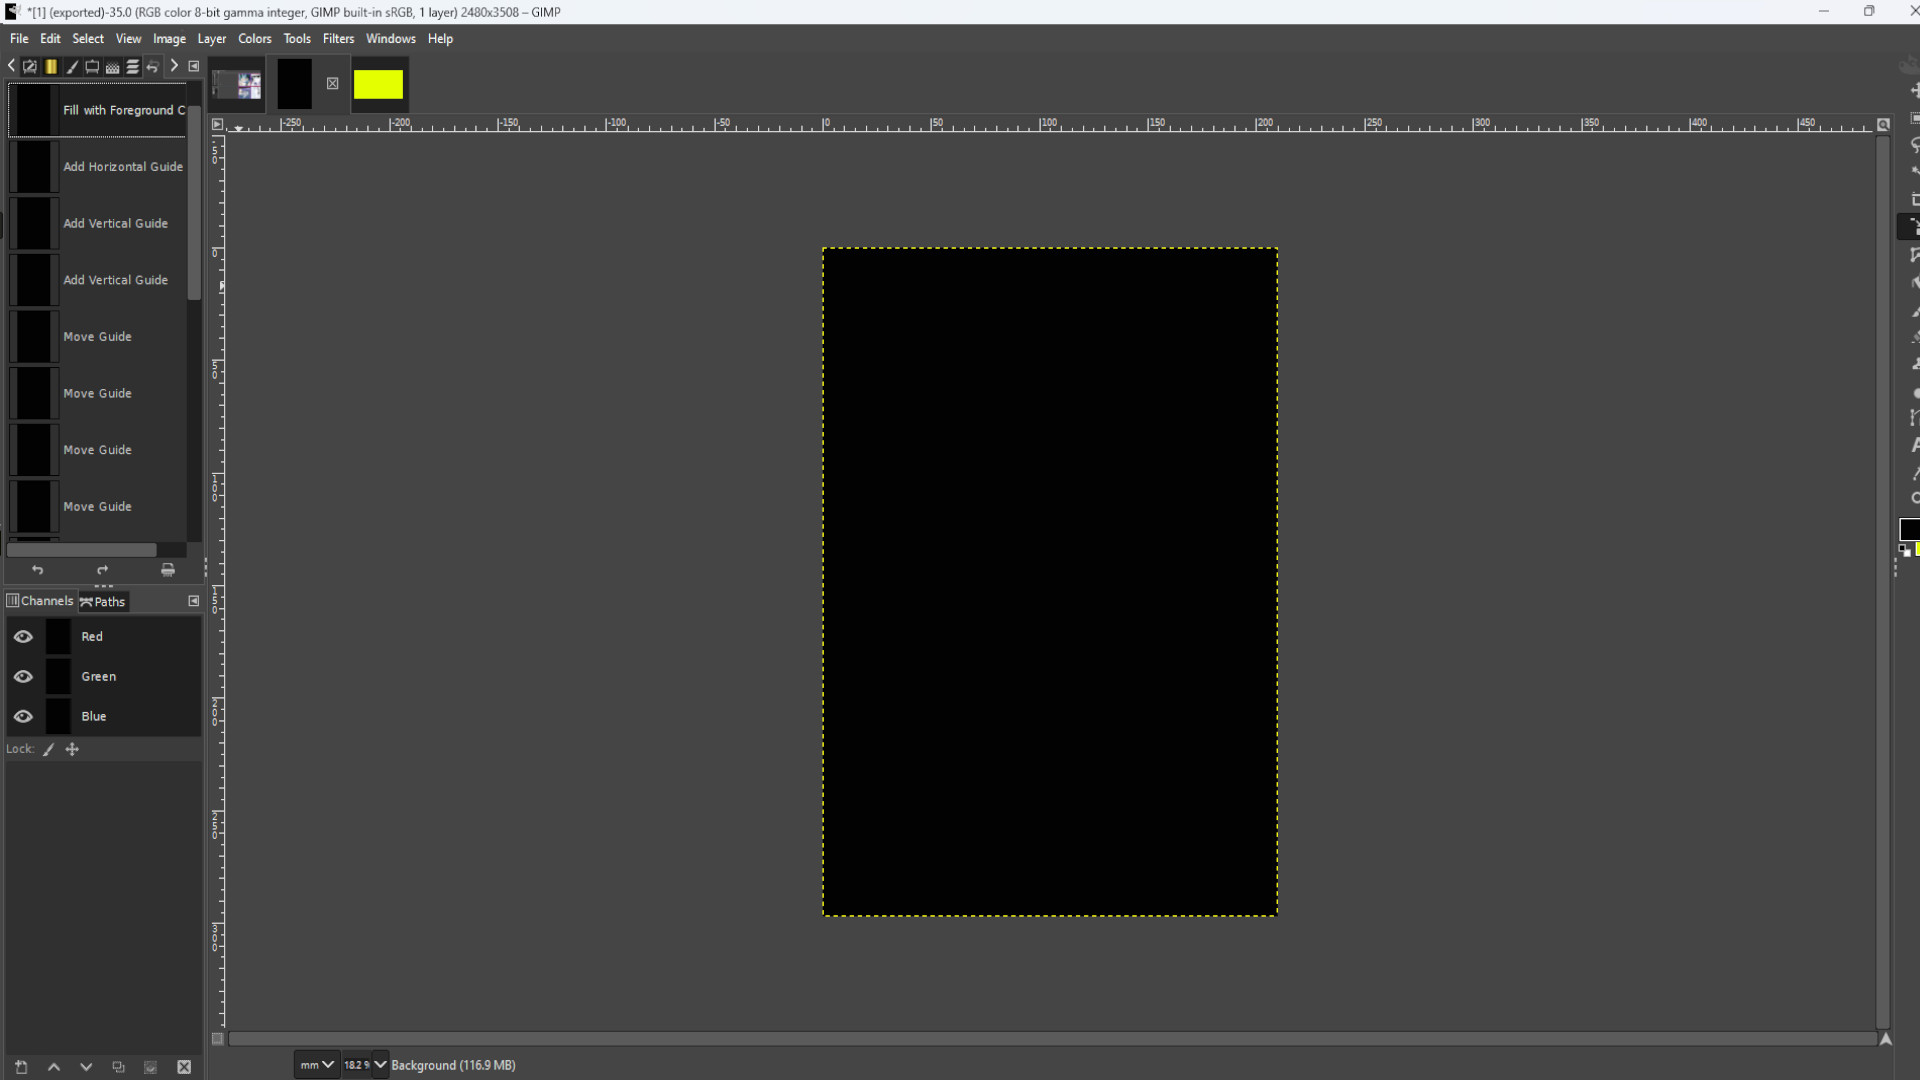
Open up Gimp and go to >>>FILE>>>NEW>>>TEMPLATE and pick the>>>A4 SIZE;
209.97 Width,
297.01 Height
in mm.
2480 Width
3508 Height
in px
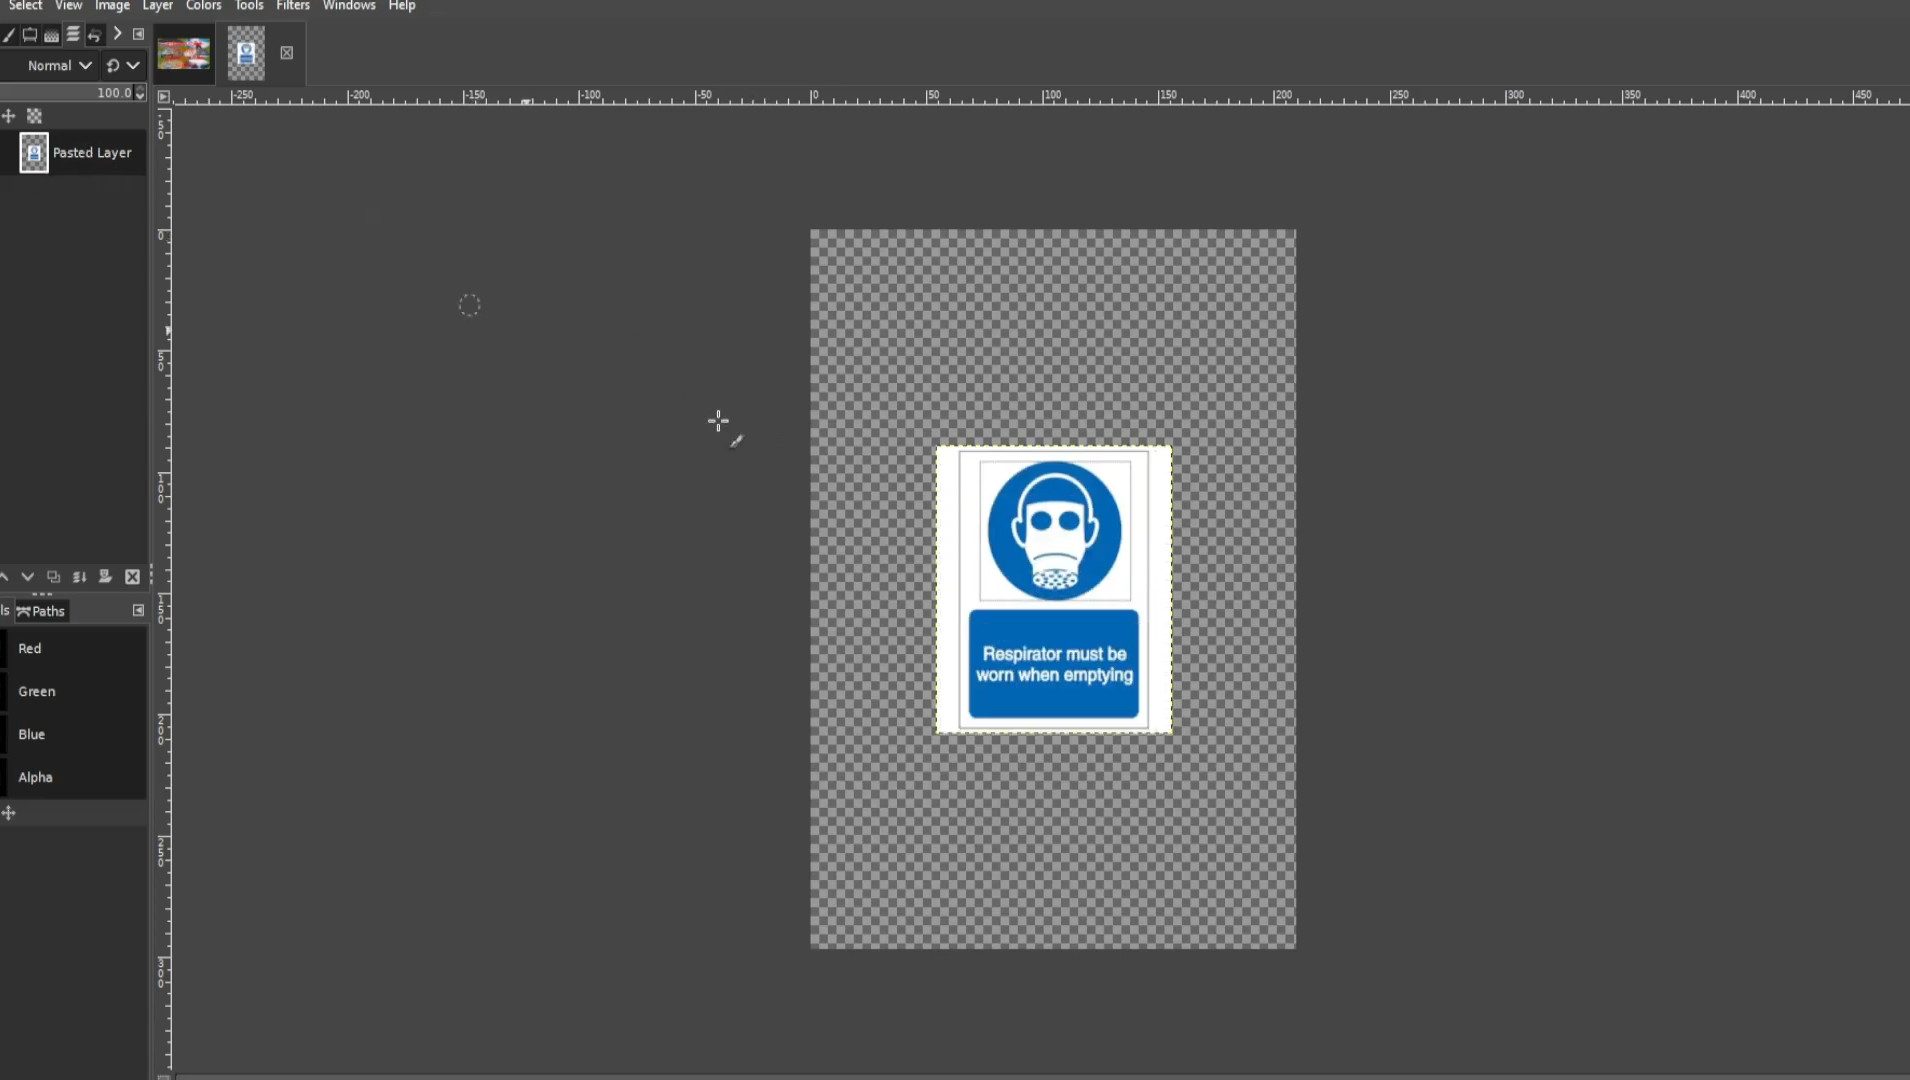
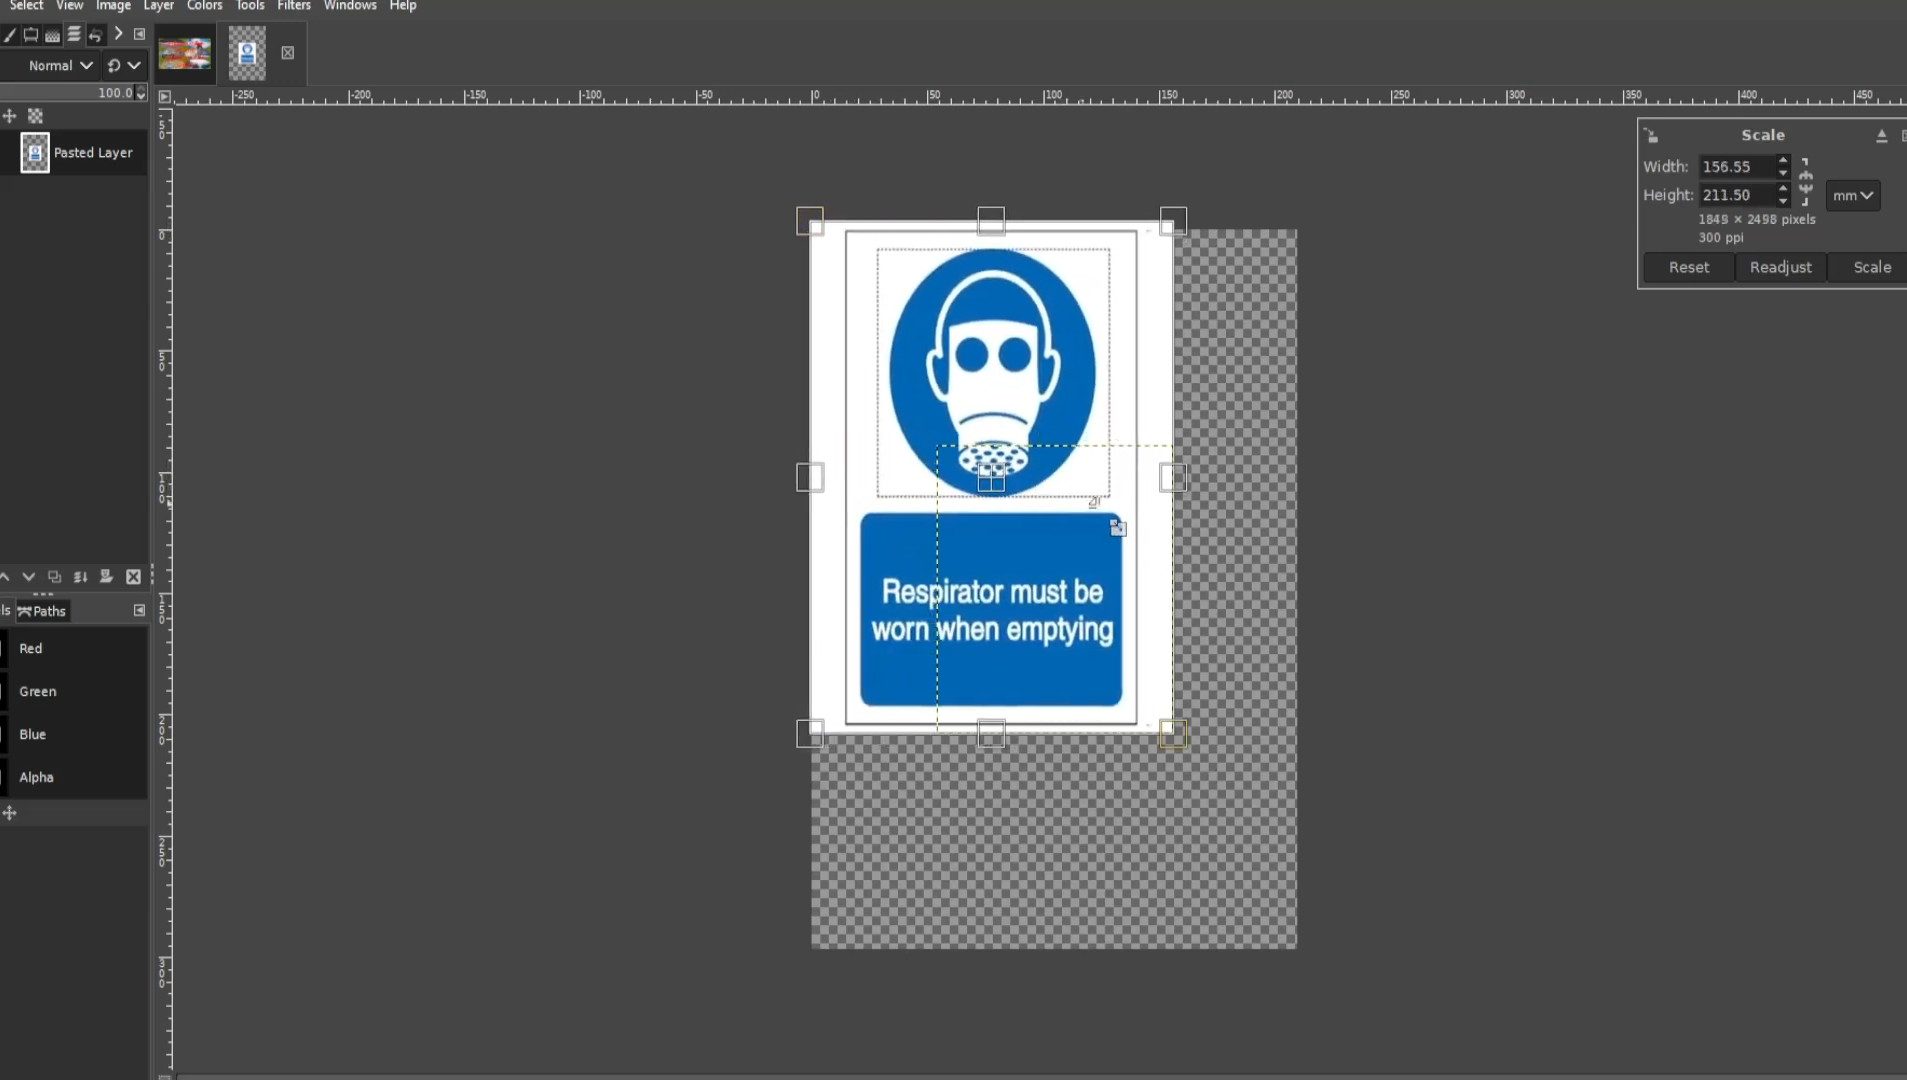
>>LOAD FILE or >>>DRAG AND DROP file into Gimp. You can use the resize tool or use shortcut>>>HOLD SHIFT and PRESS R to resize the picture. You might see on the left hand side in the layers panel it says>>>FLOATING SELECTION. >>>RIGHT CLICK on the>>>LAYER and select>>>NEW LAYER now you can resize the picture.
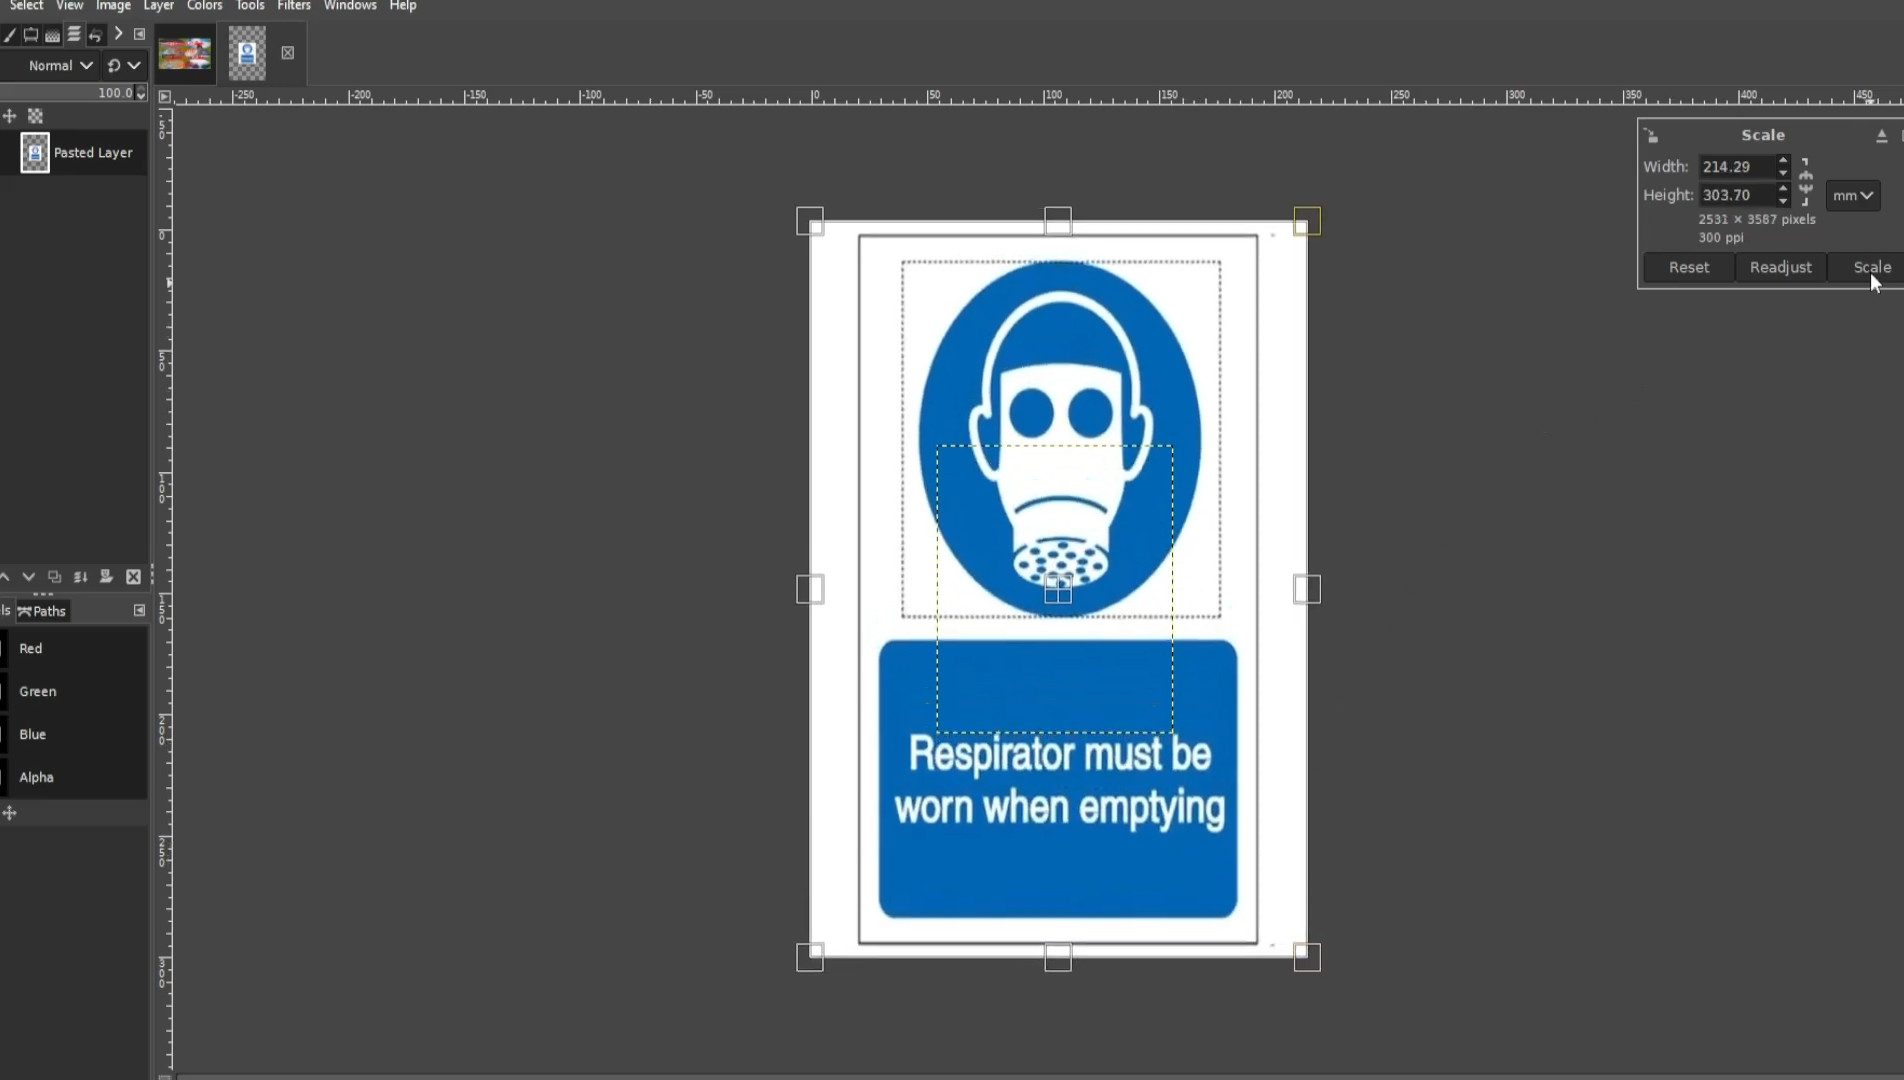
Use the>>>FUZZY SELECT TOOL to select in this case the stickman. You can >>>HOLD>>>SHIFT and>>>CLICK on the>>>LEFT BUTTON of the>>>MOUSE to select more than one bit.
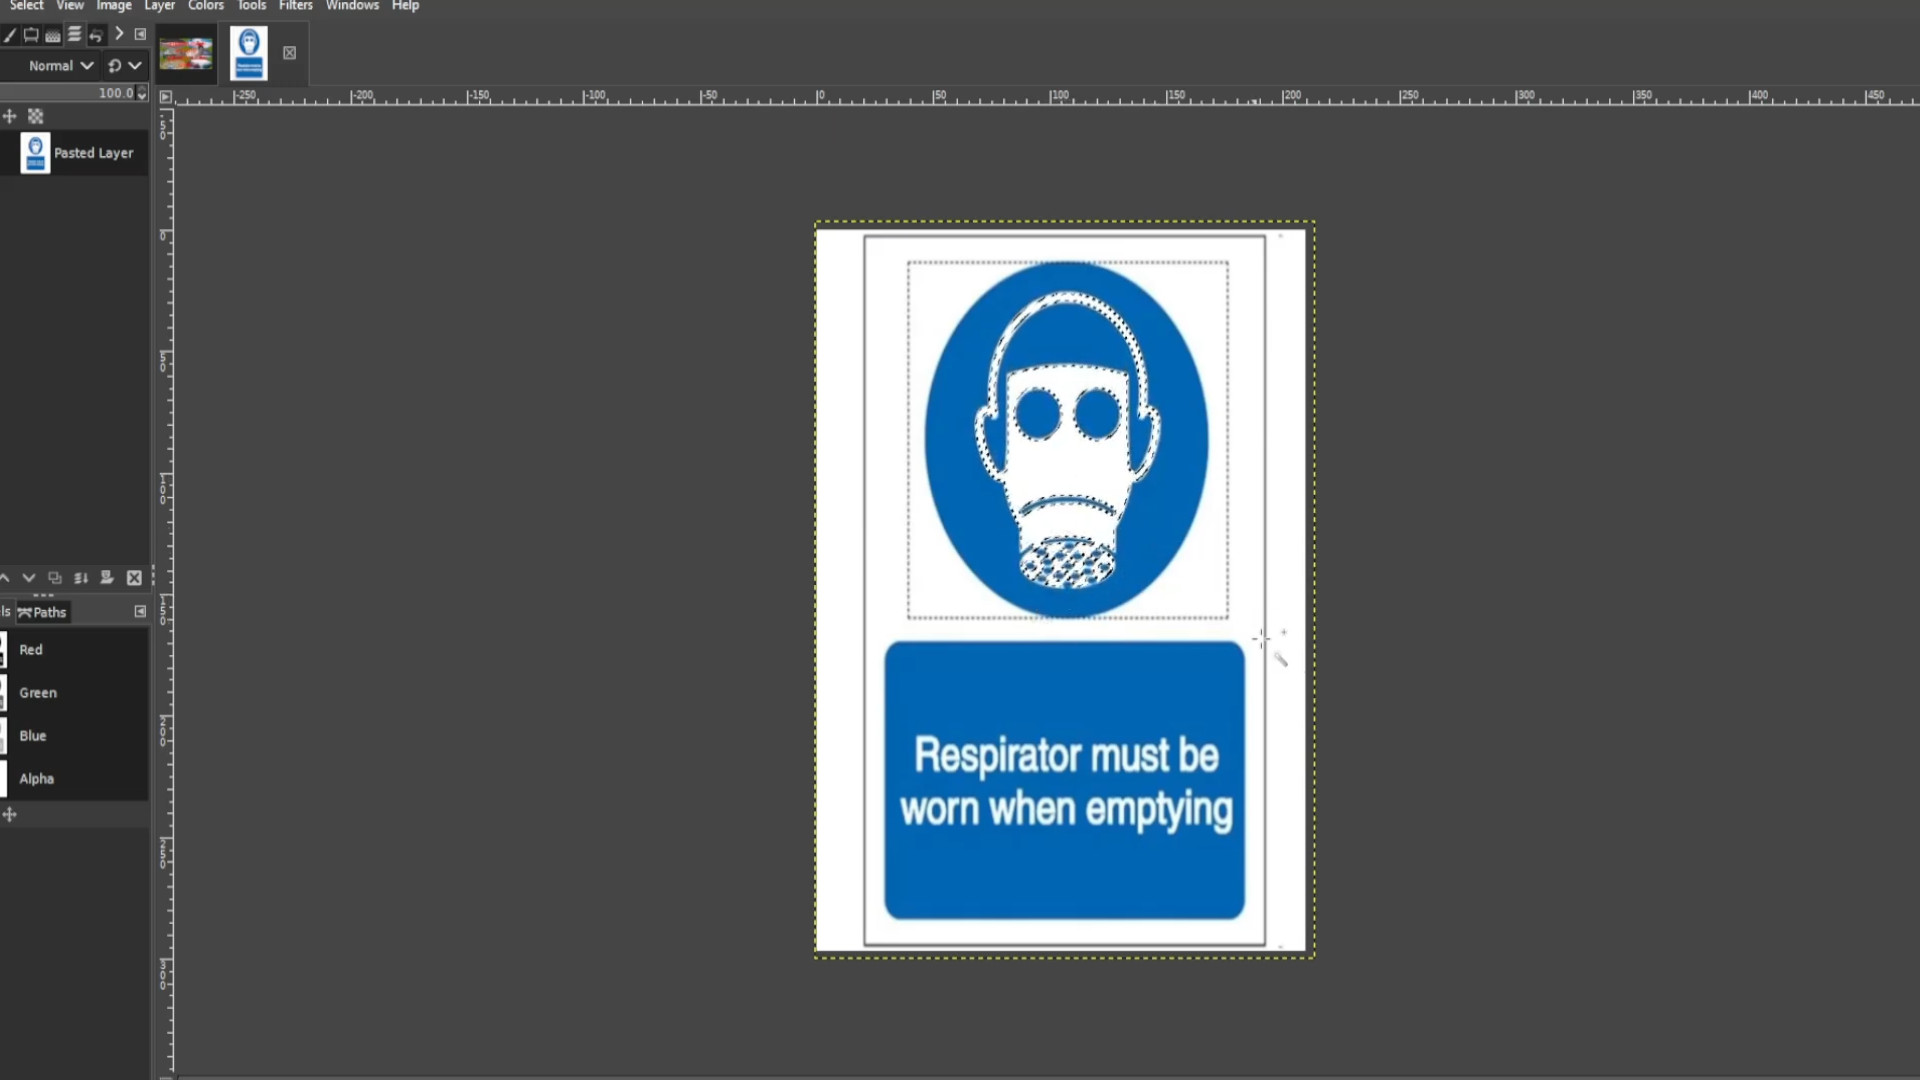
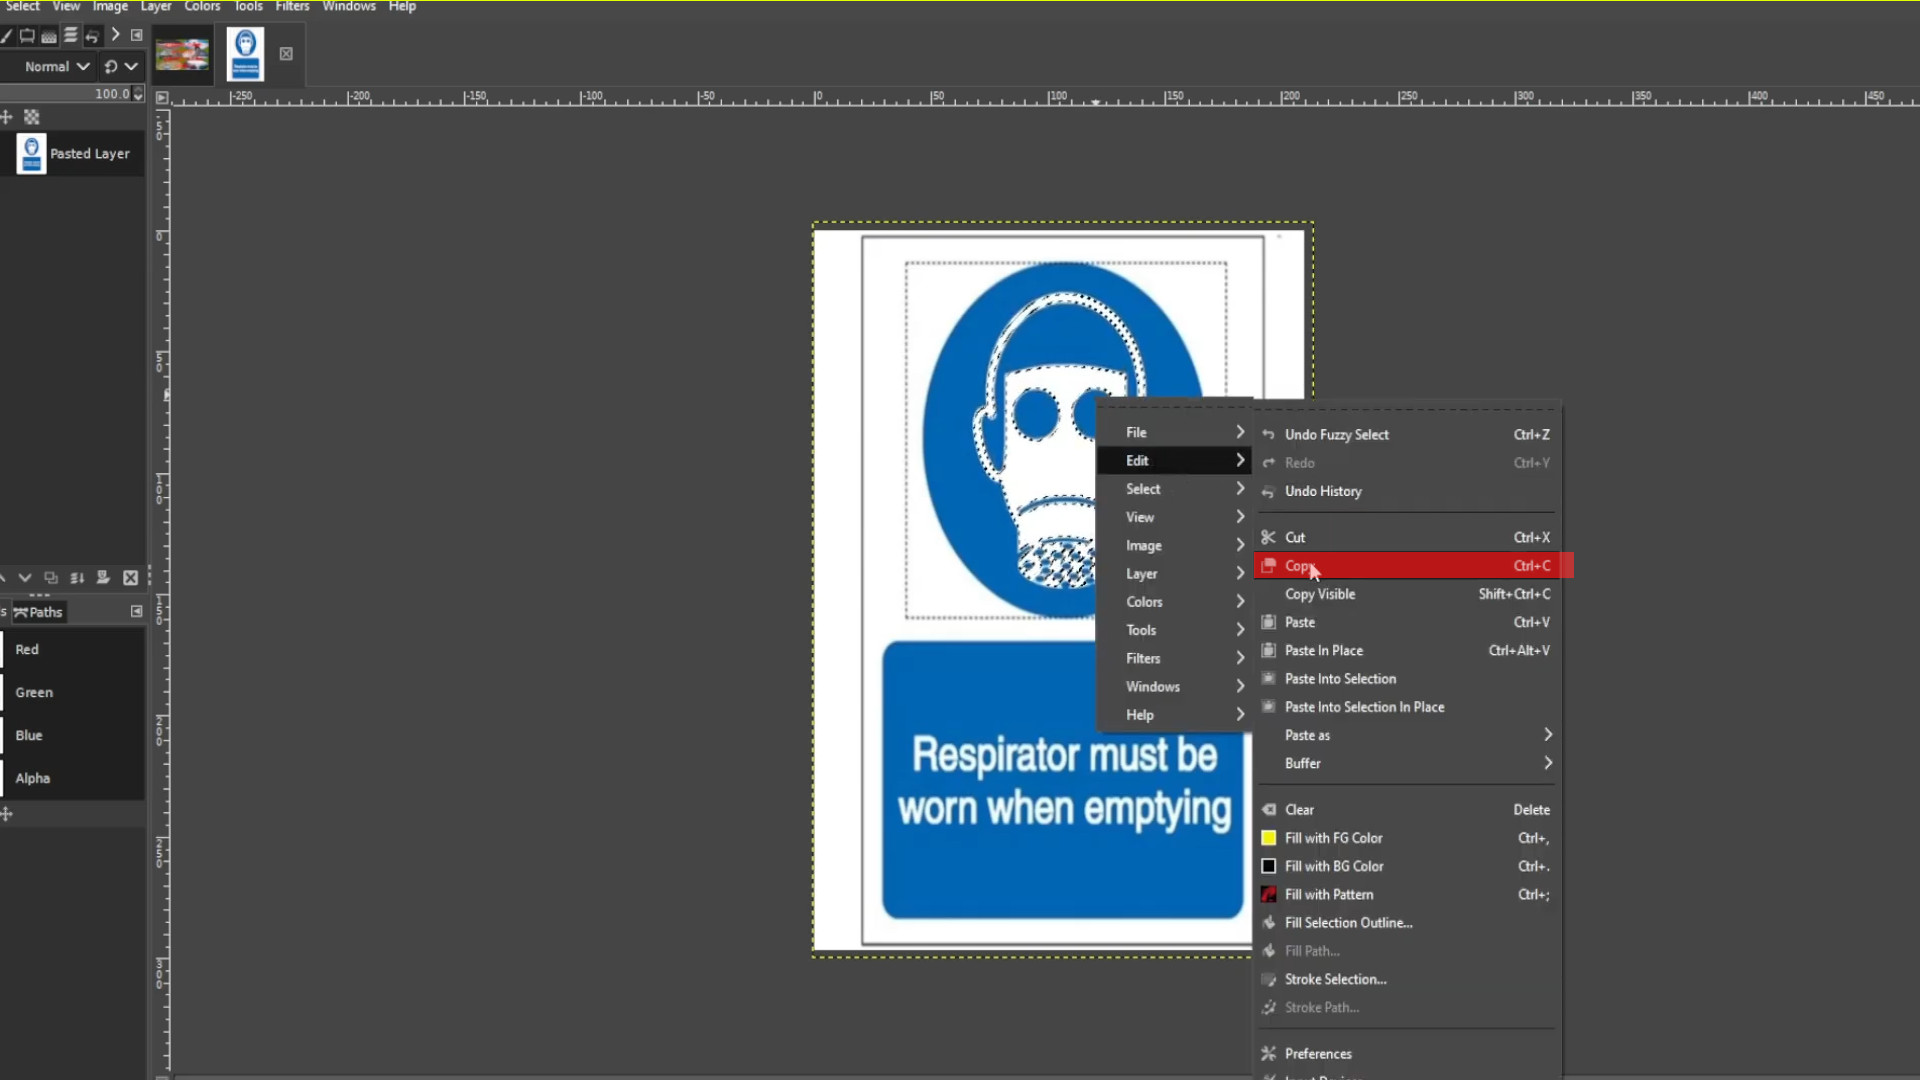
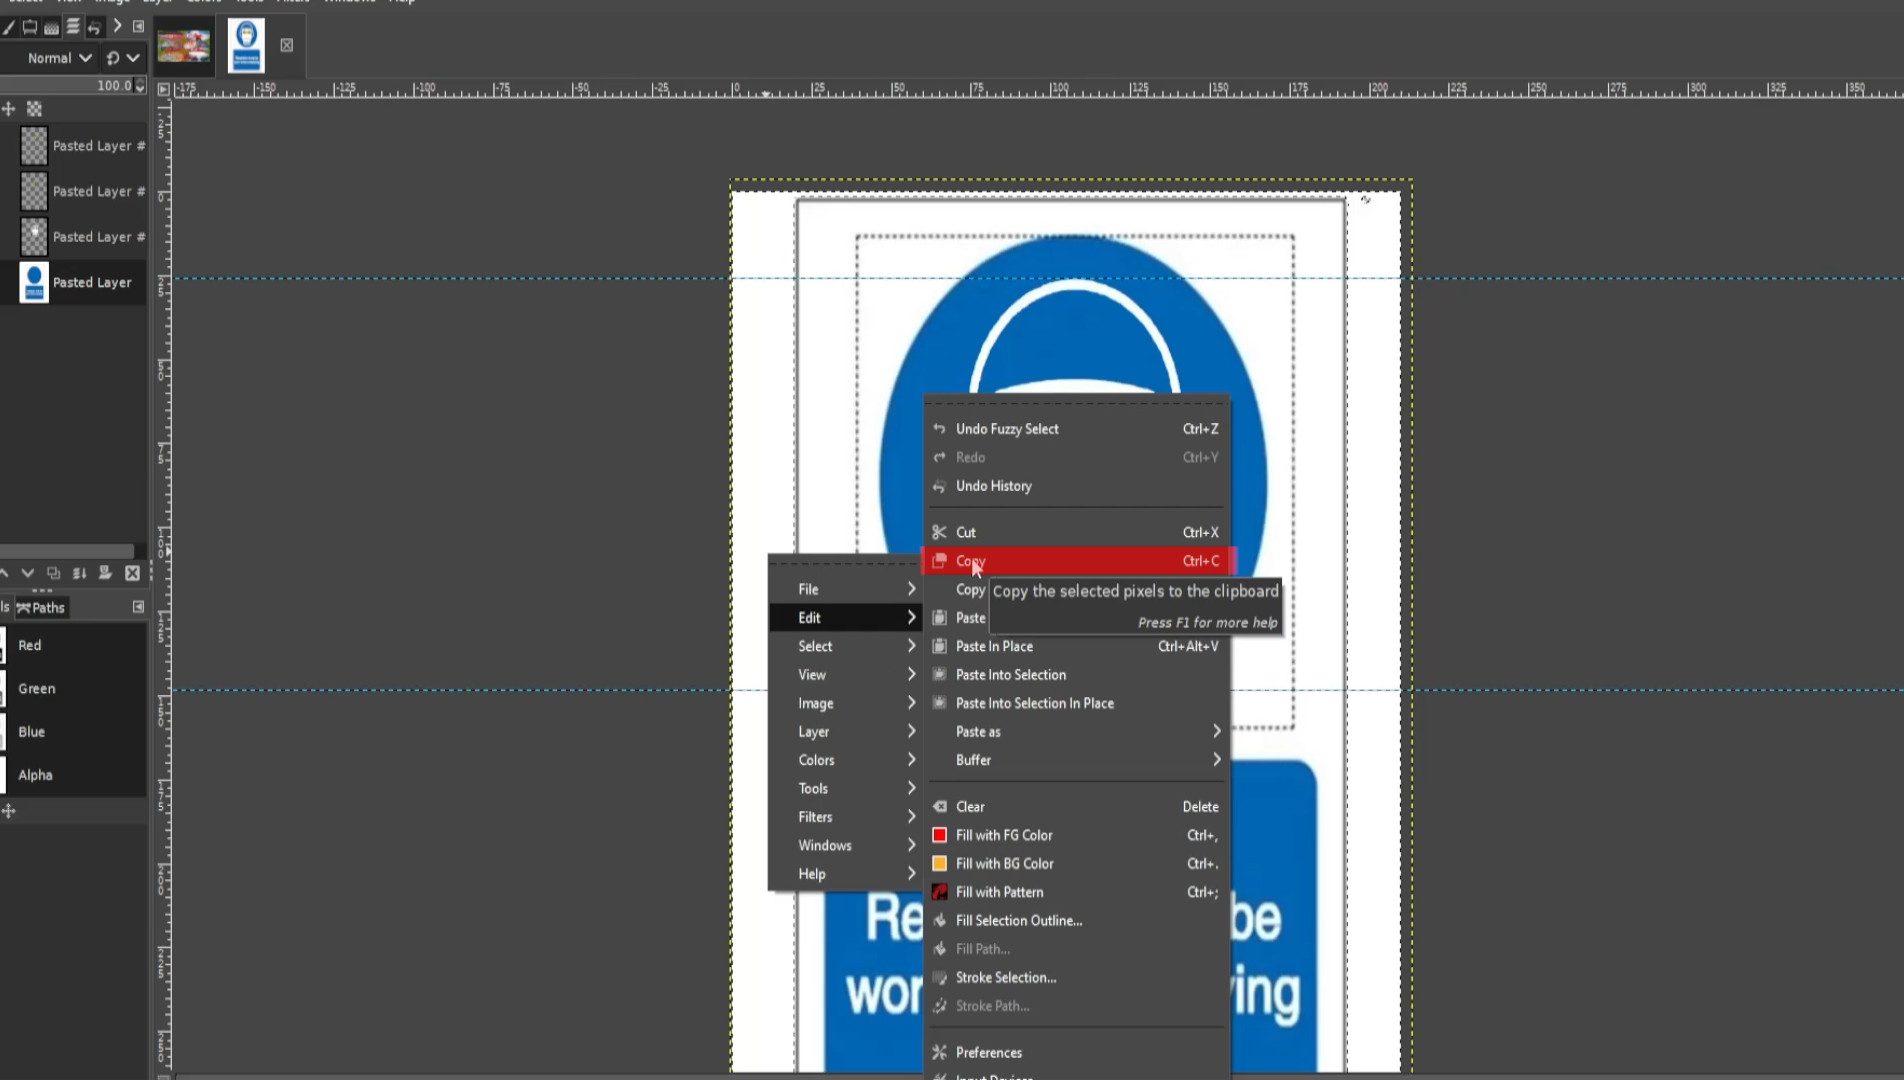
With the first layer selected>>>RIGHT CLICK on the picture and hover your cursor over>>>EDIT and>>>PRESS>>>COPY or use shortcut>>>HOLD>>>CTRL and>>>PRESS C to copy the selected bit.
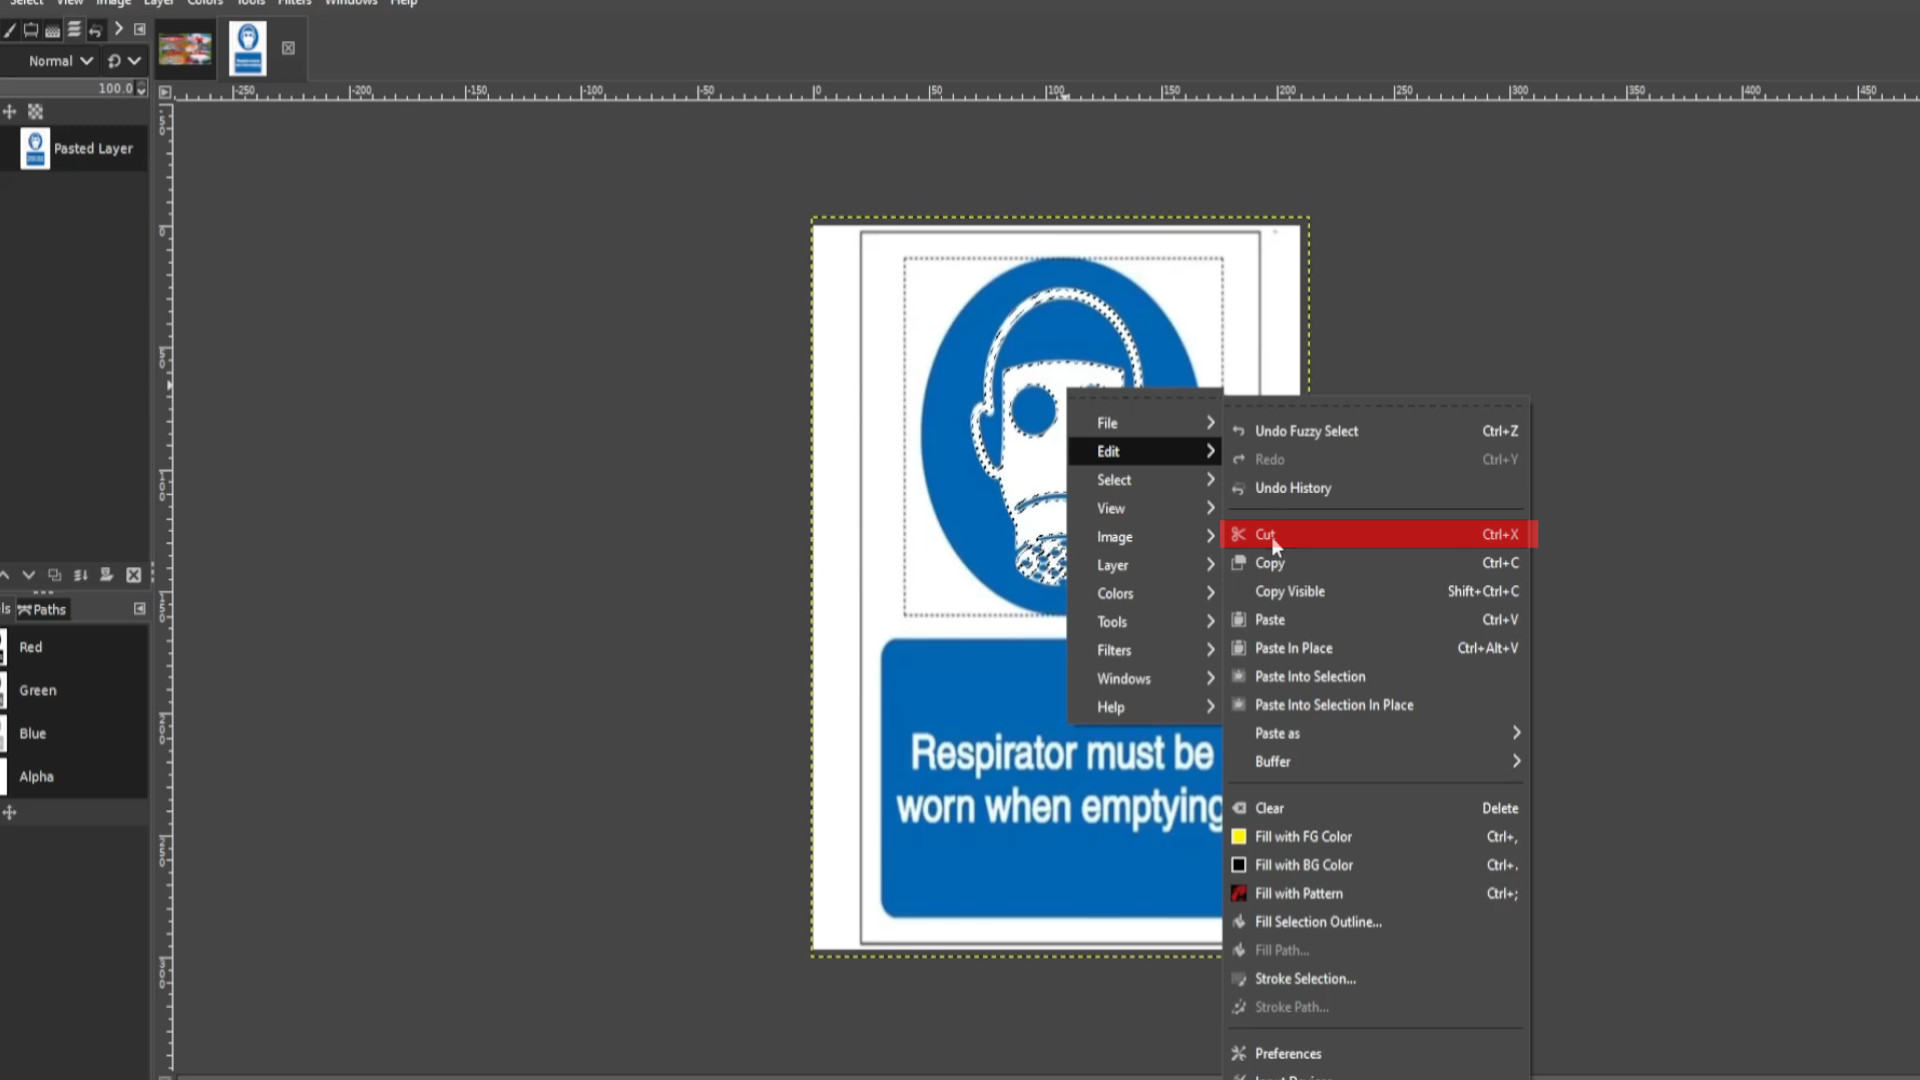
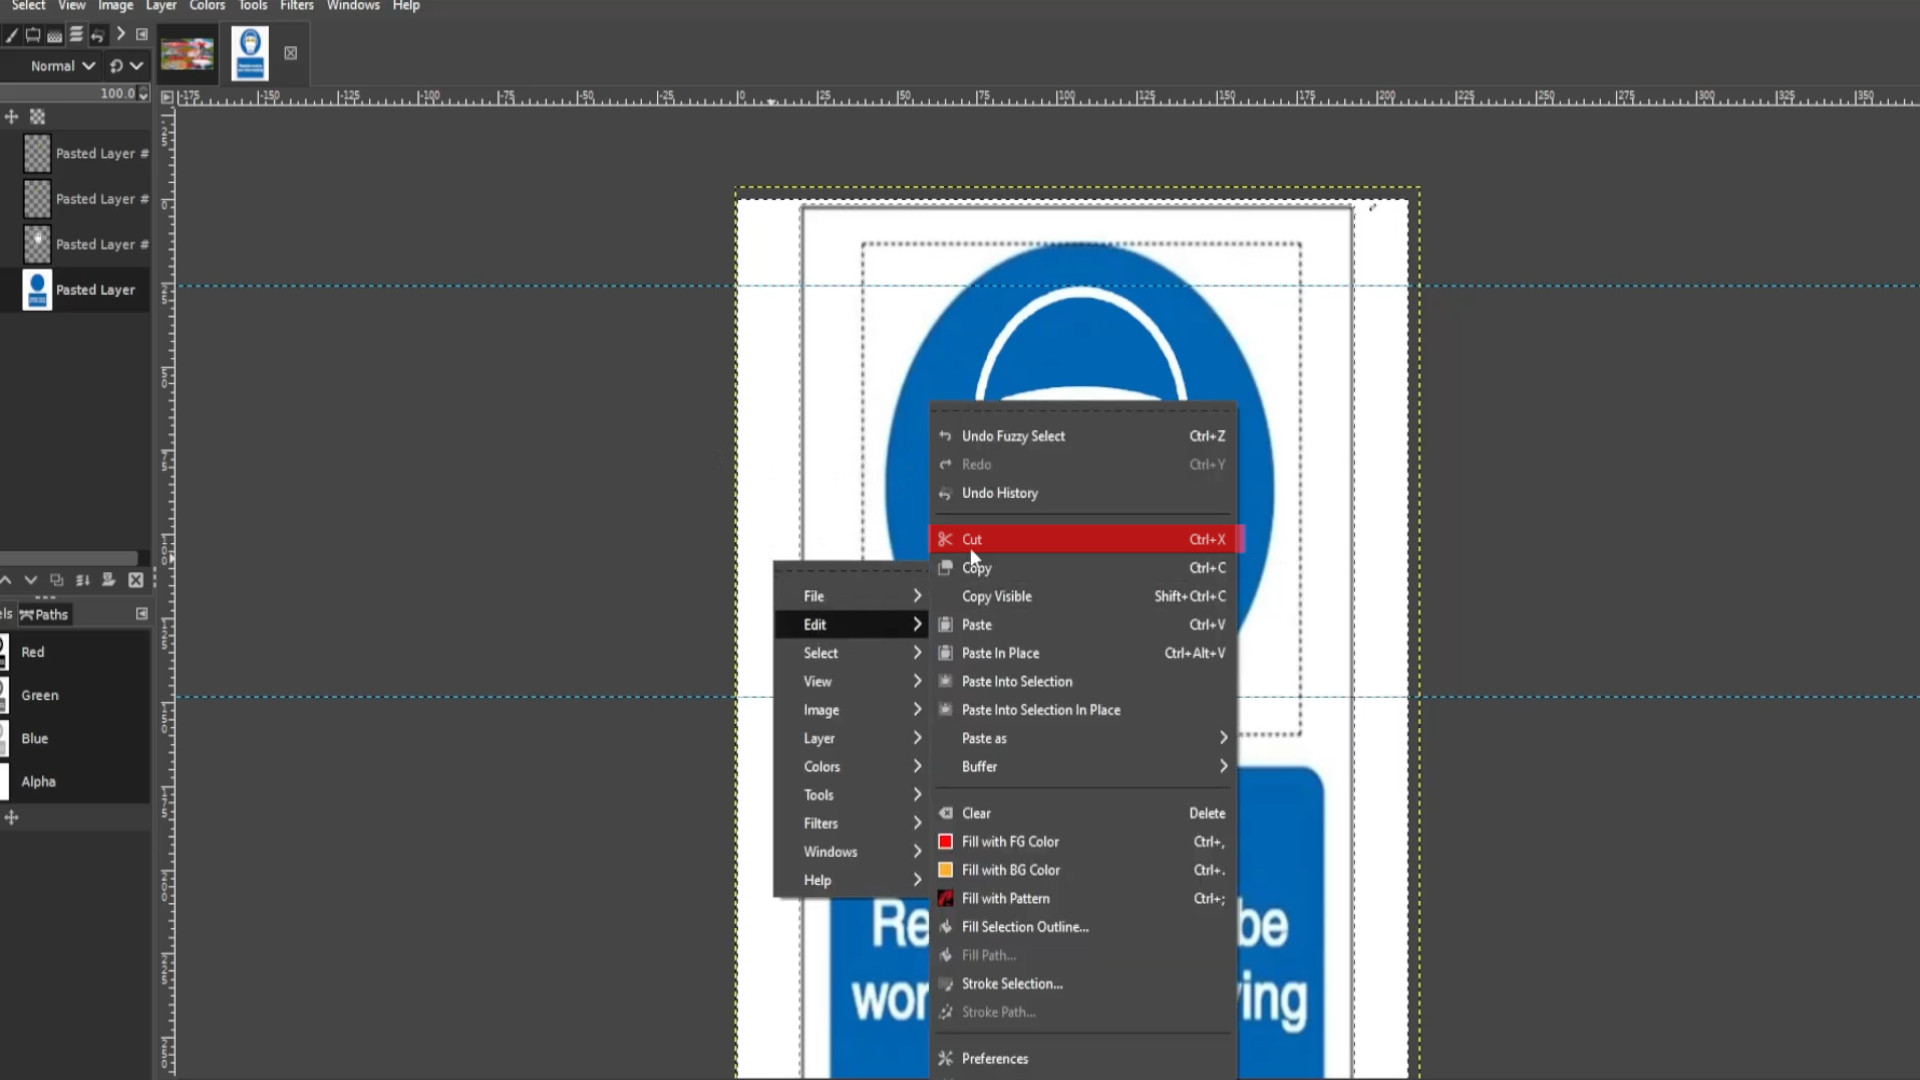
With the first layer selected>>>RIGHT CLICK on the picture and hover your cursor over>>>EDIT and>>>PRESS>>>CUT or use shortcut>>>HOLD>>>CTRL and>>>PRESS X to cut the selected bits.
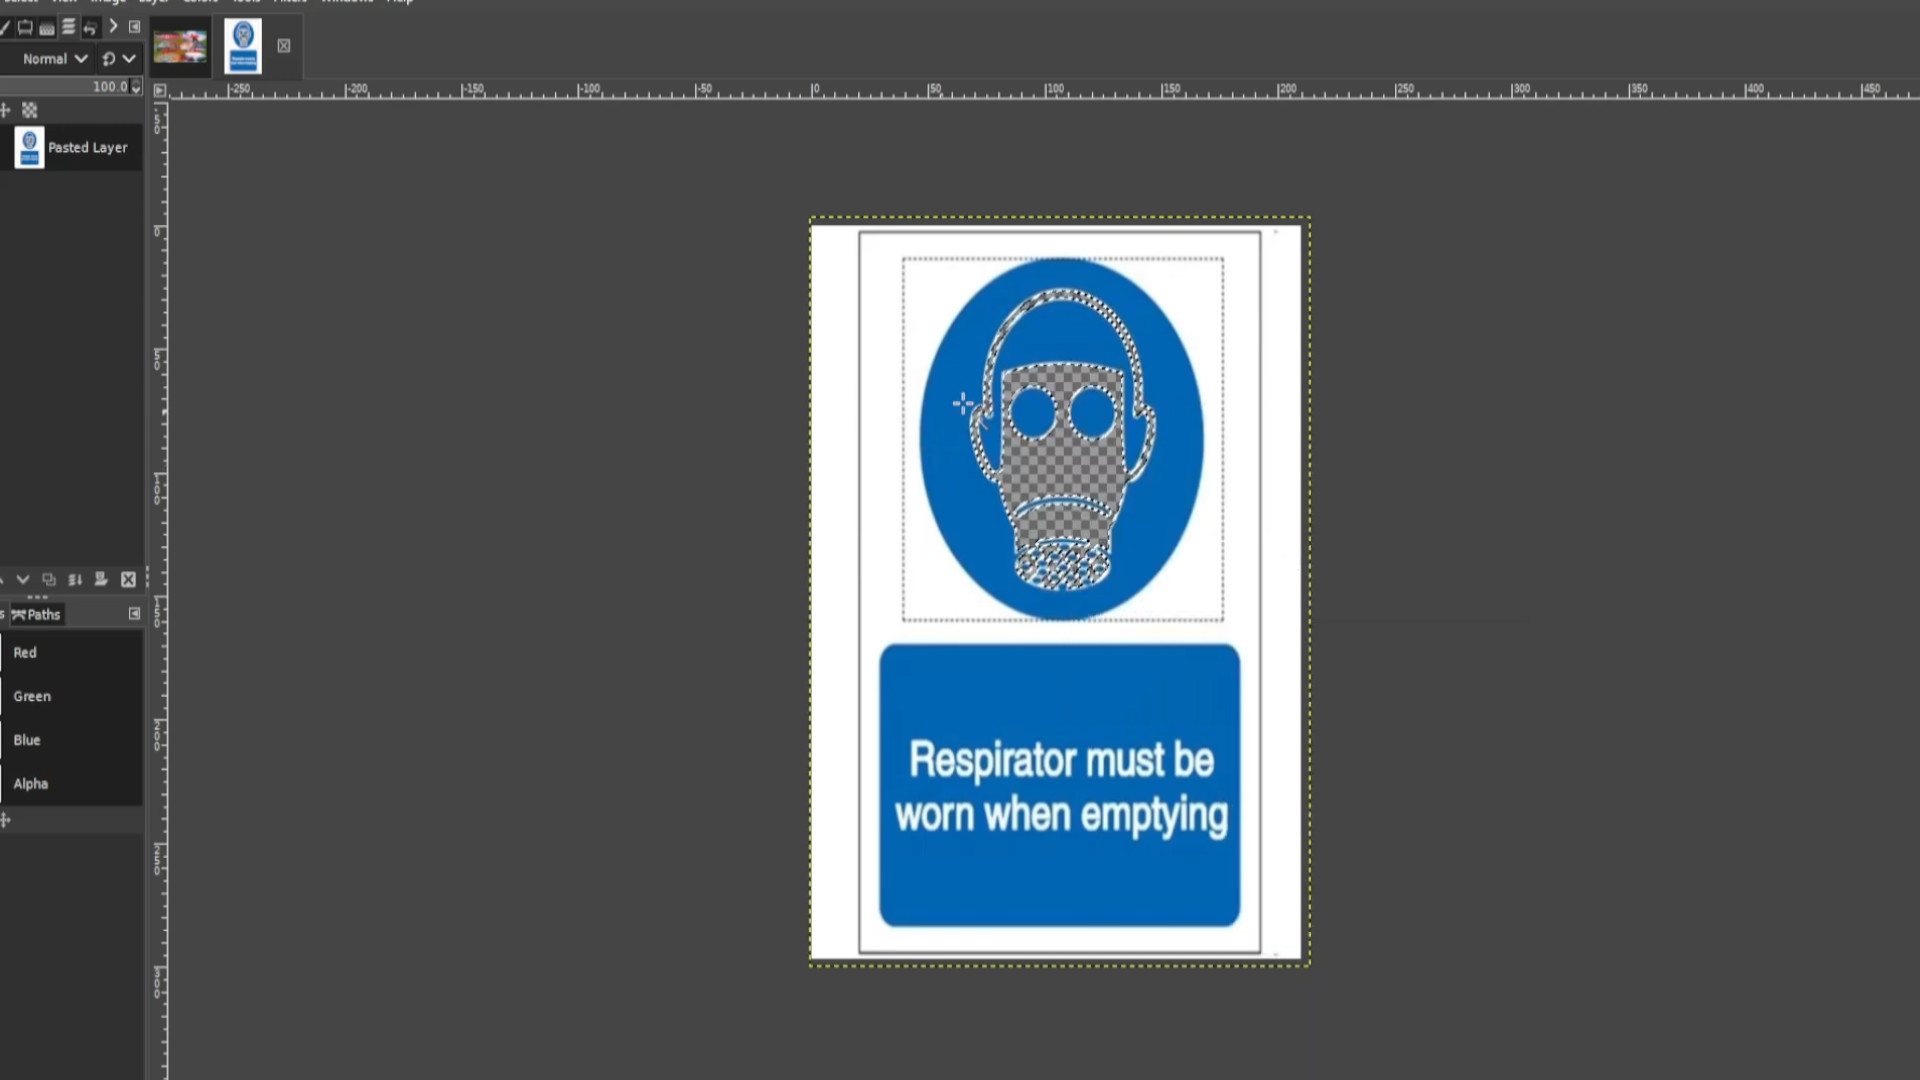
With the first layer selected>>>RIGHT CLICK on the picture and hover your cursor over>>>EDIT and>>>PRESS>>>PASTE TO NEW LAYER or use shortcut>>>HOLD>>>CTRL and>>>PRESS V to paste the selected bits.
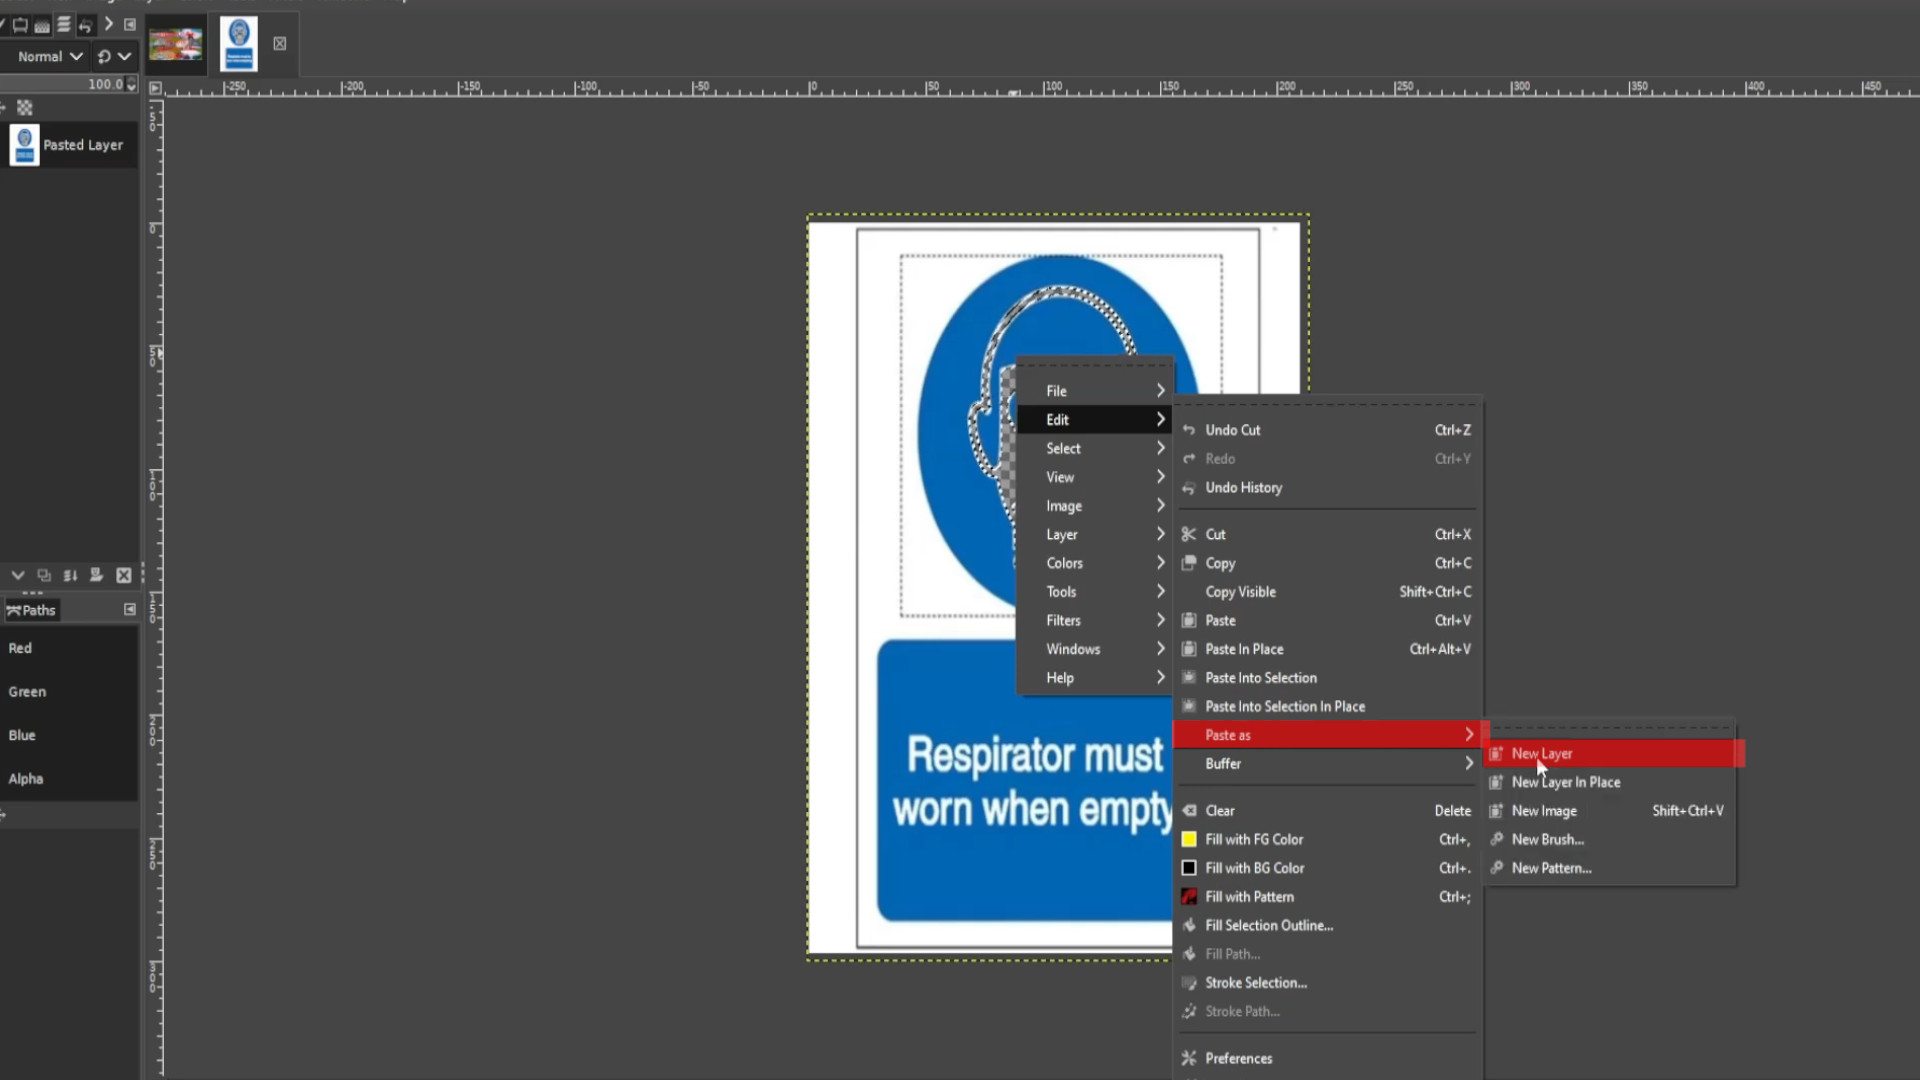
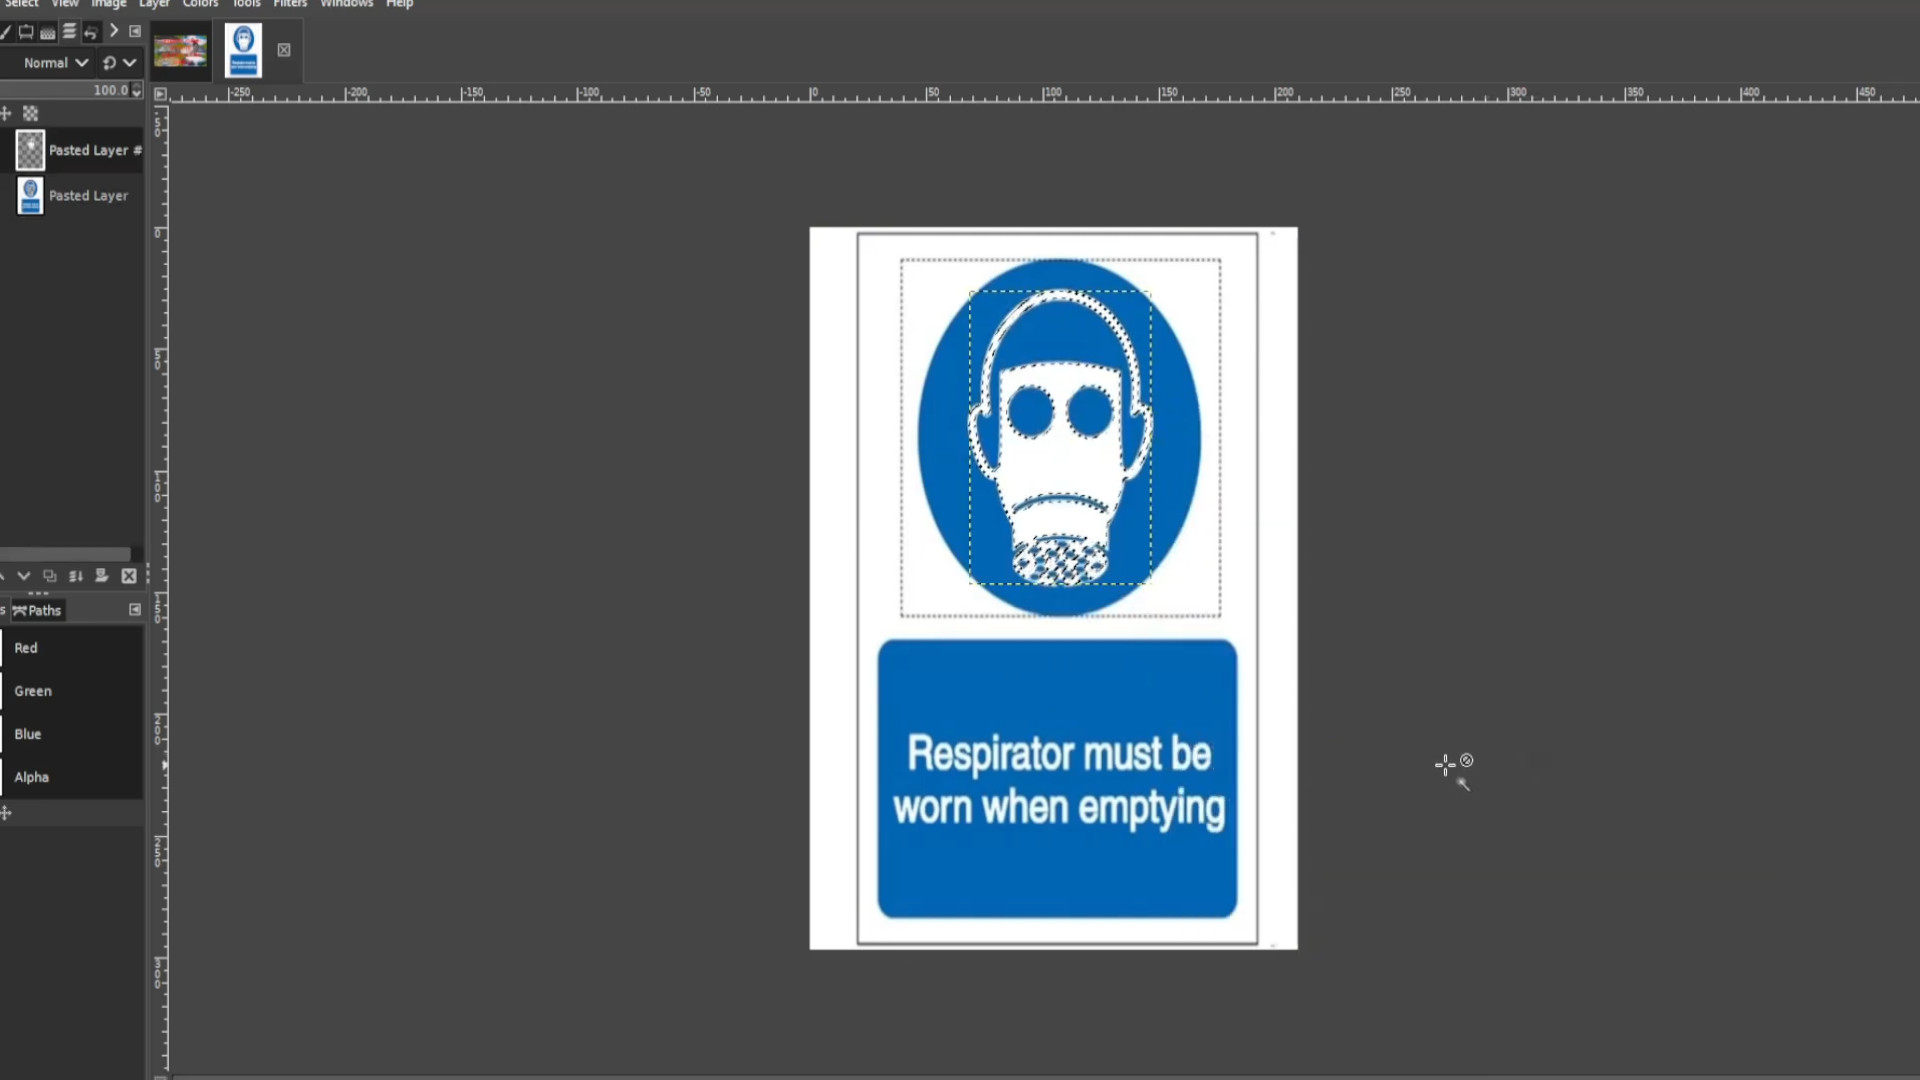
With the first layer selected PRESS the FIRST>>>EYE to hide the layer it should be transparent. If it’s not >>>DELETE the last >>>LAYER in the left hand side>>>LAYERS PANEL and go to >>>LAYER>>>TRANSPARENCY>>>ADD ALPHA CHANNEL.
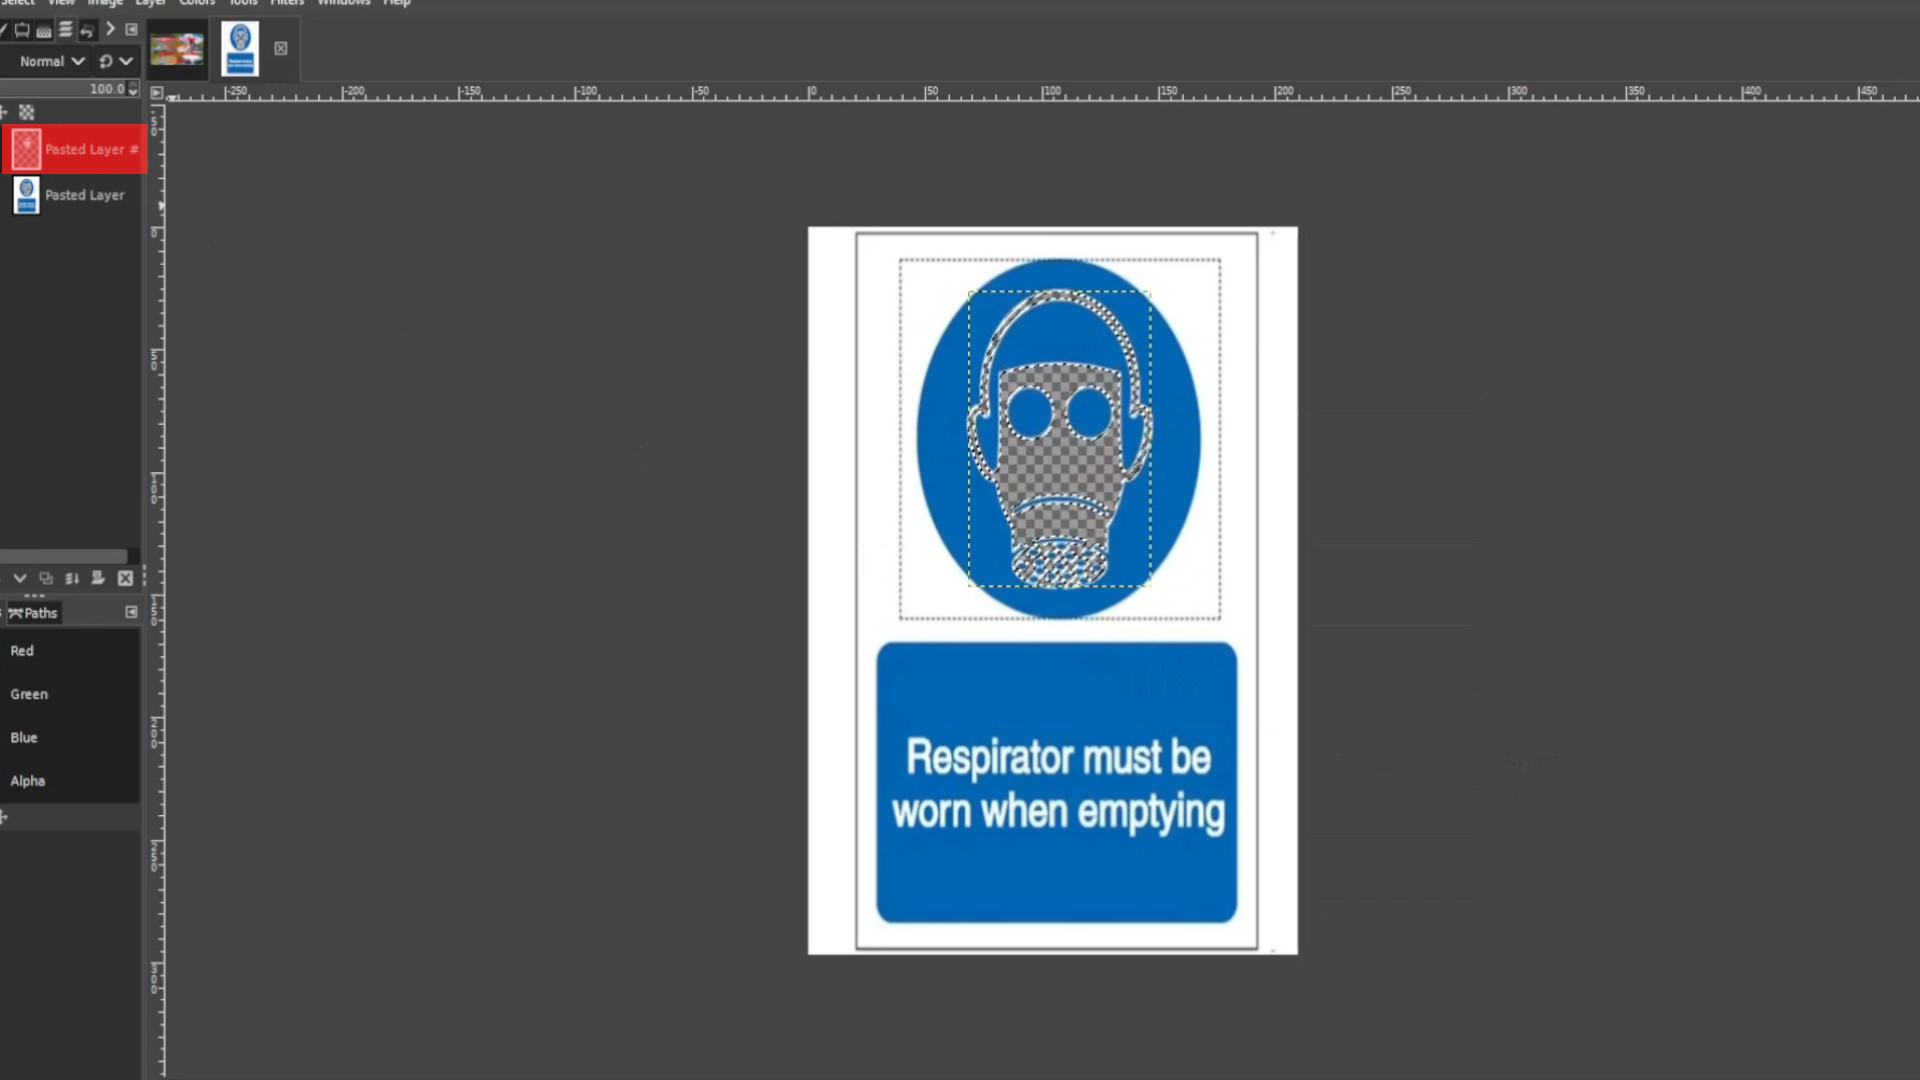
With the>>>BOTTOM LAYER SELECTED use the>>>COLOUR PICKER to select in this case ANY>>>BLUE BIT.
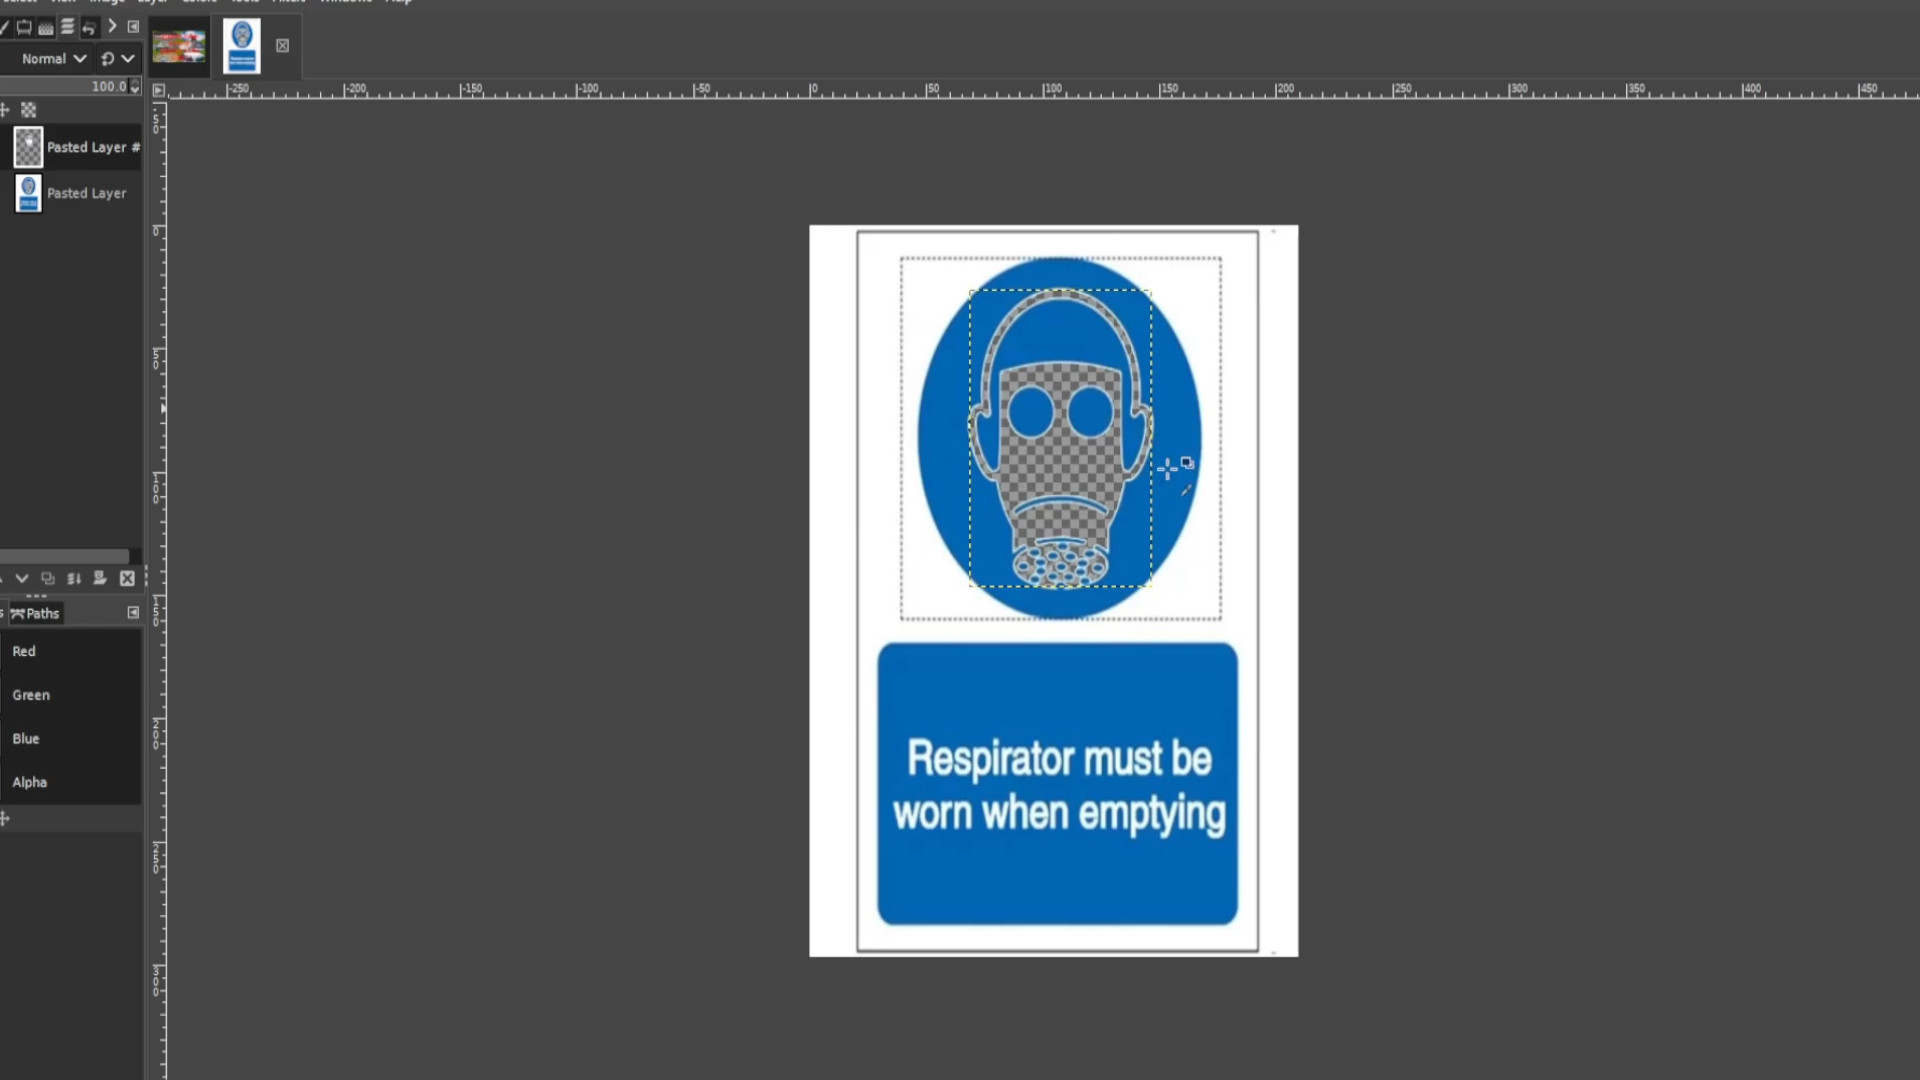
With the bottom layer selected Use the>>>PAINT BRUSH to fill in the transparent bit leaving in this case the circle completely blue.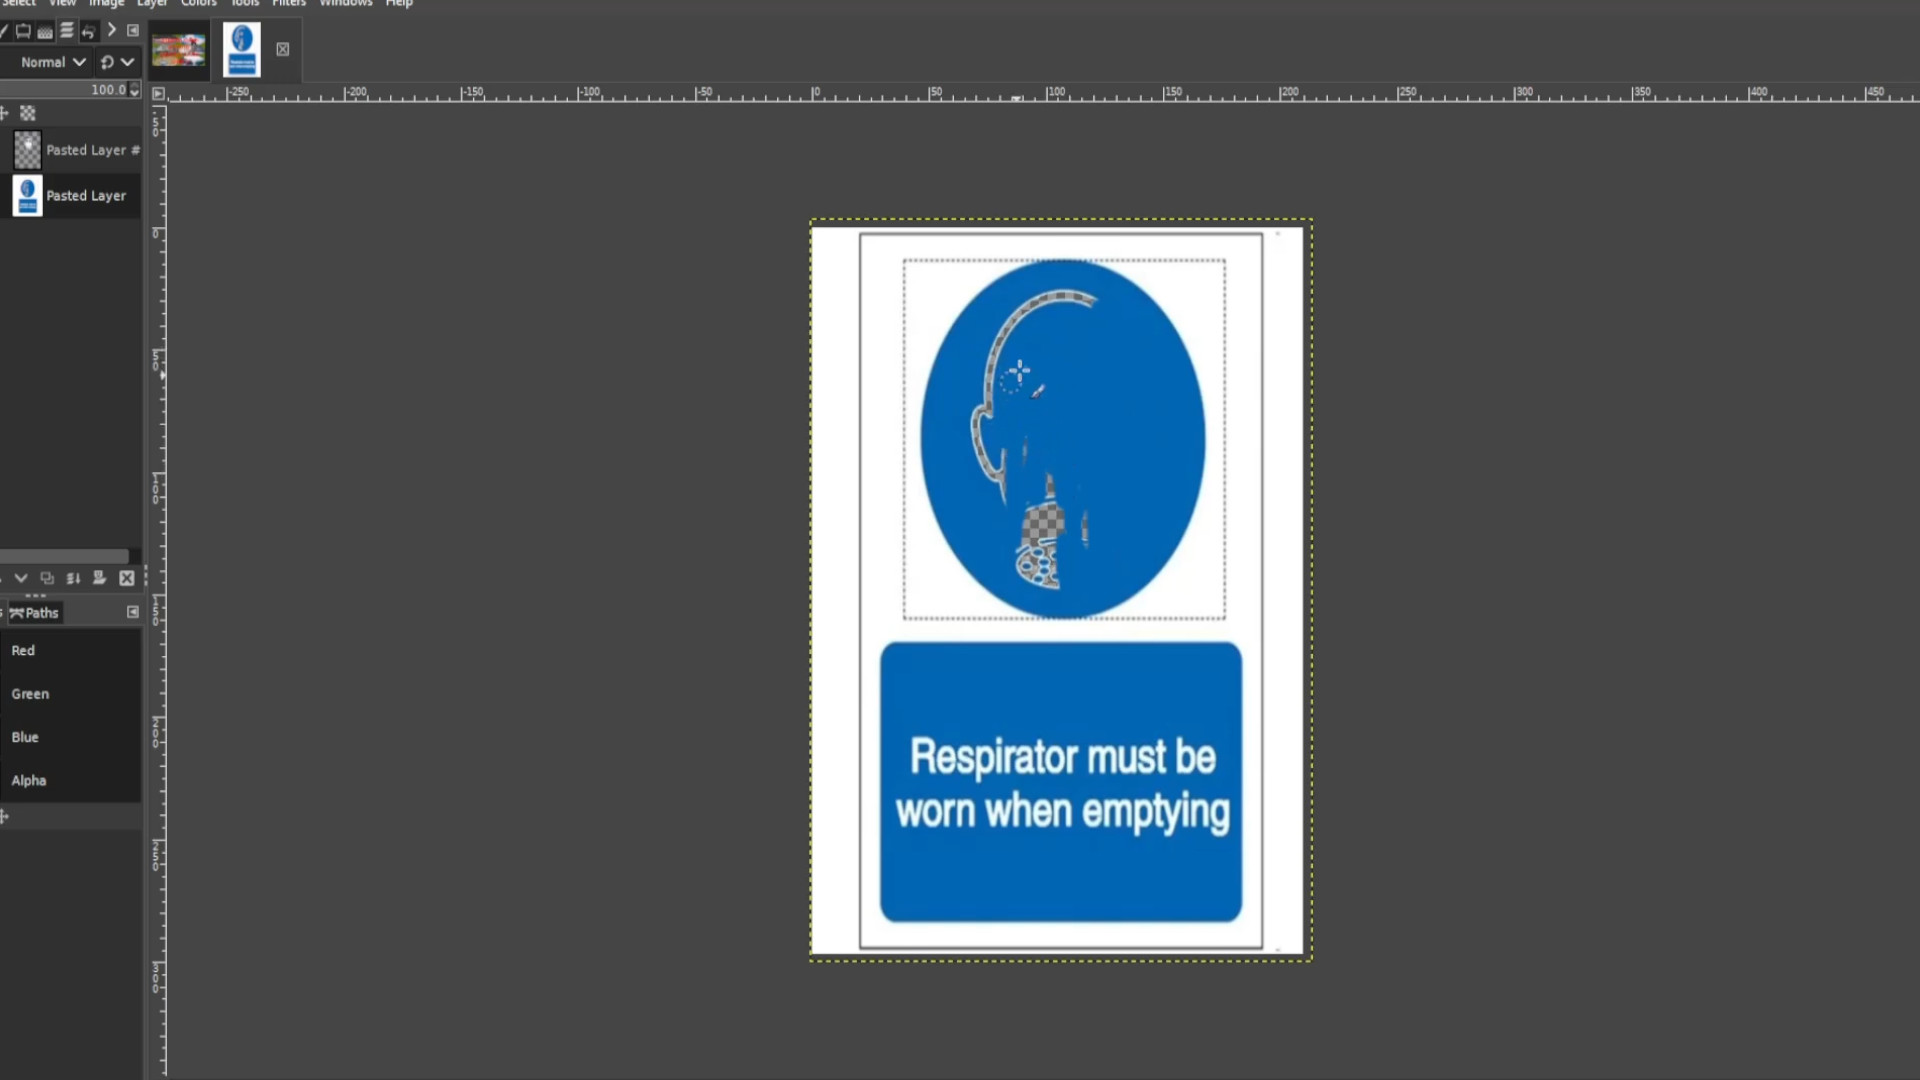
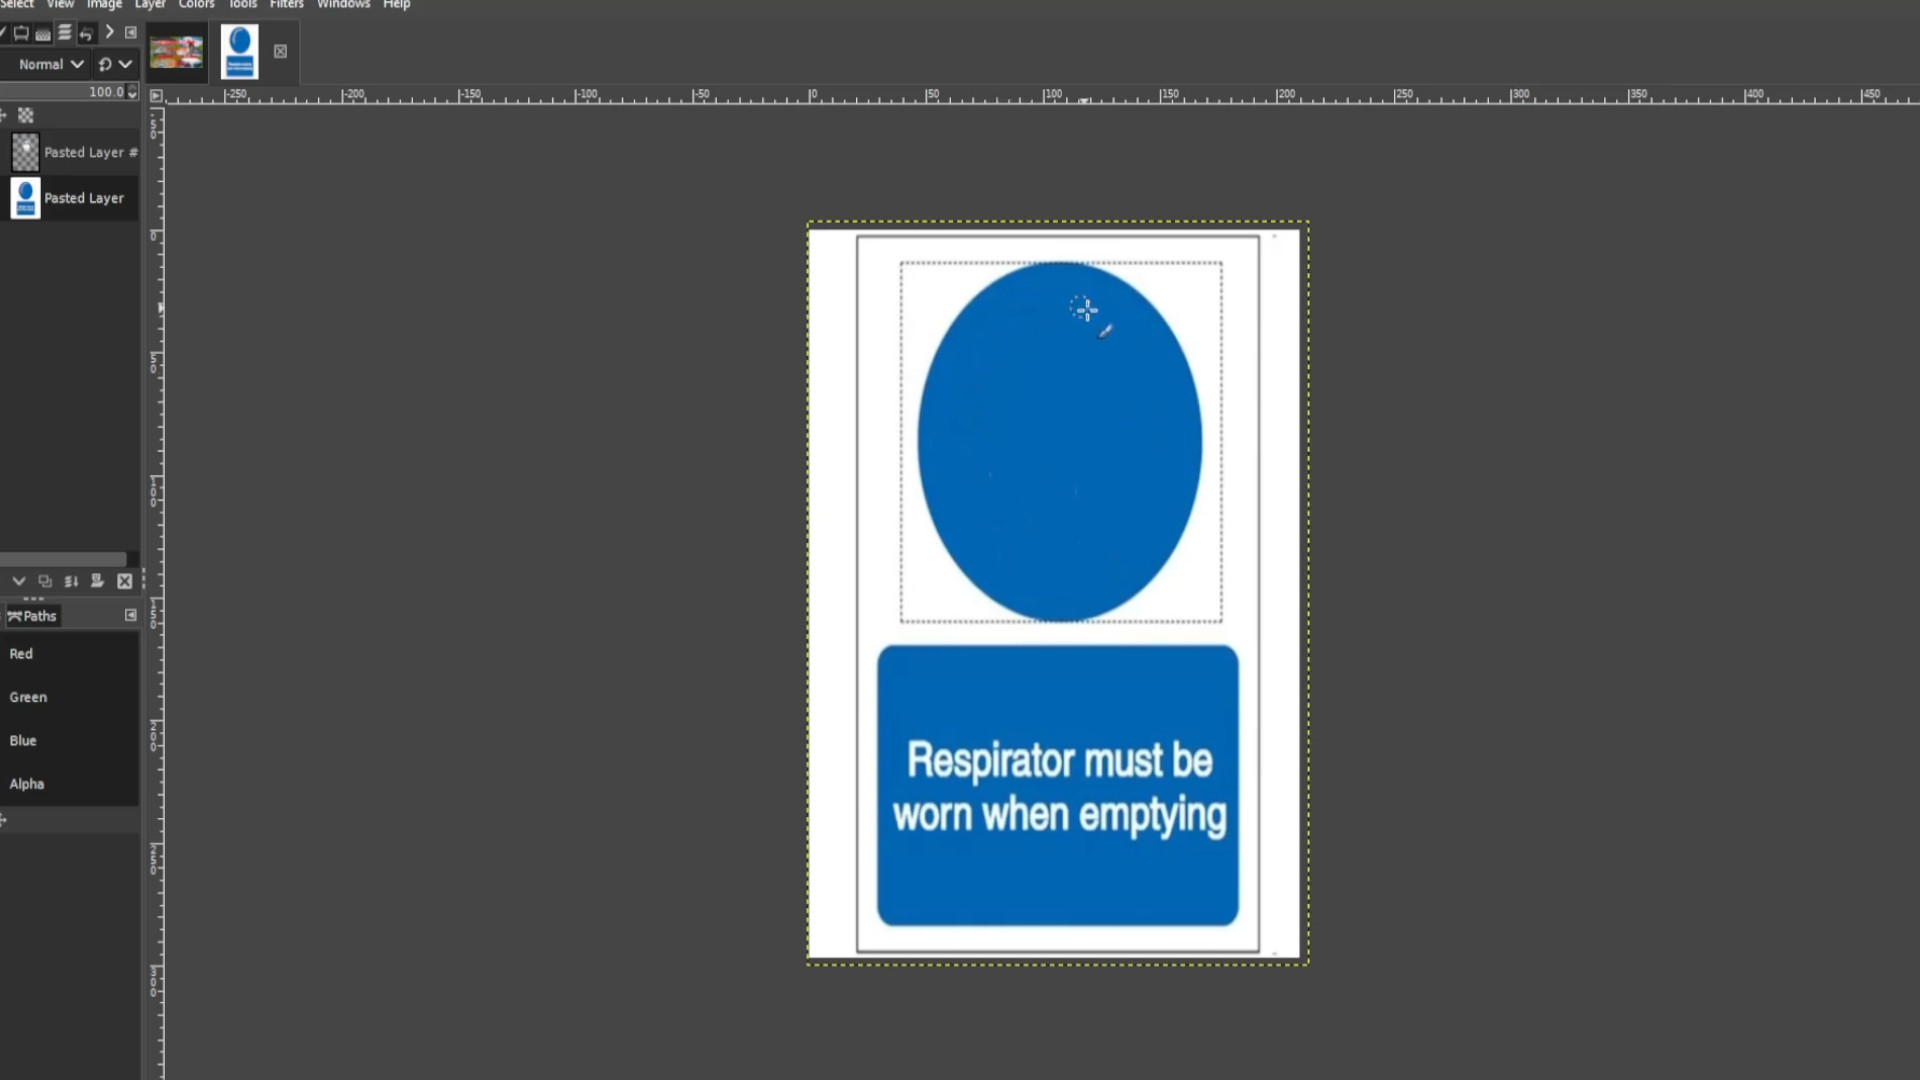
>>>UNHIDE the LAYER by clicking on the on the first layer eye section to unhide the layer.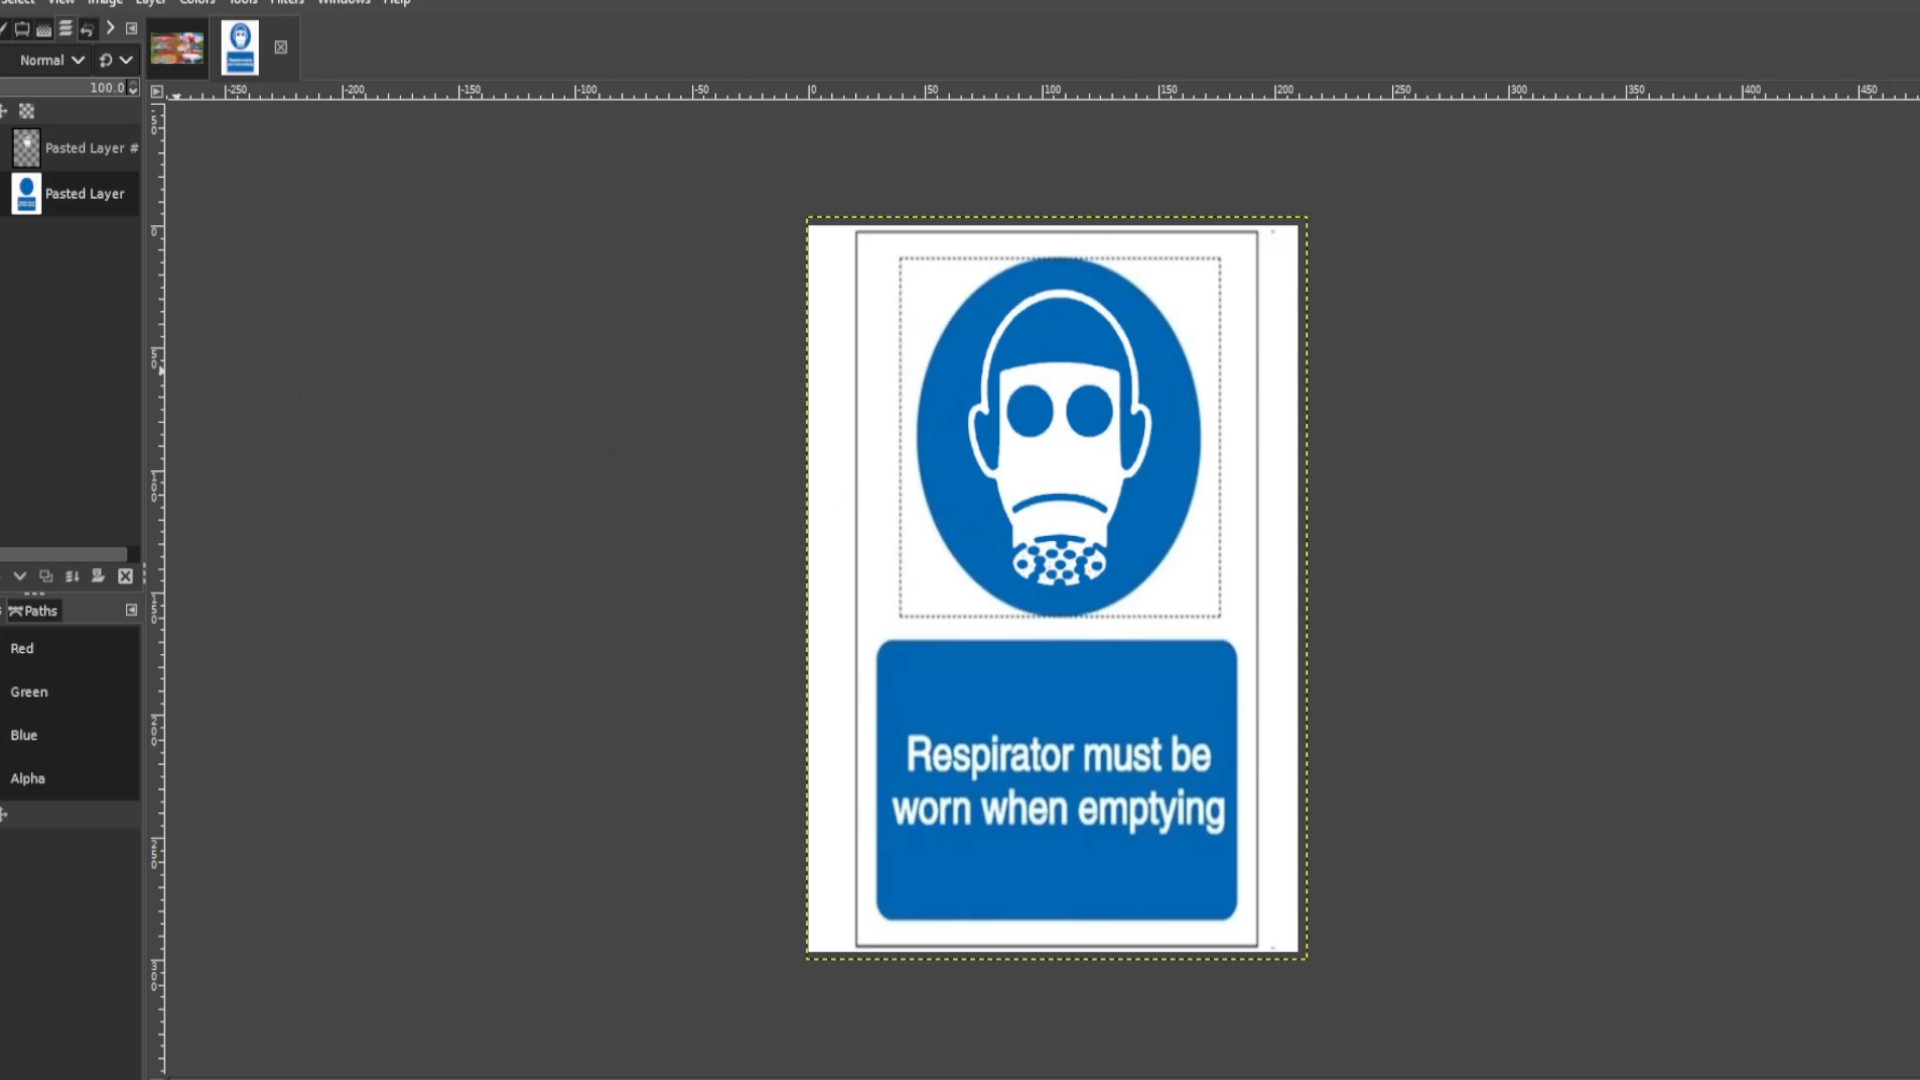
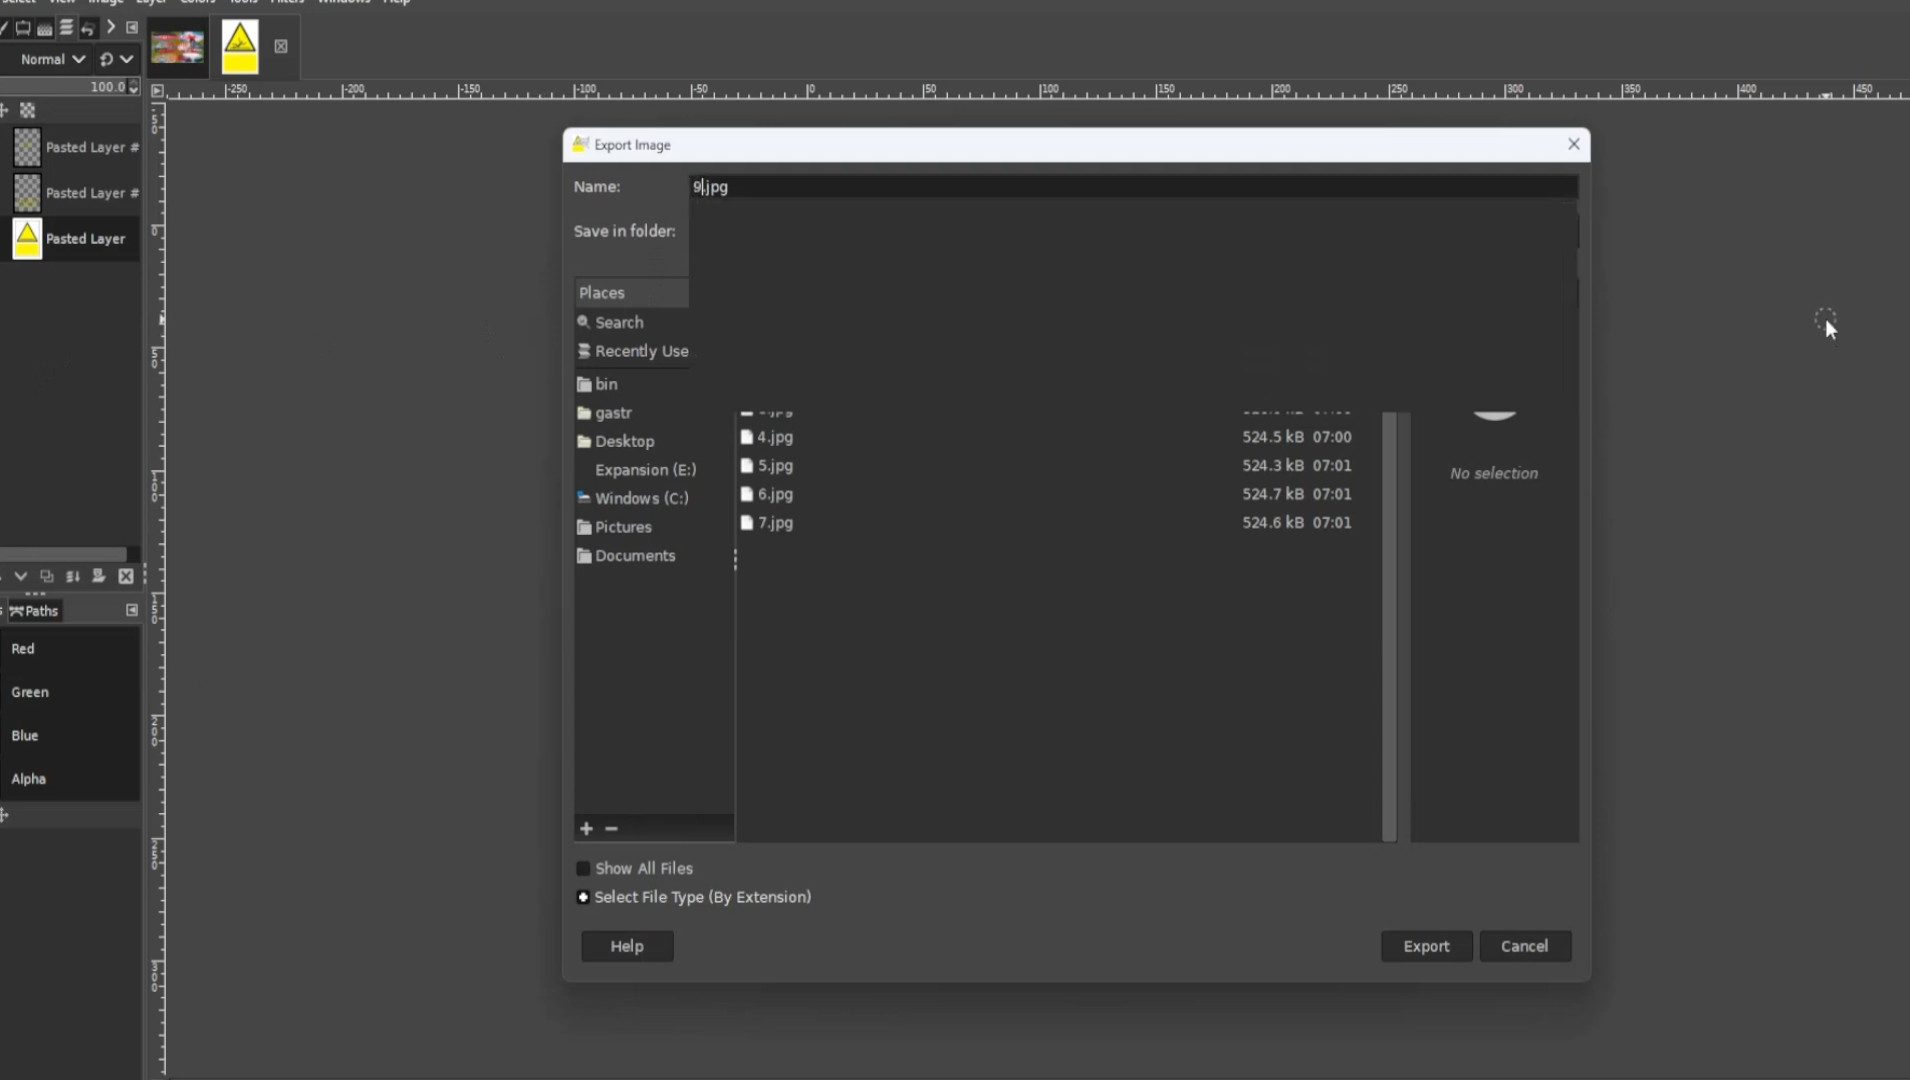
>>>EXPORT AS for the first frame with a>>>JPG or>>>PNG extension for example >>>0.jpg or >>>0.png.
Use the>>>SCALE TOOL to scale it up or down slightly. In this case I’m going to make it look like the picture shrink scaling it down each time and>>>EXPORT AS the frame with a >>>JPG or>>>PNG extension at the end of the file name for example>>>1.jpg or>>>1.png. For shortcuts you can HOLD>>>SHIFT and>>>PRESS>>>S to scale the picture down. 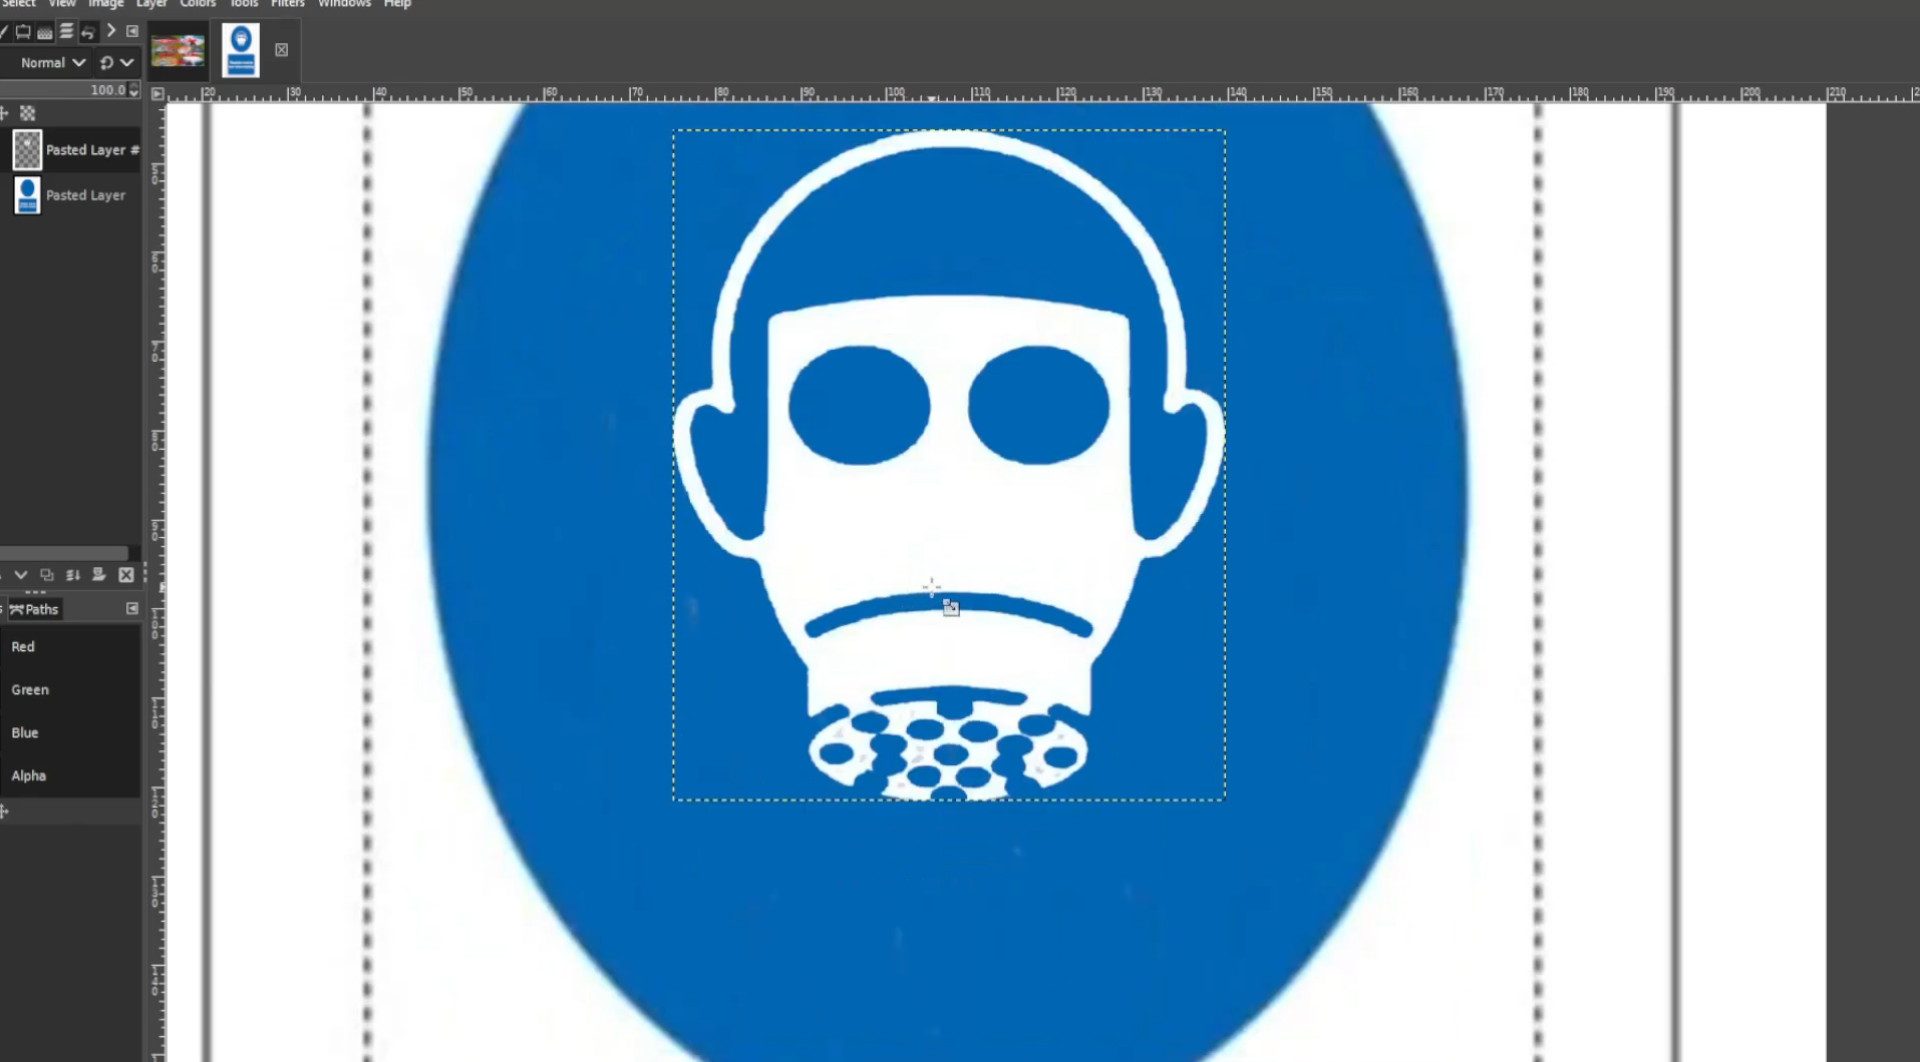
Repeat step 12 >>>EXPORTING AS each time you scaling it down slightly and don’t forget to rename the file I did numbers so this one will be >>>1.jpg or >>>1.png and so forth. Do this until you finished animating the sign. You may want to use the>>>MOVE TOOL to move it back into the centre of the blue circle.
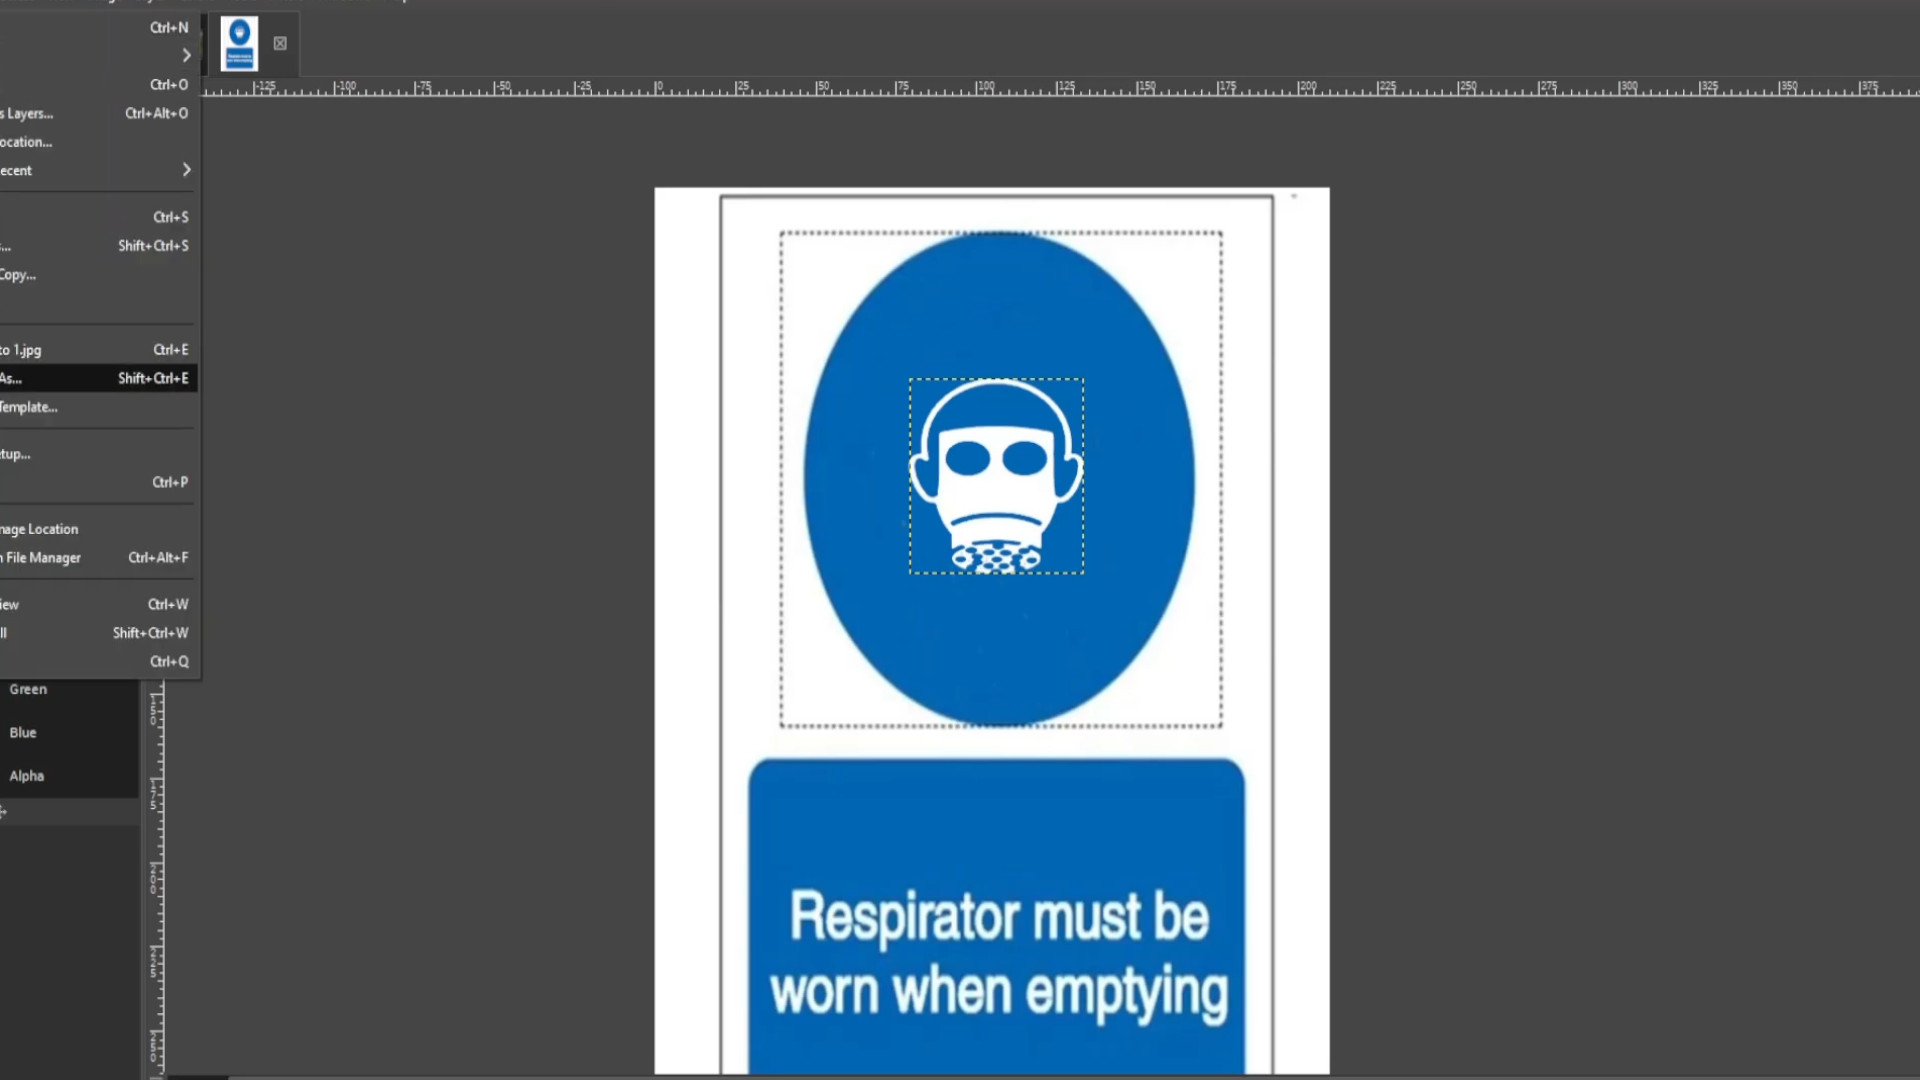
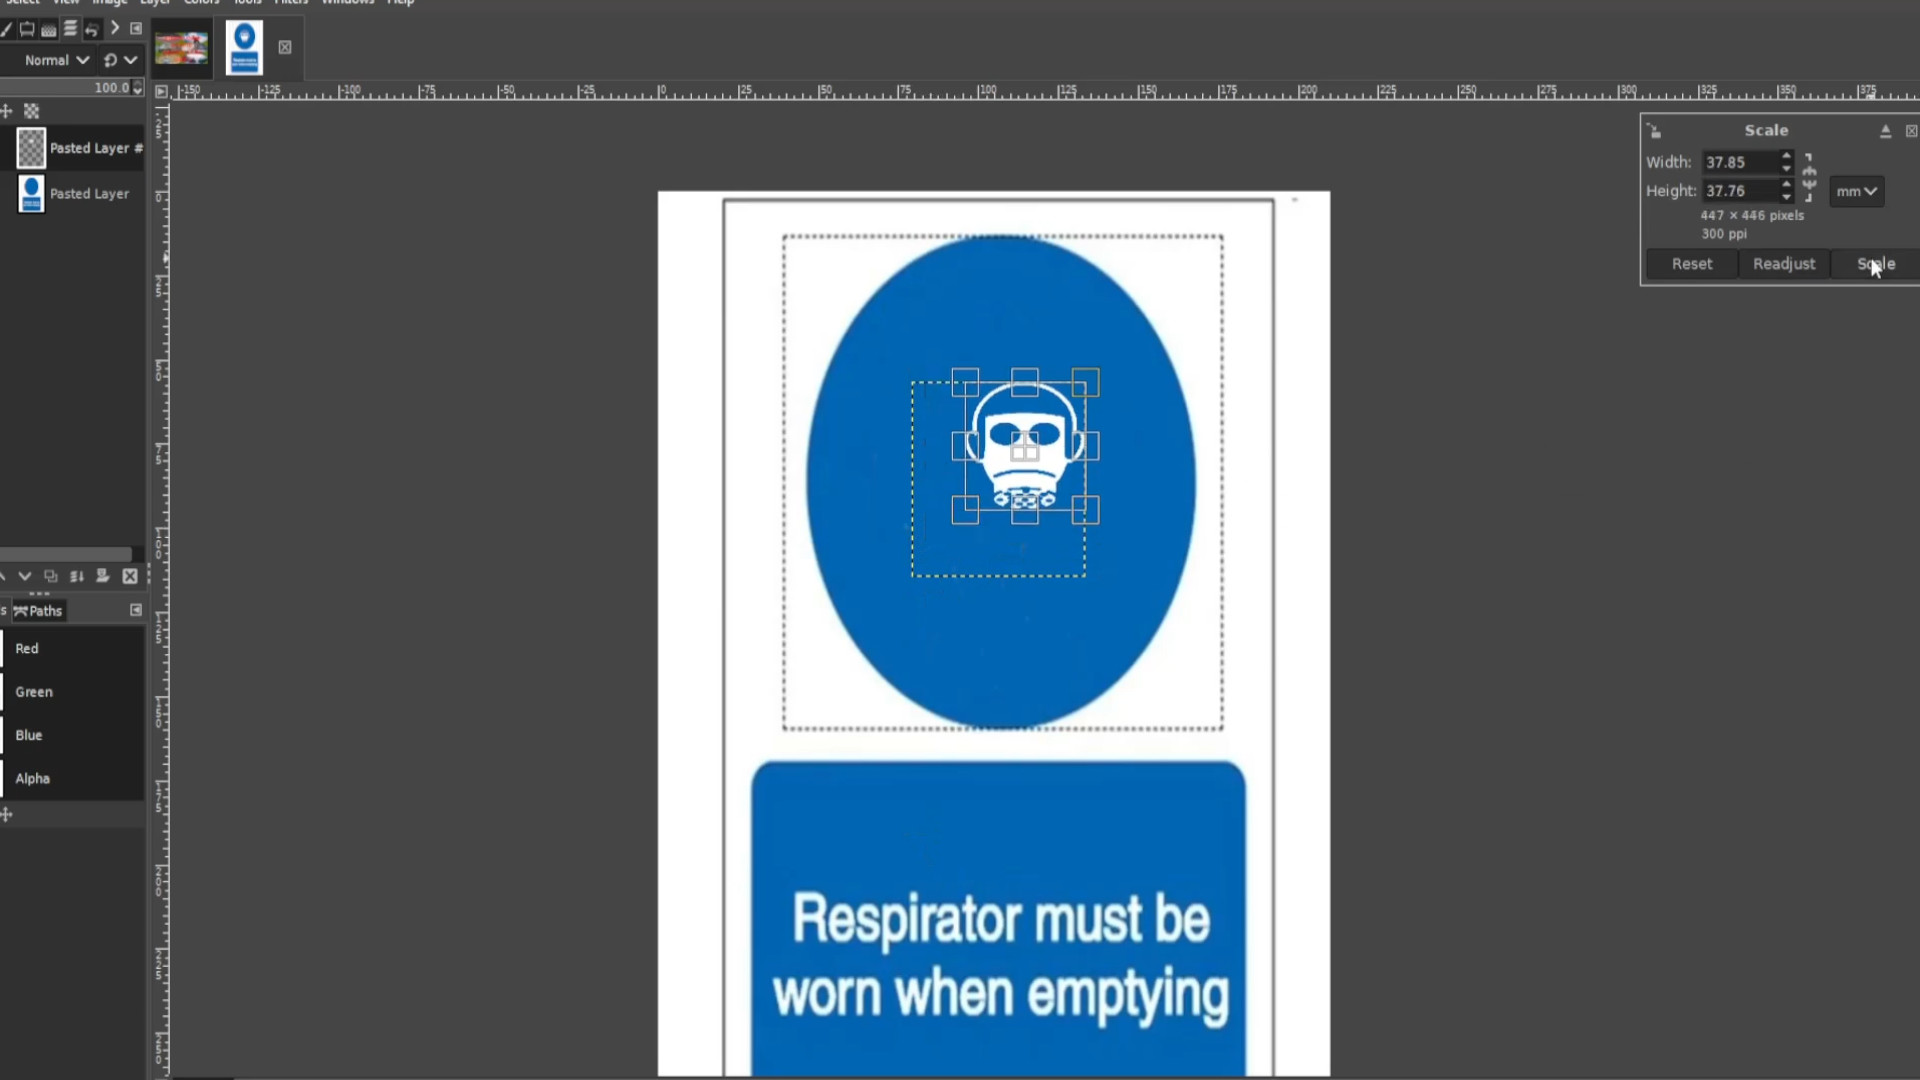
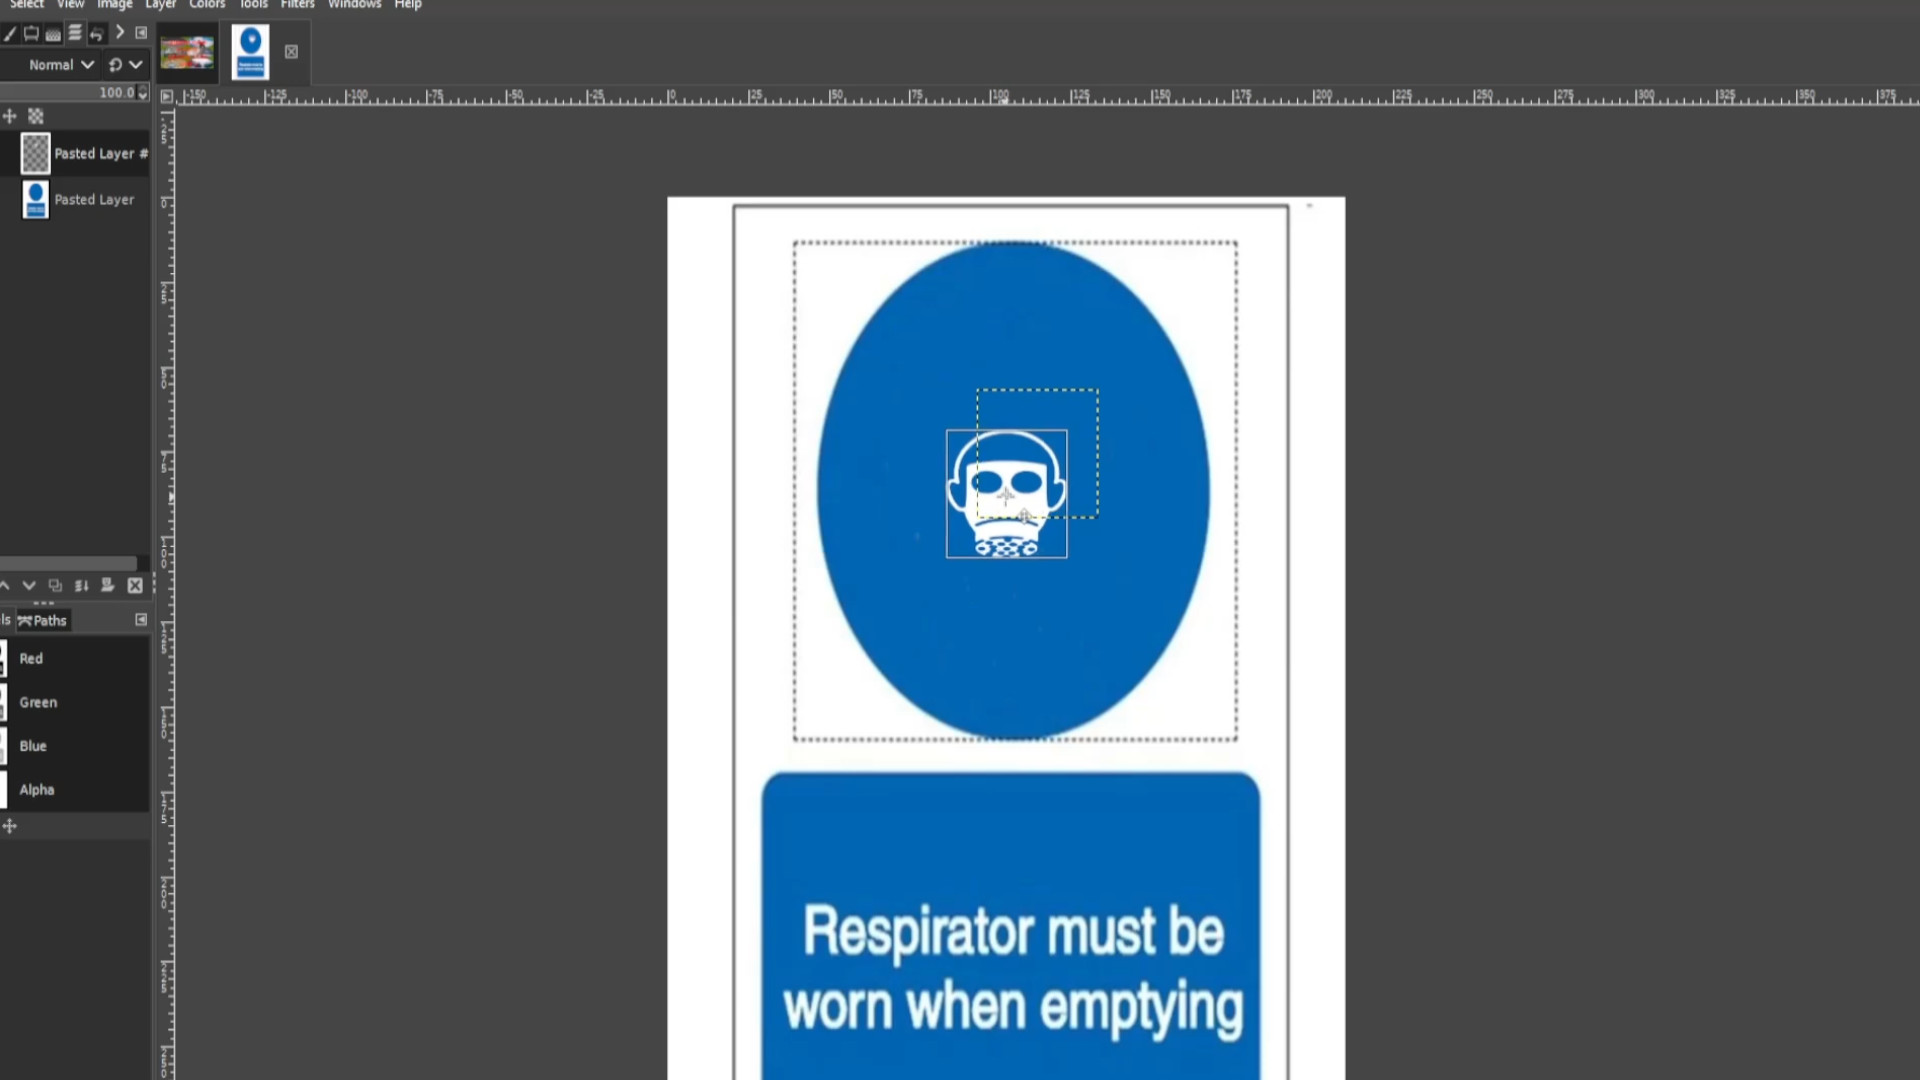
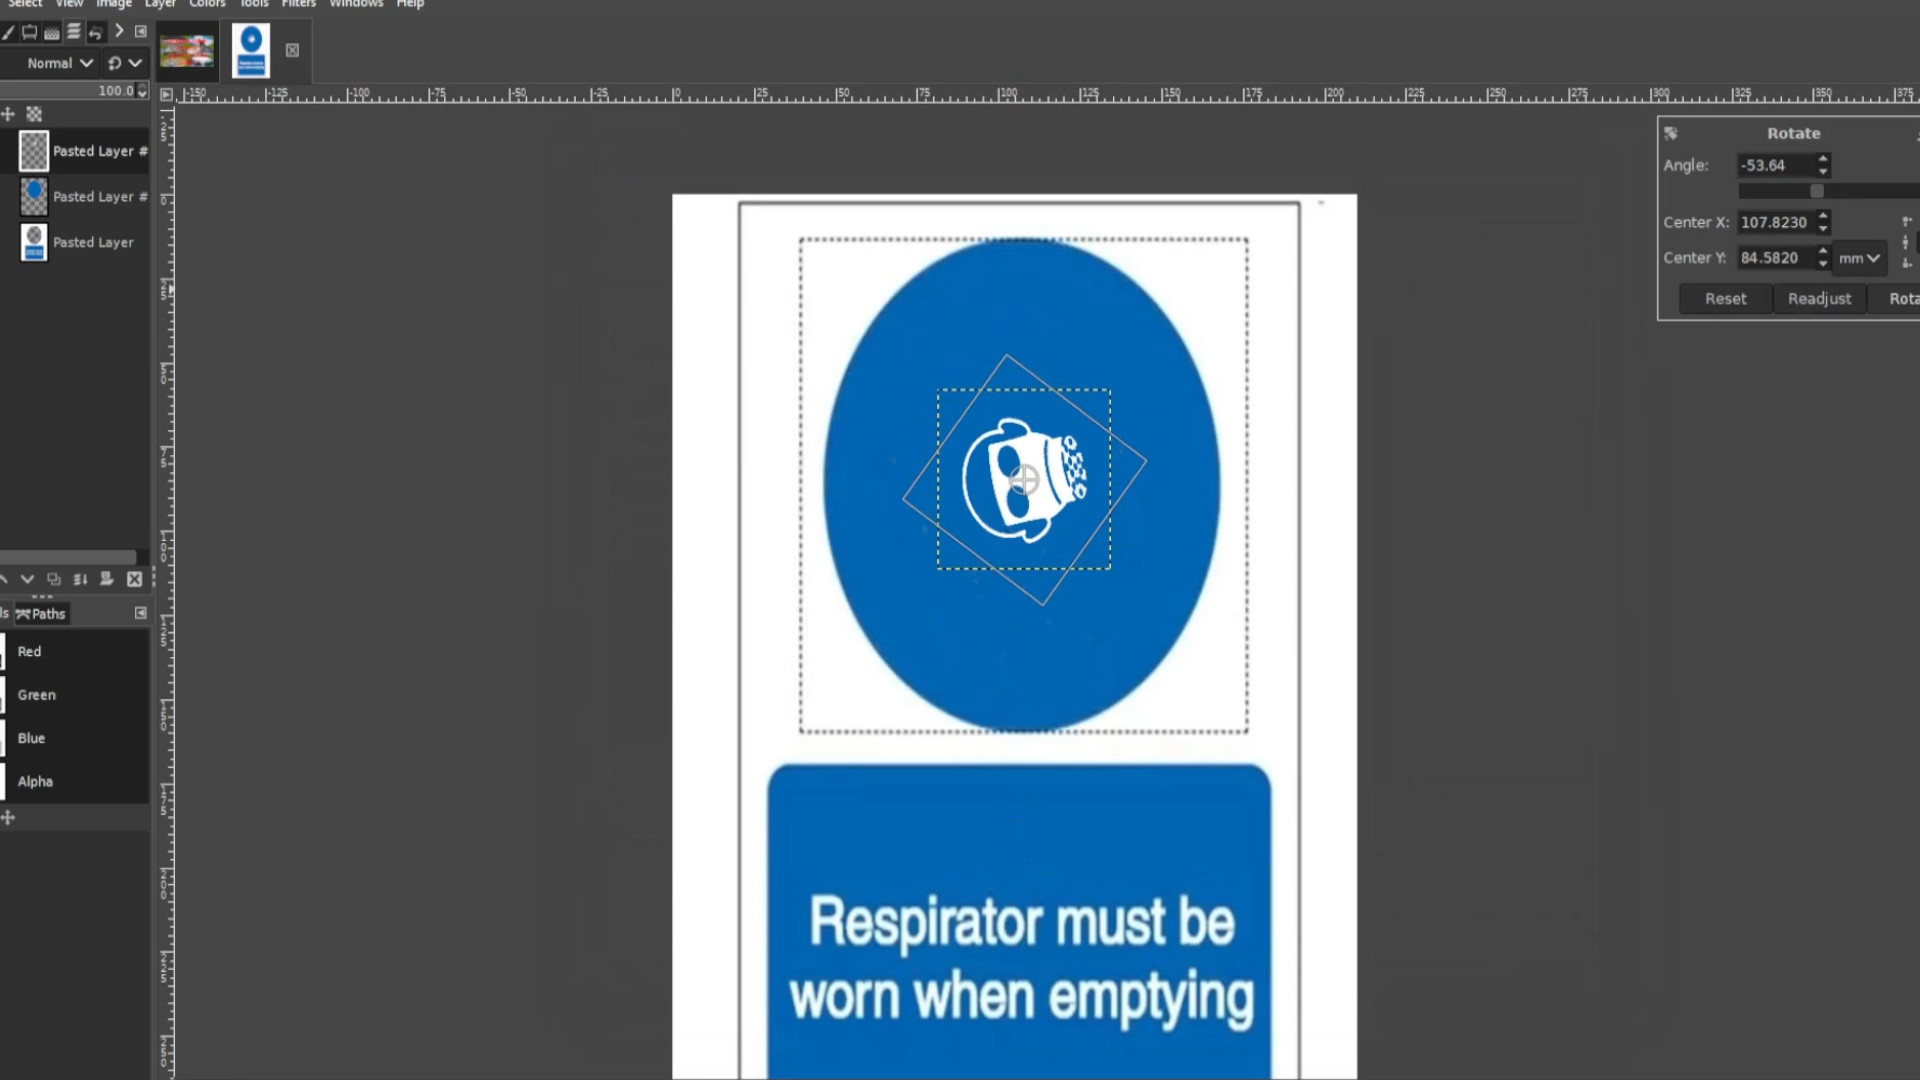
Experiment with filters, colours and the bucket tool but I rotated the picture once again rotating the picture ever so slightly by using the>>>ROTATE TOOL or use shortcut>>>HOLD SHIFT and PRESS R to rotate the picture and>>>EXPORT AS changing the file name.
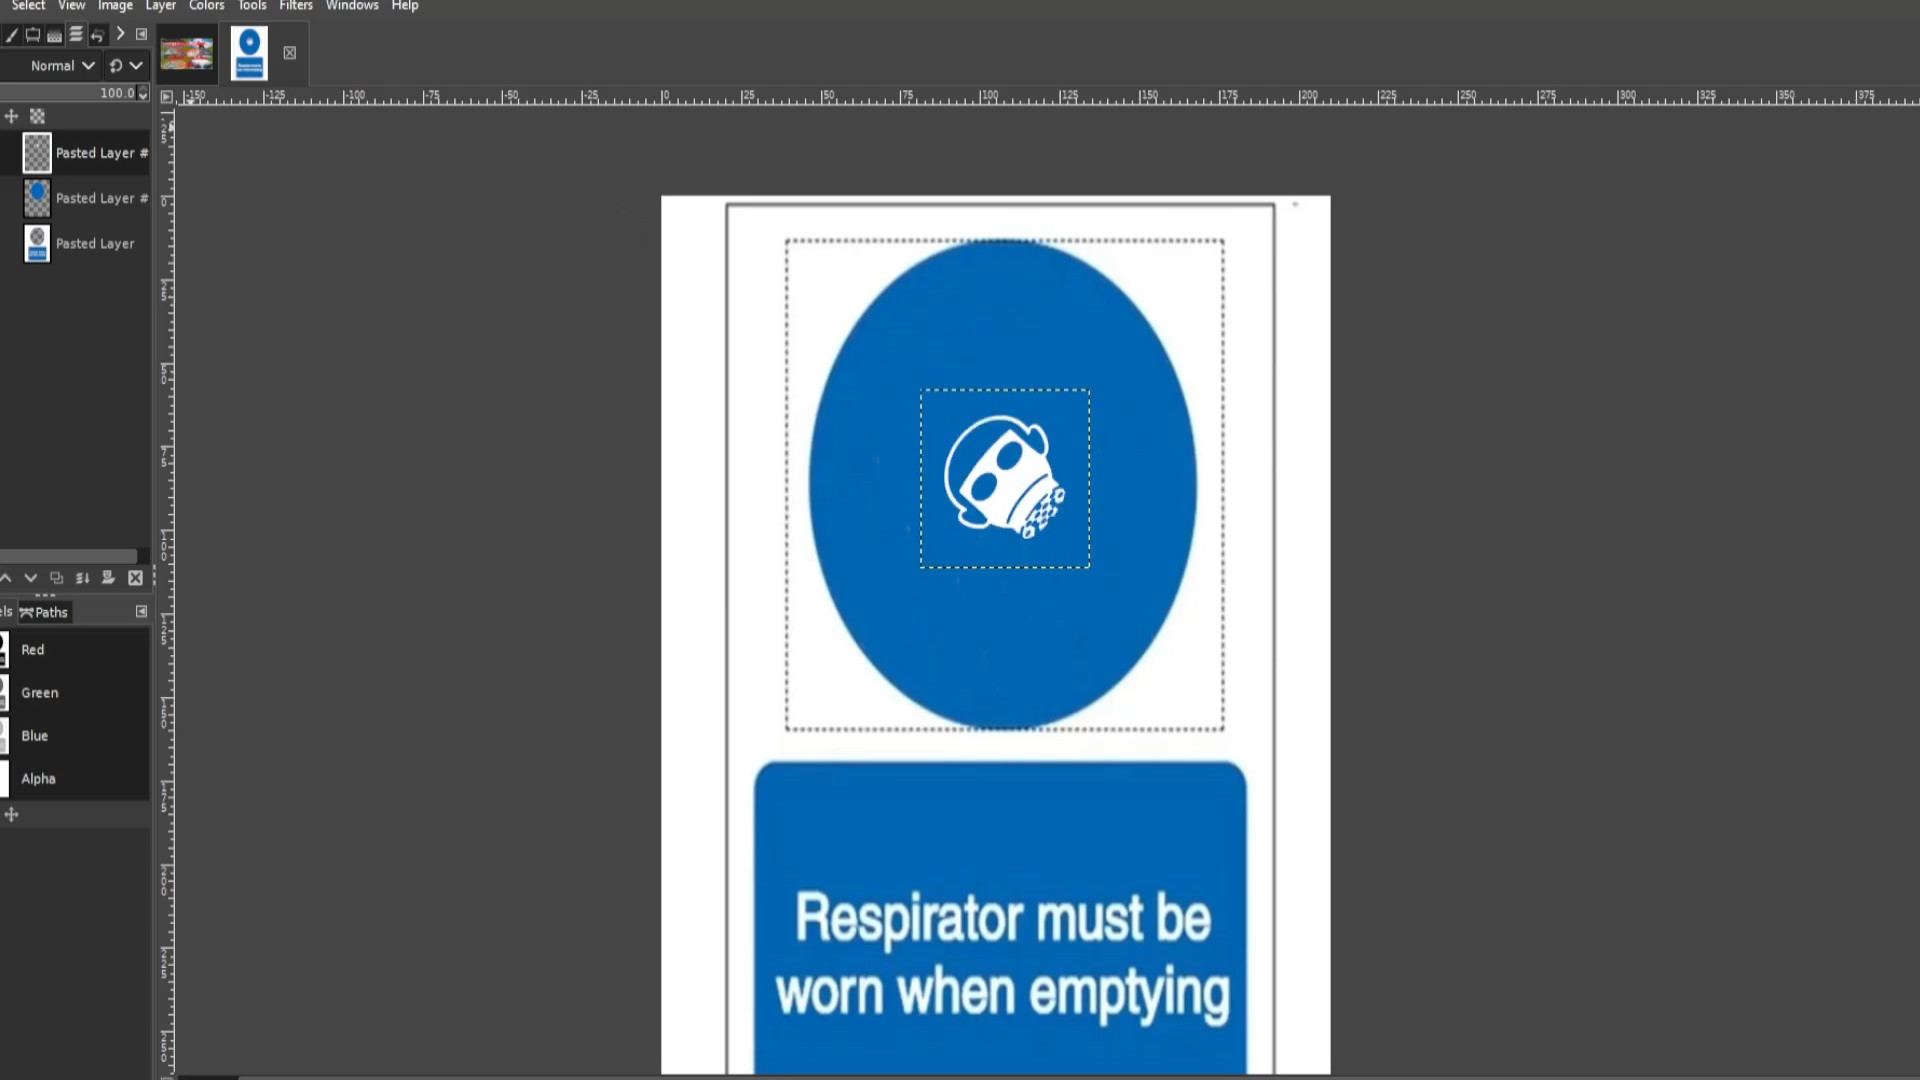
Repeat>>>>STEP 15 until you have down a full circle using>>>EXPORTING AS each time you>>>ROTATE the layer.
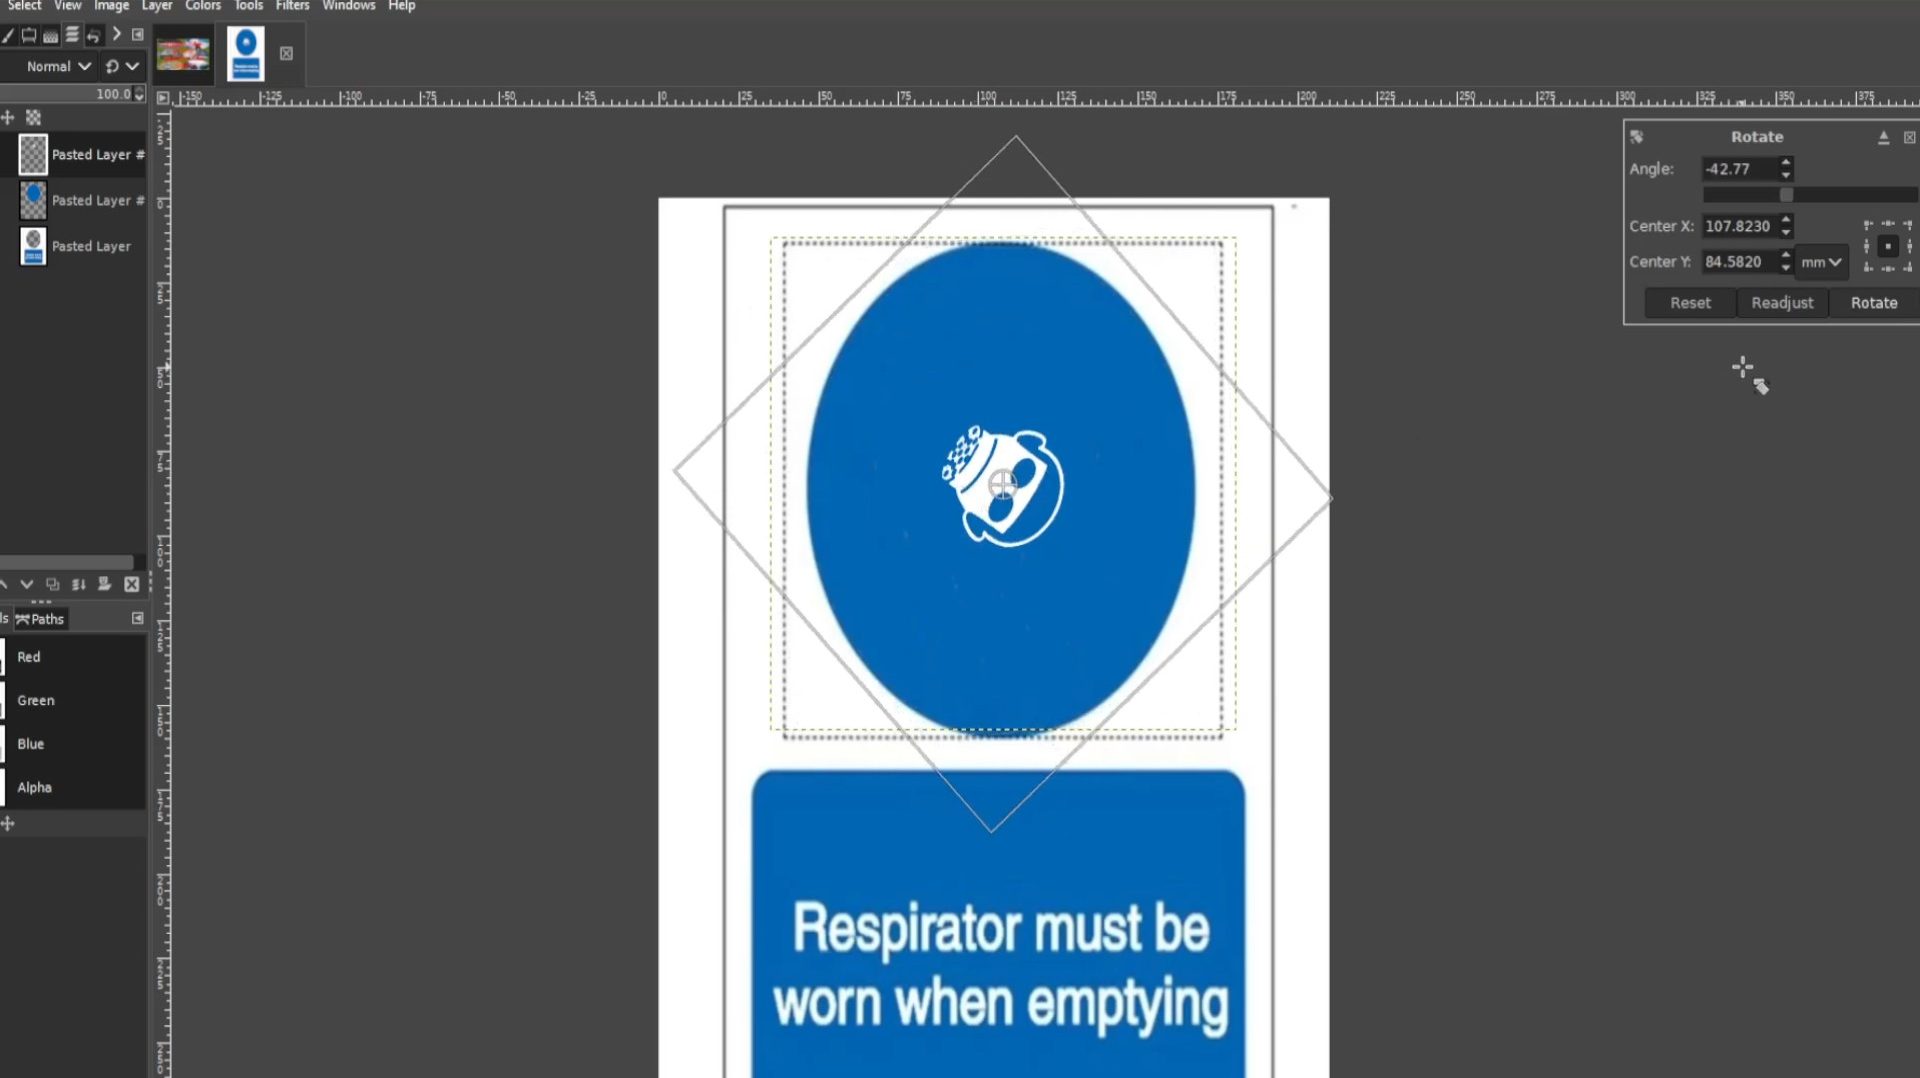
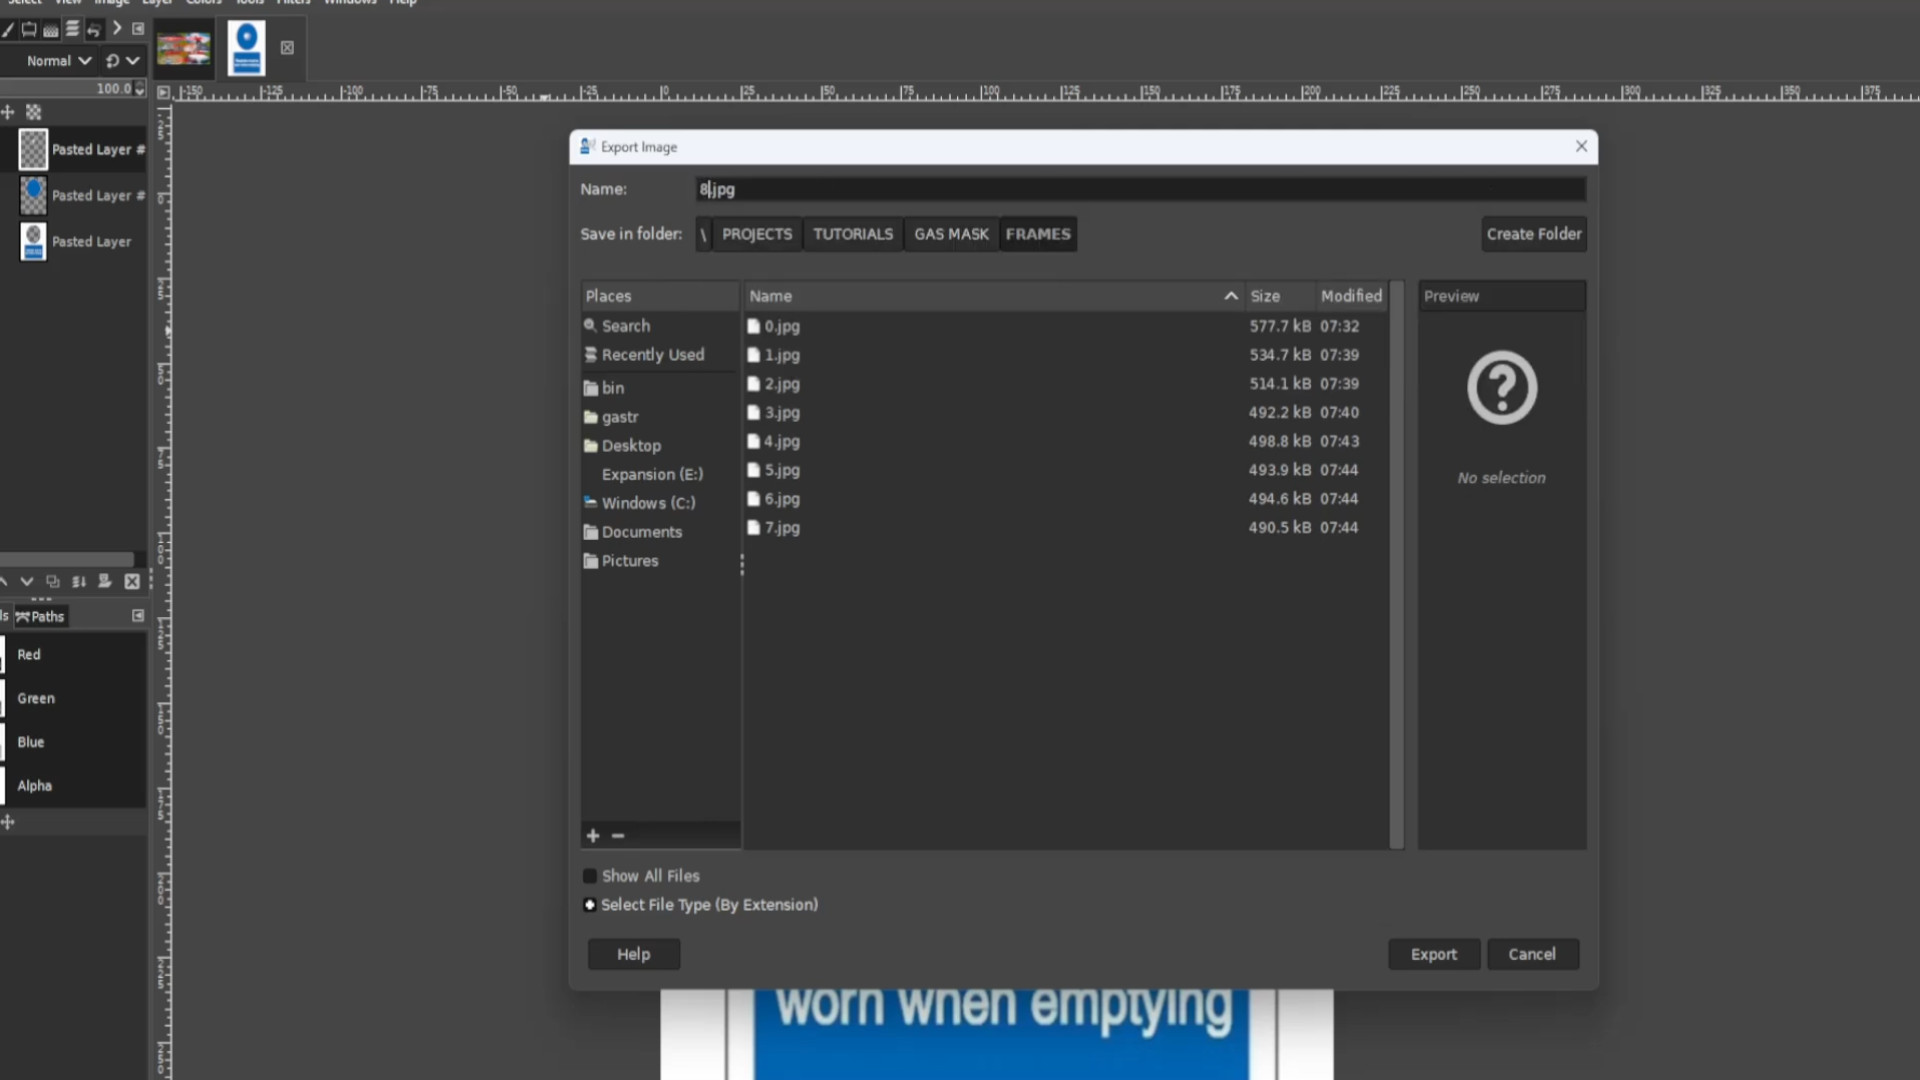
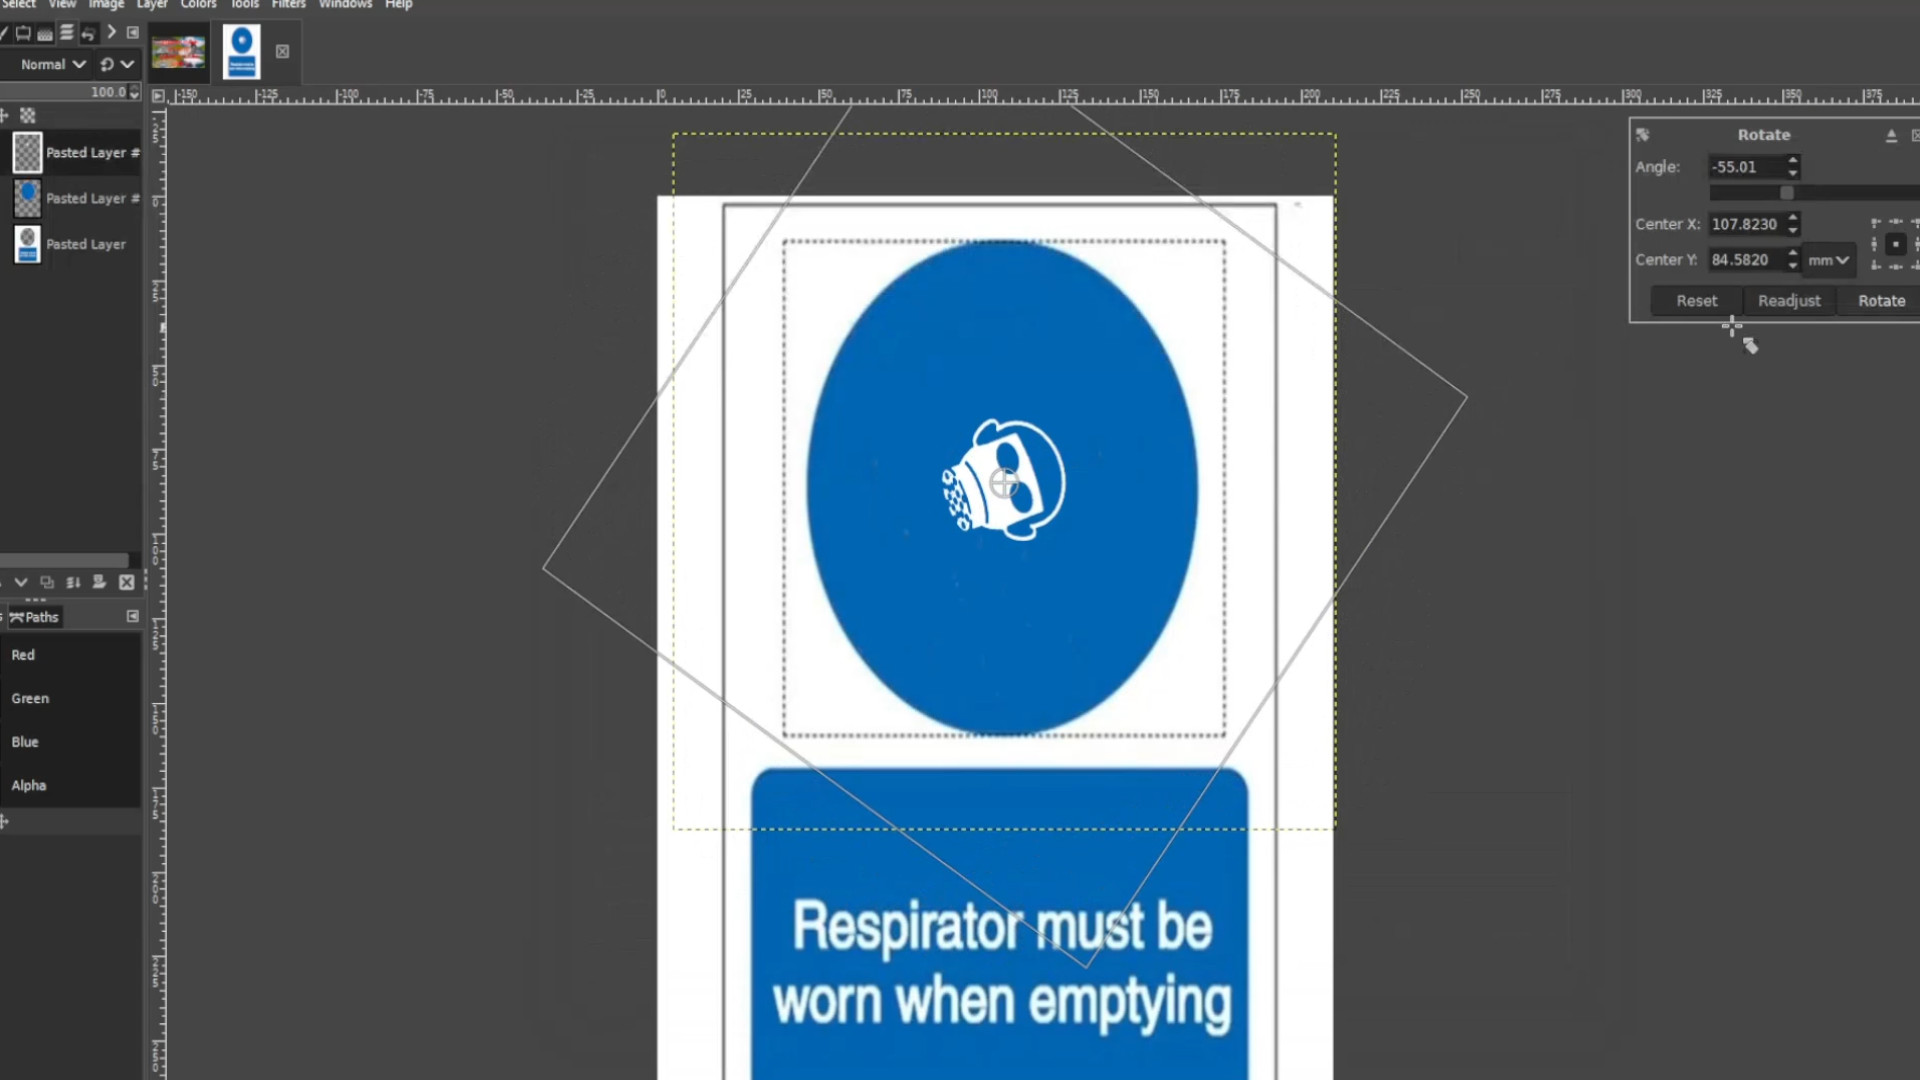
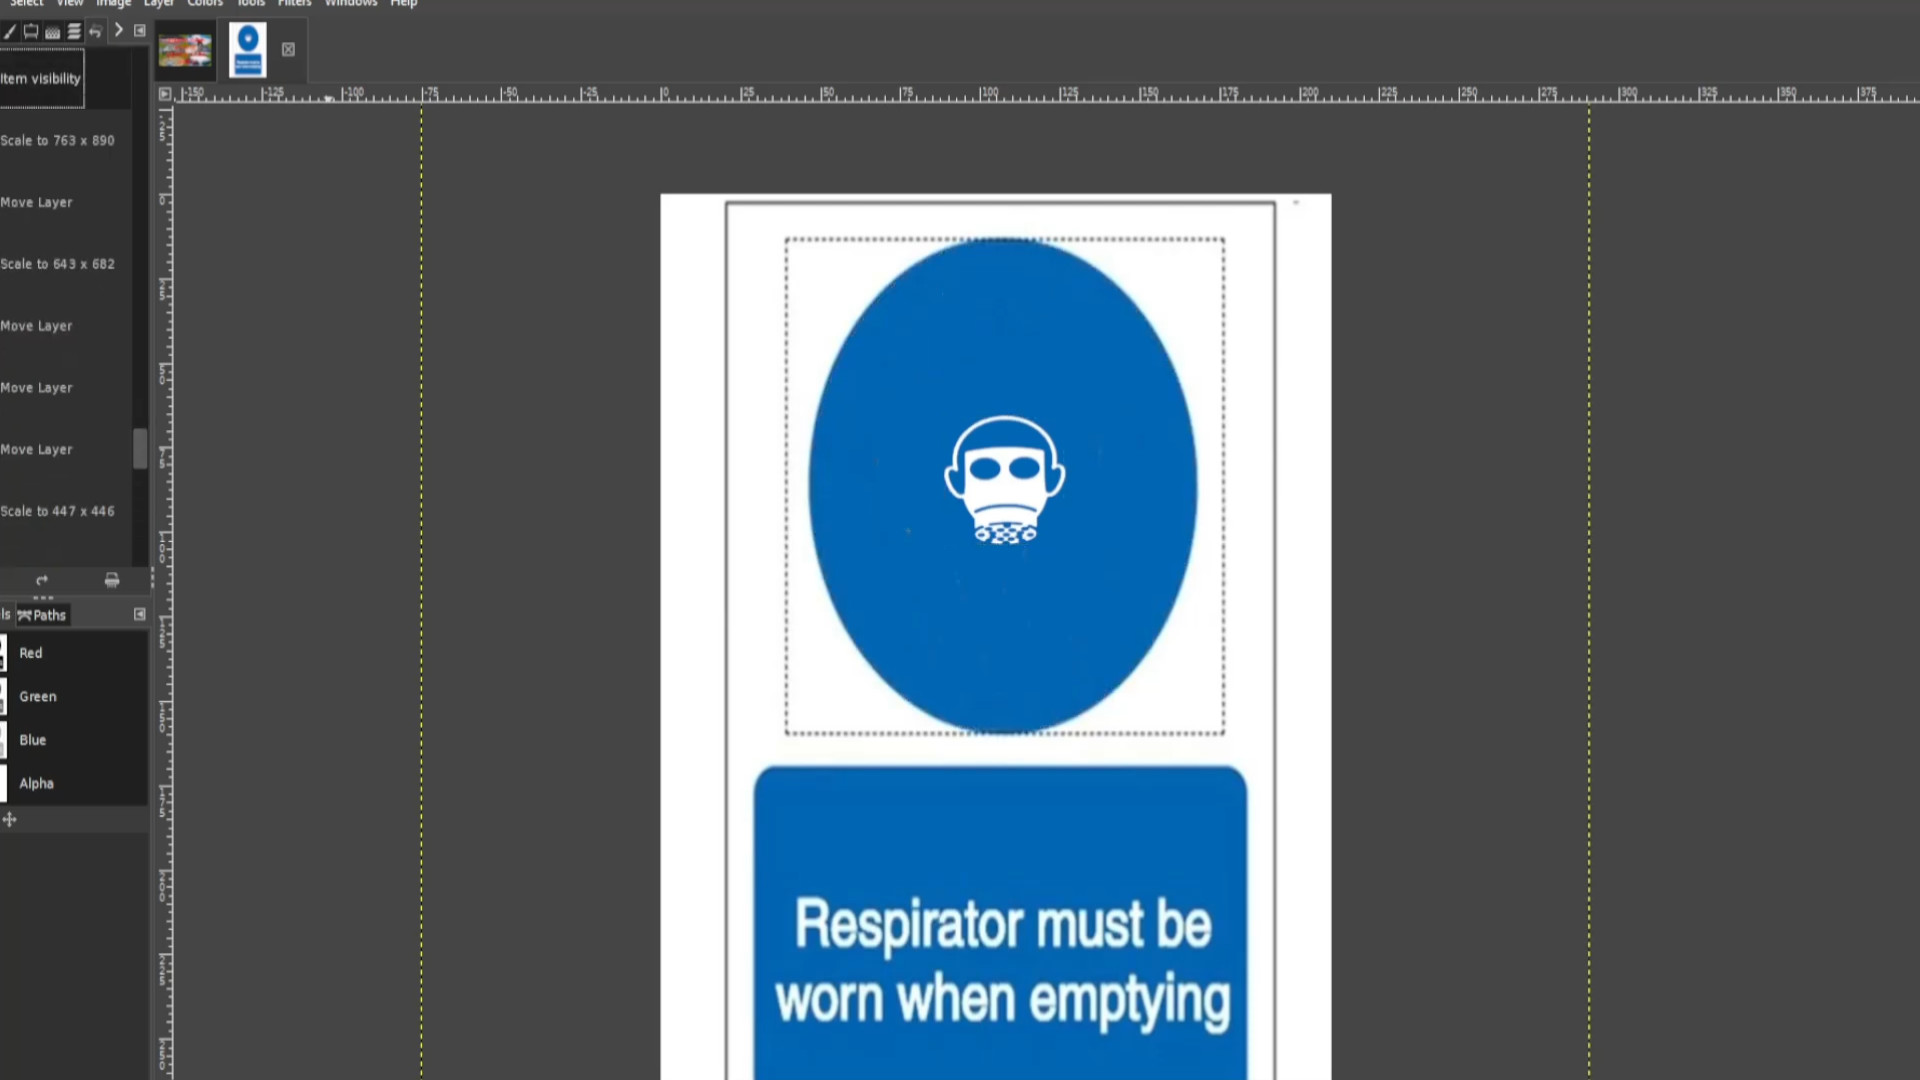
Go to>>>EDIT and click on>>>UNDO HISTORY to get the>>>UNDO HISTORY TAB up. And>>>UNDO until you first in this case rotated the layer>>>EXPORT AS changing the file name.
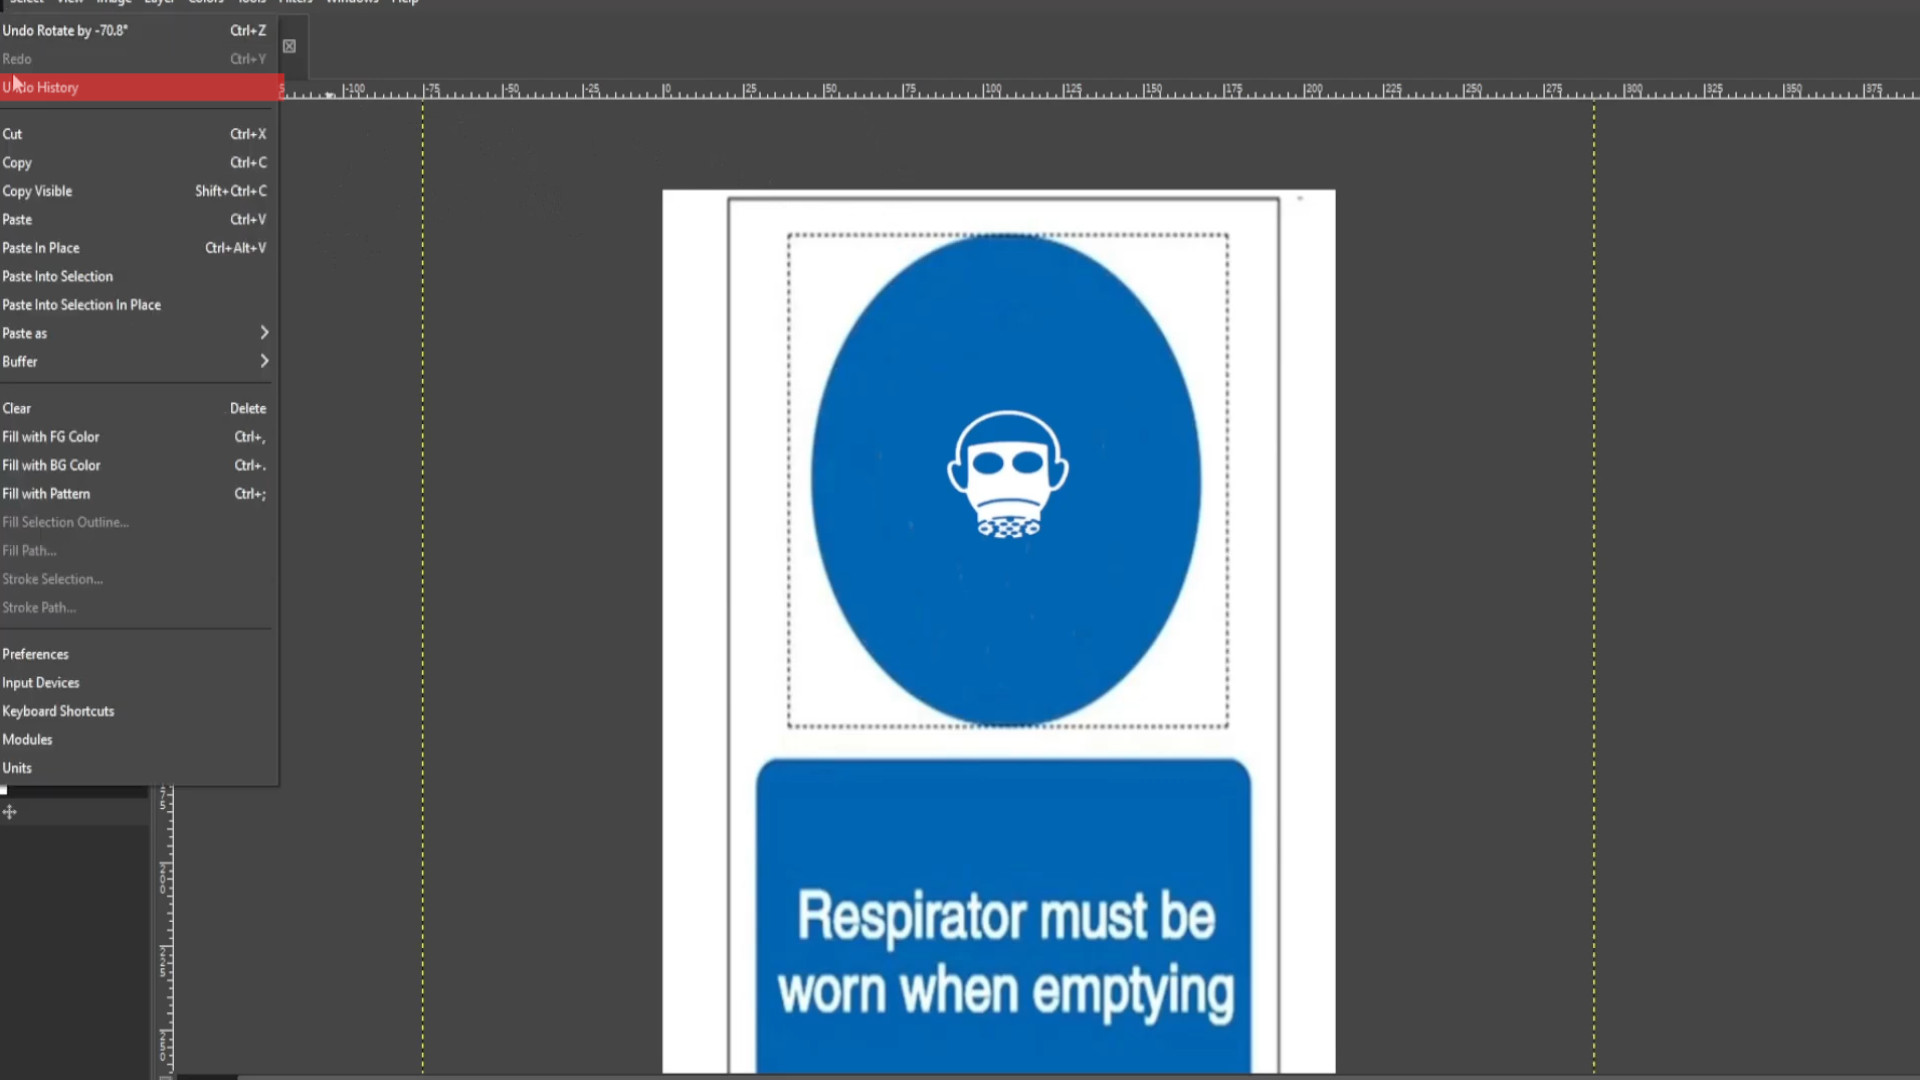
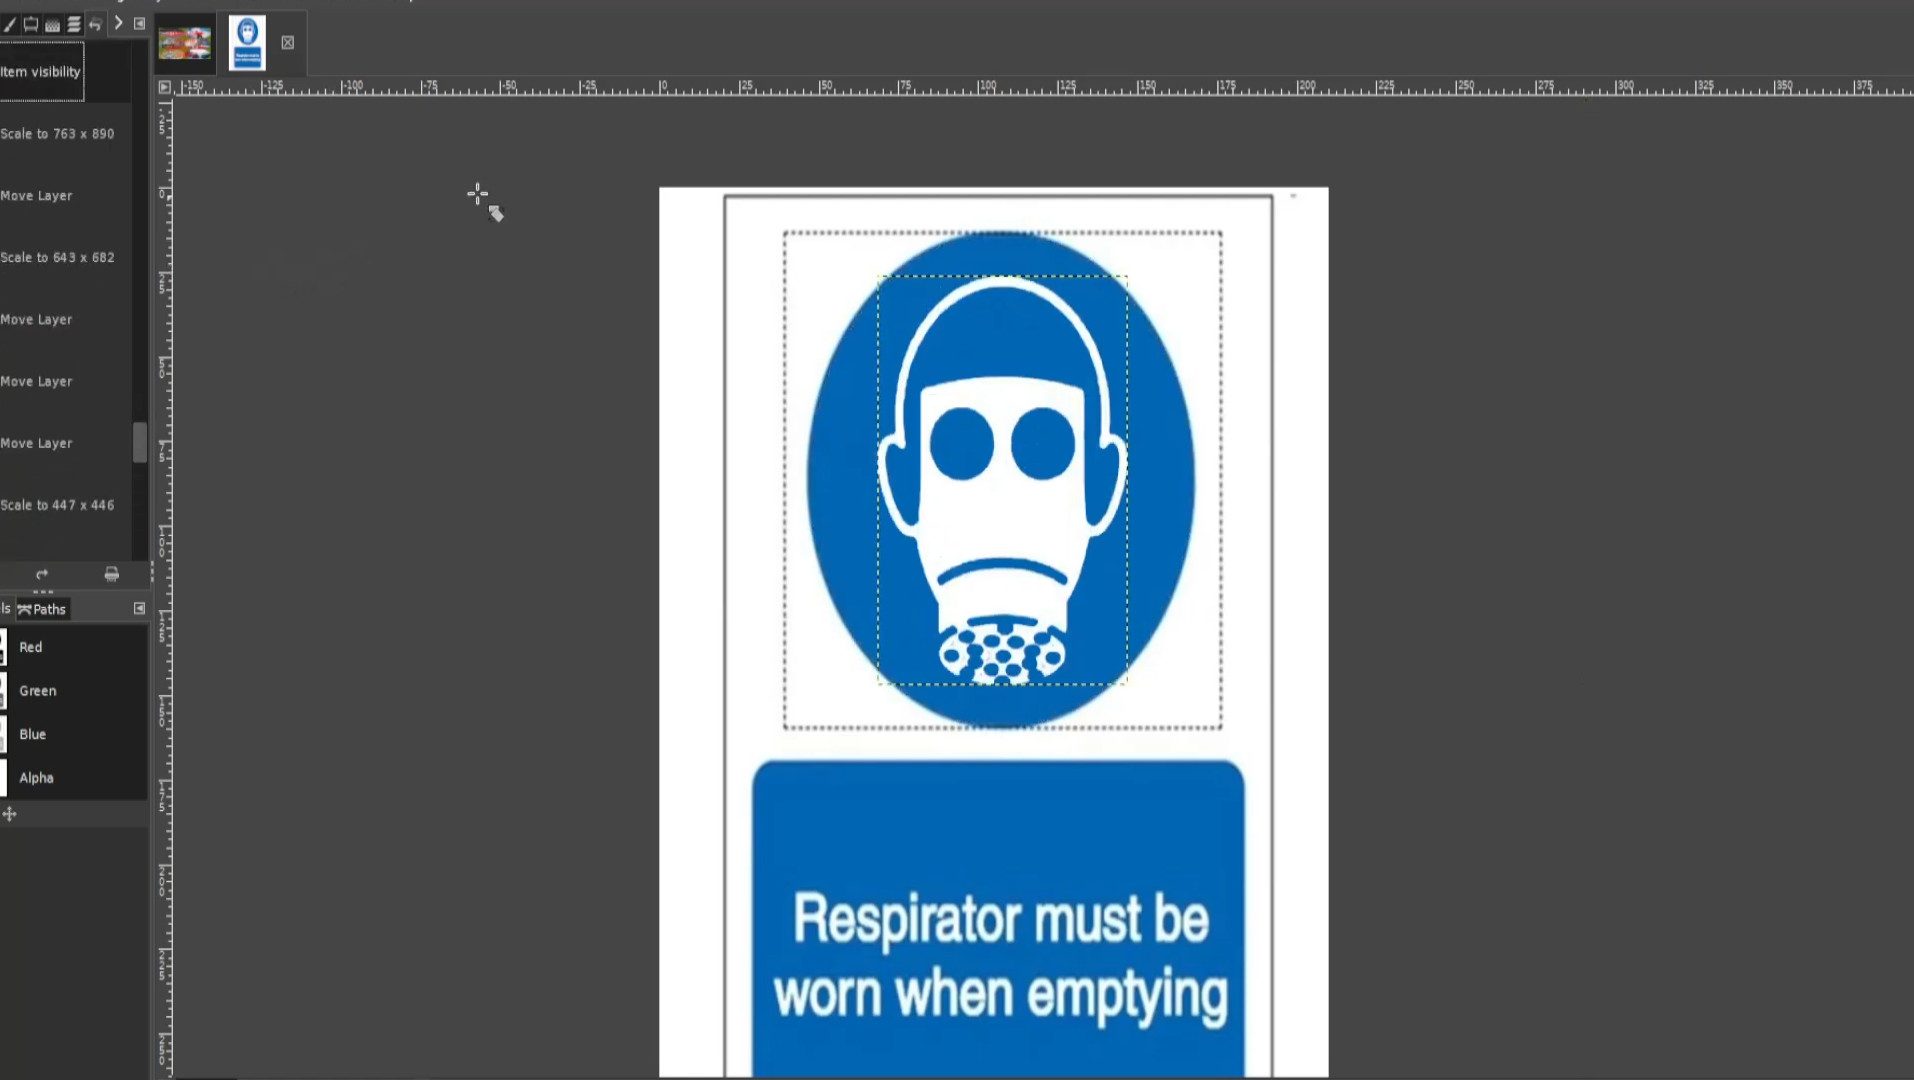
With the first layer selected. Use the>>>FUZZY SELECT TOOL to SELECT a eye but do experiment with other ideas you may have but if not select a eye. You can select the other by>>>HOLDING DOWN SHIFT and>>>CLICKING ON THE LEFT BUTTON OF MOUSE or>>>TOUCH PAD to select>>>BOTH EYES.
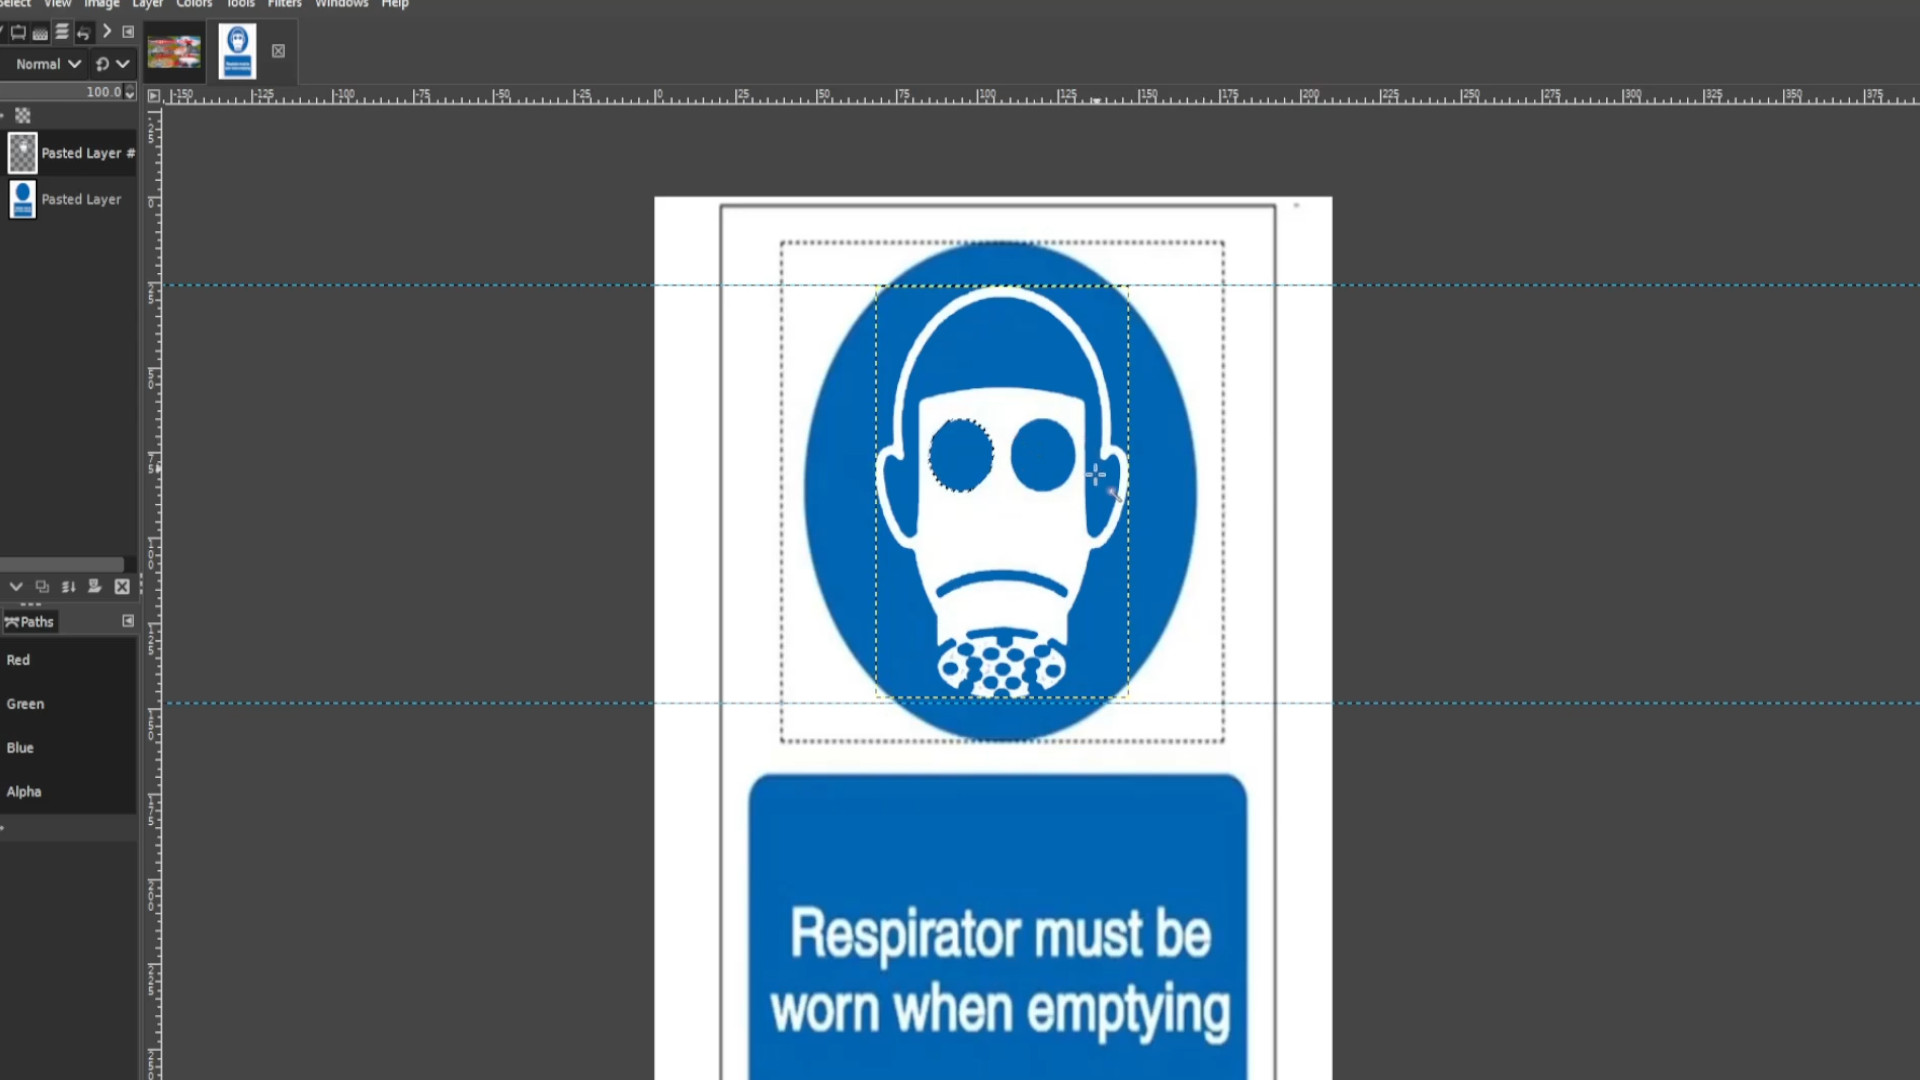
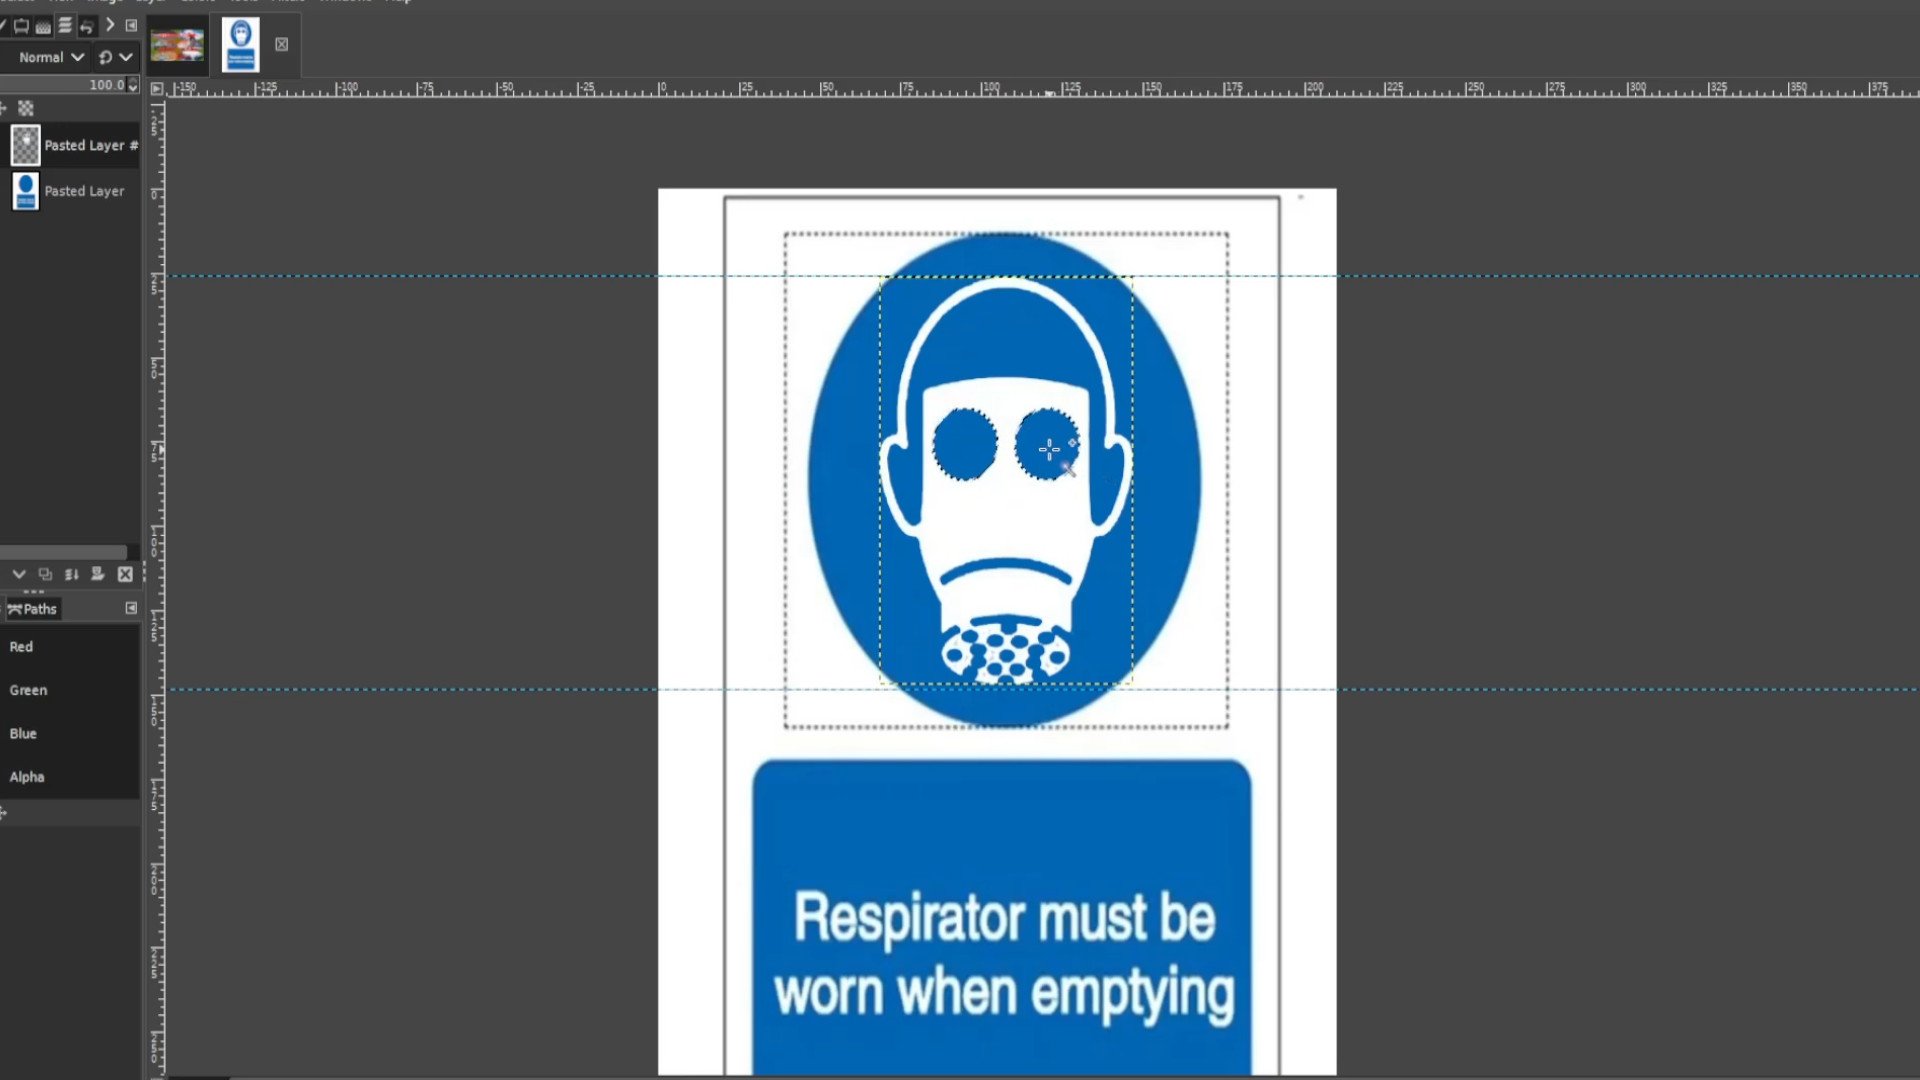
With the eyes selected use the>>>BUCKET FILL TOOL and choosing your colour>>>FILL IN the>>>EYES.
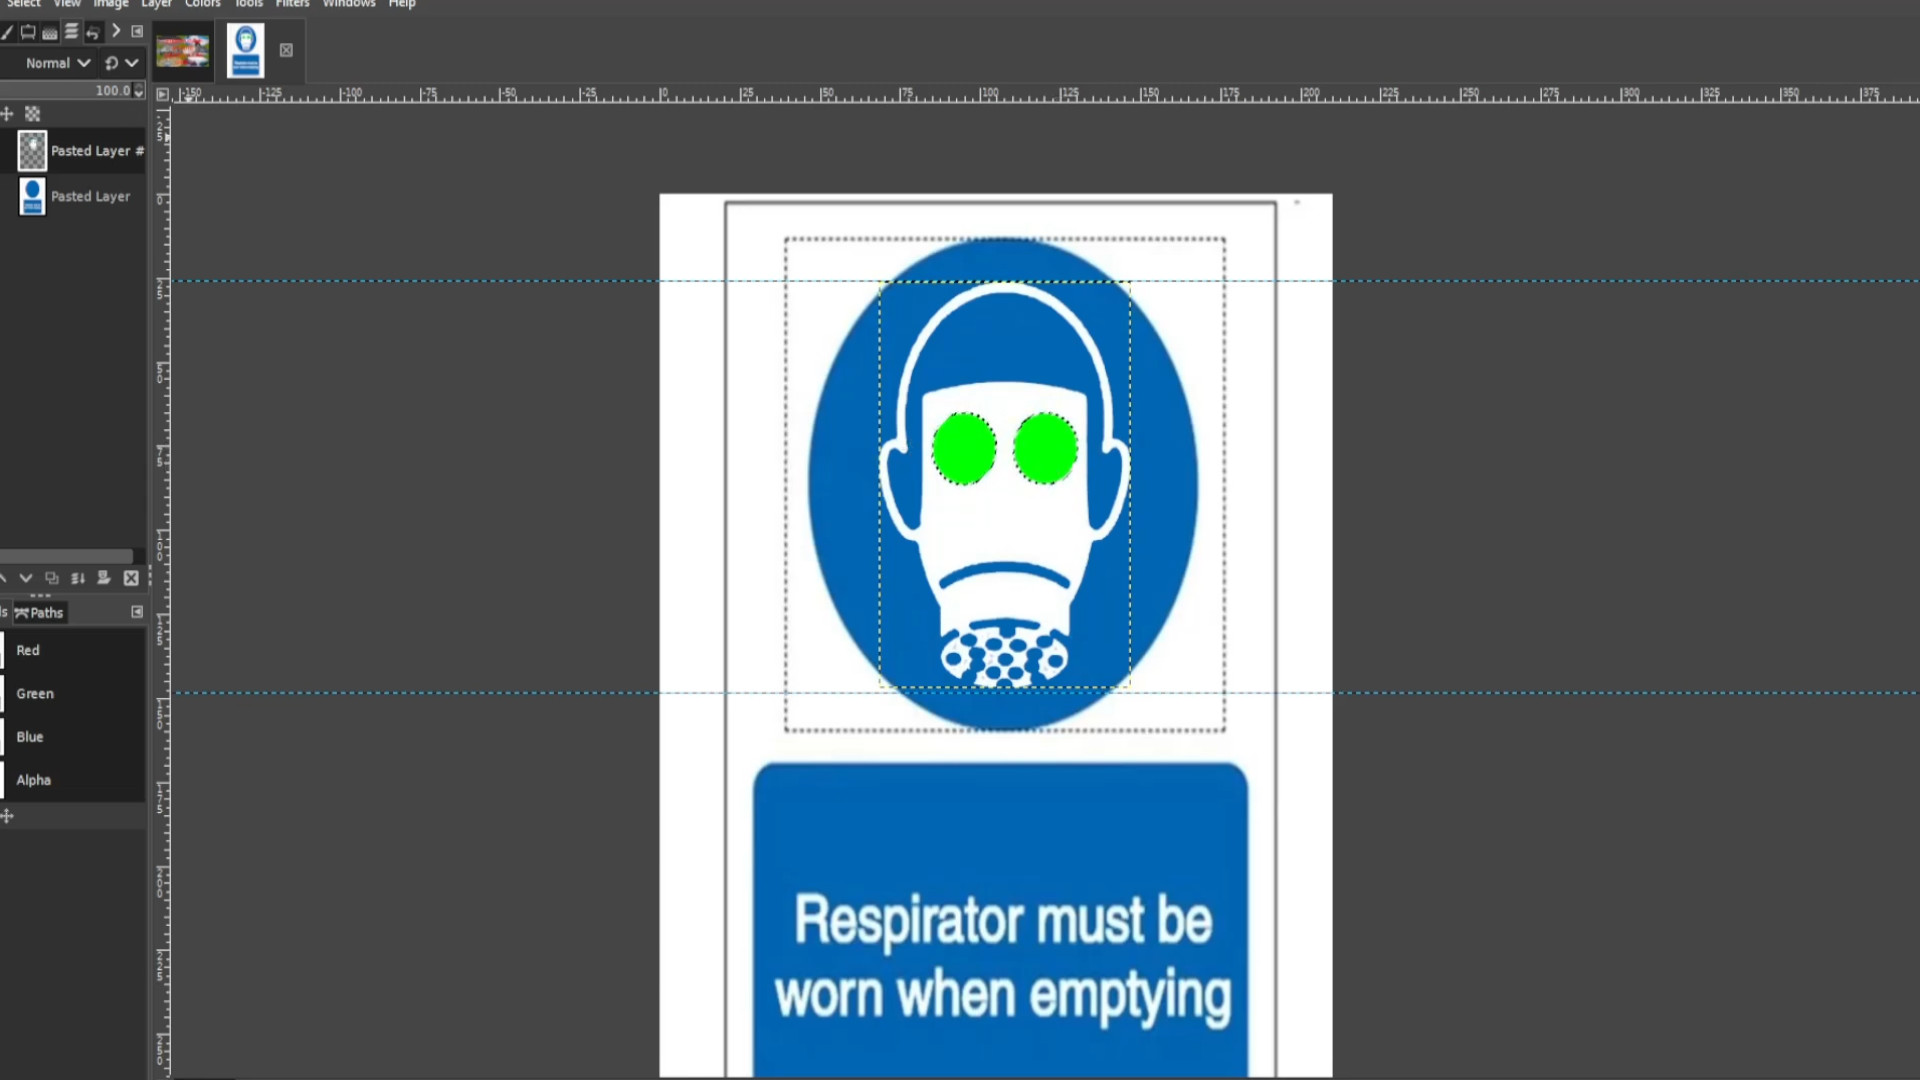
Repeat step 18 until you feel you have changed it enough times or you have ran out of colours or textures. Don’t forget to>>>EXPORT AS for each time you changed the colour and renaming each file.
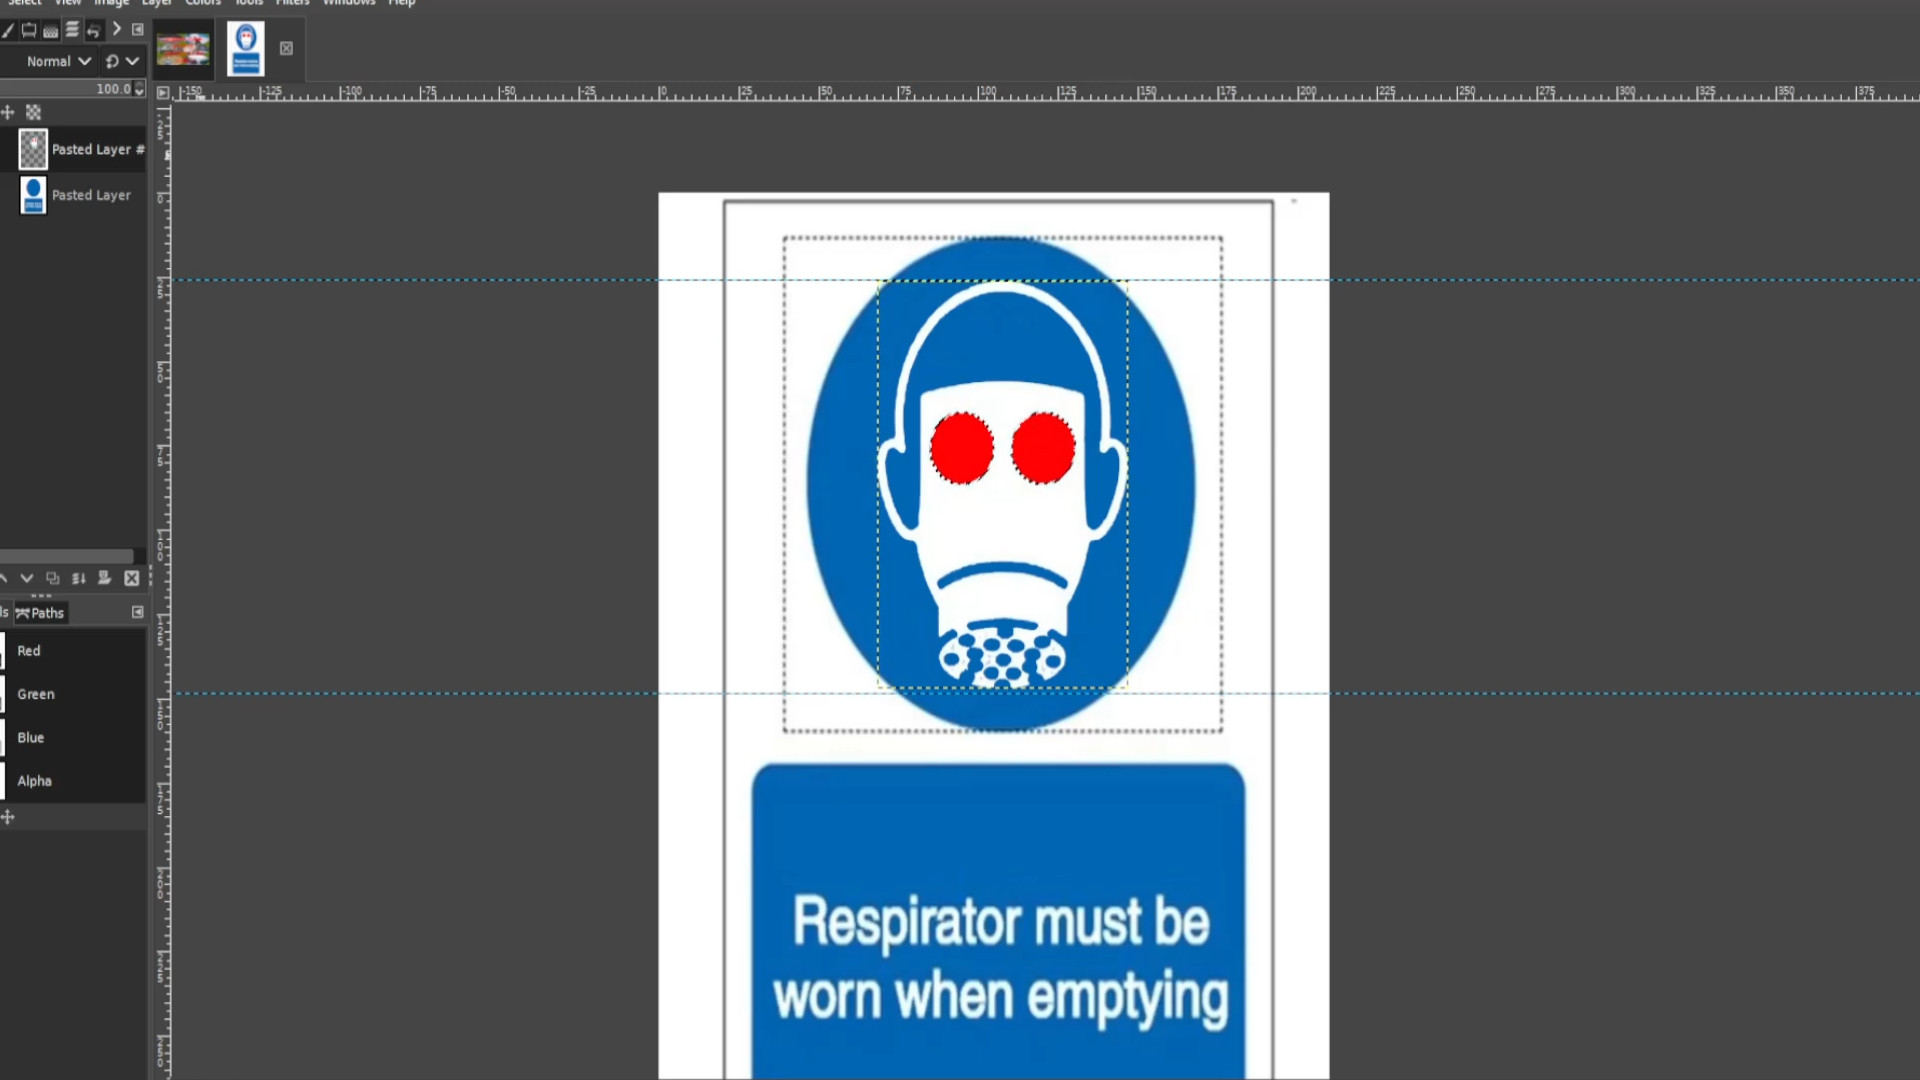
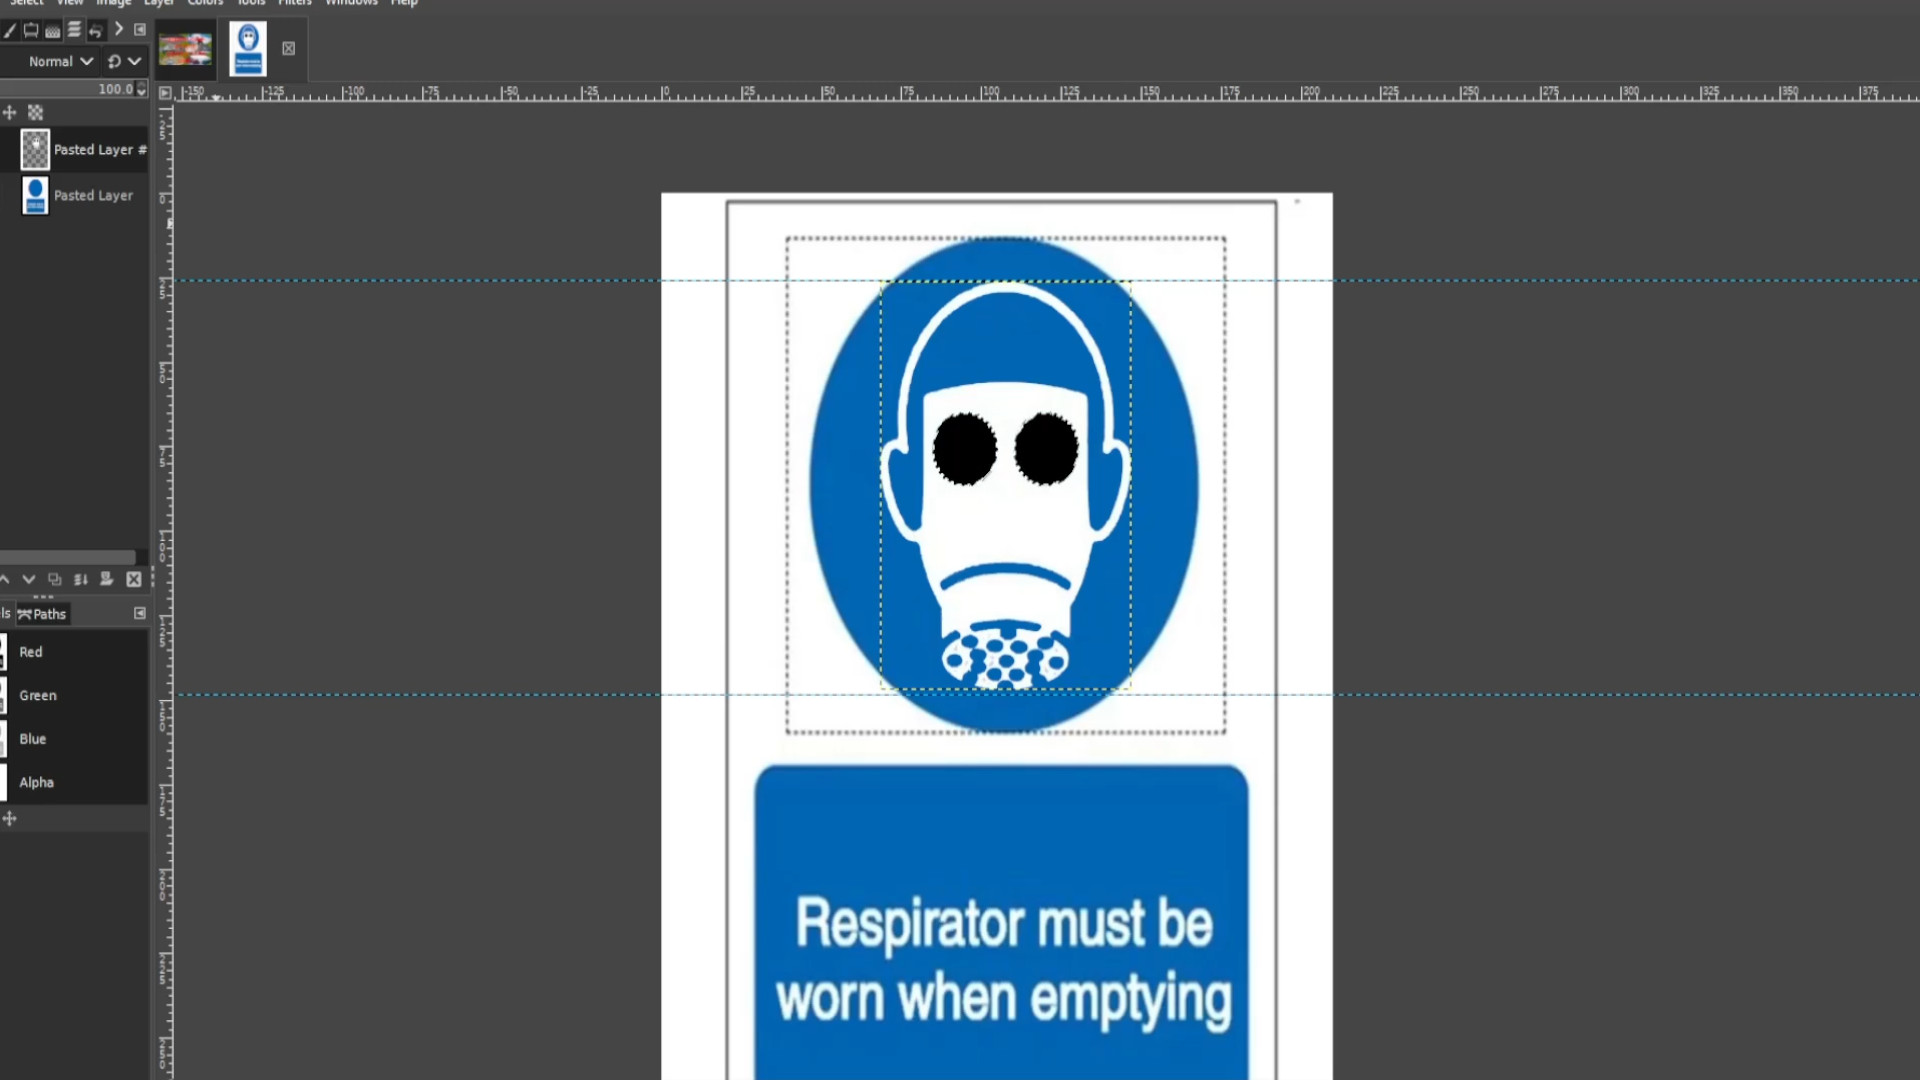
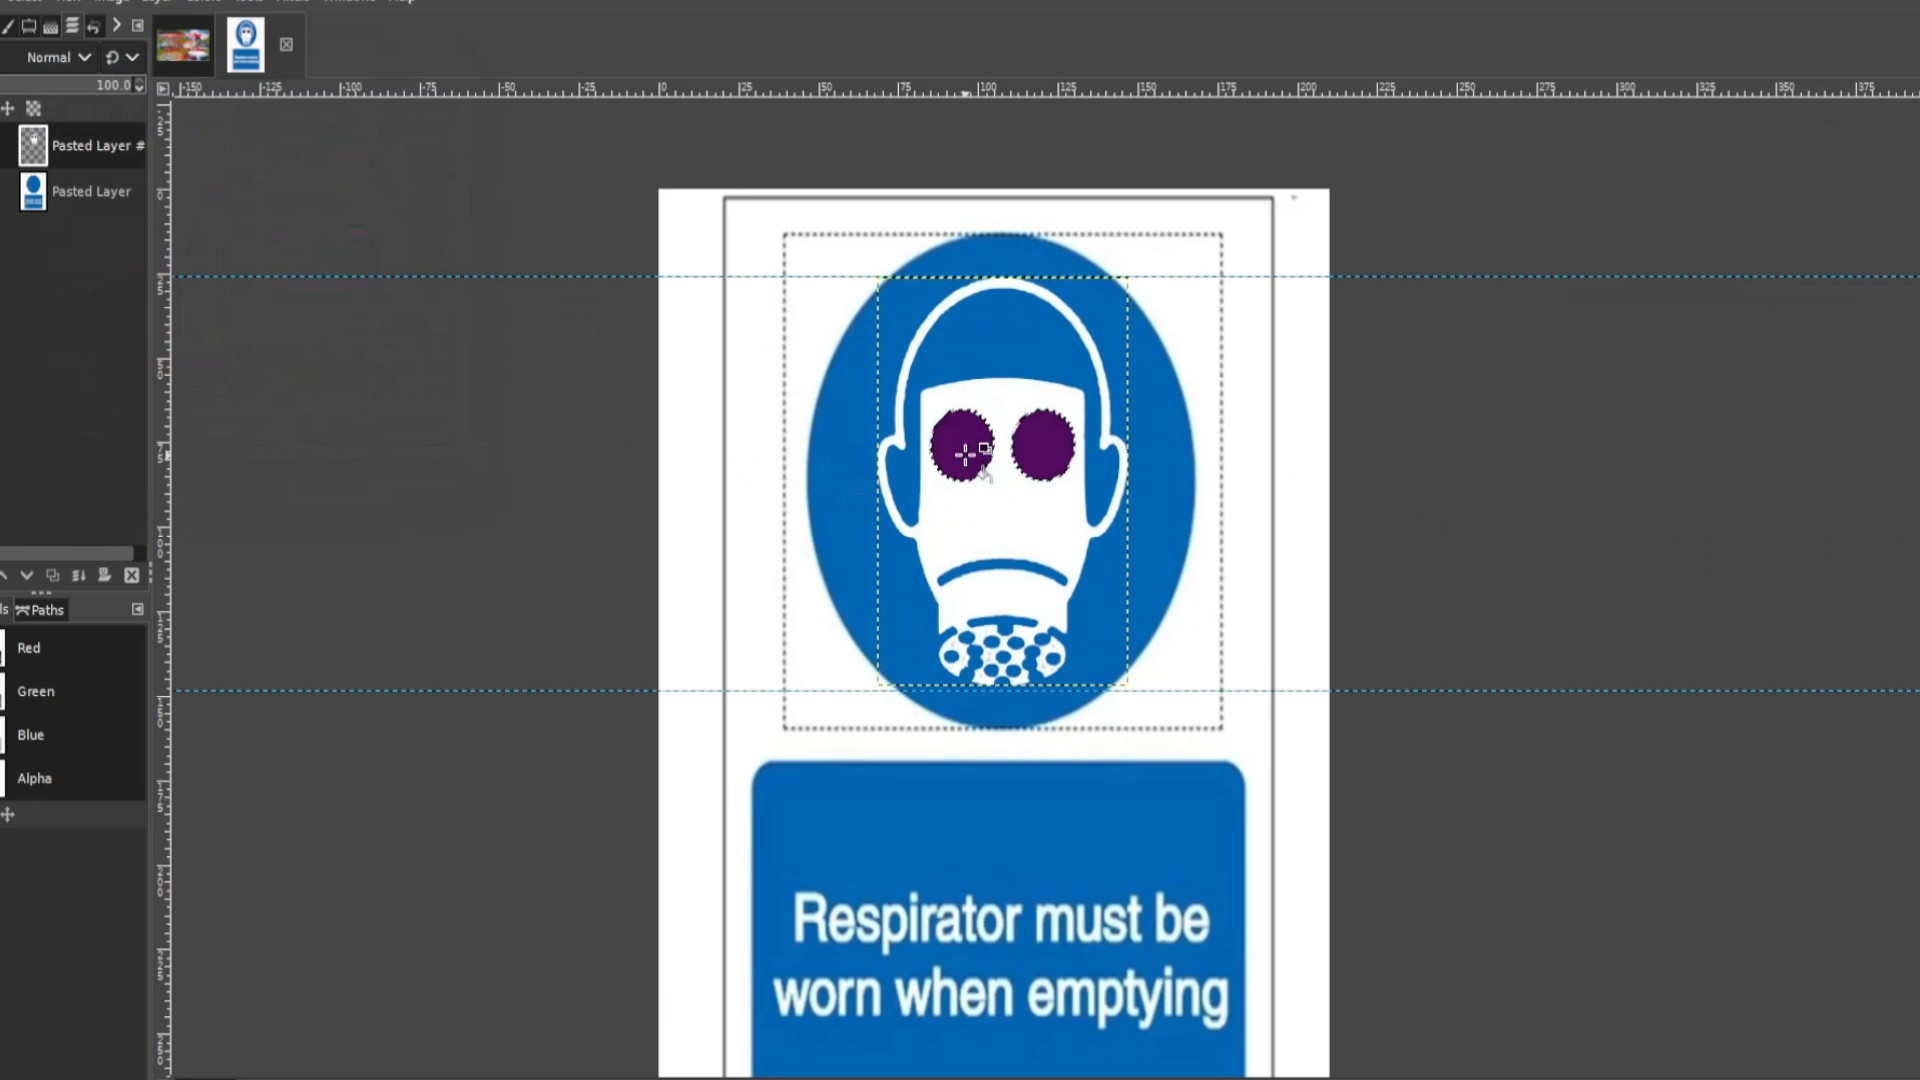
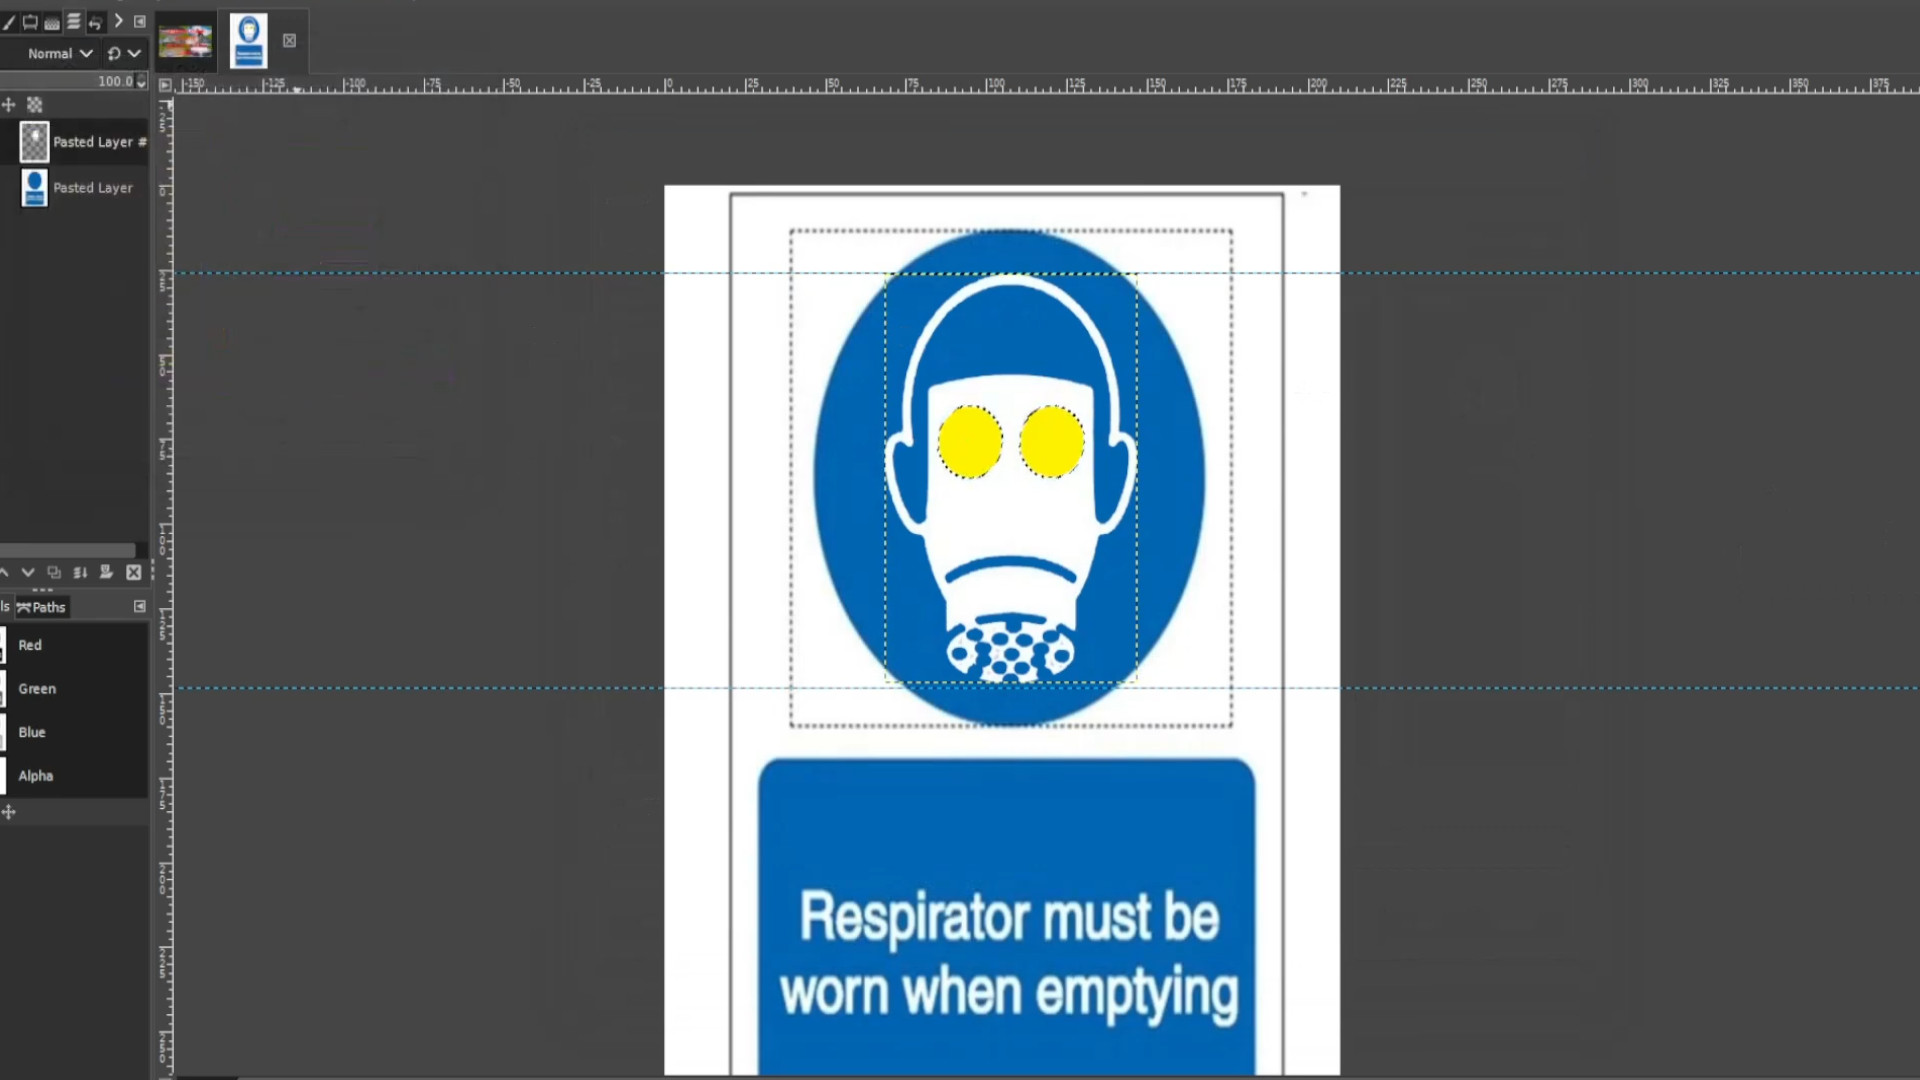
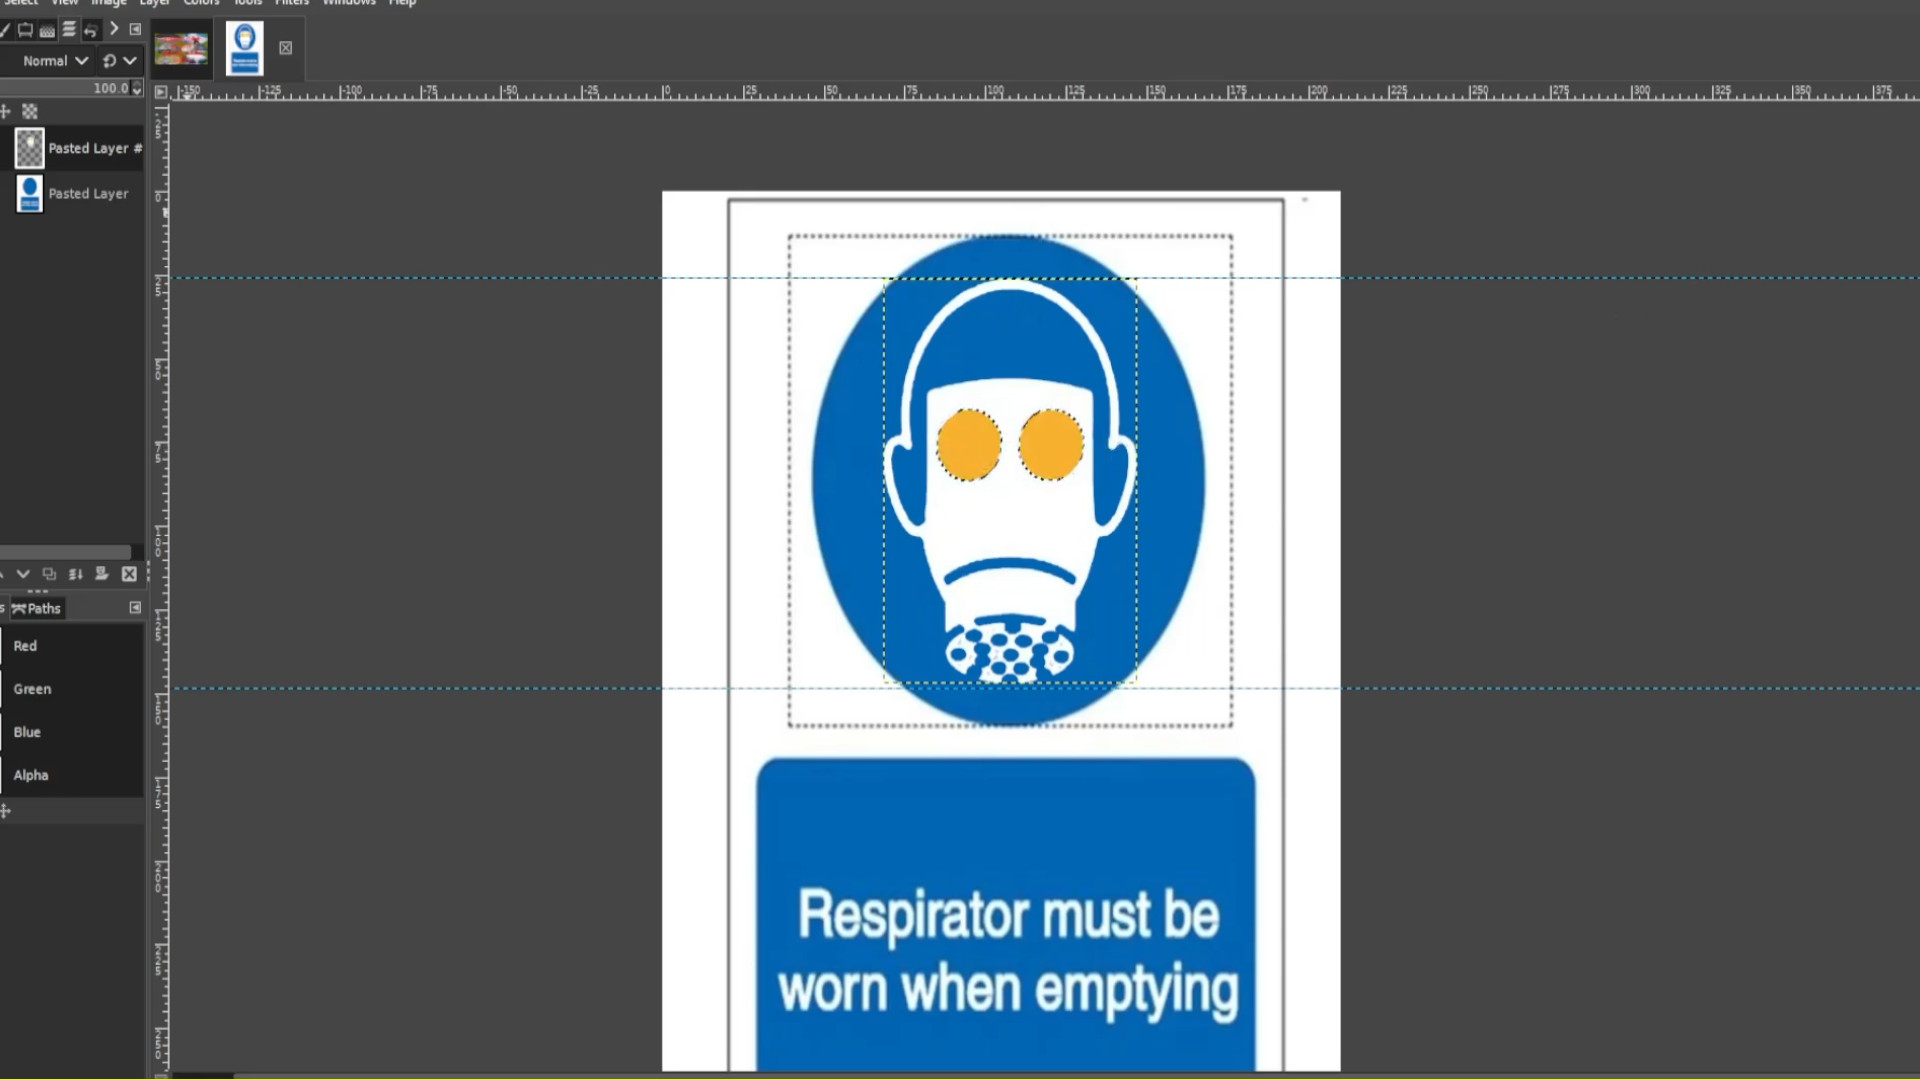
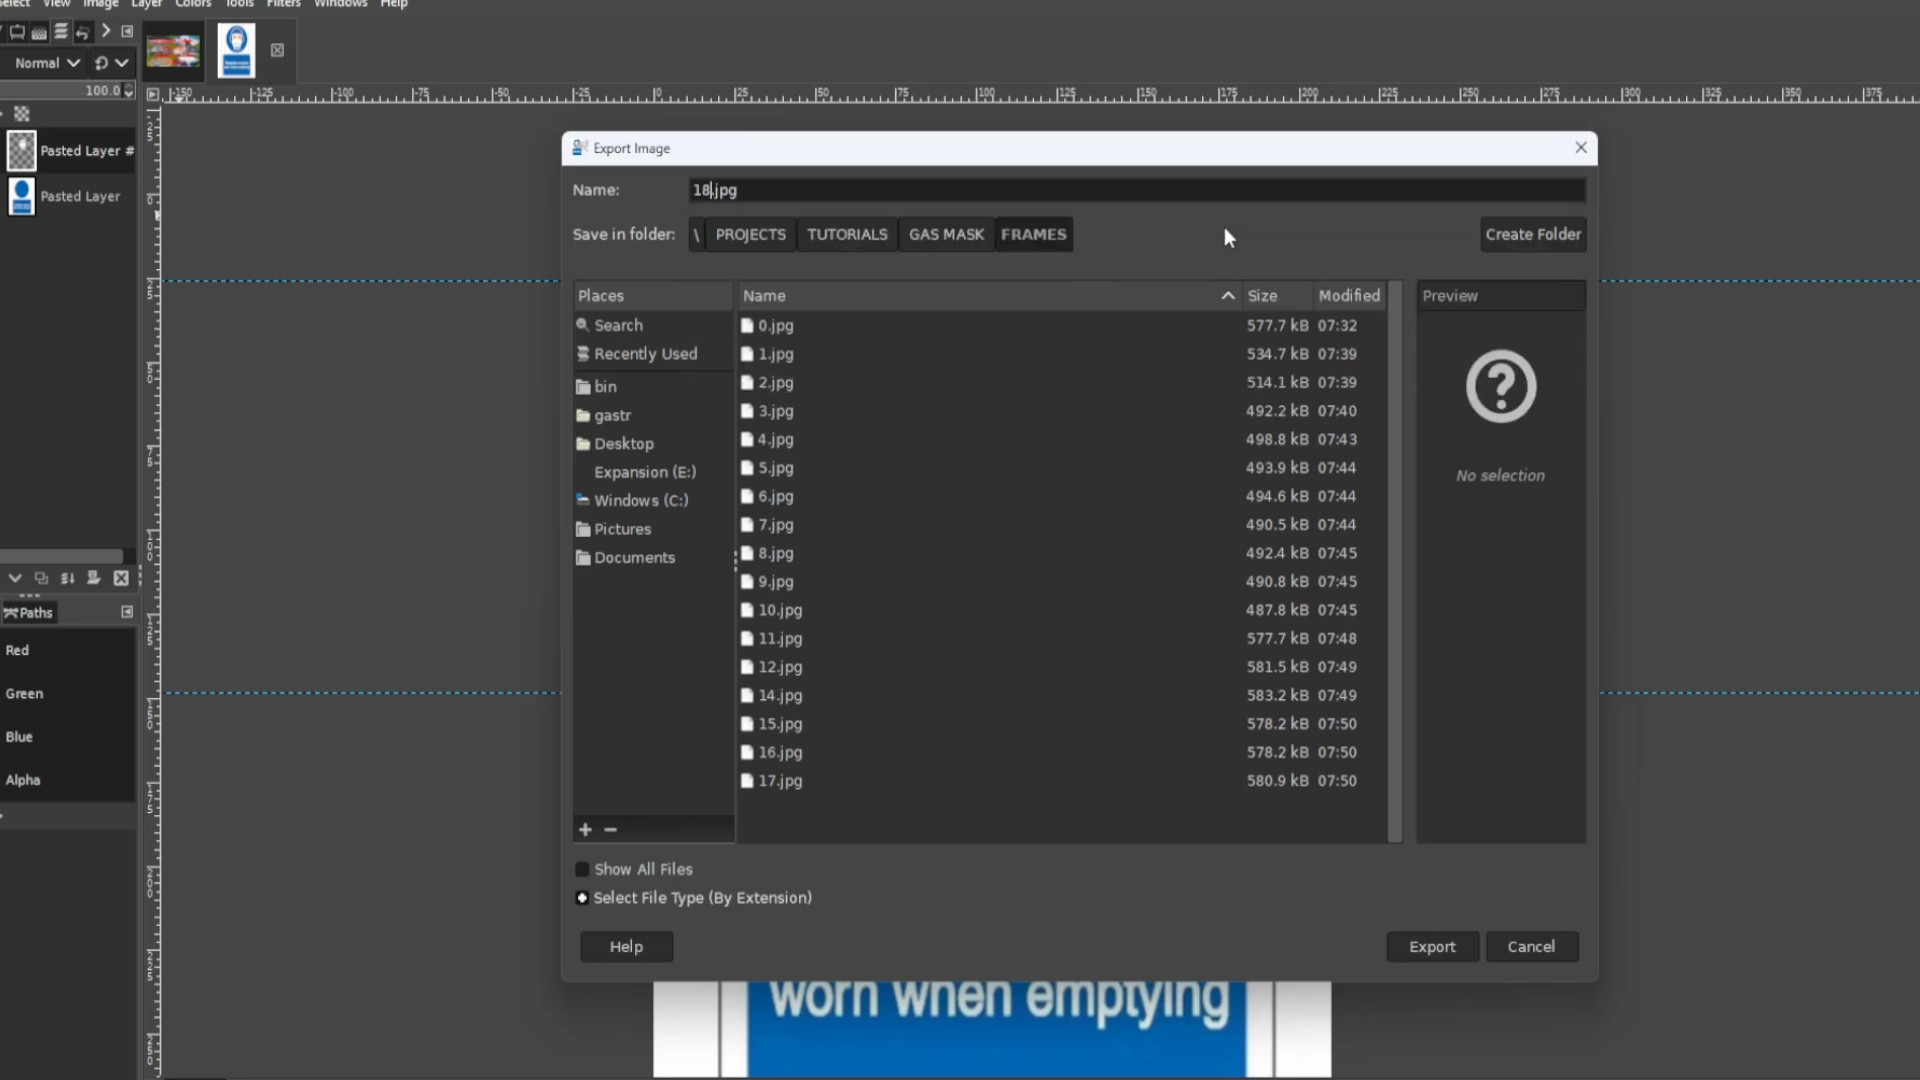
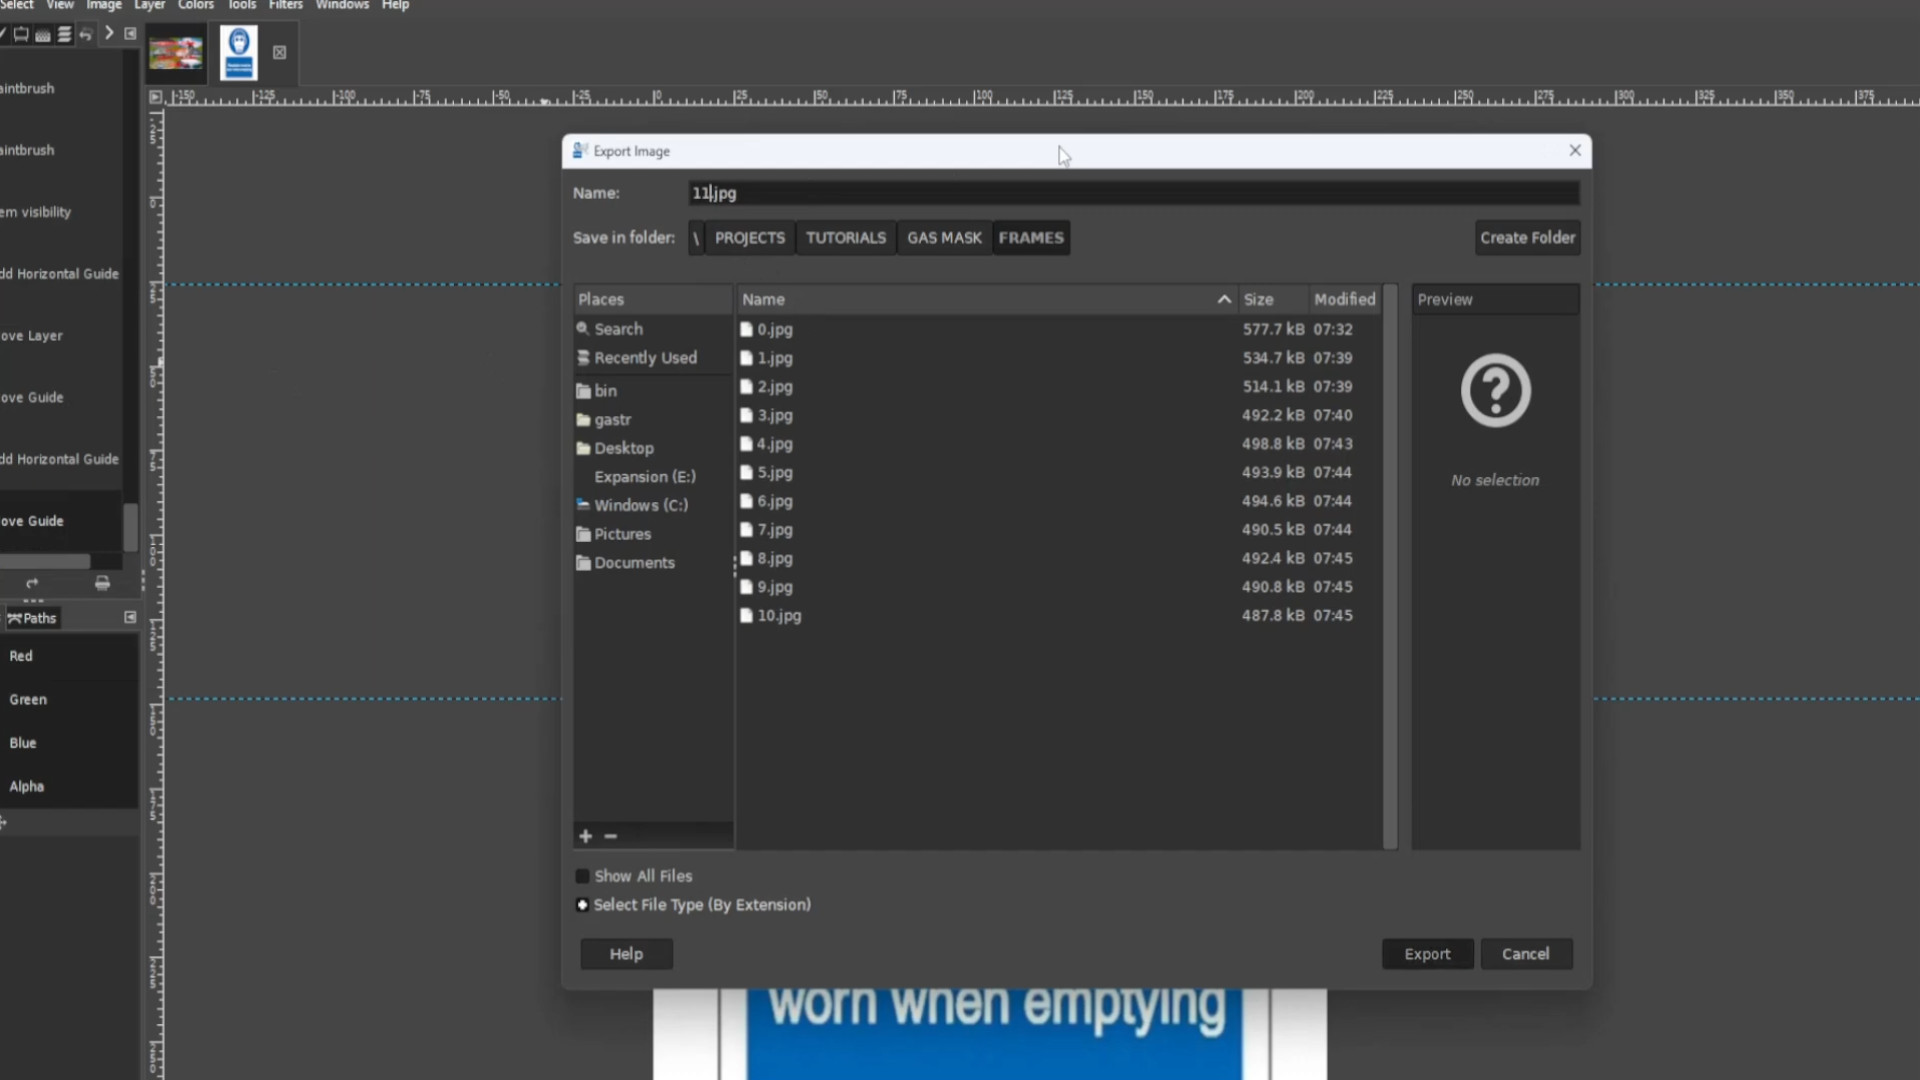
>>>OPEN ANOTHER FILE or>>>DRAG AND DROP into Gimp. I want to animate the eyes even more and selected a round transparent background picture in this case a radiation sign. Before you do that with the eyes selected go to>>>EDIT>>>CUT or use the shortcut by>>>CTRL>>>X to cut the layer leaving the original colour for the eyes.
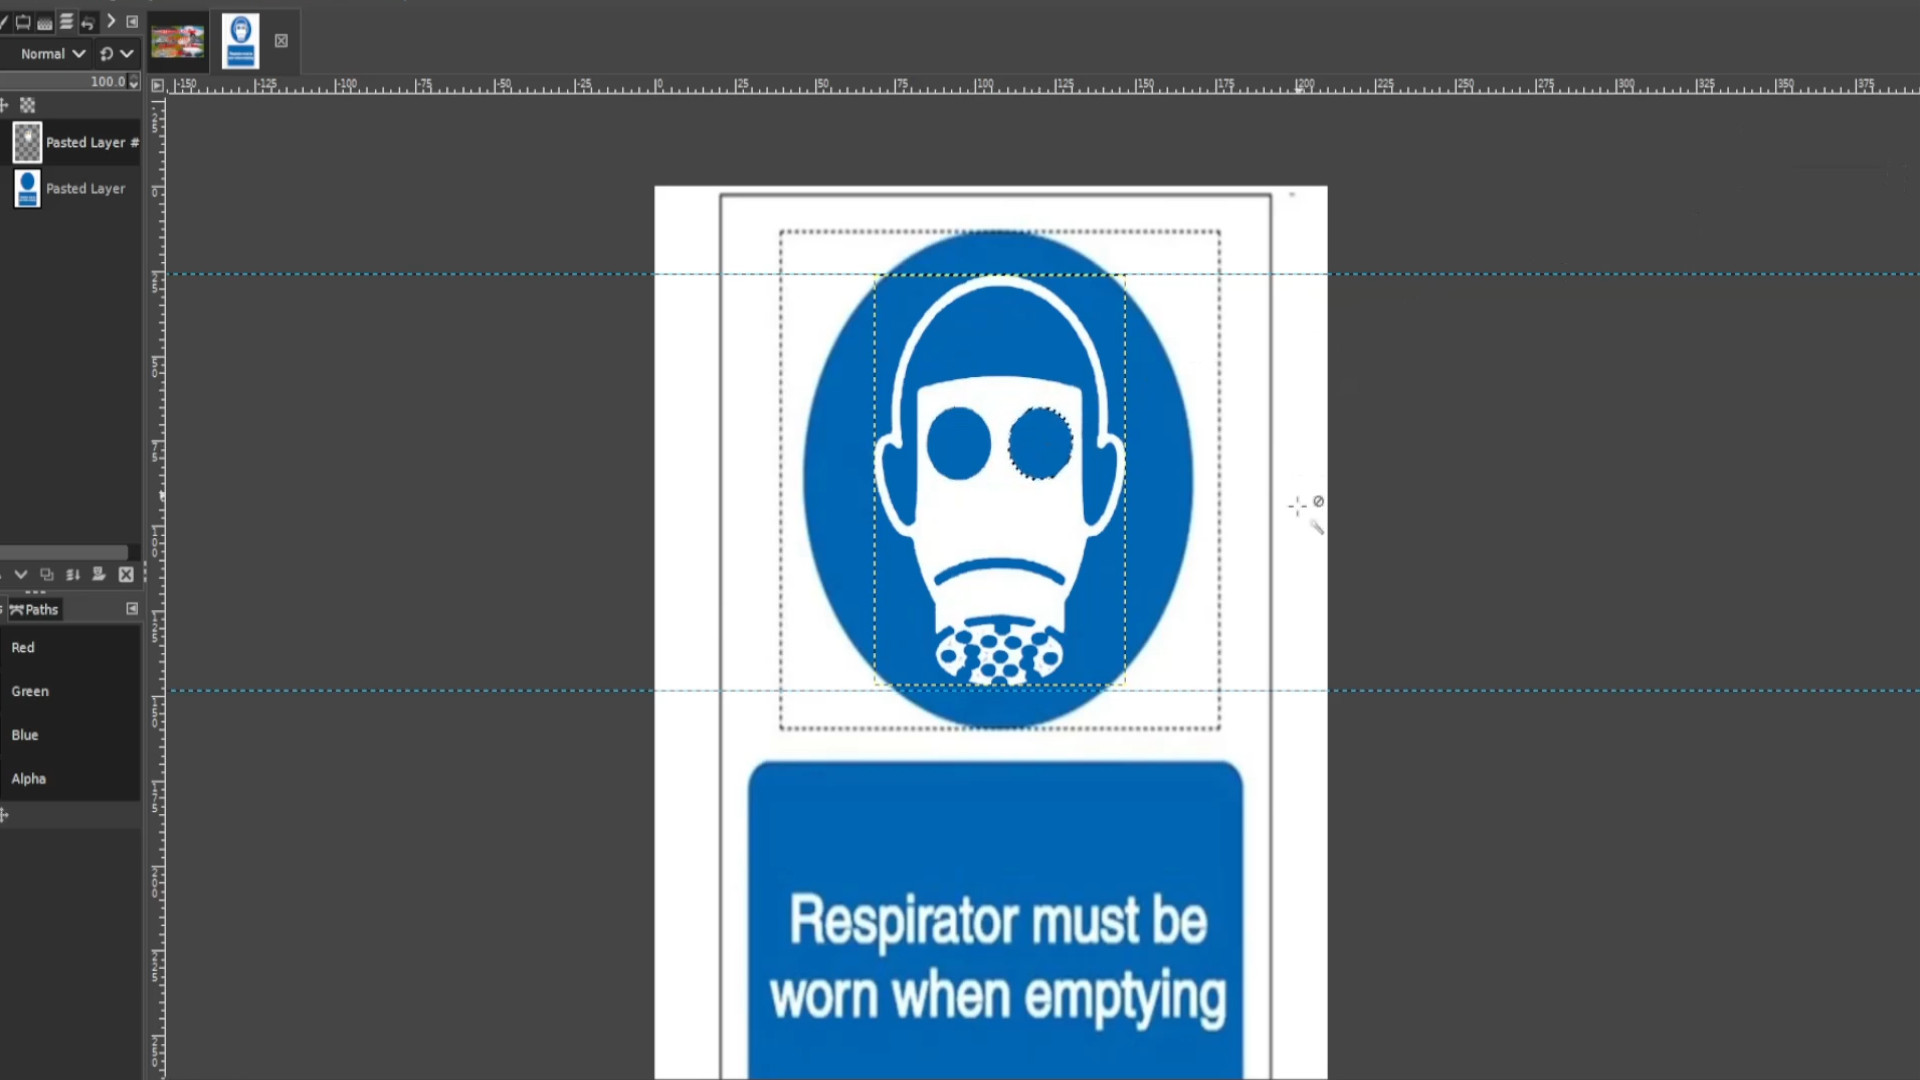
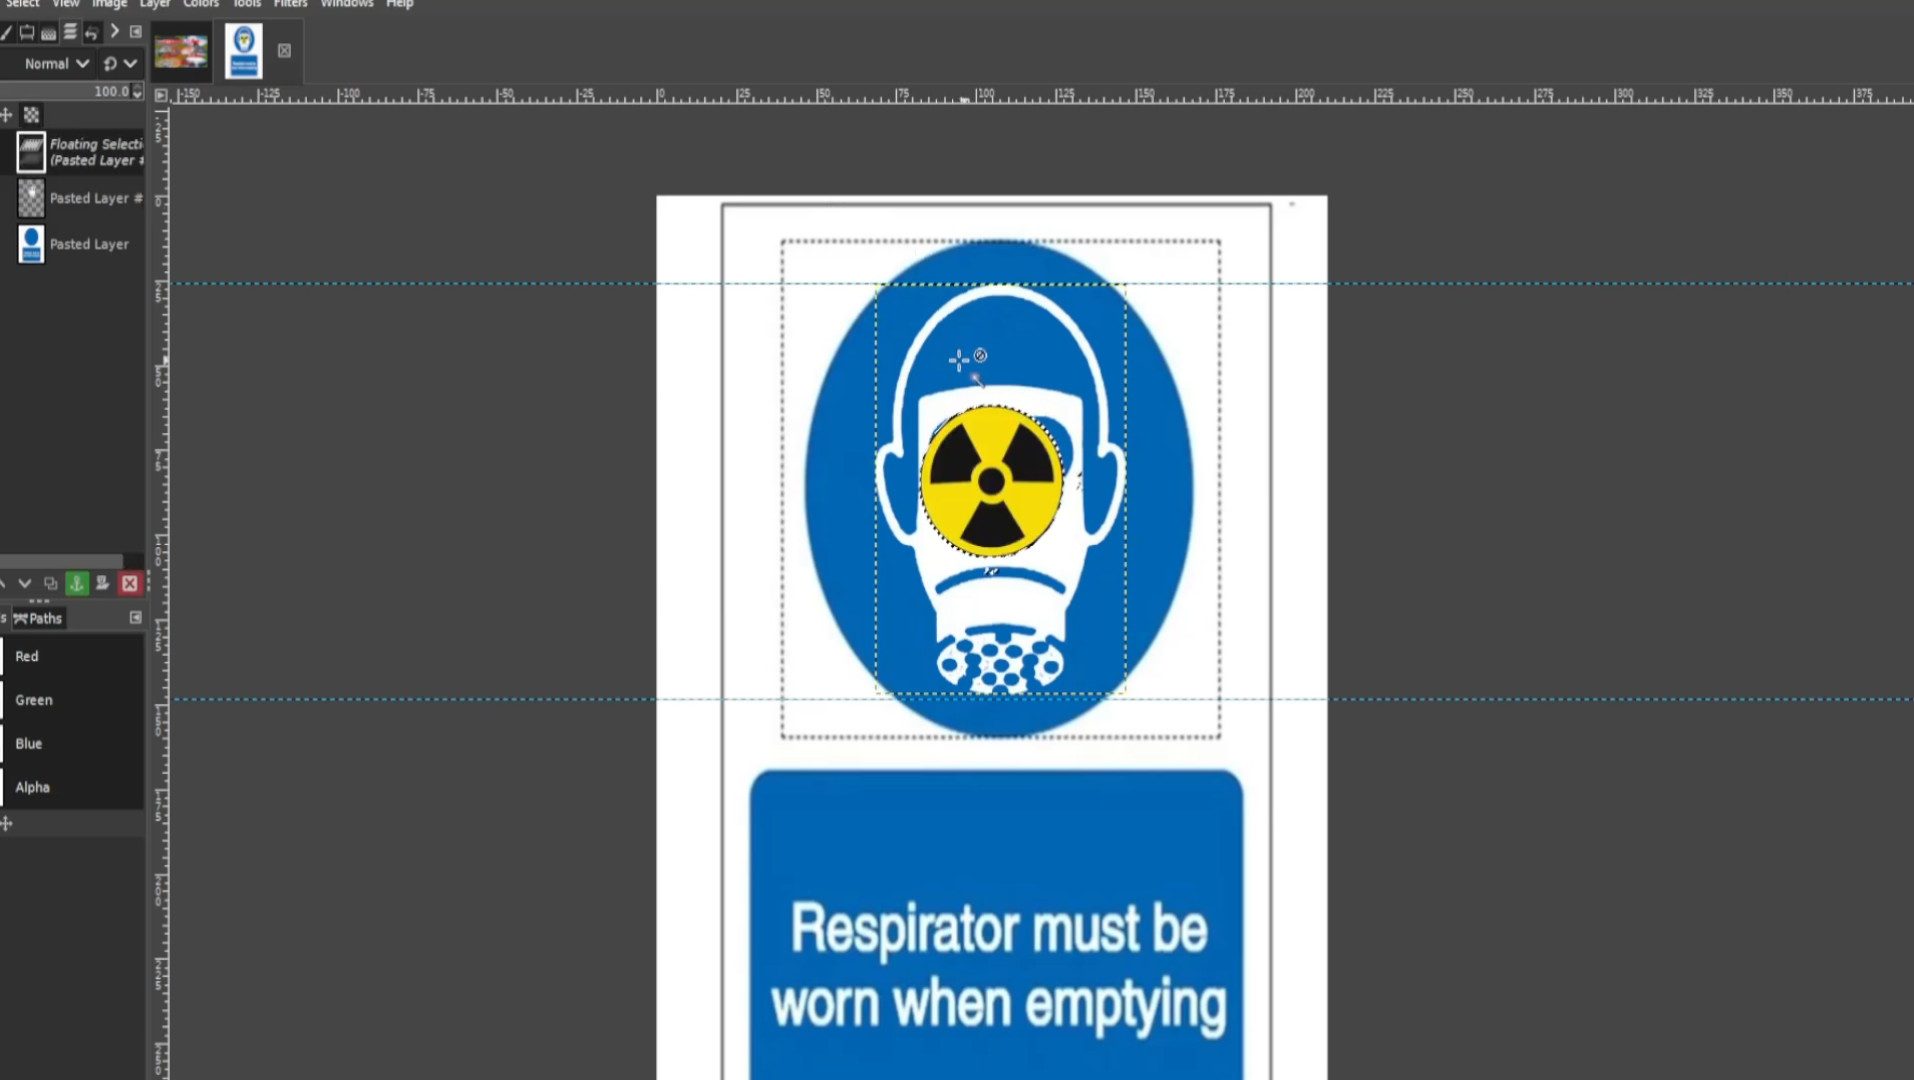
If it says>>>FLOATING SELECTION in the>>>LEFT HAND SIDE LAYERS PANEL>>>RIGHT CLICK on the layer and press>>>TO NEW LAYER
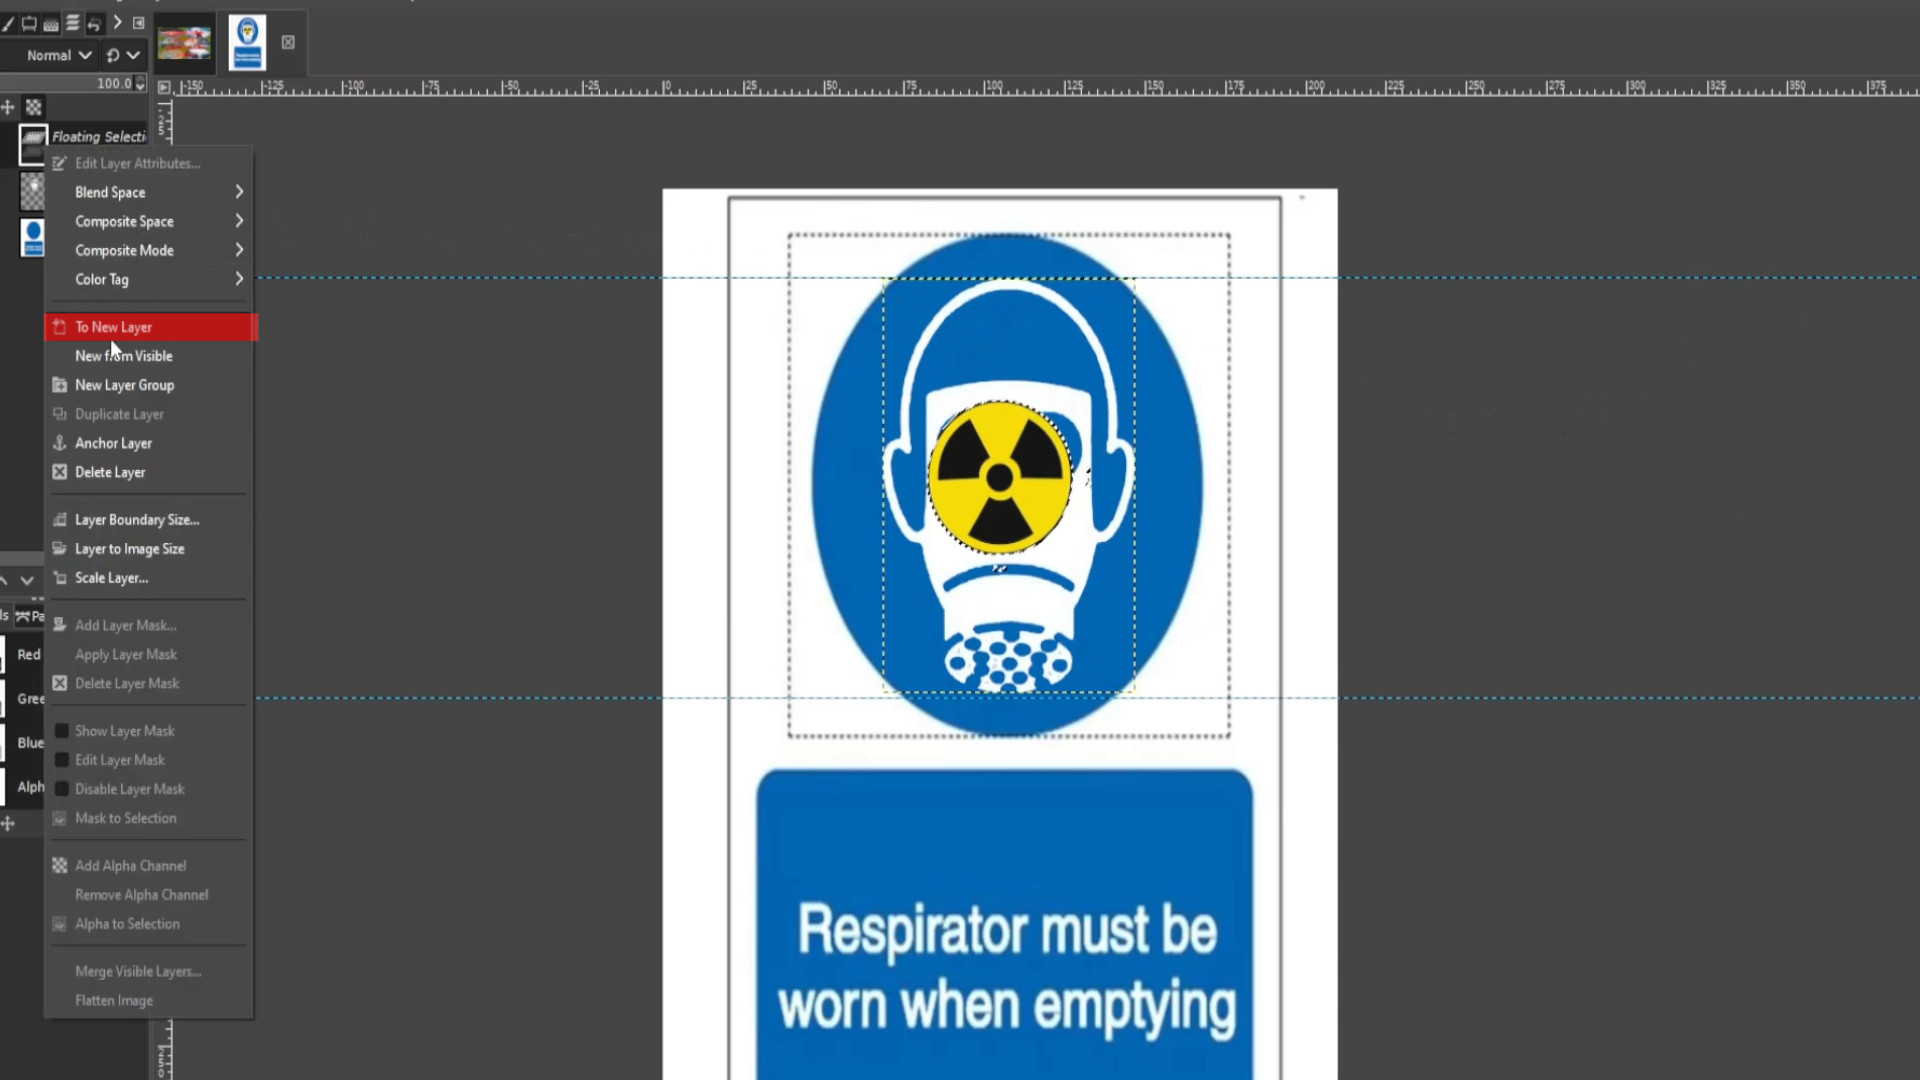
Use the>>>SCALE TOOL to >>>RESIZE image so in this case it fits the eye. You can use the shortcut by>>>HOLDING SHIFT and>>>PRESSING>>>S to resize the image.
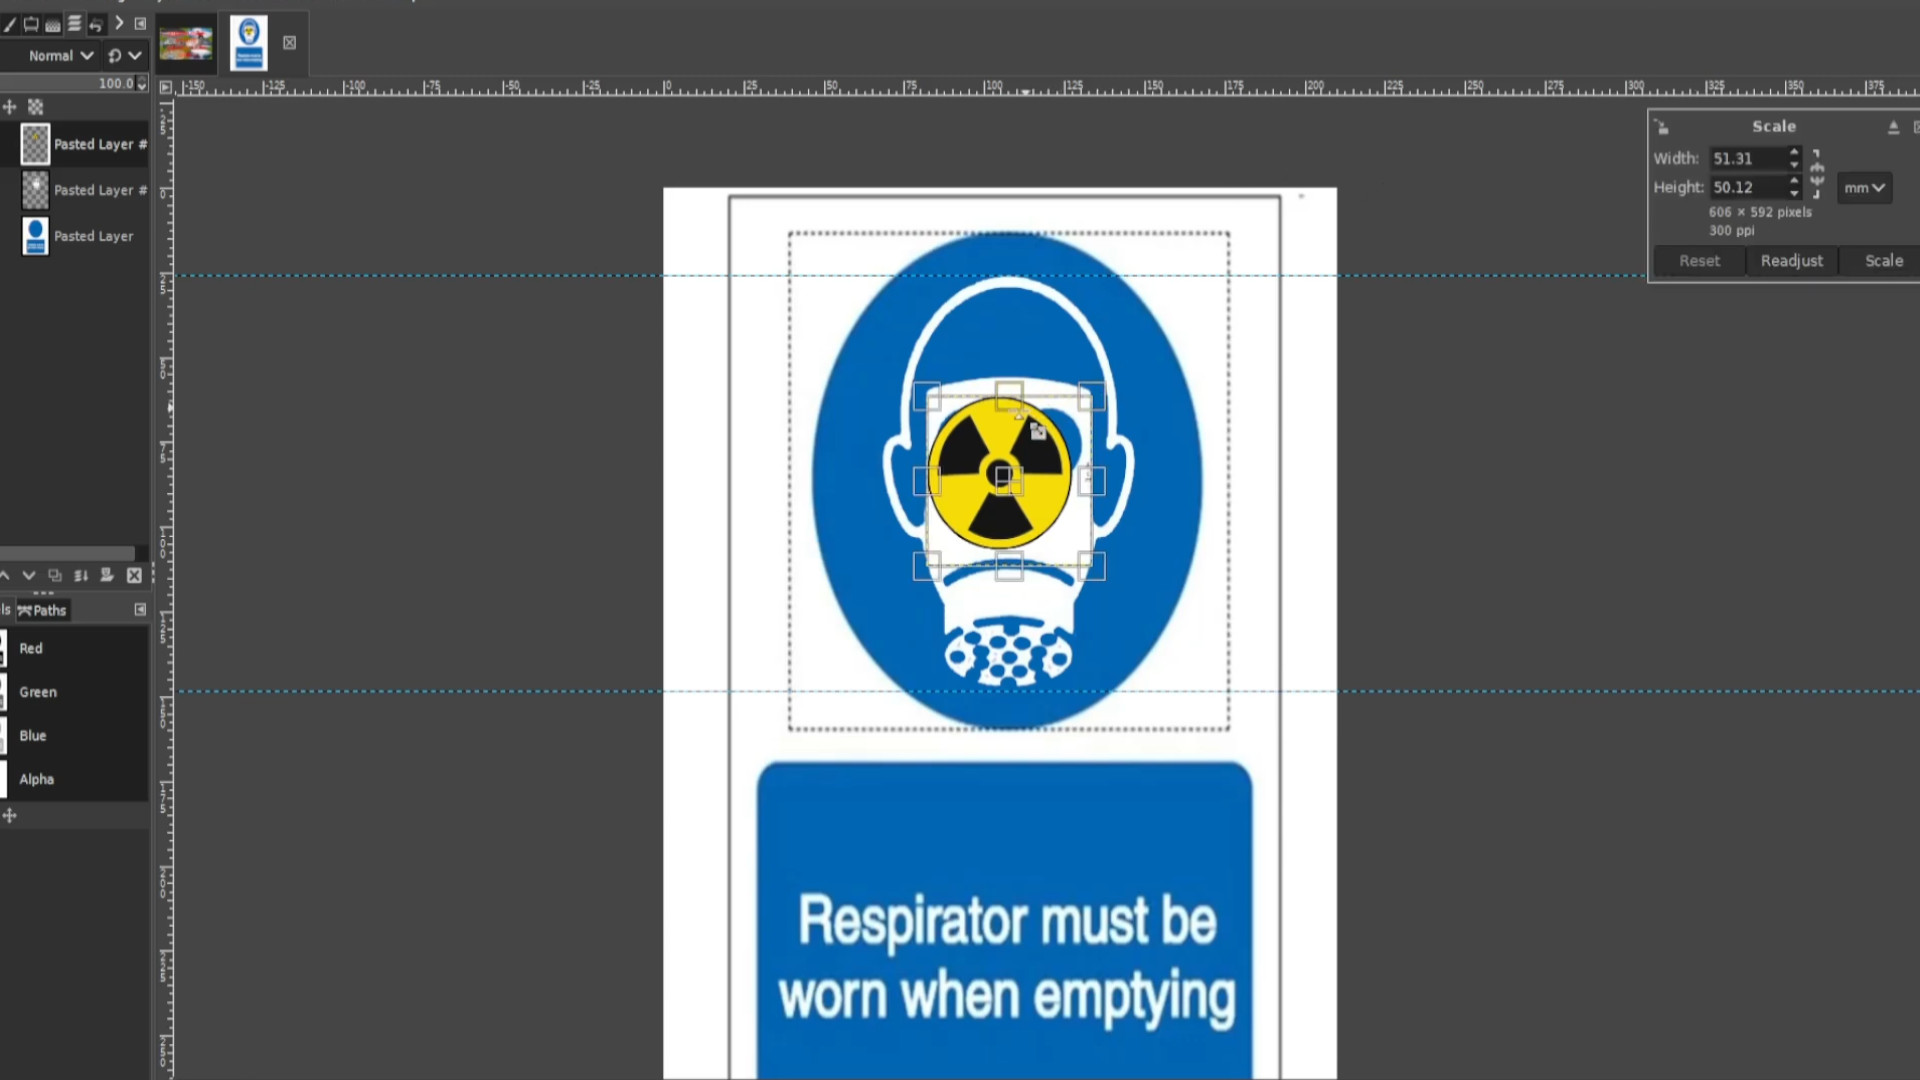
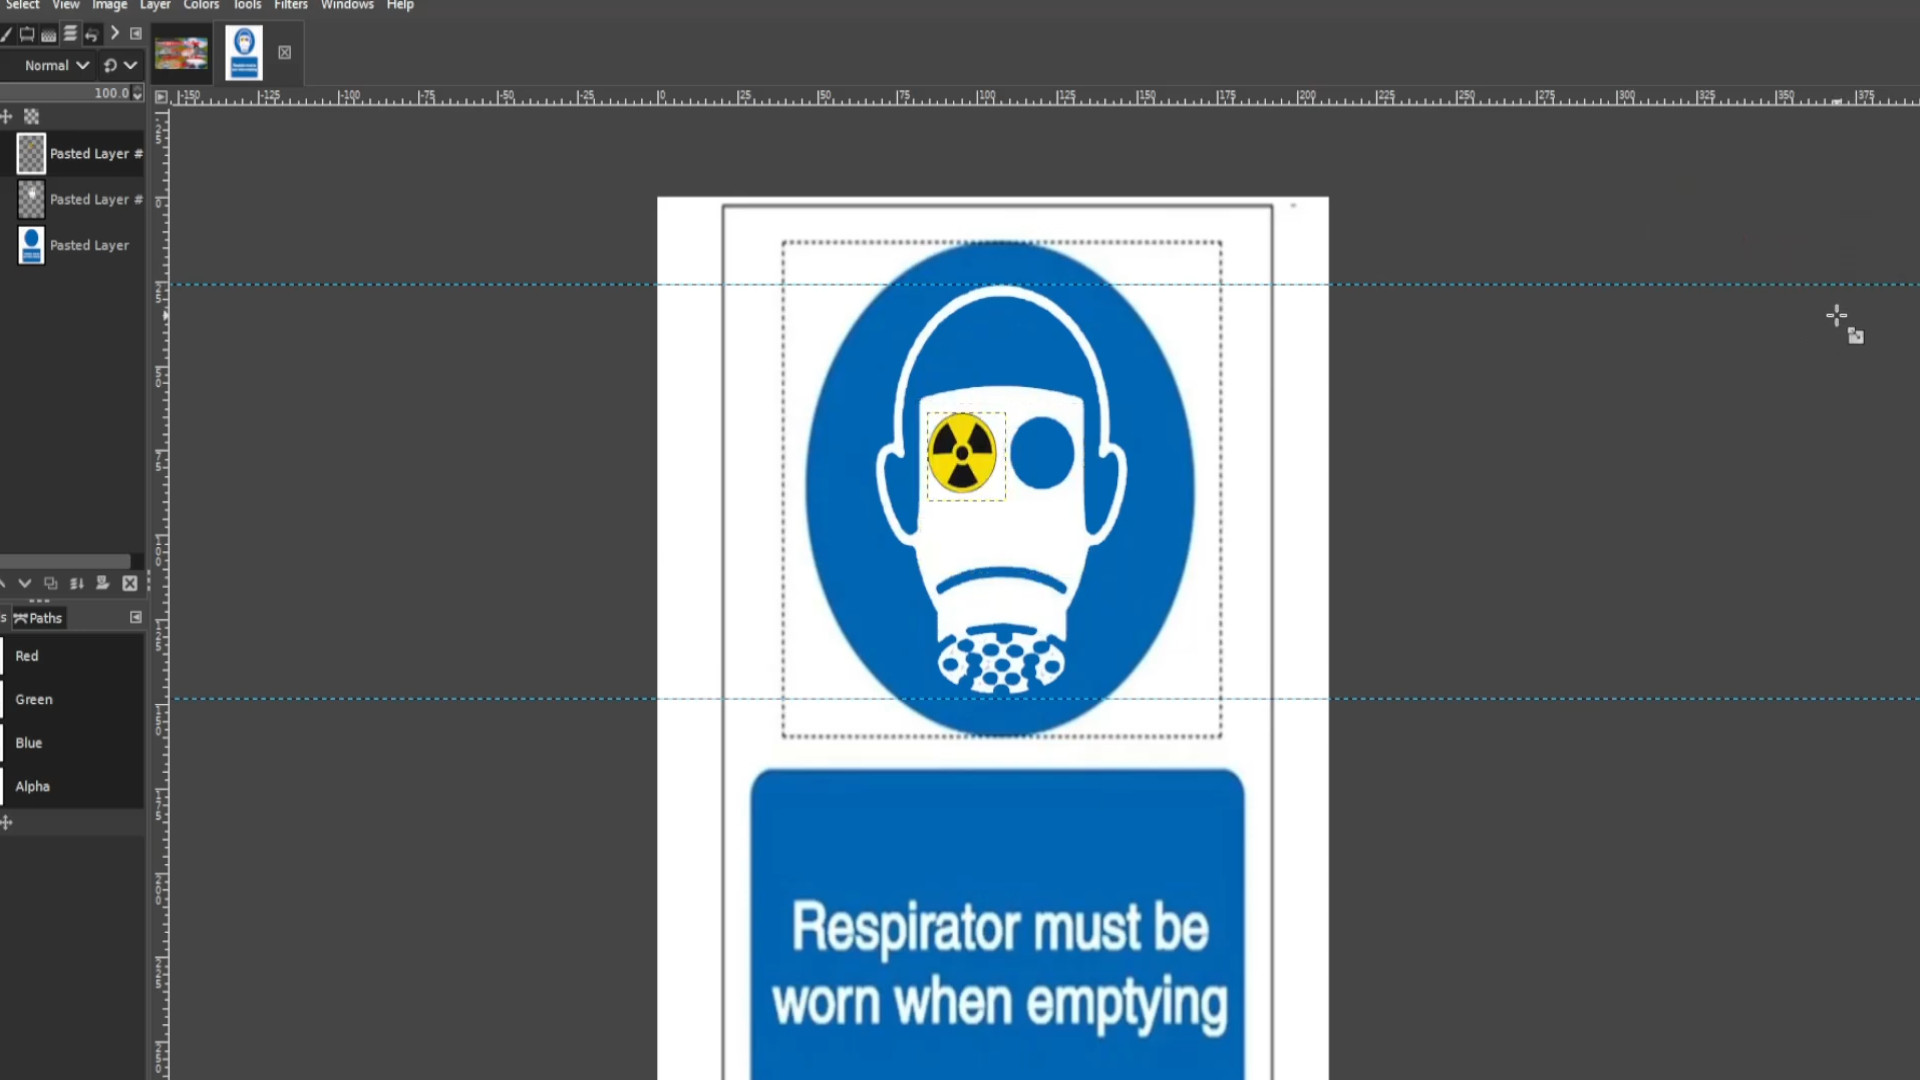
With the top layer selected>>>RIGHT CLICK on>>>FIRST LAYER and>>>PRESS DUPLICATE LAYER and use the >>>MOVE TOOL on any of the >>>FIRST TWO LAYERS and >>>MOVE the layer into the other eye.
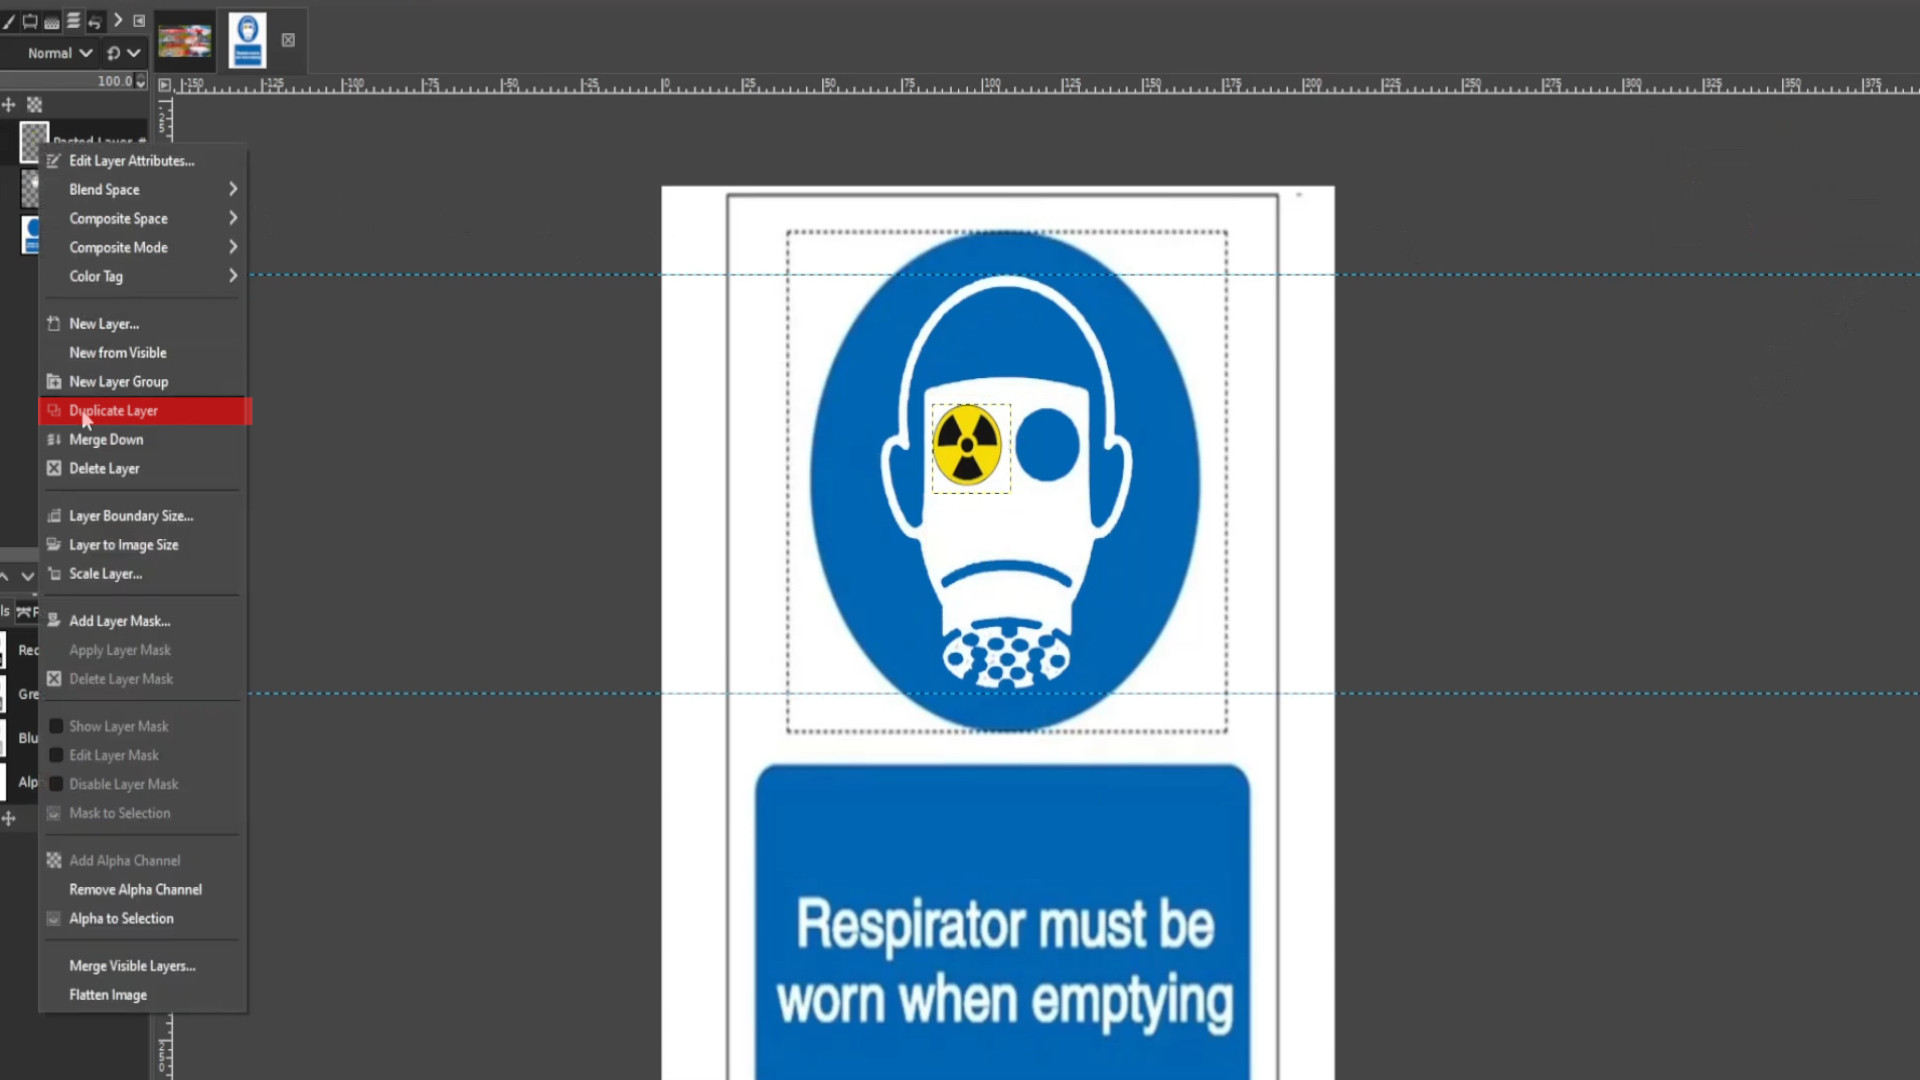
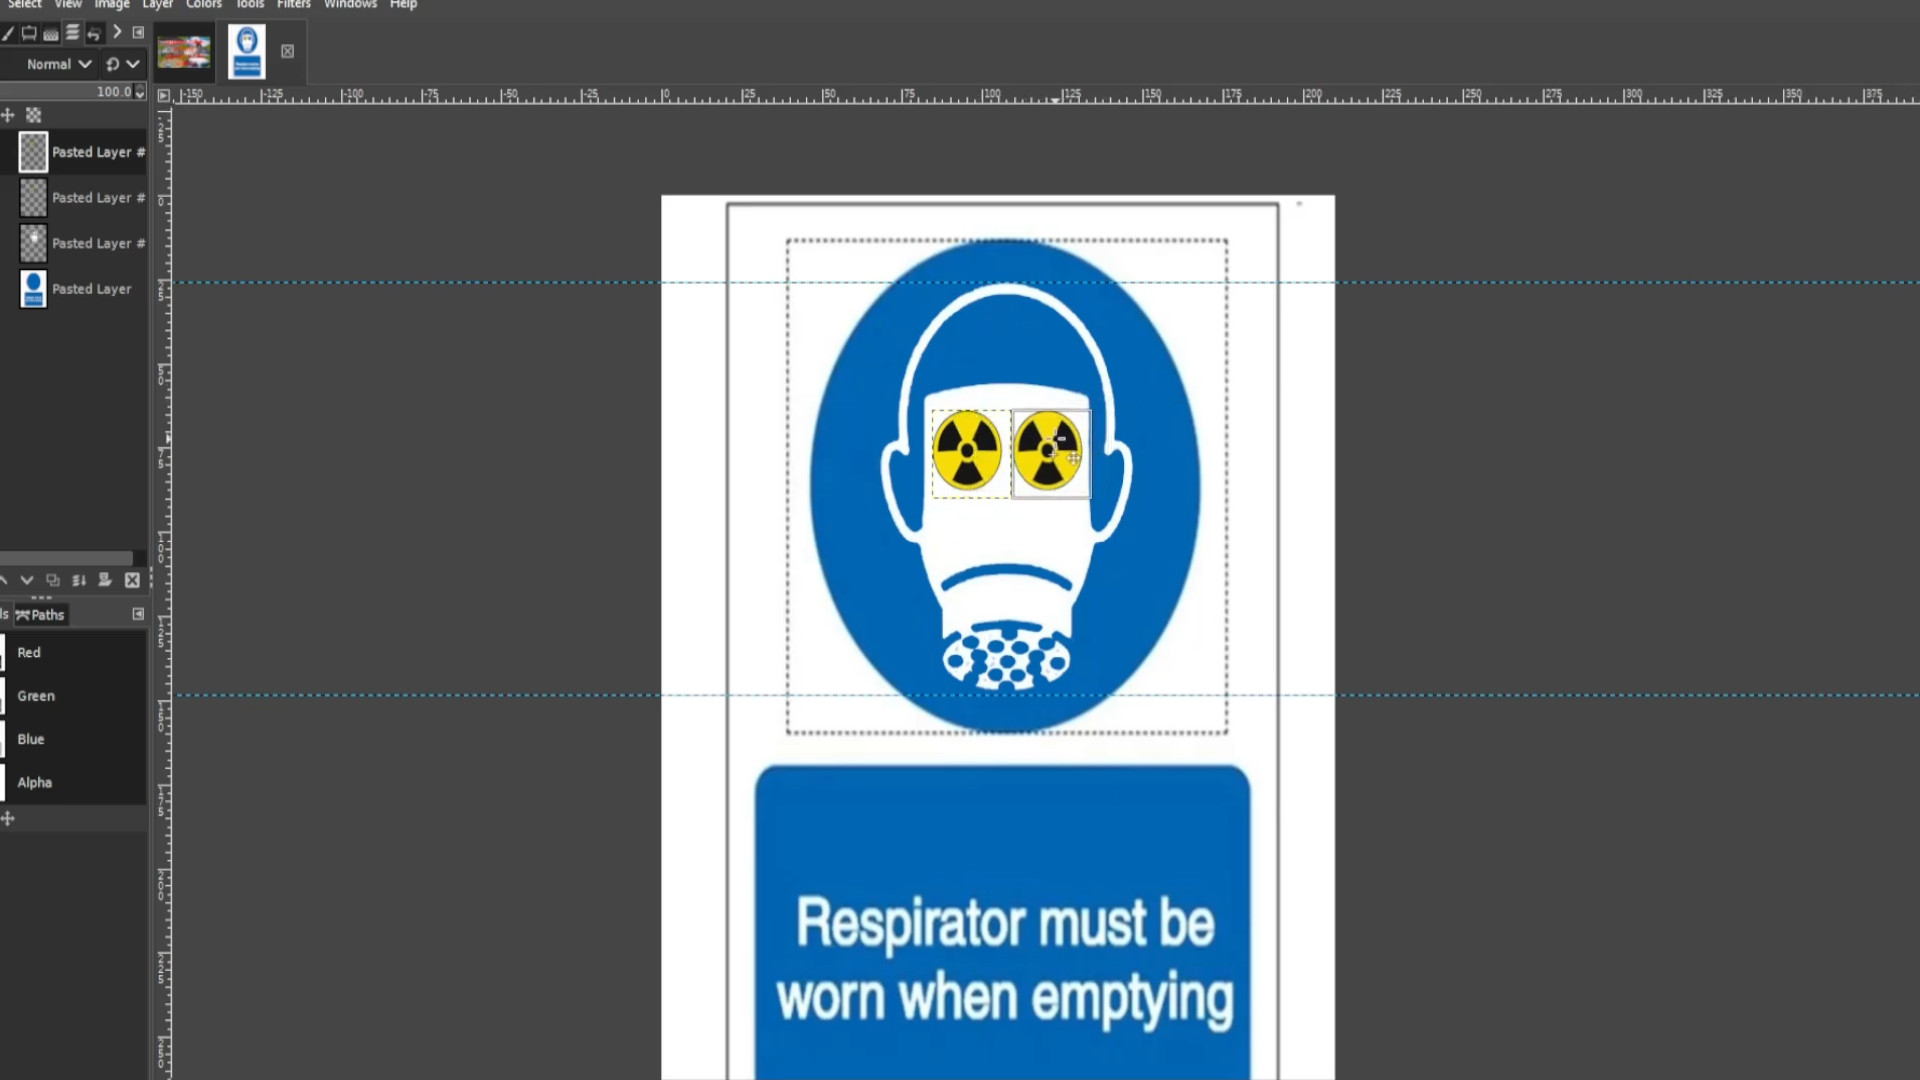
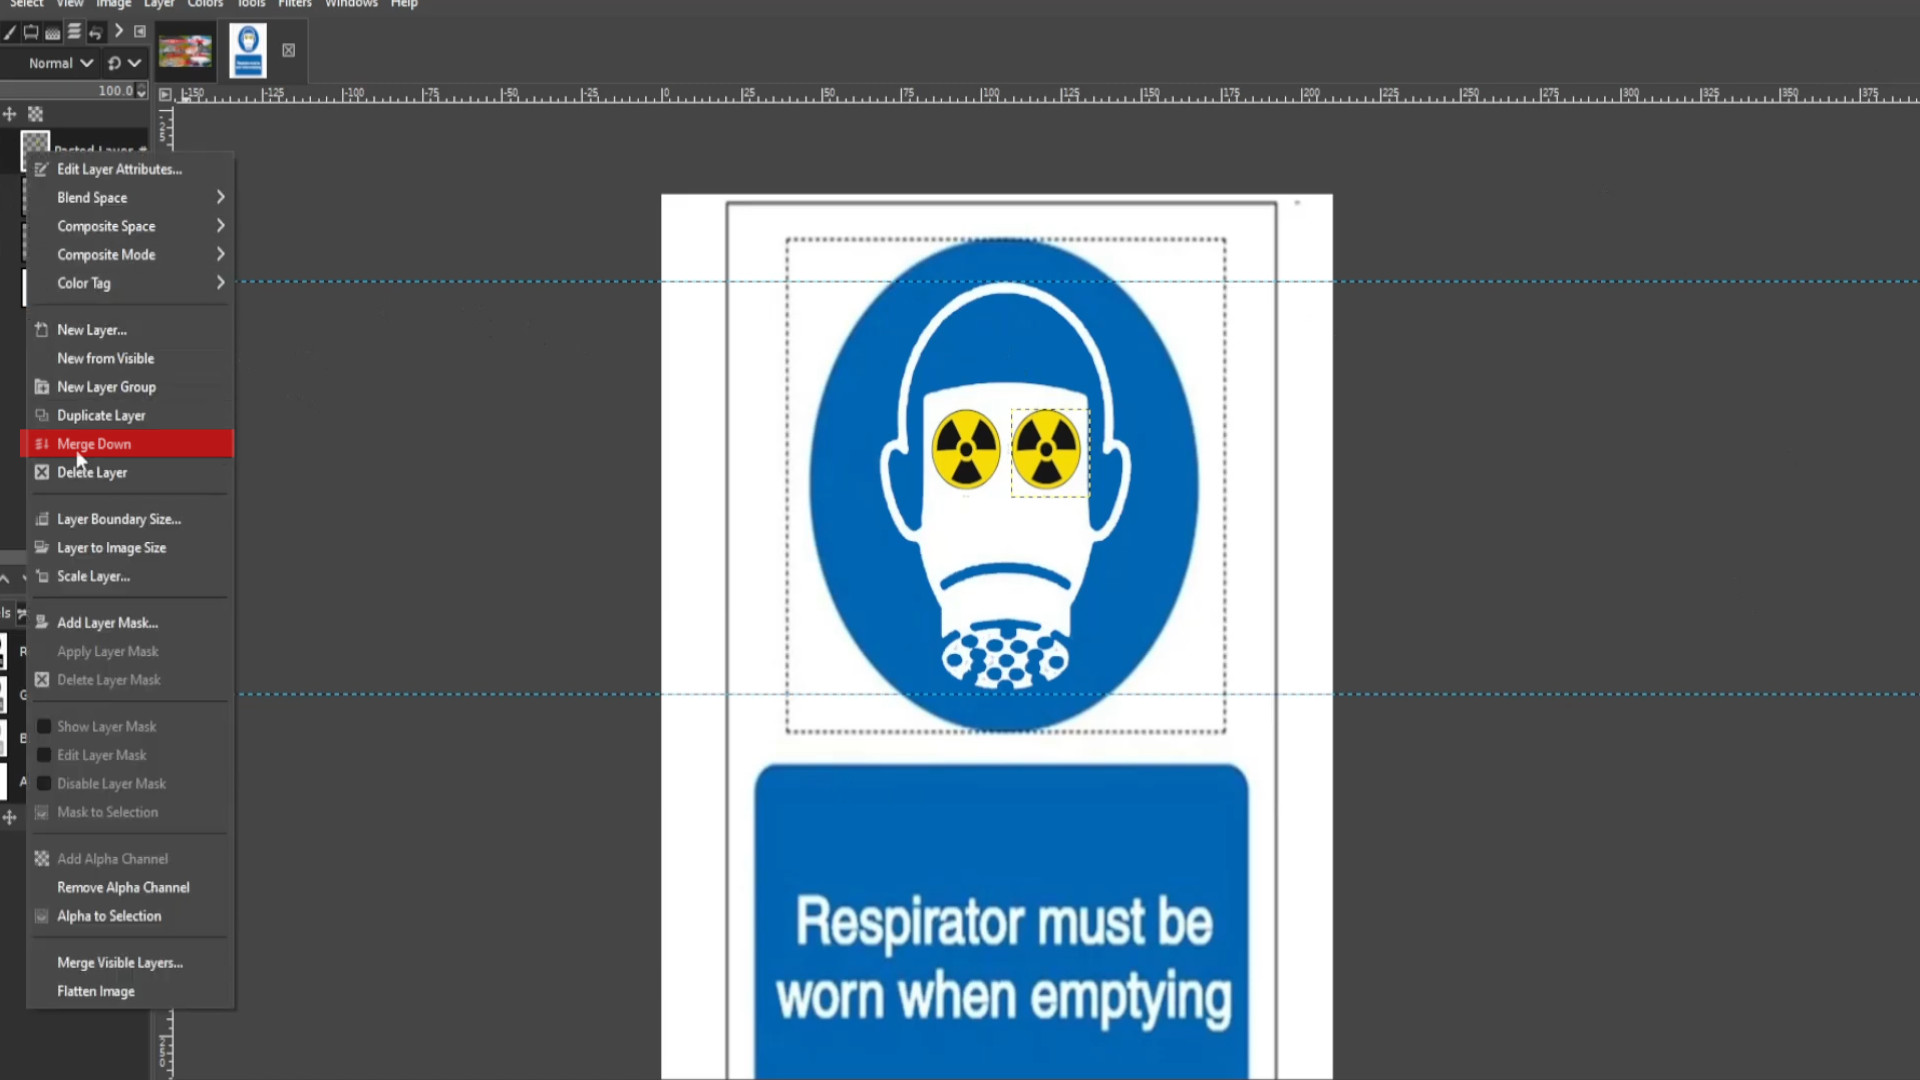
With the top layer selected>>>RIGHT CLICK on>>>FIRST LAYER and>>>PRESS>>>MERGE DOWN and use the >>>OPACITY in the >>>TOP of the>>>LAYERS TAB on the>>>LEFT HAND SIDE >>>to make the layer>>>INVISBLE>>>EXPORT AS file and slowly use the>>>OPACITY to bring the picture back in.
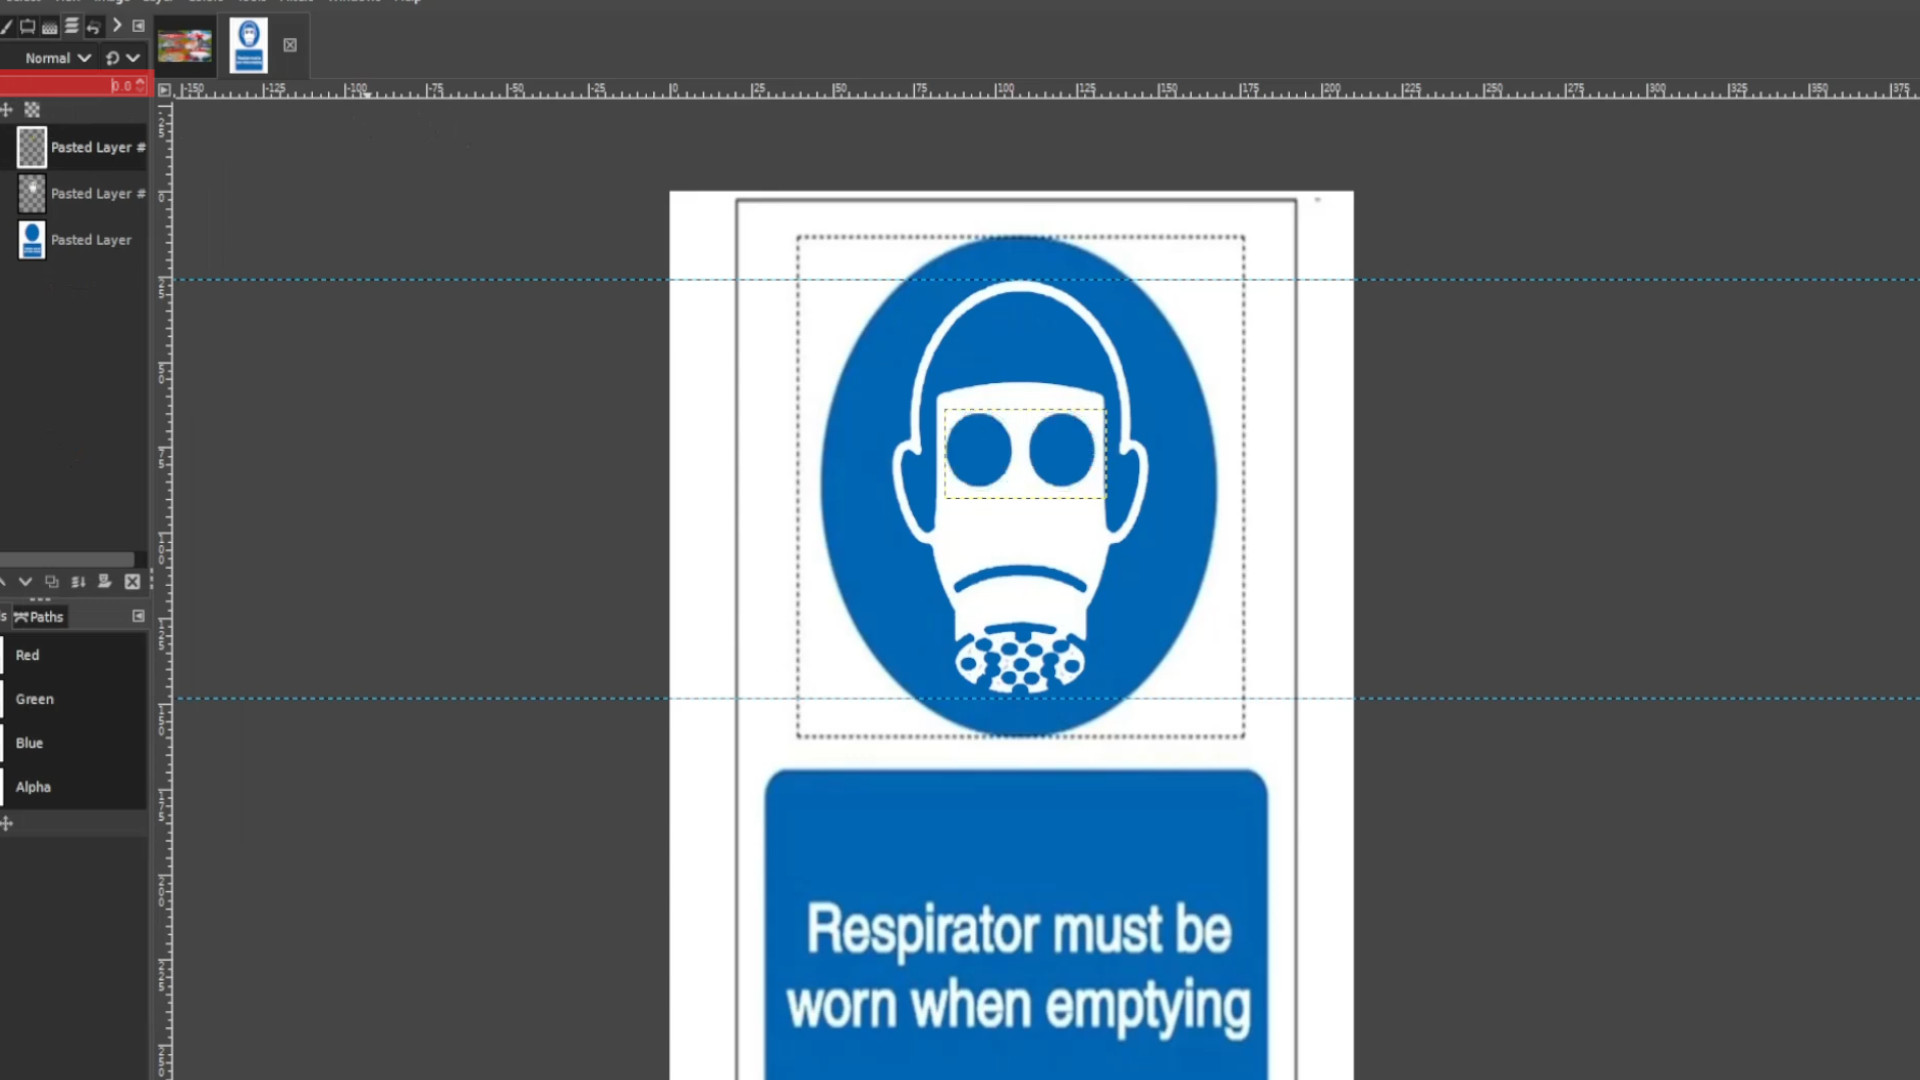
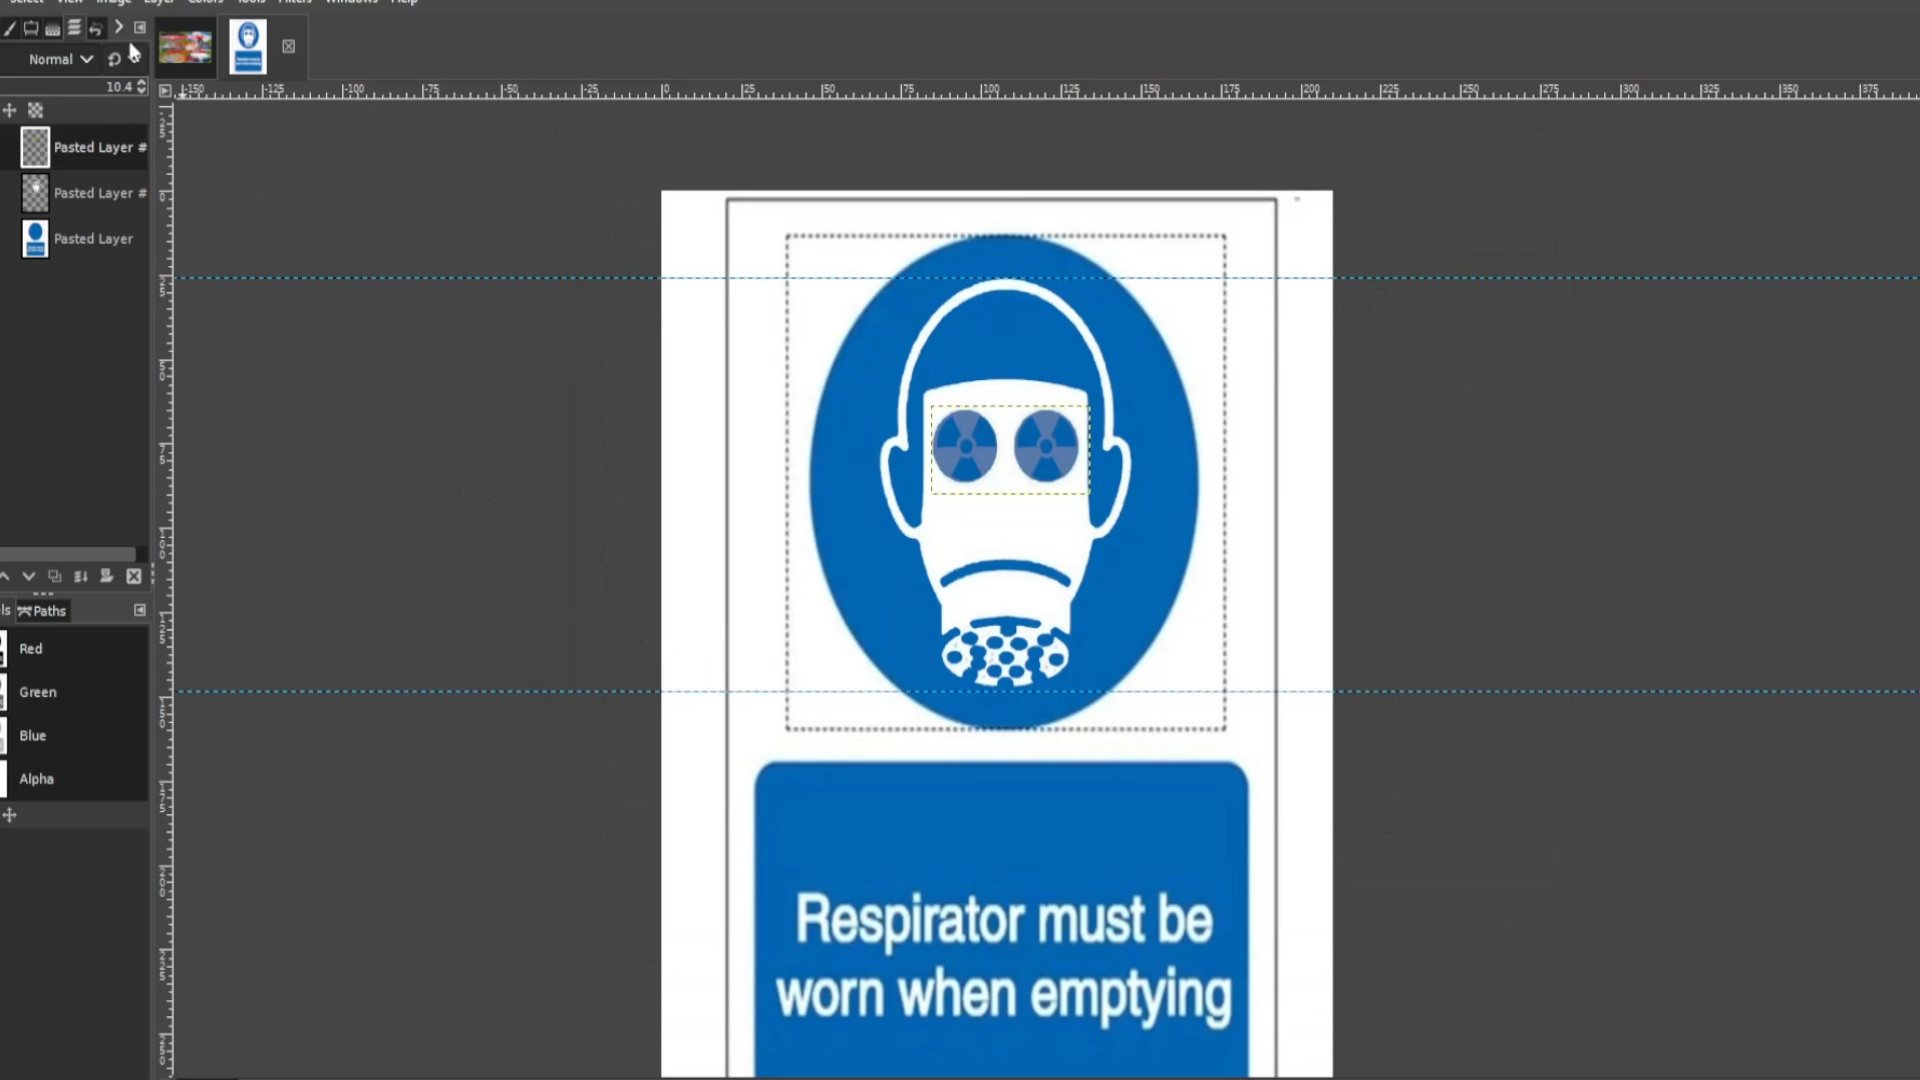
Repeat >>>STEP 25 until the layer is in its original state slowly bring in the>>>OPACITY back in and>>>EXPORT AS each time you changed the opacity in the>>>LAYERS SECTION.
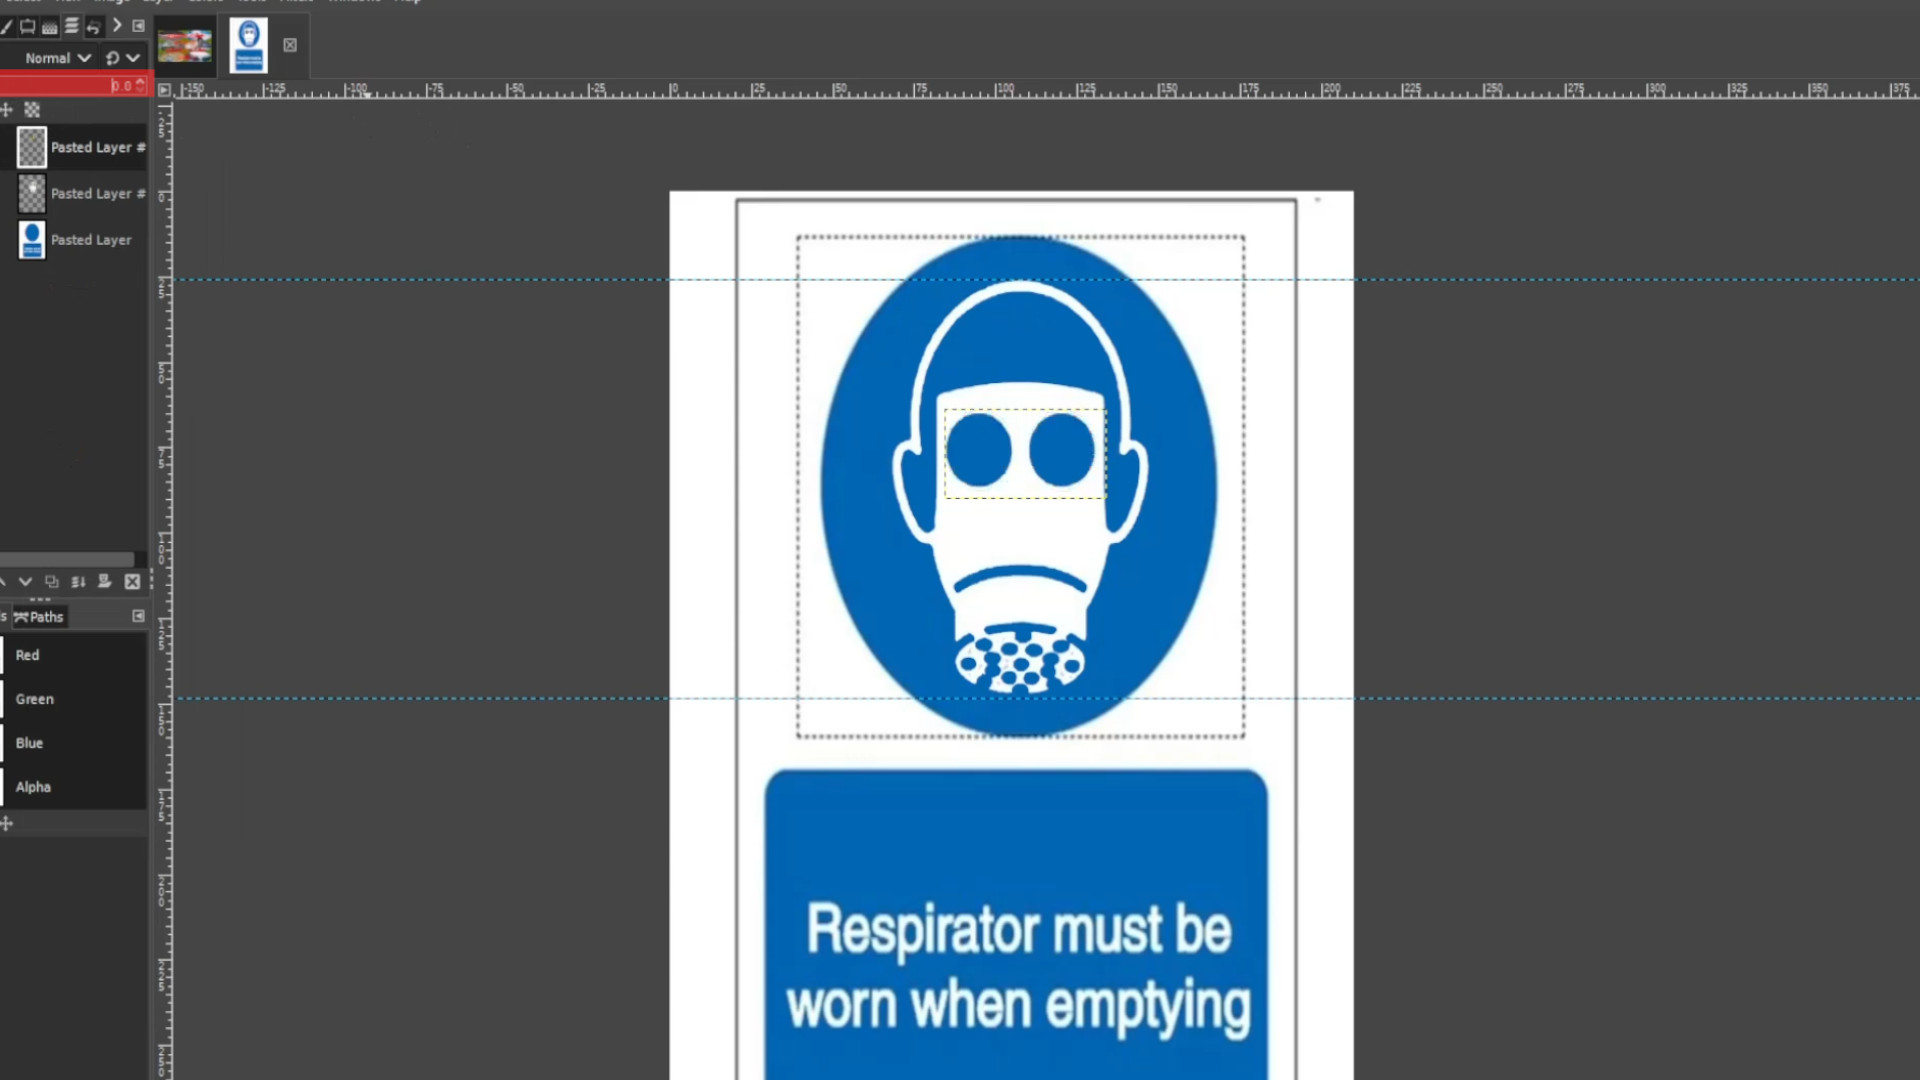
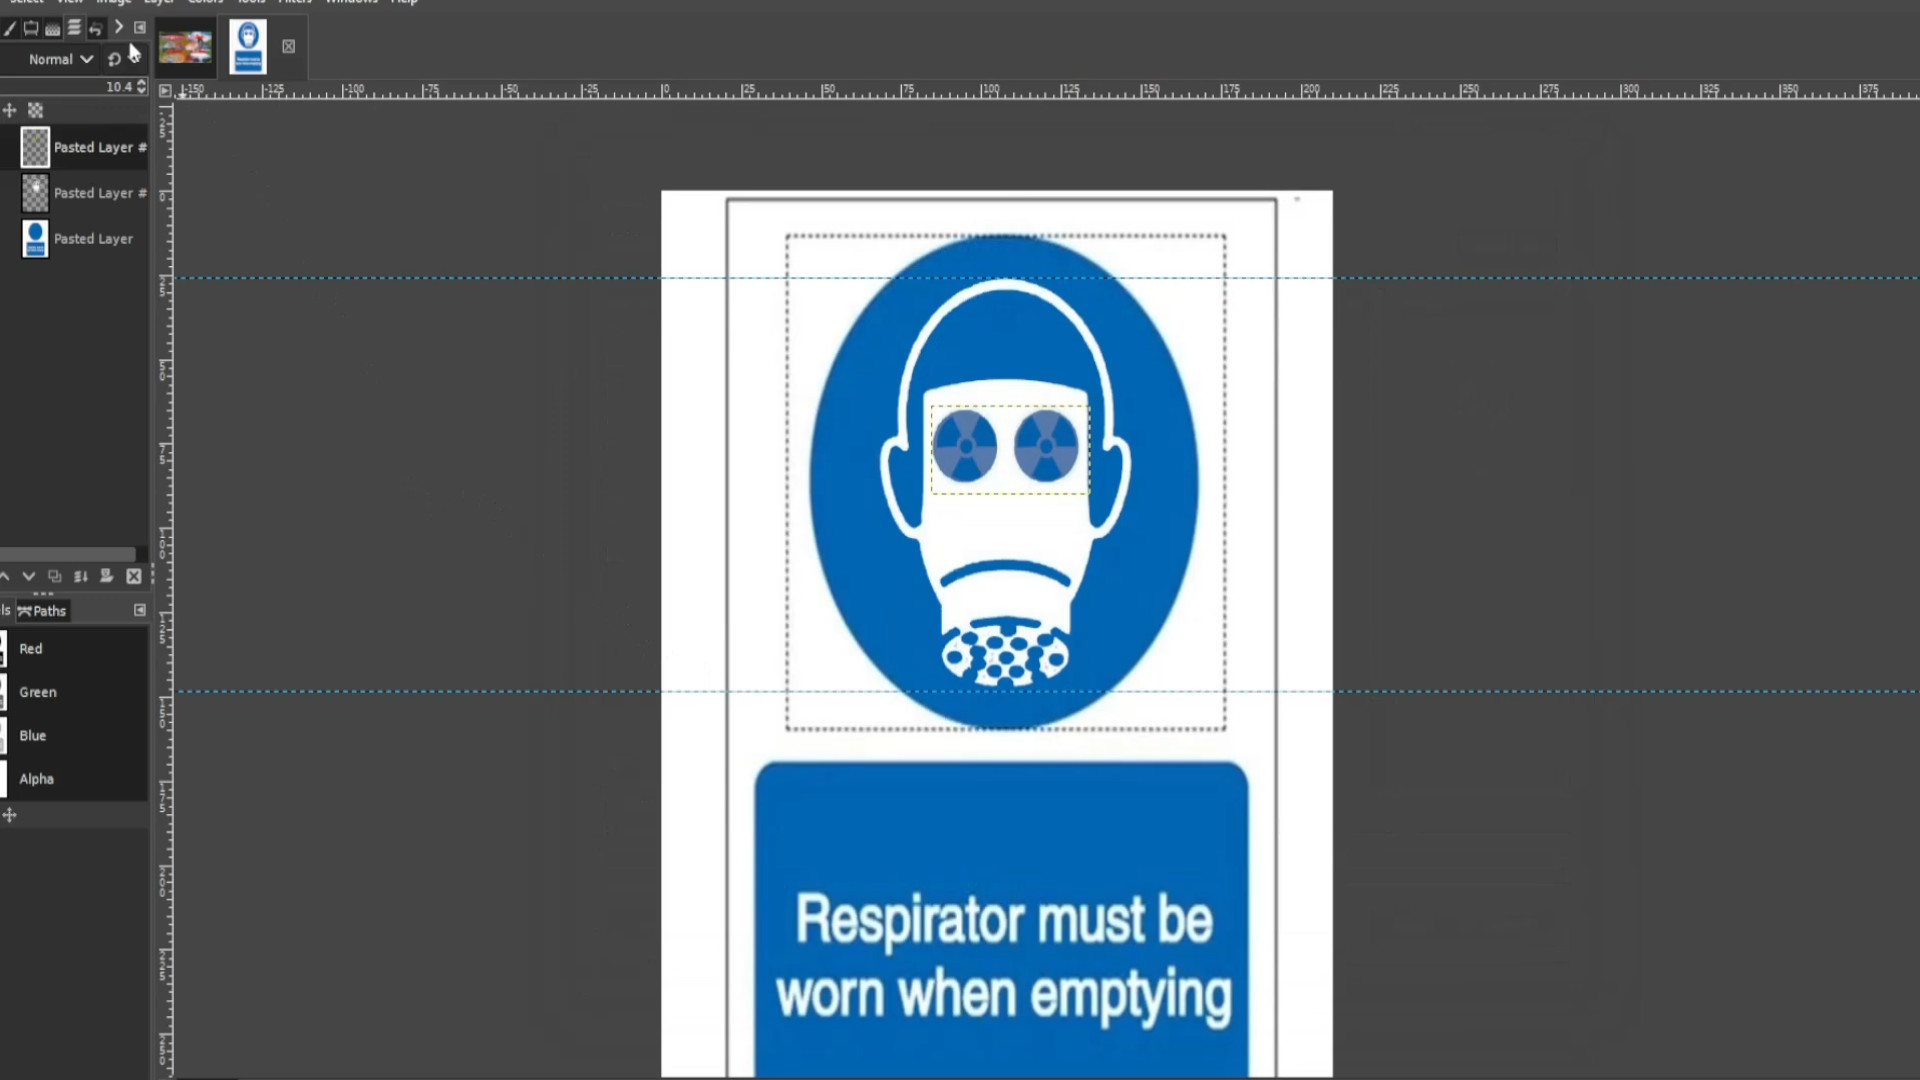
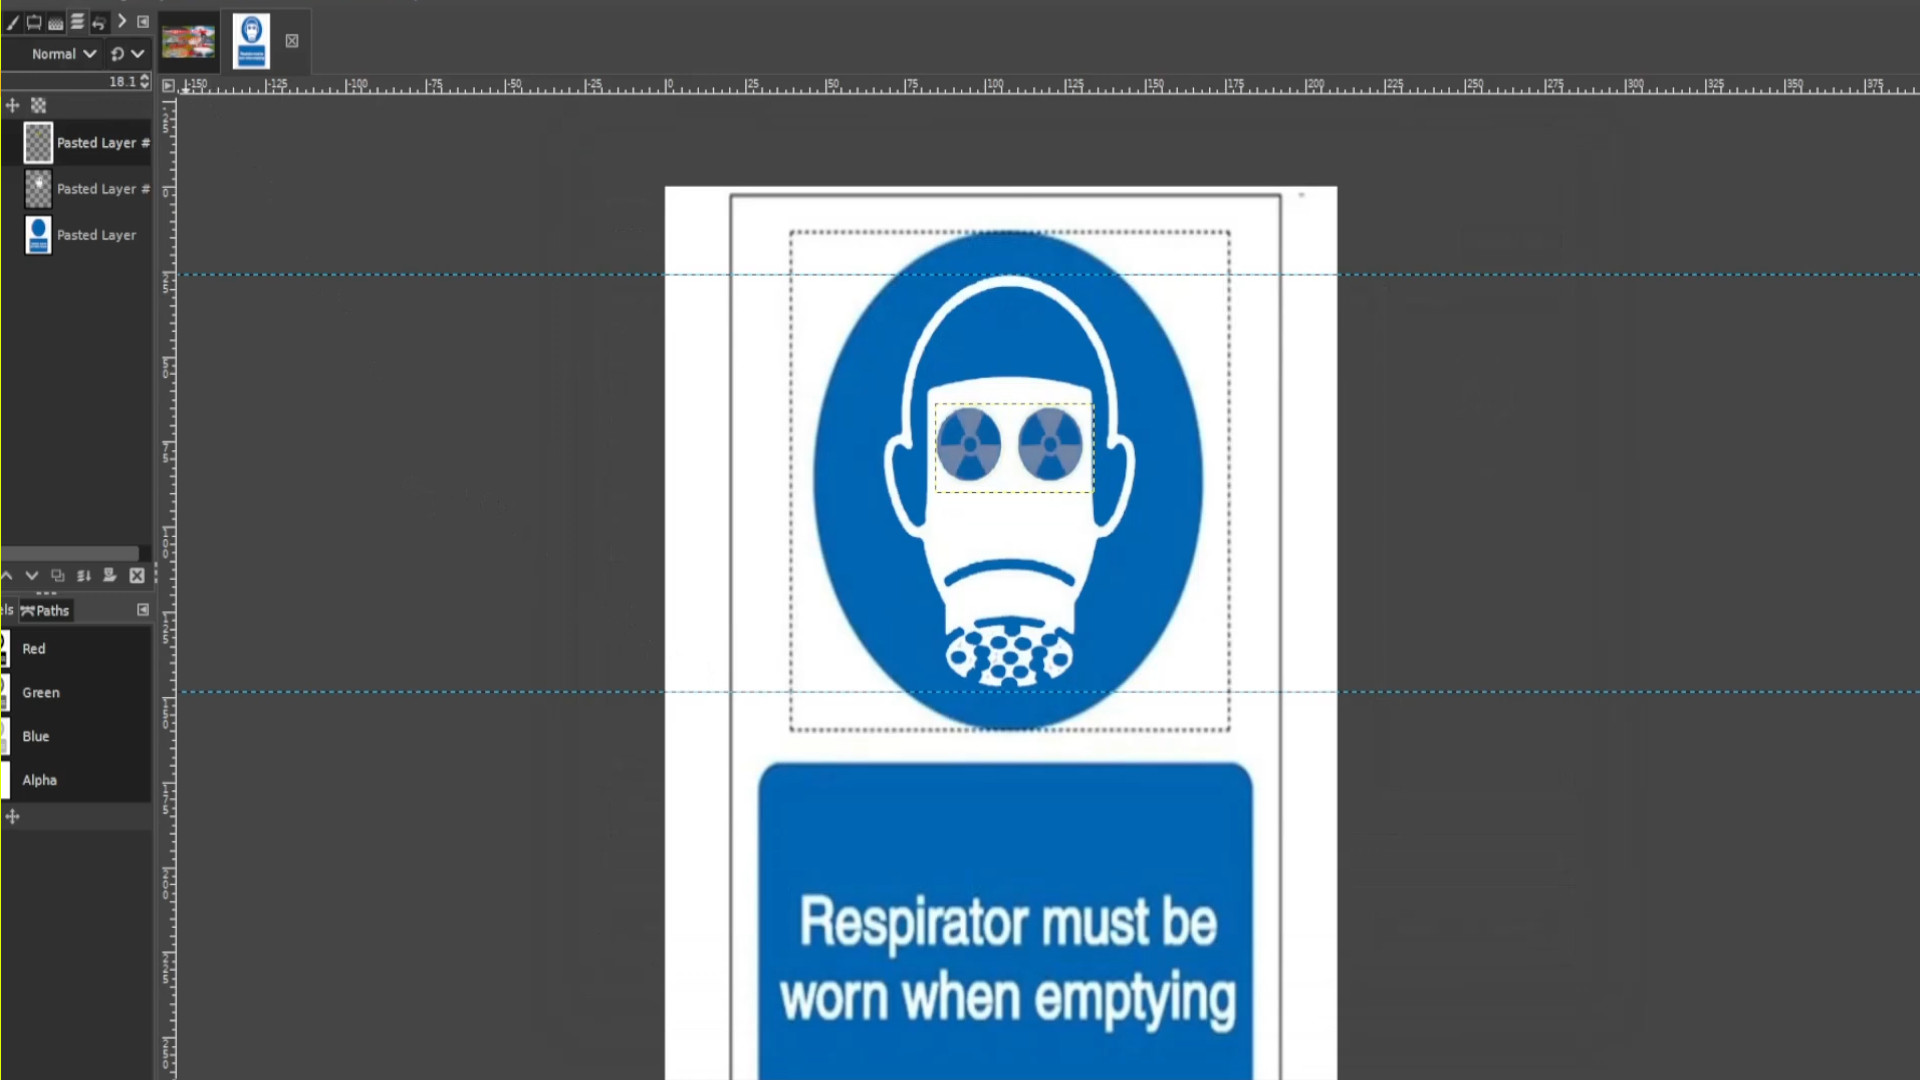
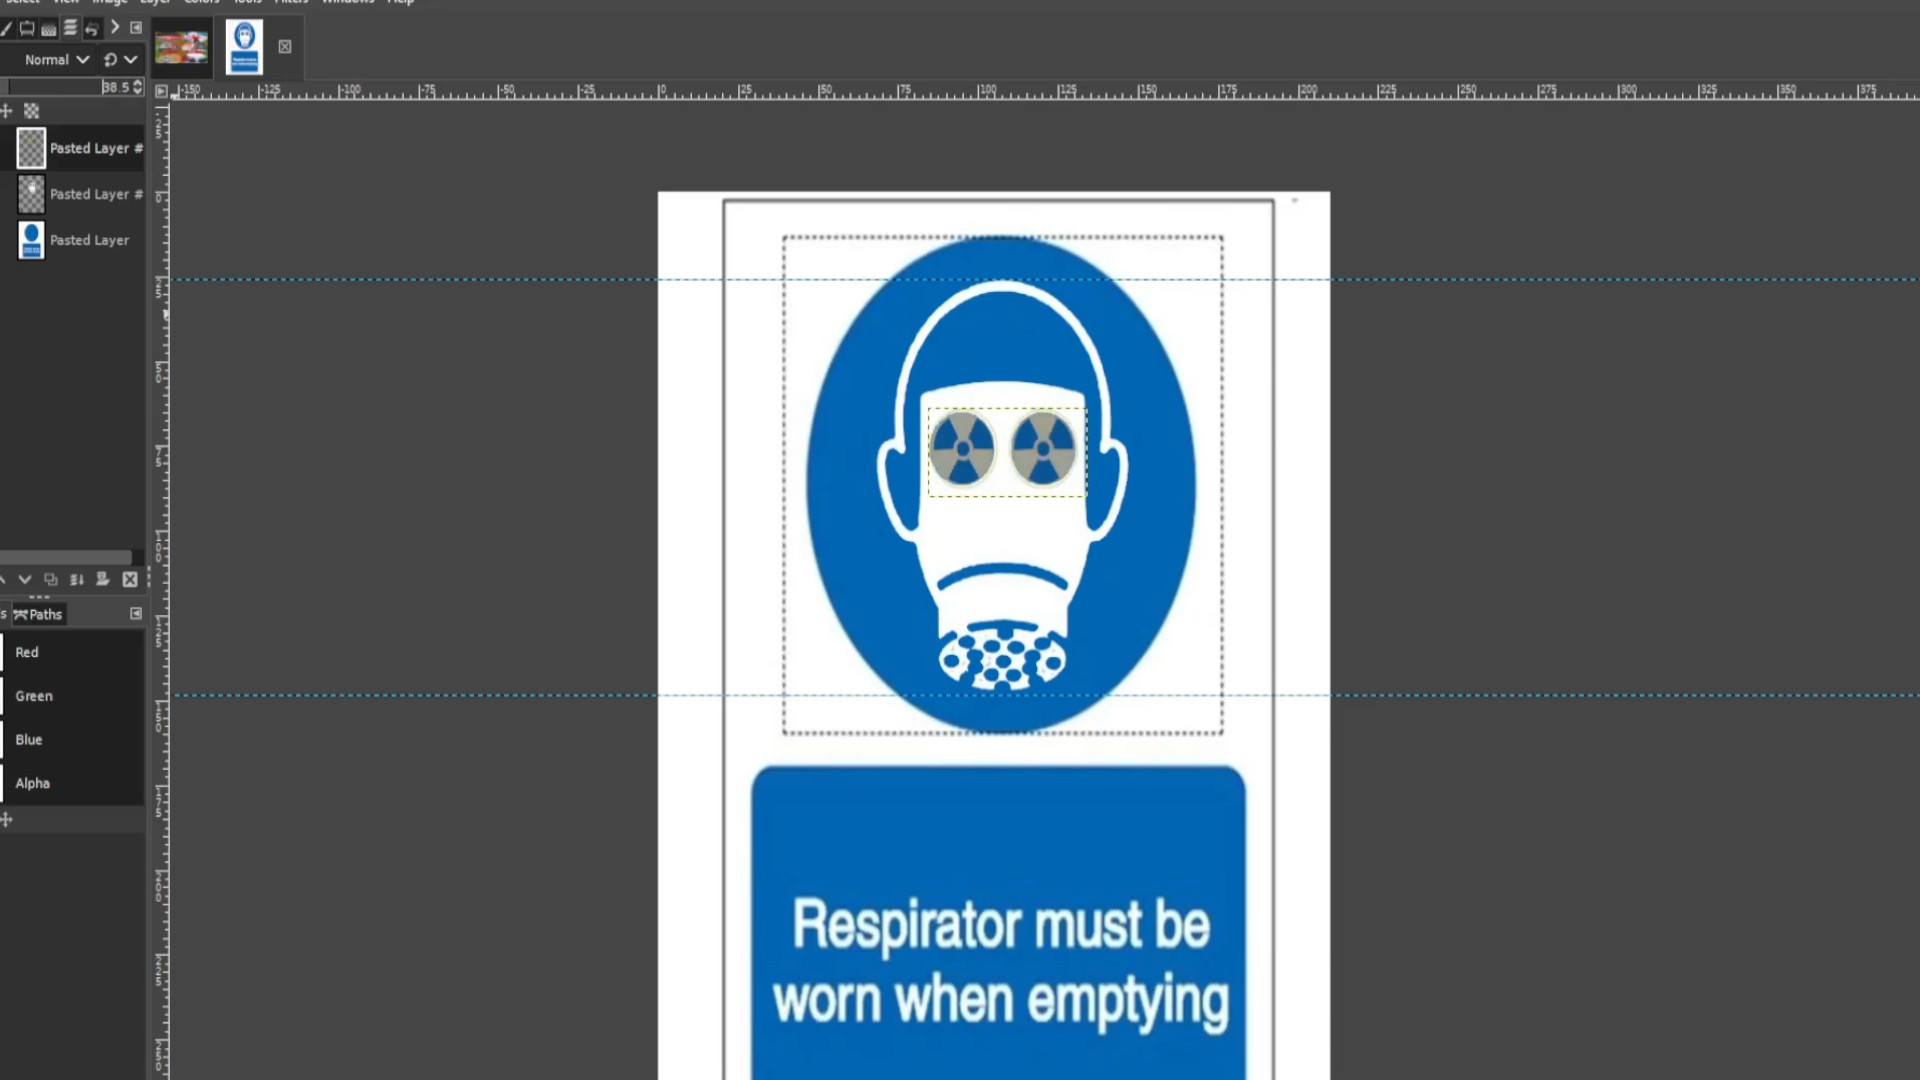
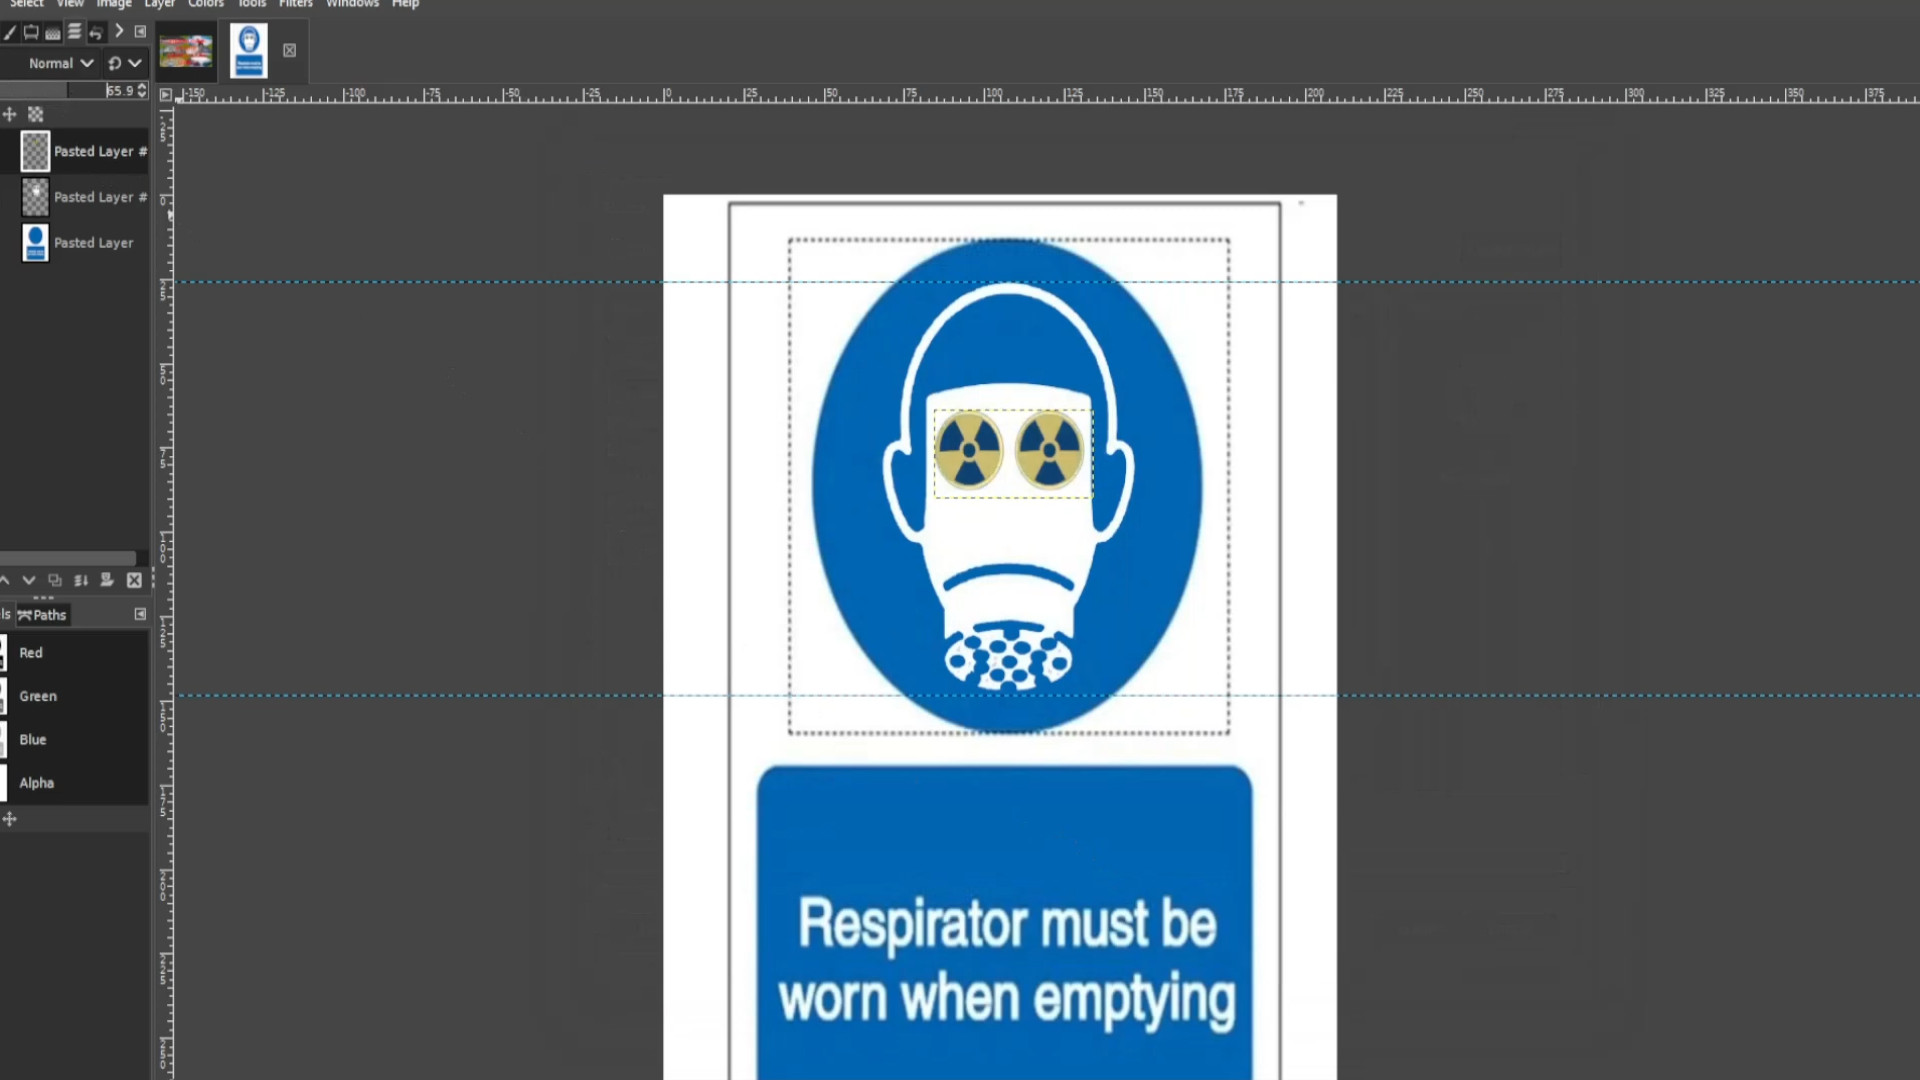
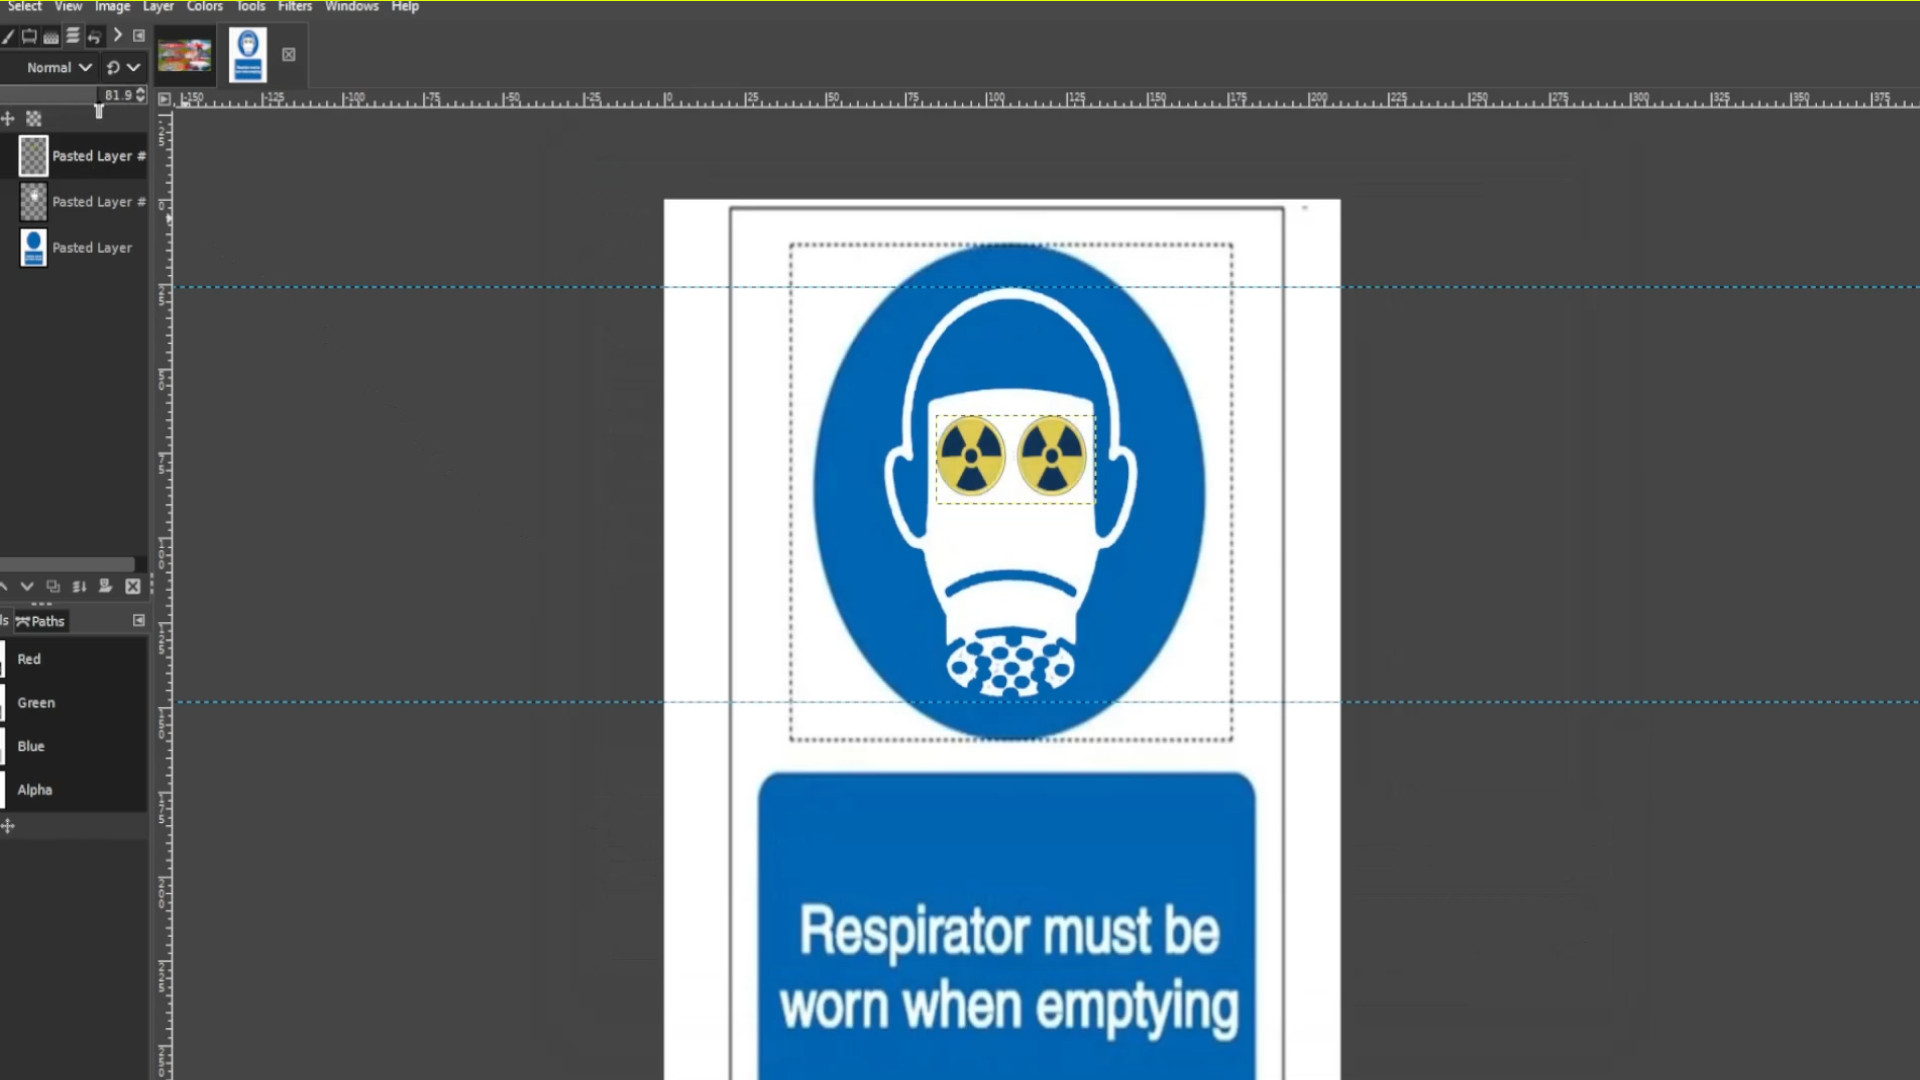
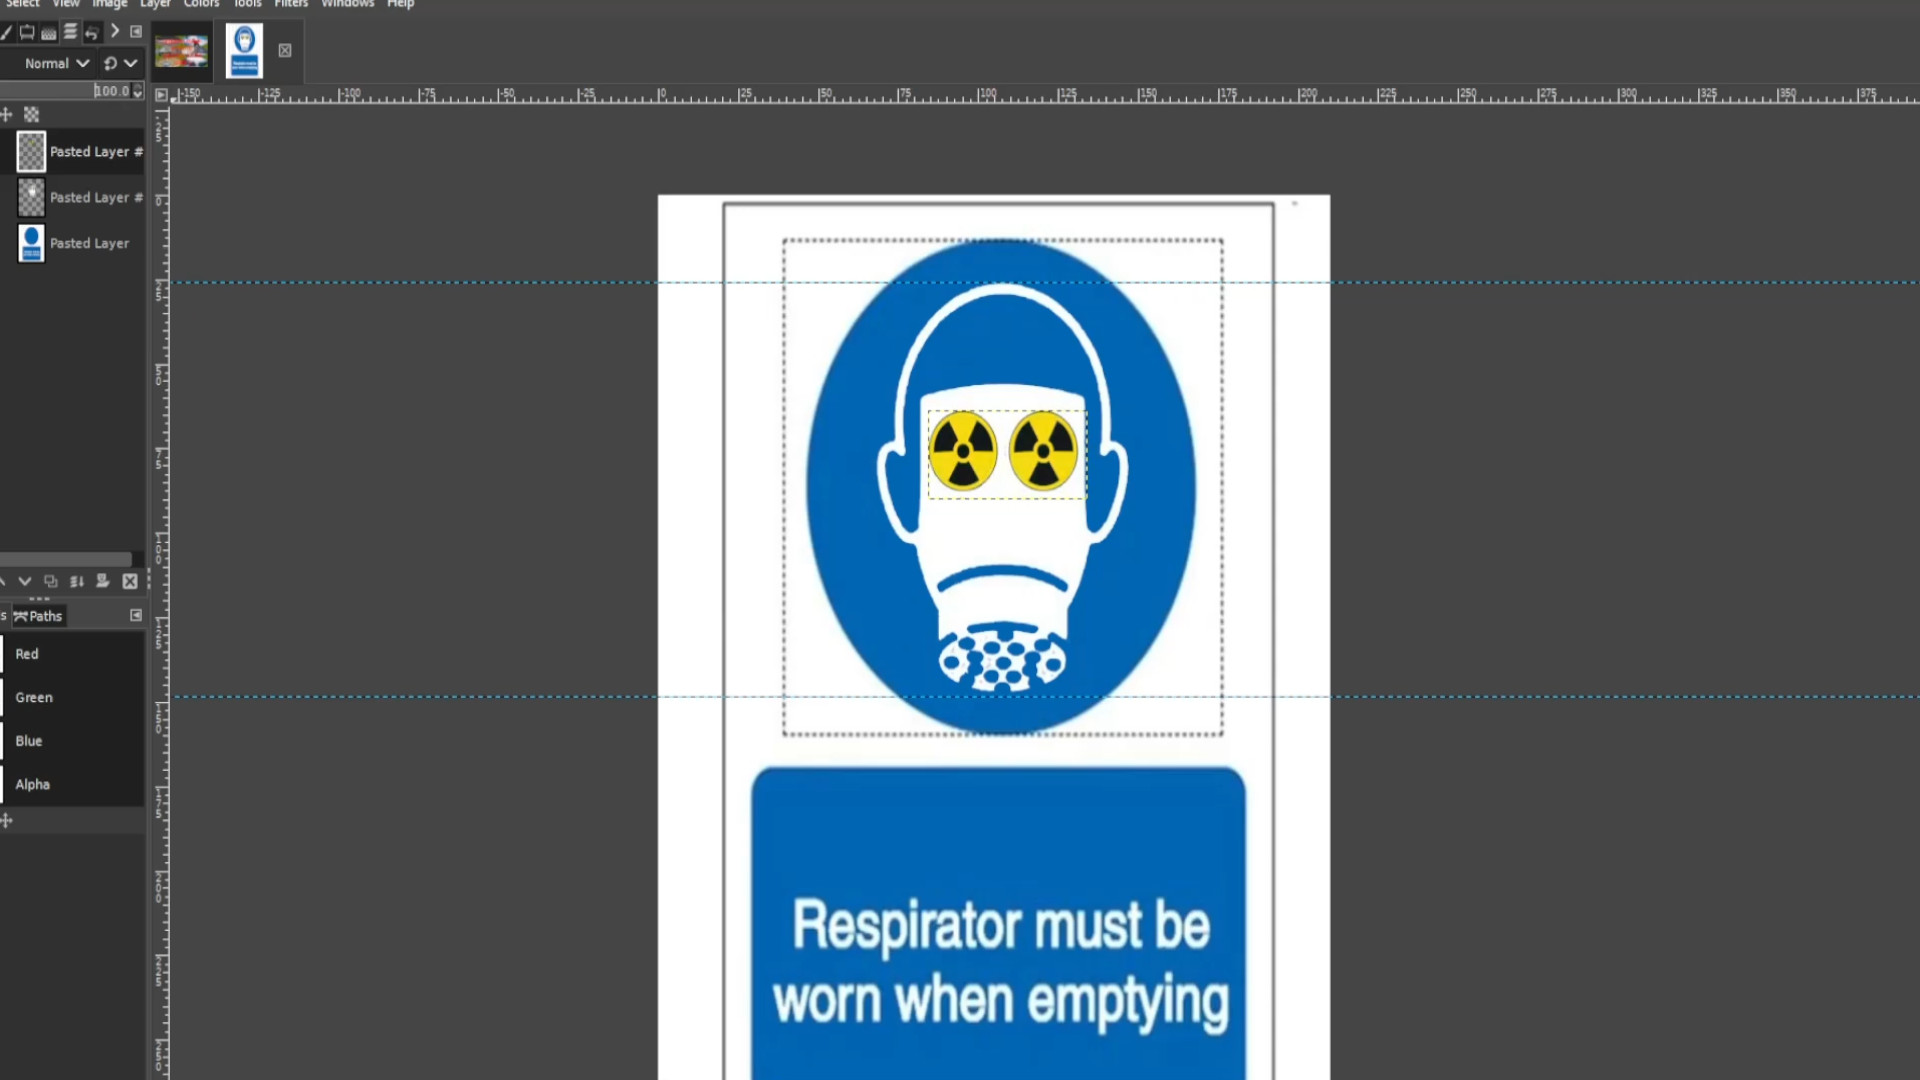
Go to>>>EDIT>>>UNDO HISTORY and>>>UNDO just before you merged down the layers.
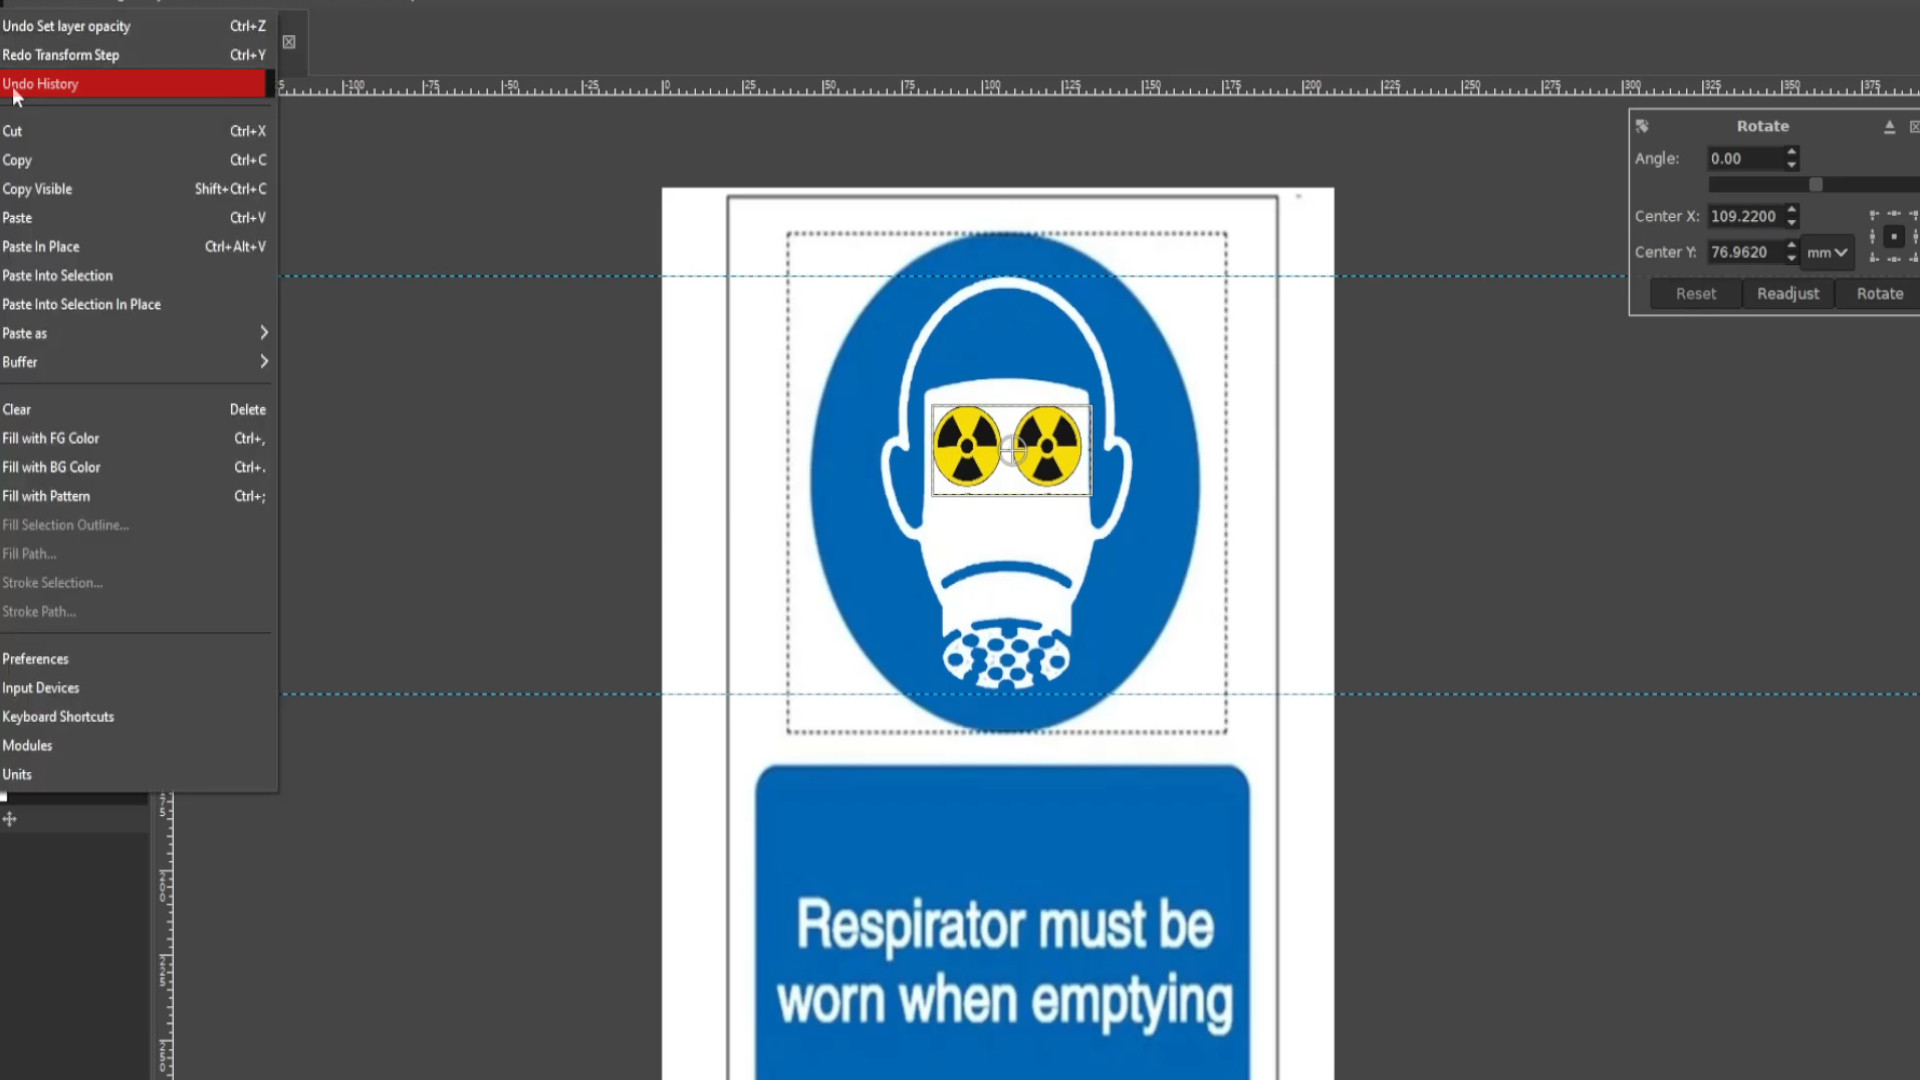
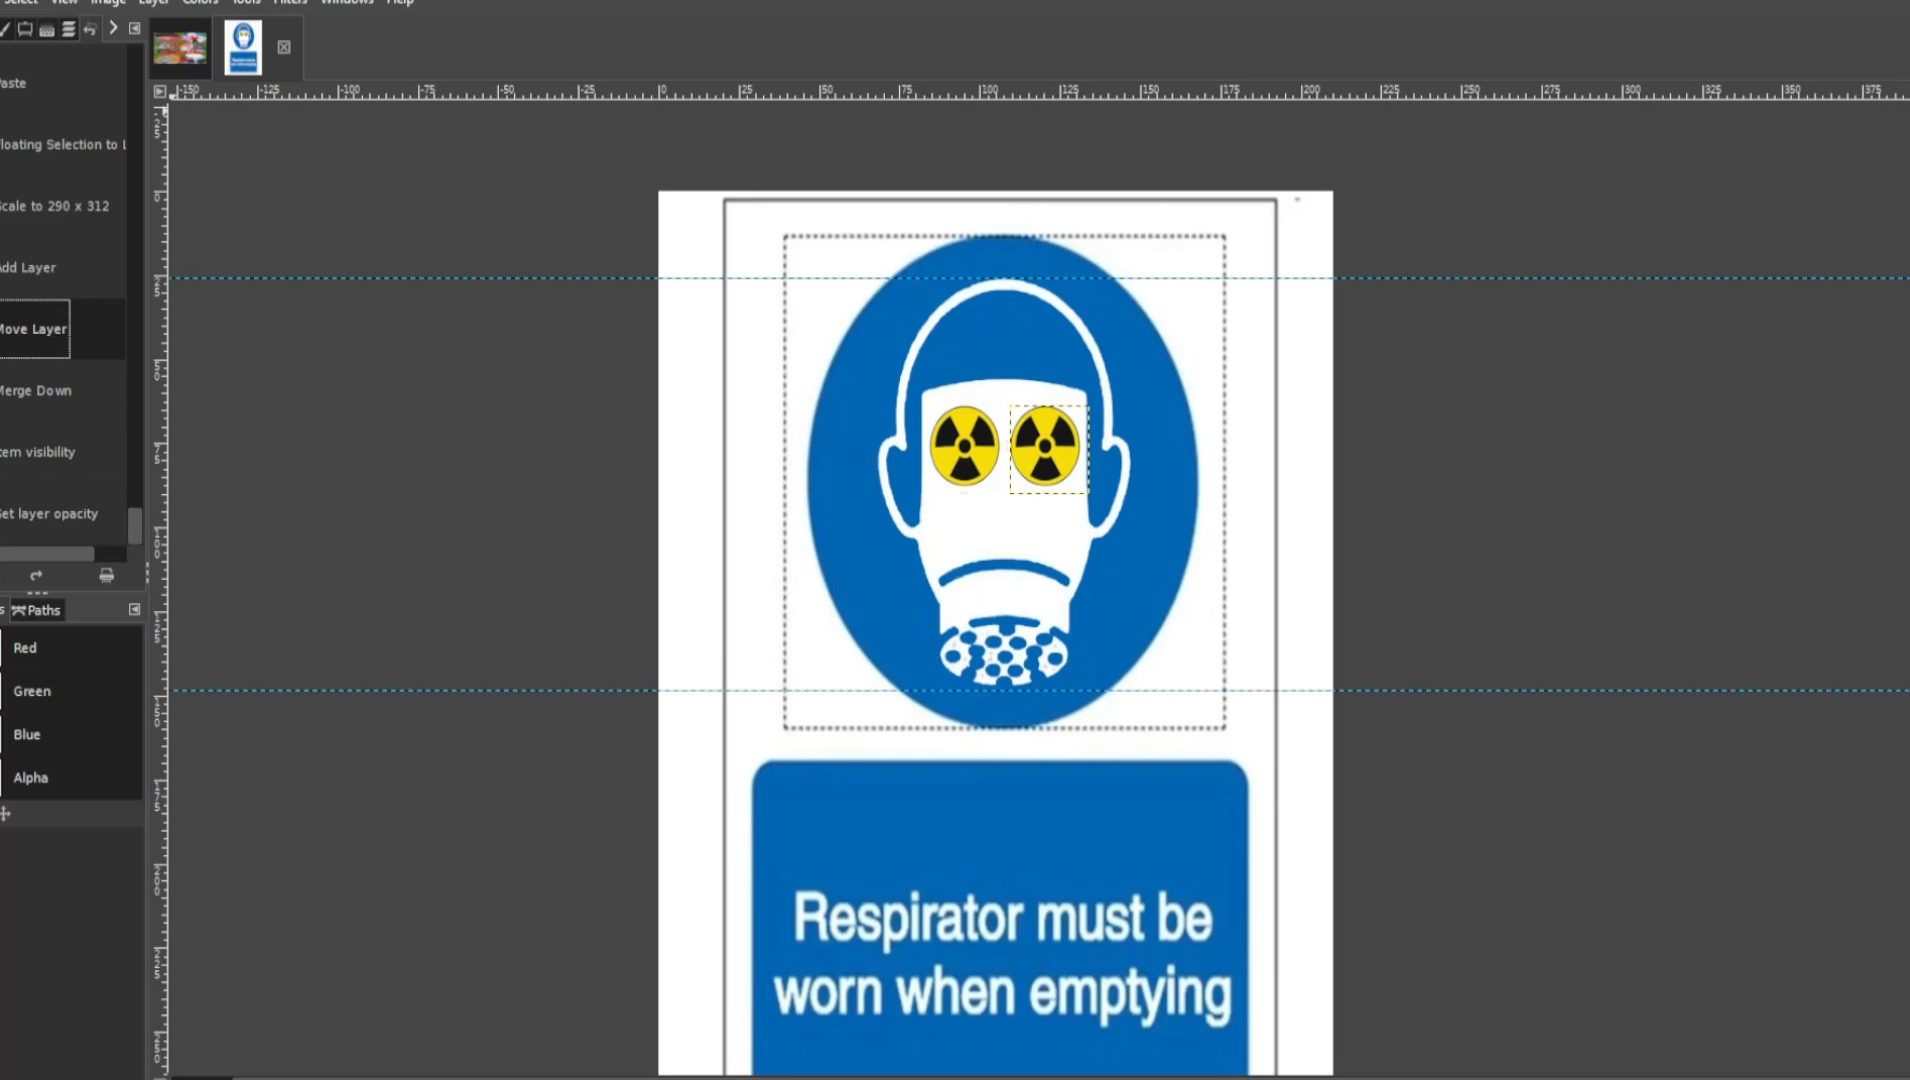
With the>>>FIRST or SECOND LAYER SELECTED use the>>>ROTATE TOOL to>>>ROTATE it slightly and>>>EXPORT AS with a different file name. You can use the shortcut by>>>HOLDING SHIFT and>>>PRESSING>>>R to rotate options to come up. If you can’t see the layers tab go to>>>WINDOWS>>>DOCKABLE DIALOGS>>>LAYERS to make it appear.
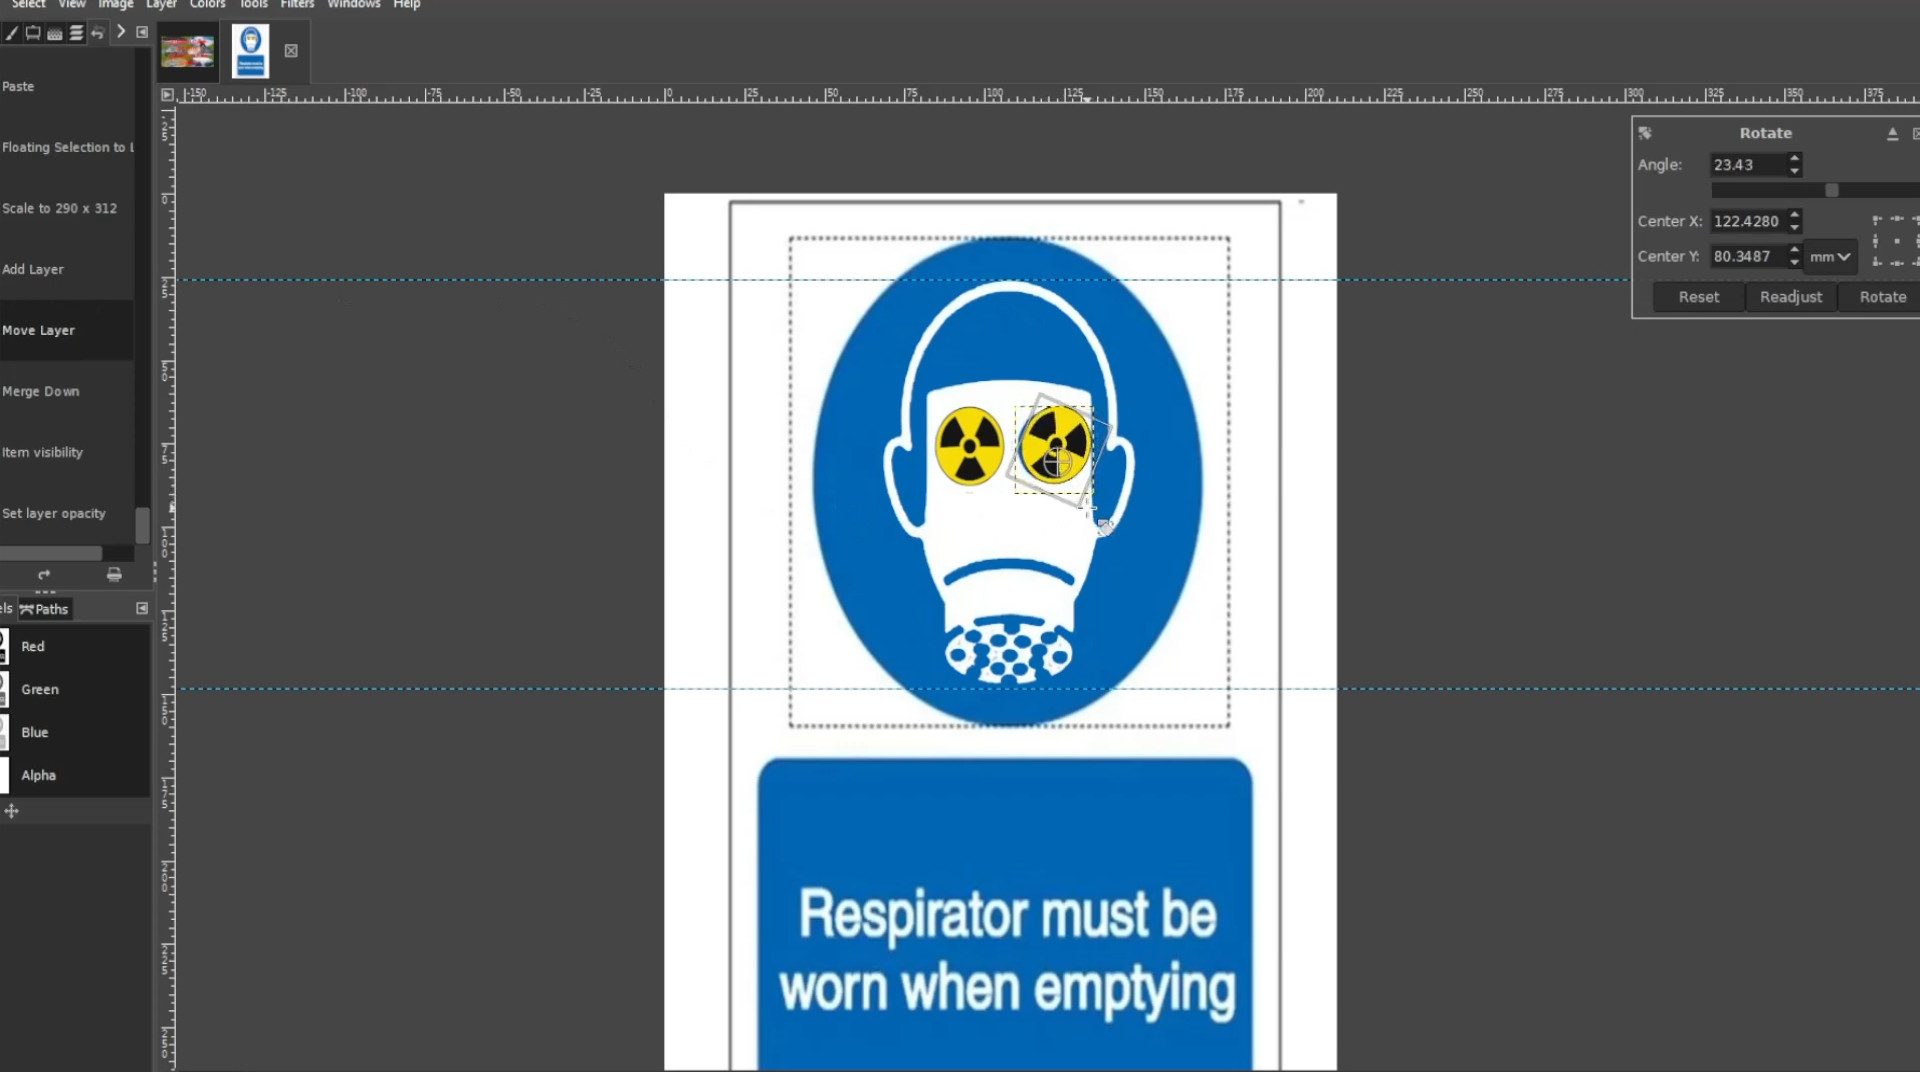
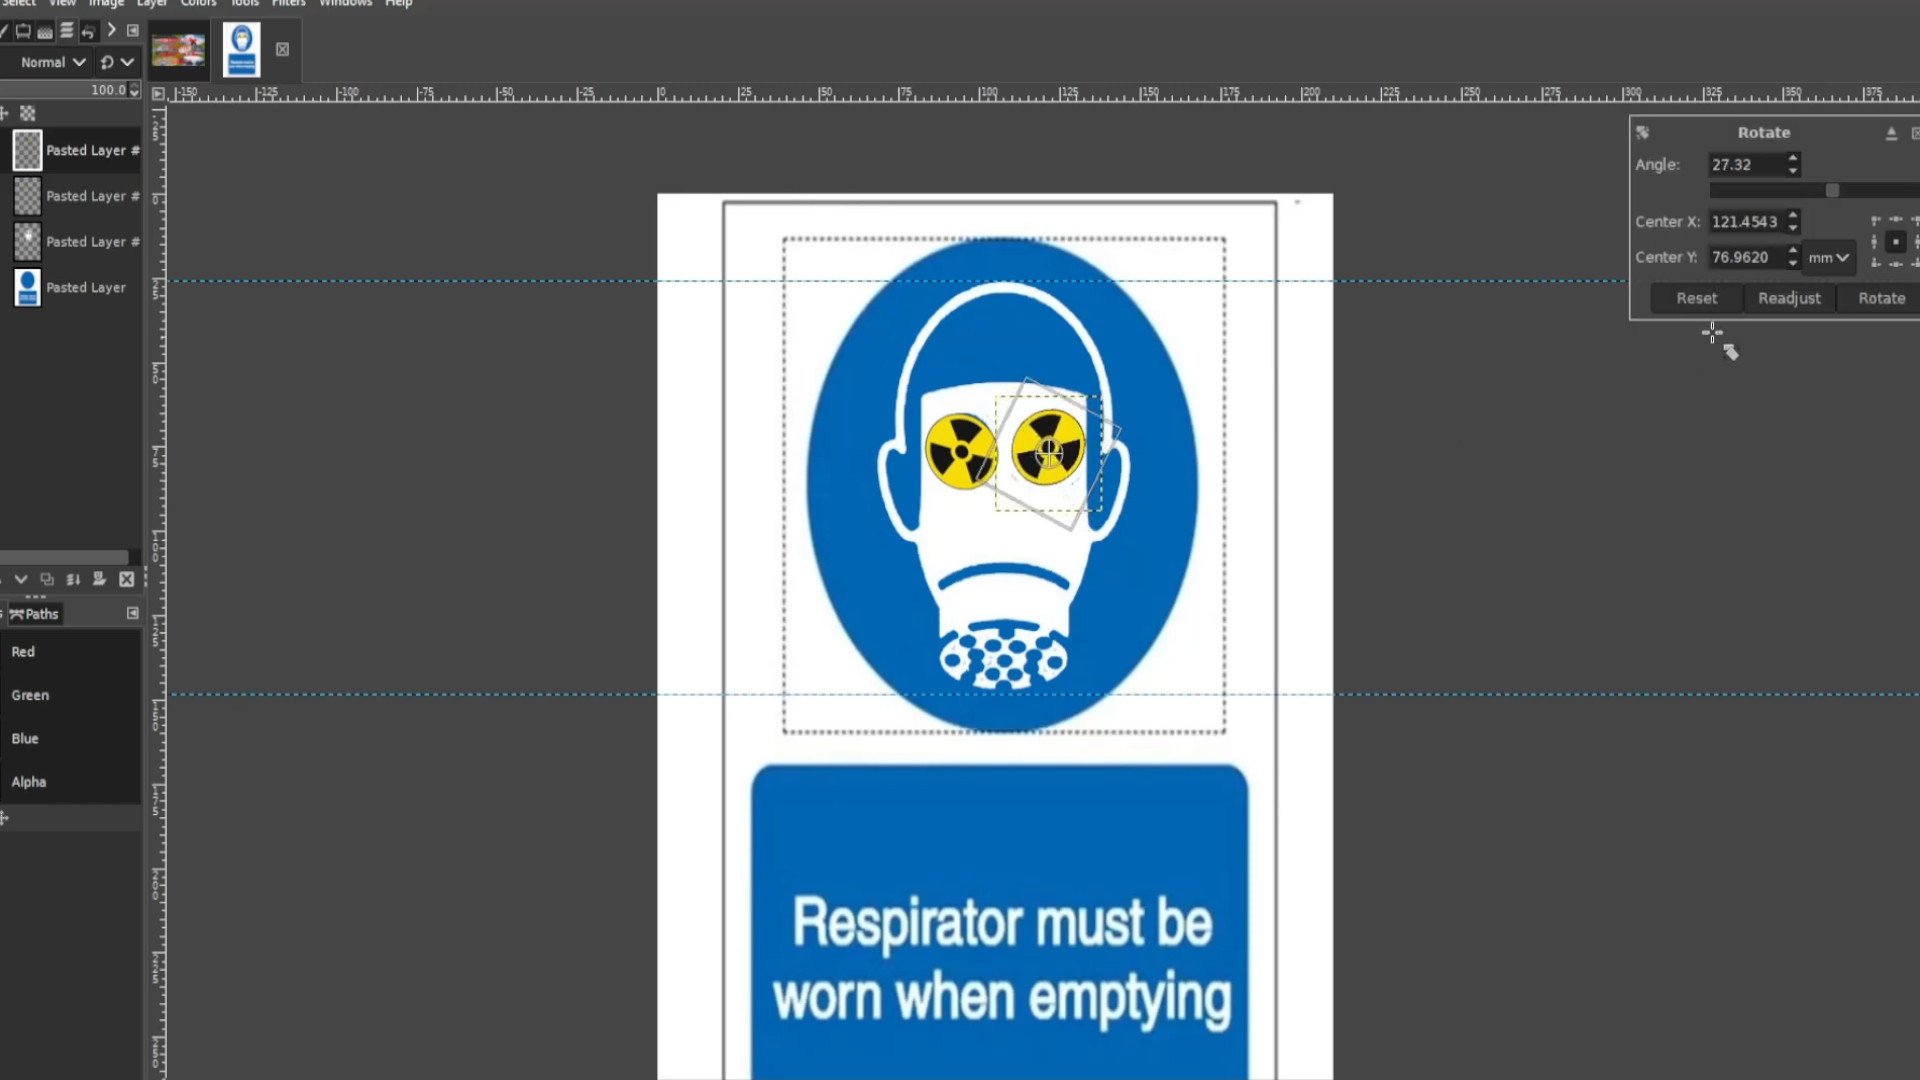
With the other>>>LAYER SELECTED use the>>>ROTATE TOOL to>>>ROTATE it slightly and>>>EXPORT AS with a different file name. You can use the shortcut by>>>HOLDING SHIFT and>>>PRESSING>>>R to rotate options to come up. You can also use the>>>MOVE TOOL to move it back into place. If you can’t see the layers tab go to>>>WINDOWS>>>DOCKABLE DIALOGS>>>LAYERS to make it appear.
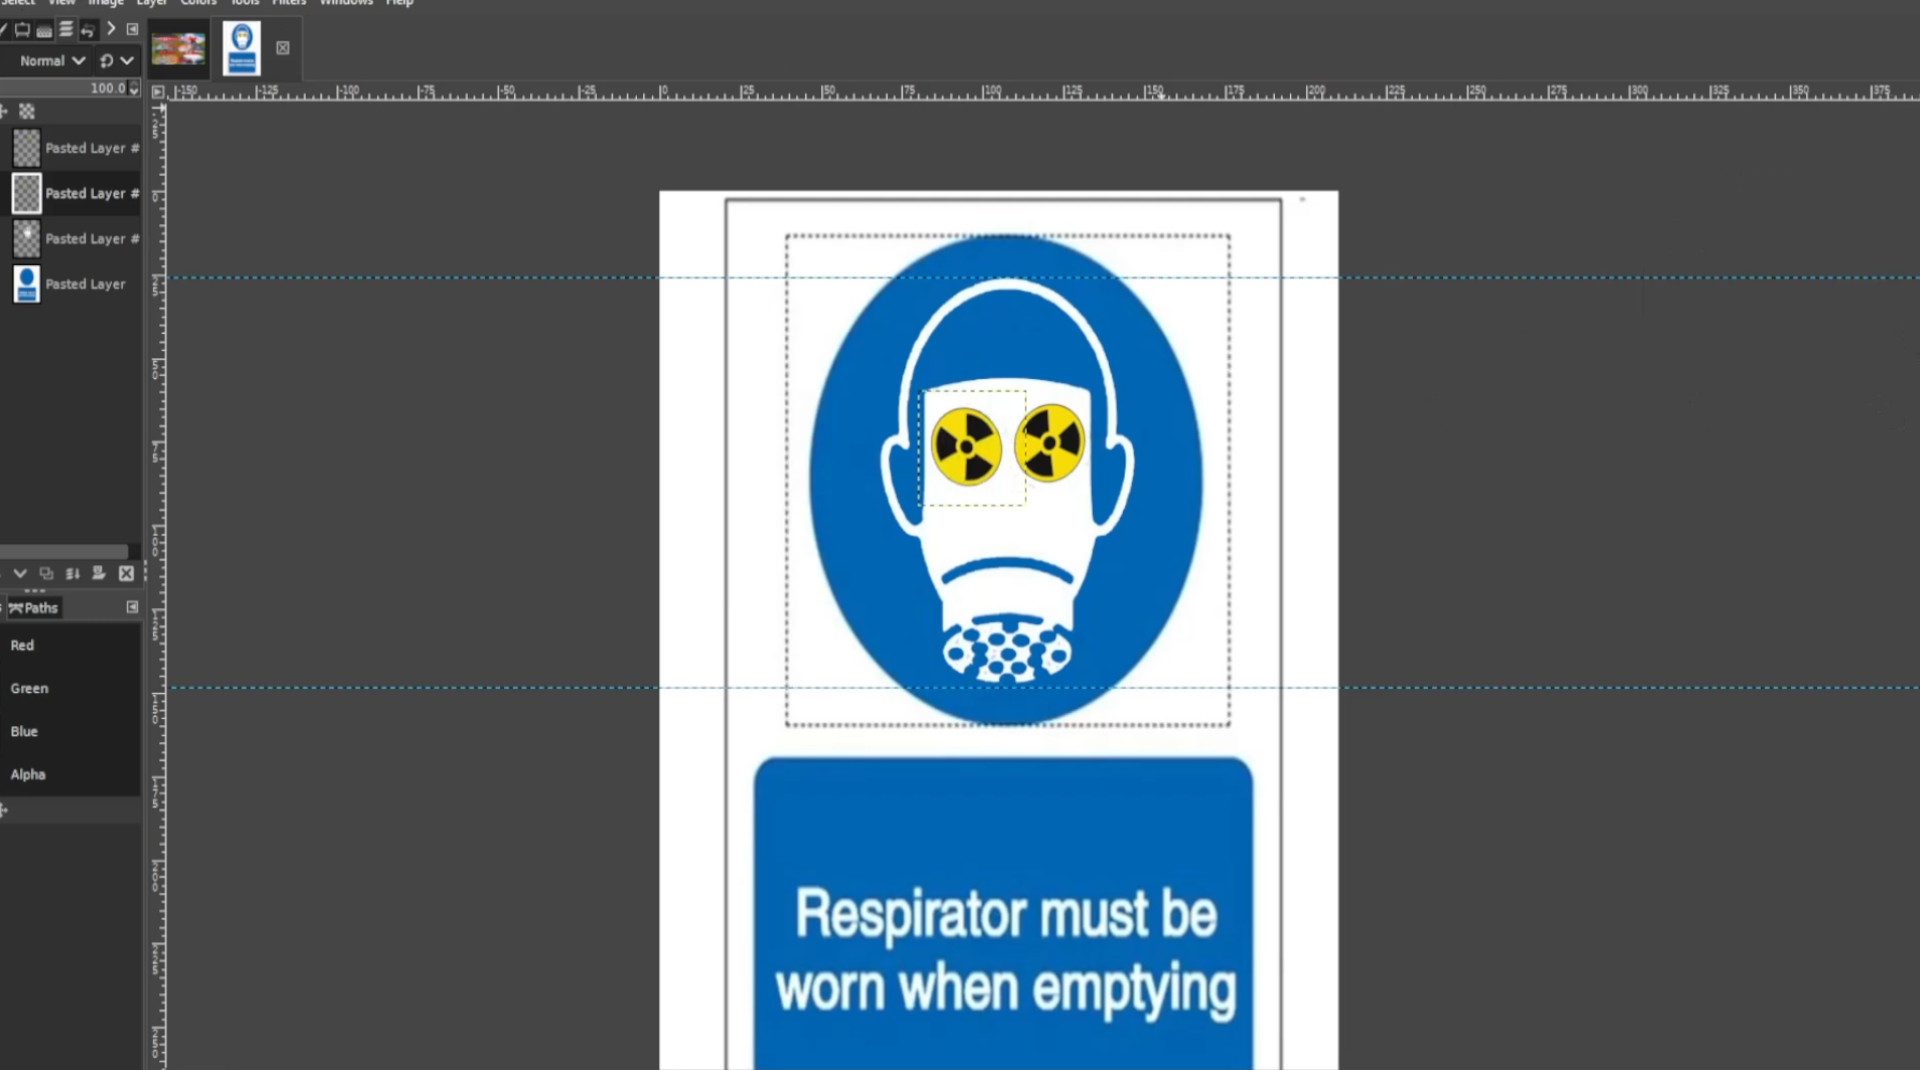
Repeat>>>STEP>>>28 and>>>29 until you have done the full circle or animated enough>>>EXPORT AS each time you rotated both >>>TOP>>>LAYERS.
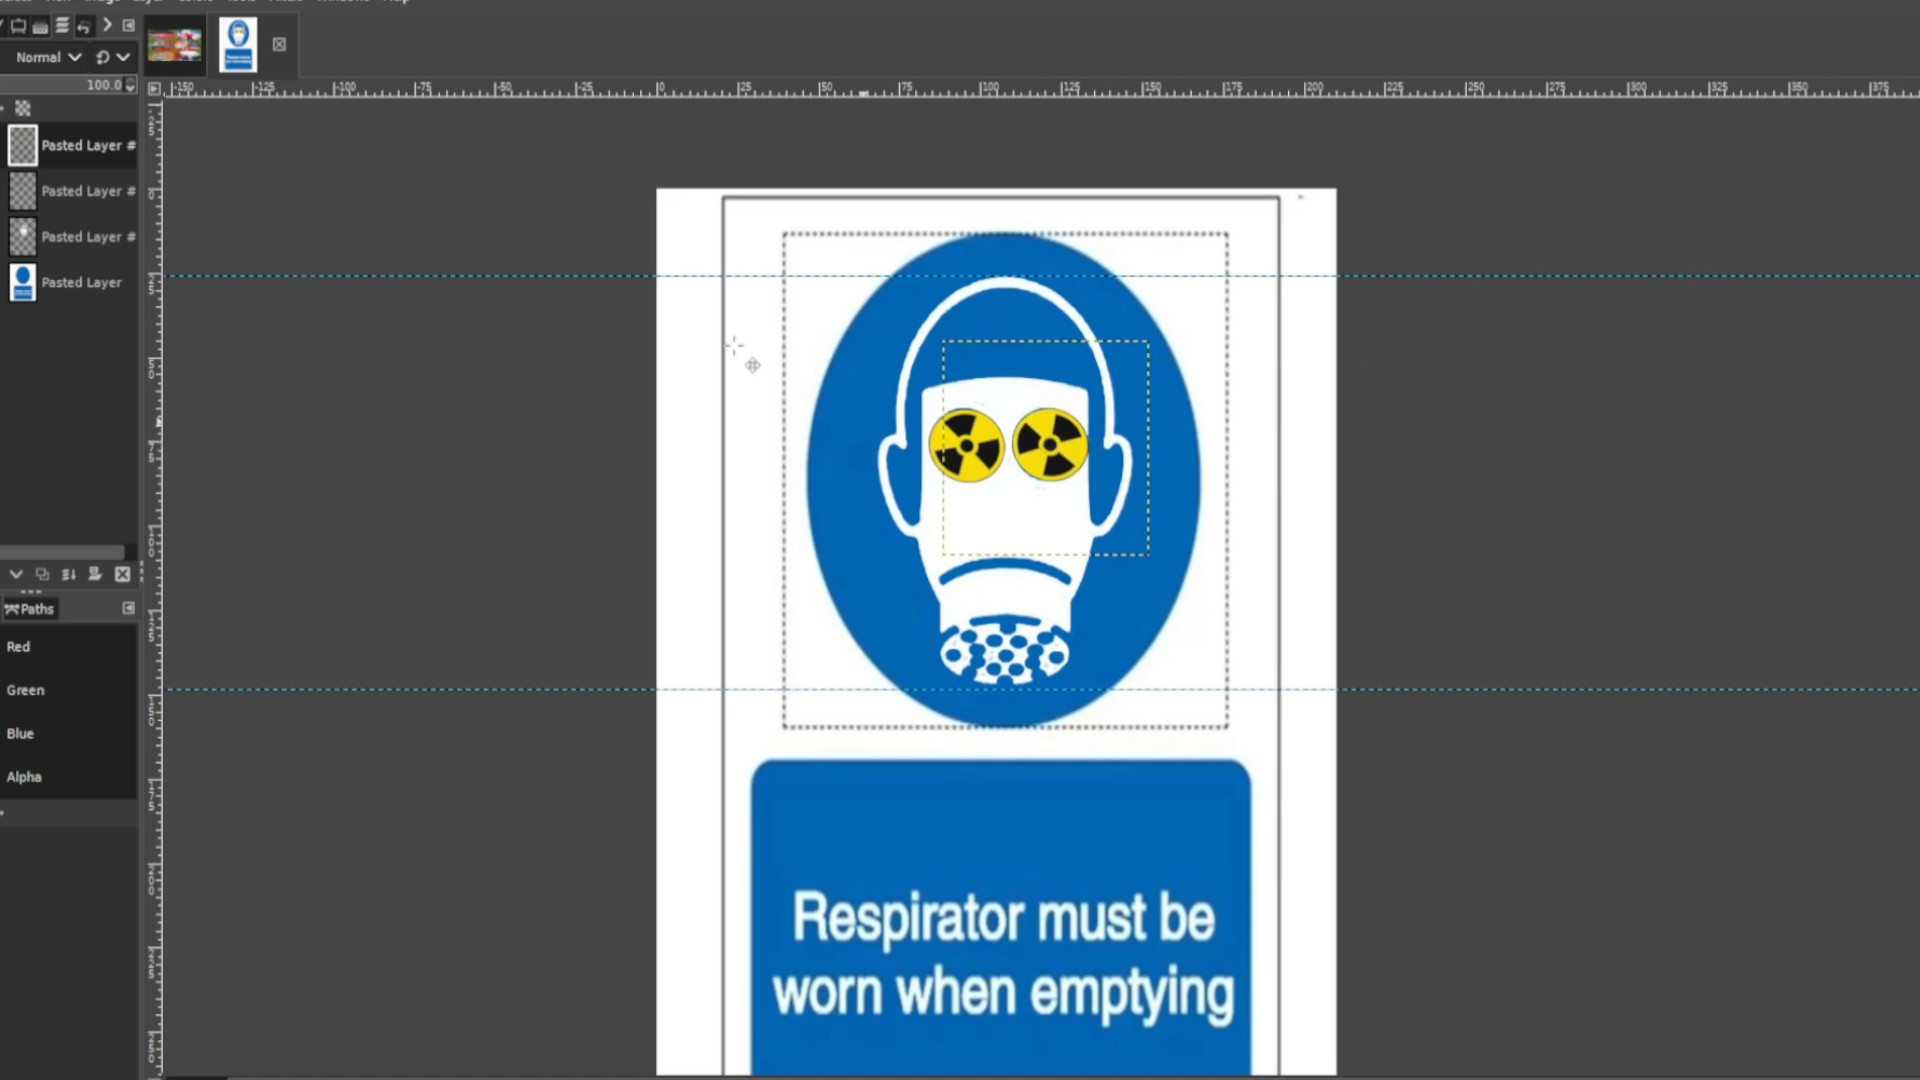
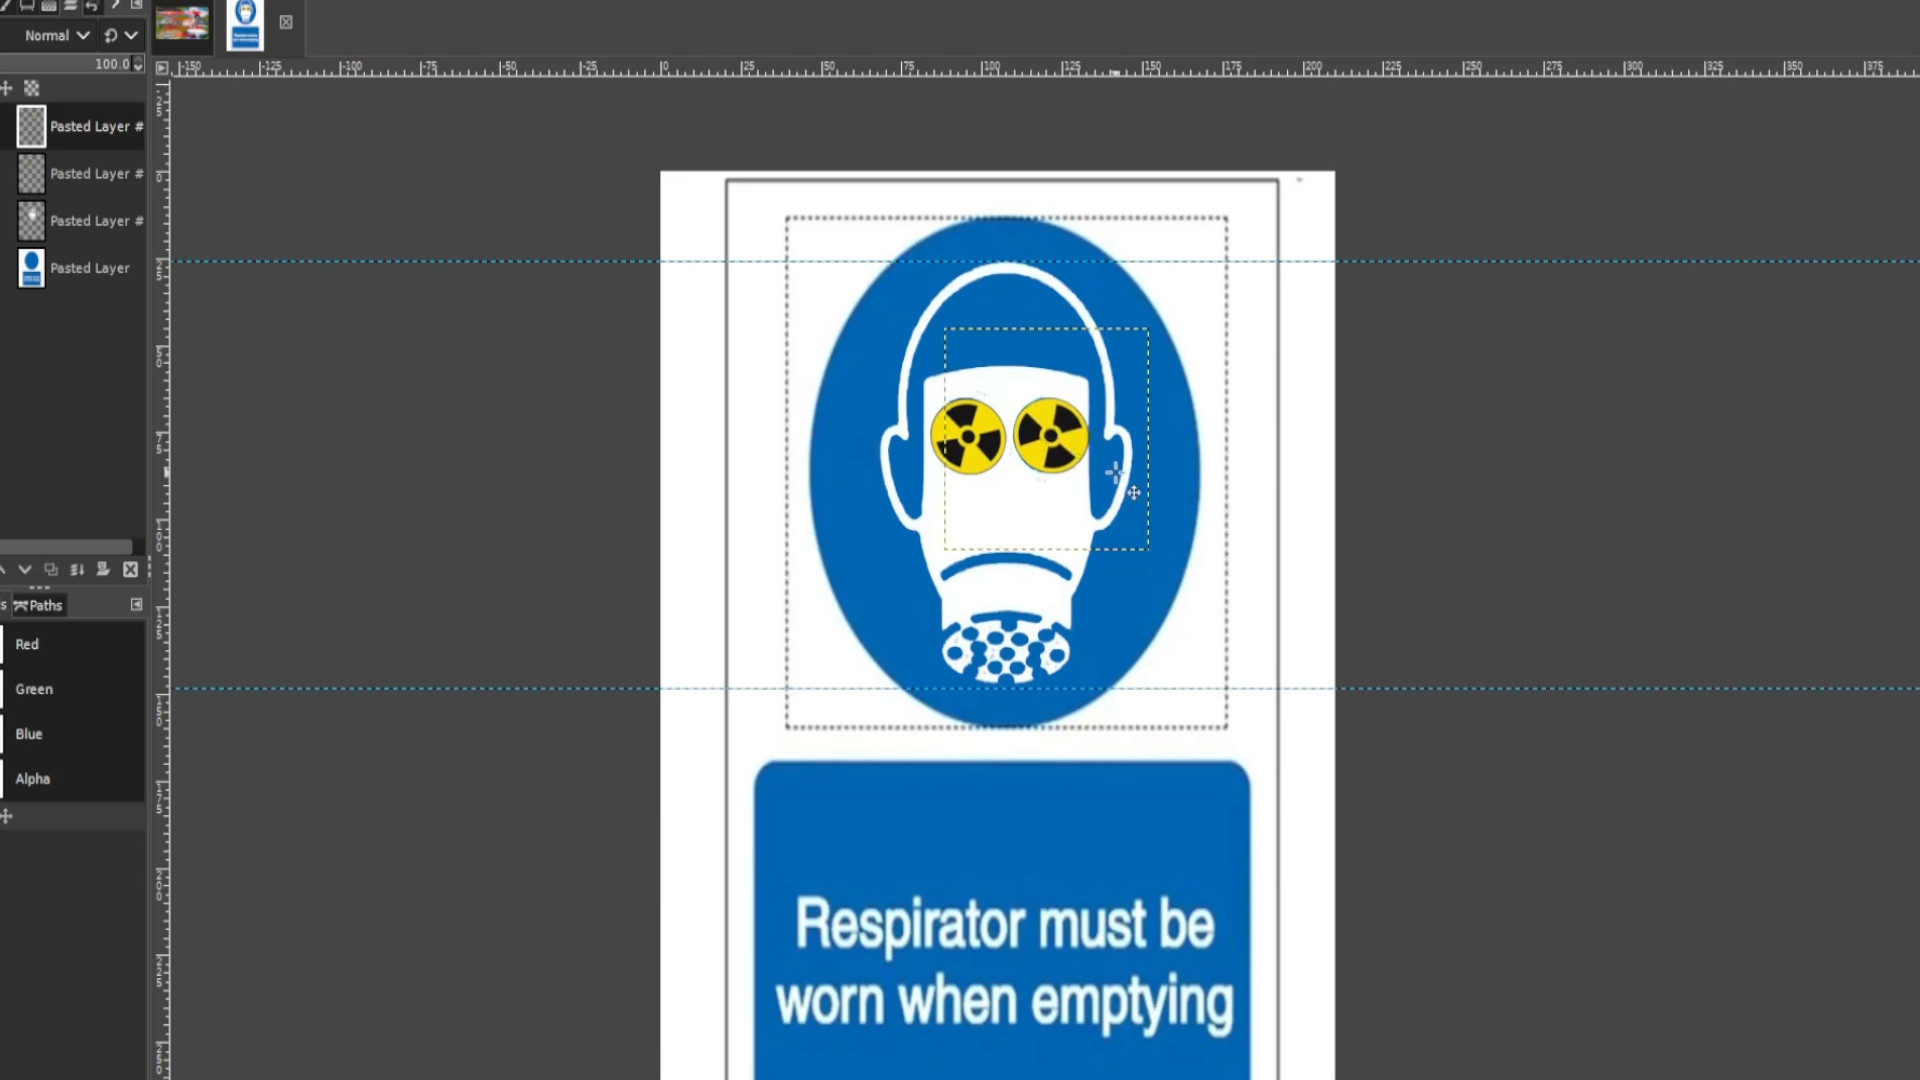
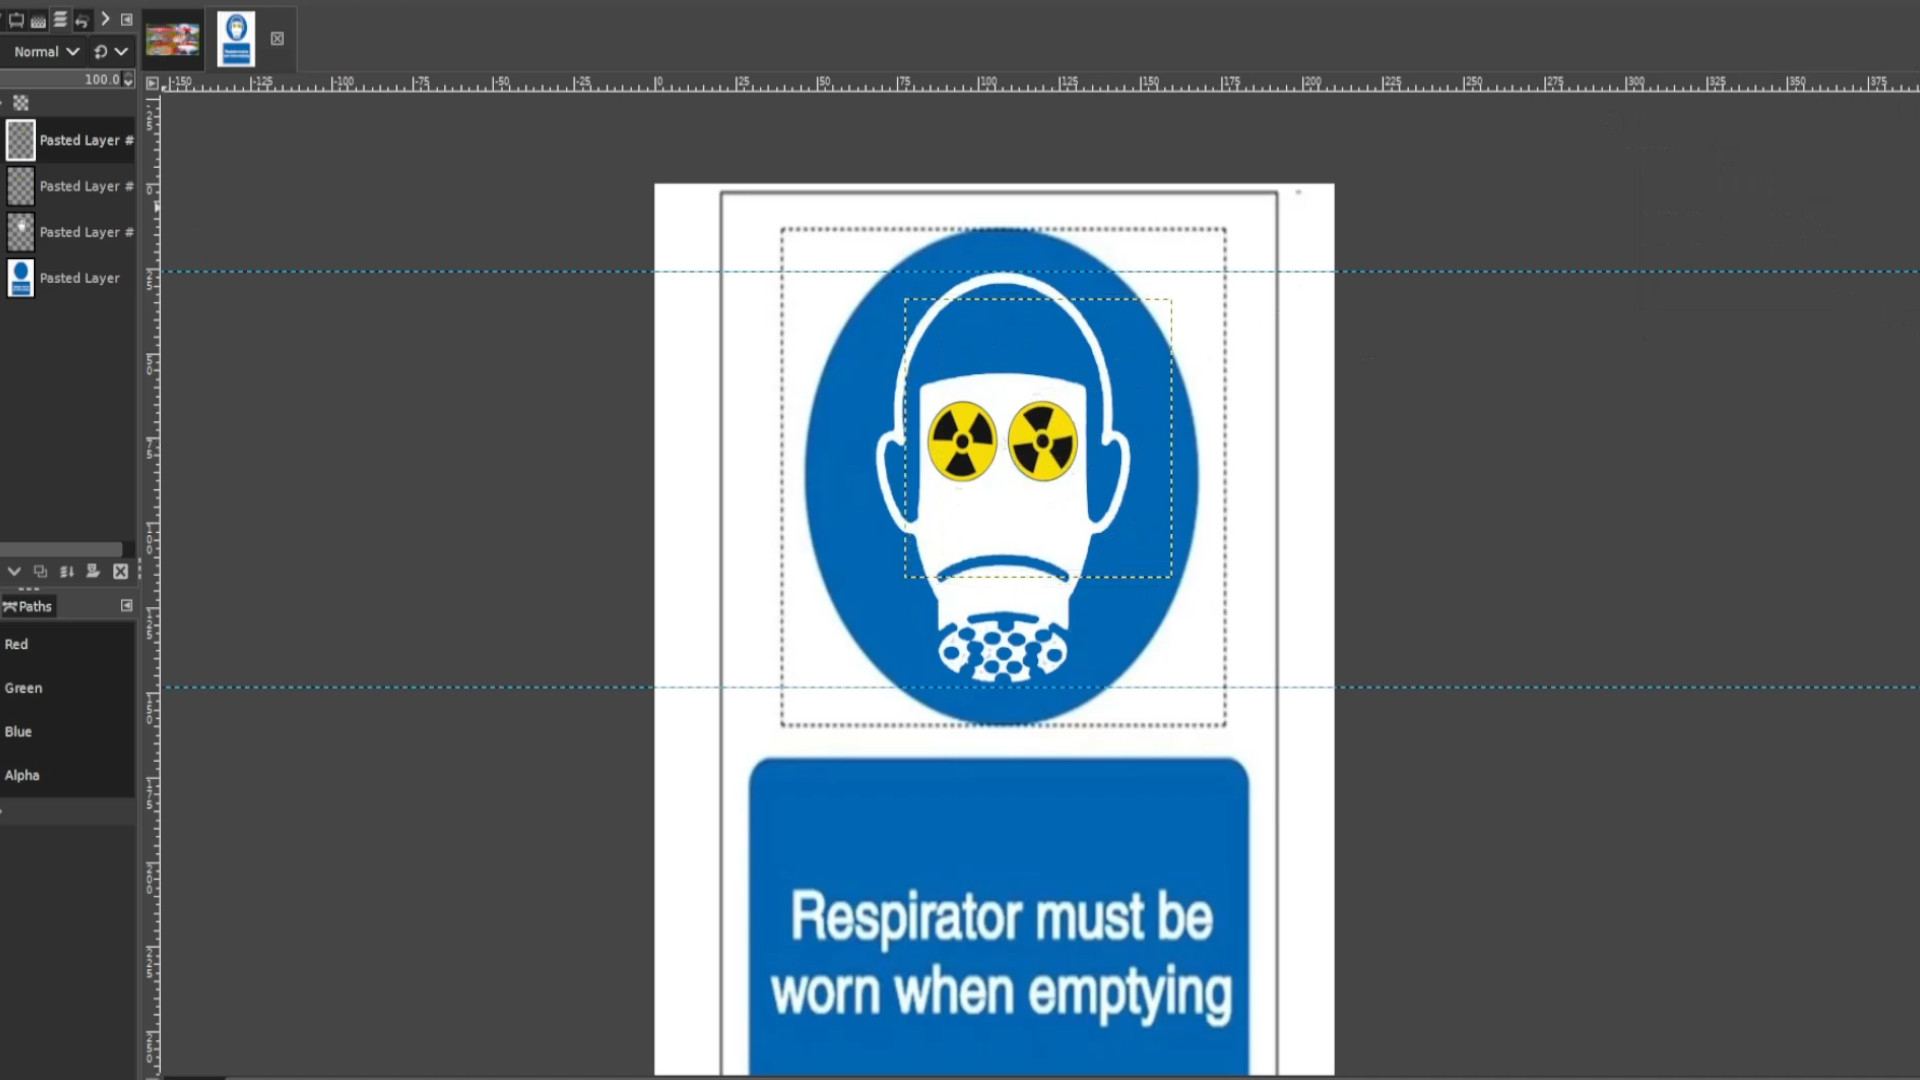
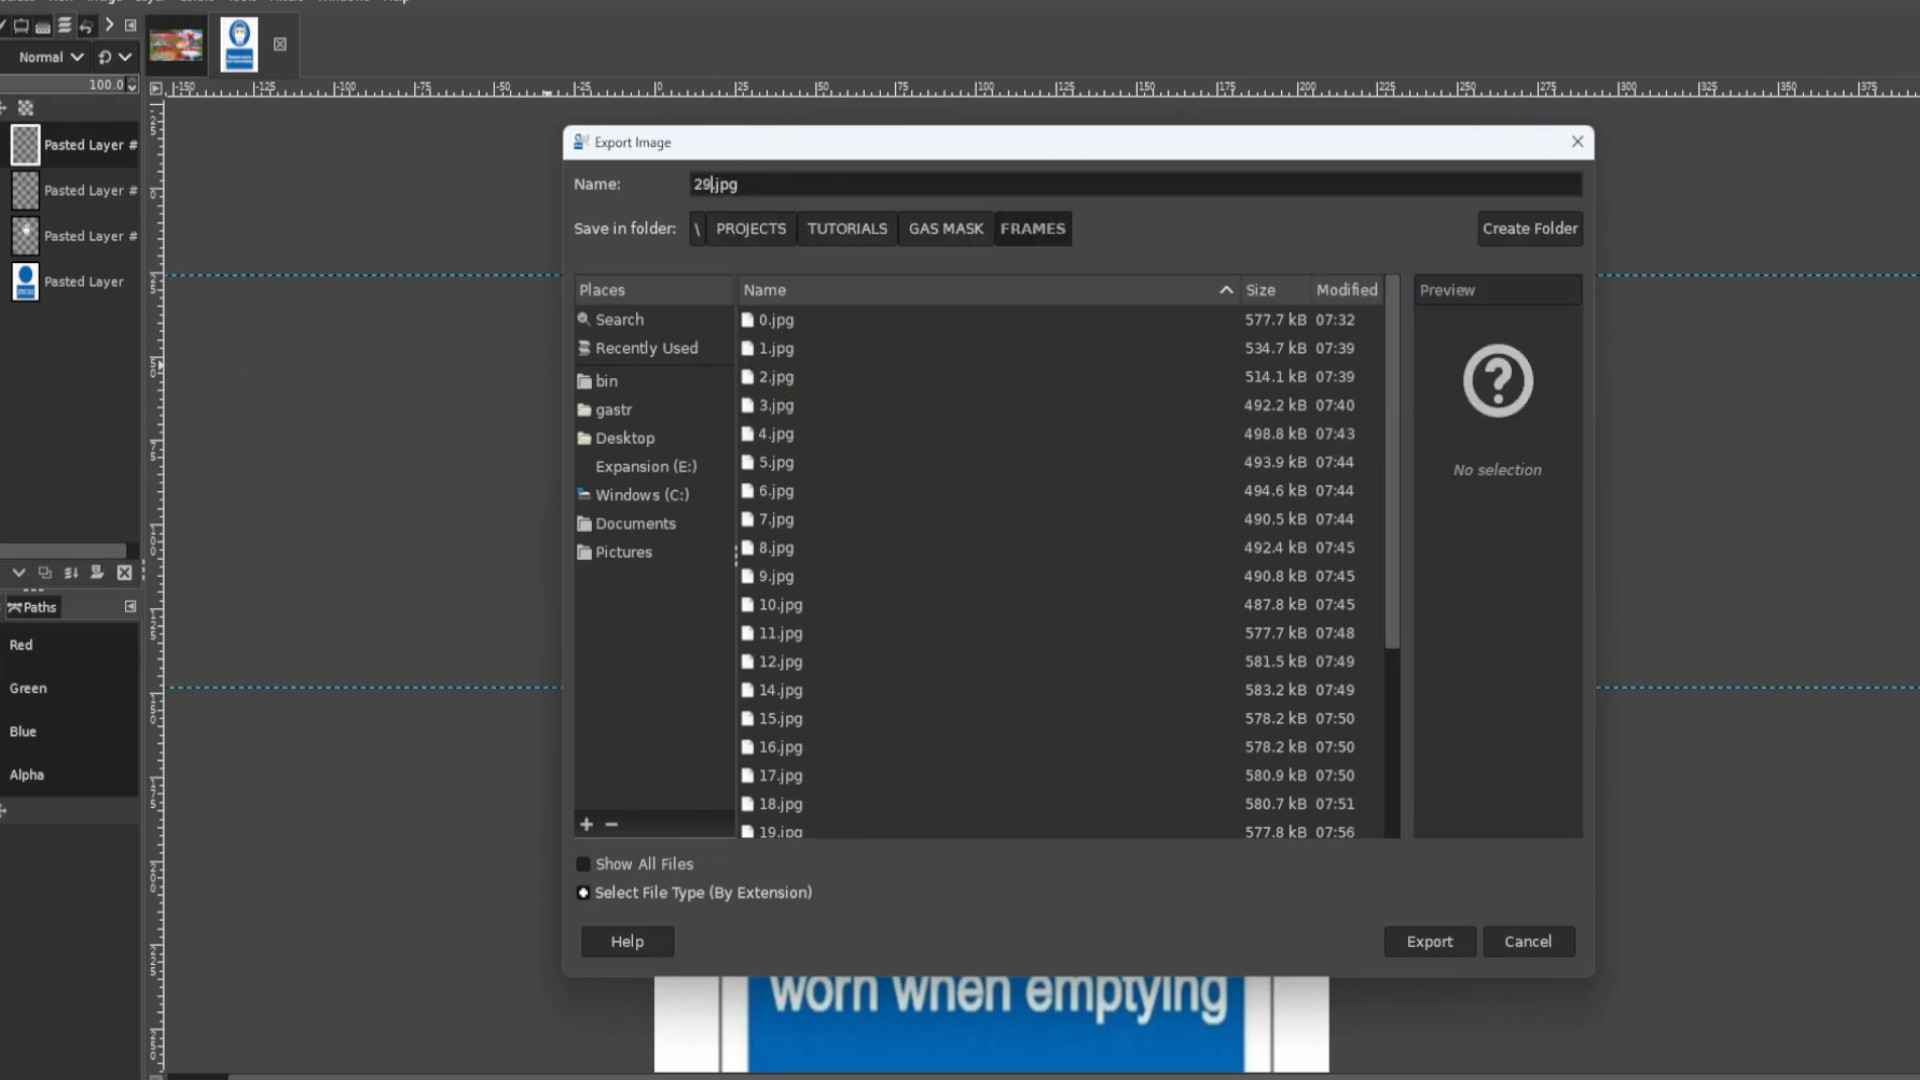
Experiment from here or you are done. I>>>SELECTED all the>>>LETTERS by using the>>>FUZZY TOOL and>>>HOLDING SHIFT and>>>DRAGING DOWNWARDS to>>>HIGHLIGHT the>>>OUTER FRAME the>>>WHITE BACKGROUND. Then I went to>>>EDIT>>>COPY>>>EDIT>>>CUT>>>EDIT>>>PASTE AS >>>NEW LAYER or shortcuts>>>HOLD CTRL and>>>PRESS C to copy the layer, >>>CTRL and>>>C to CUT the LAYER and>>>CTRL V to>>>PASTE back the layer leaving the images, background and text and a transparent background for the outer parts.
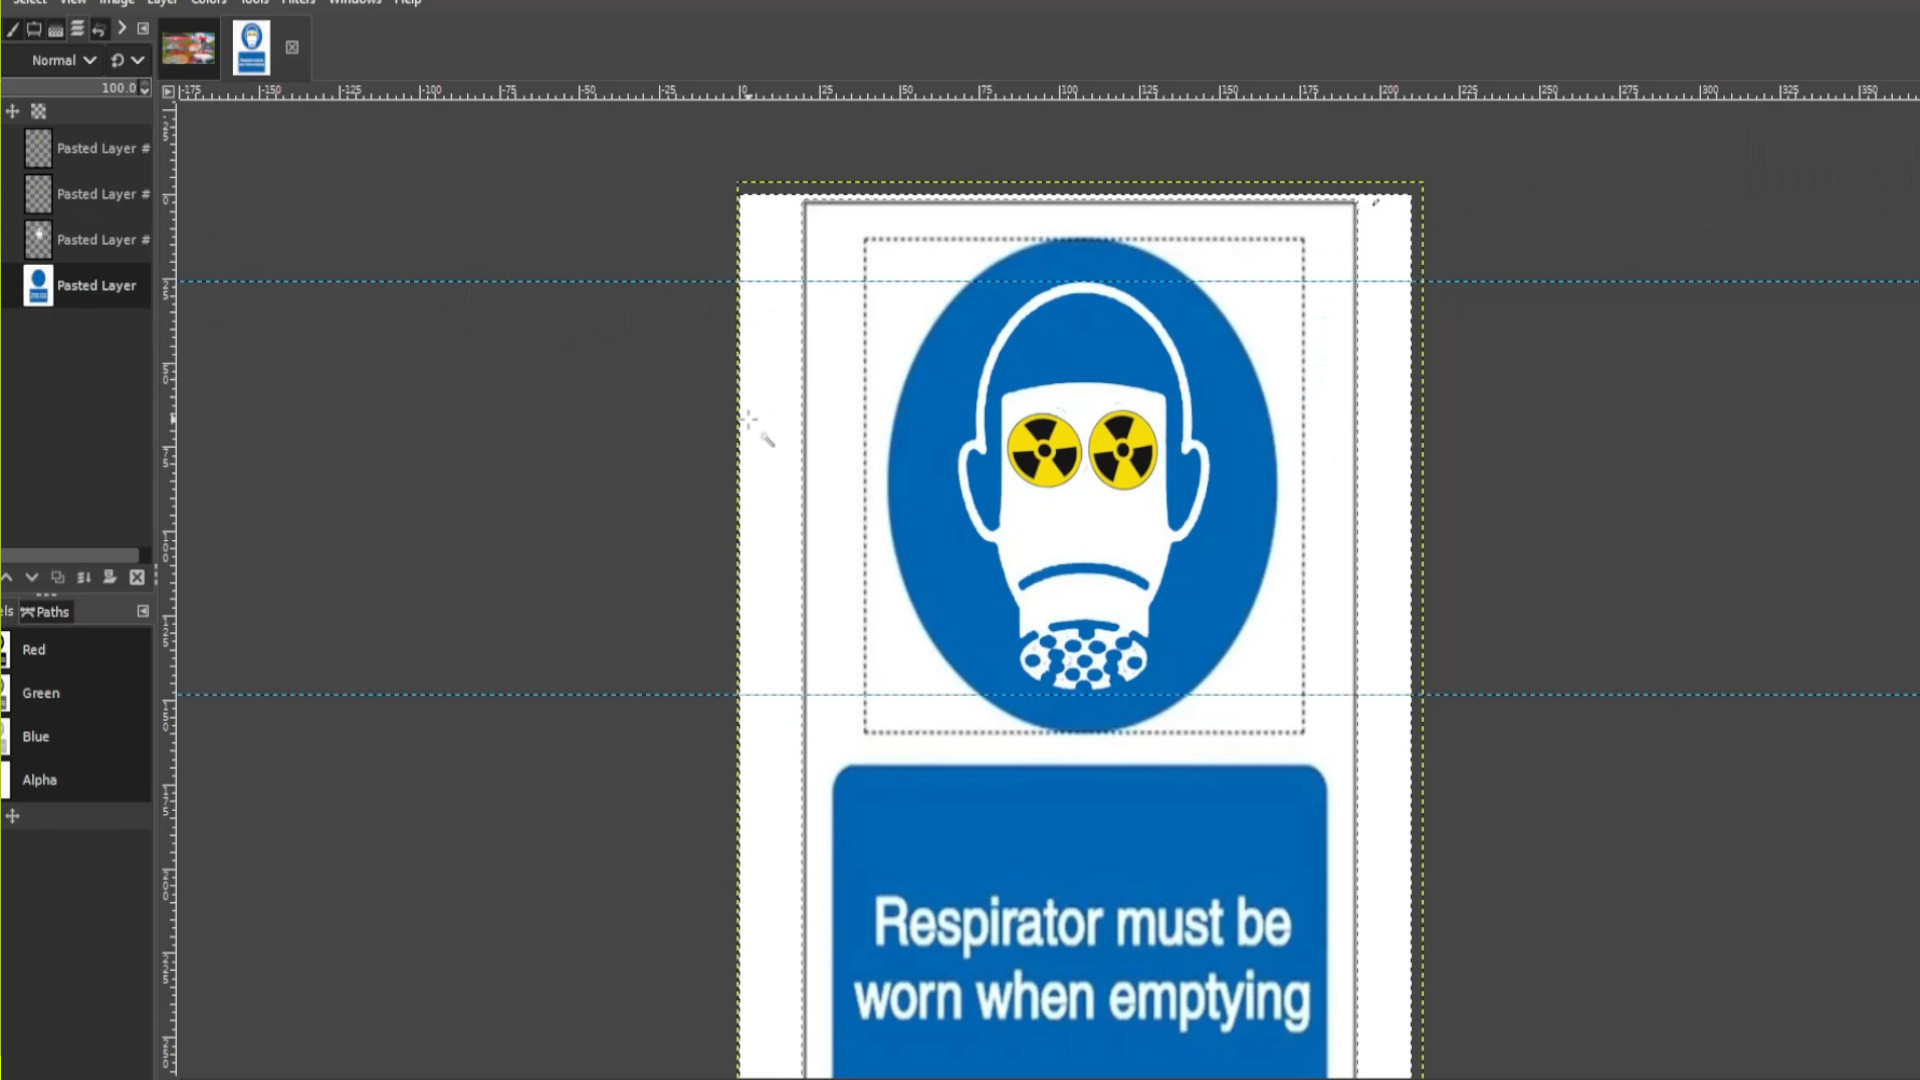
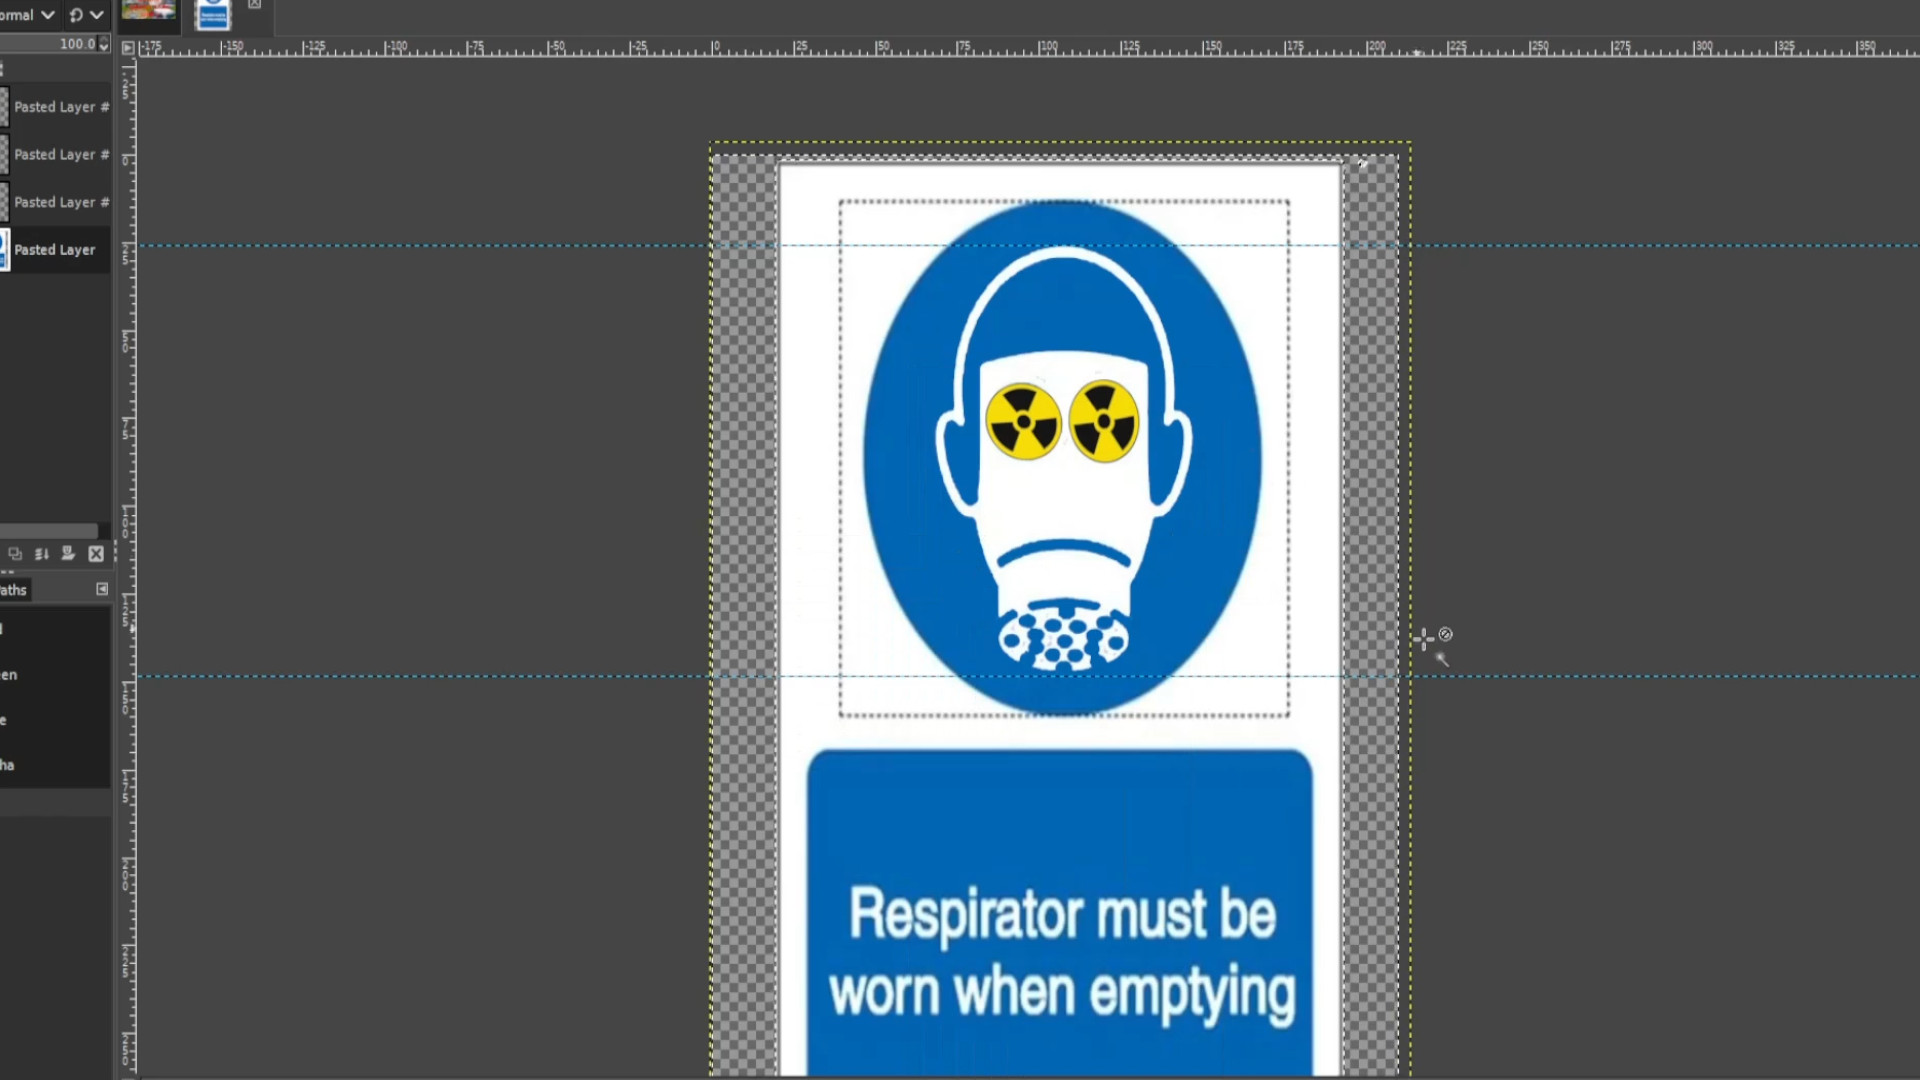
Go to>>>LAYER>>>ADD NEW LAYER and drag the layer at the>>>BOTTOM in the>>>LEFT HAND SIDE LAYERS PANEL.
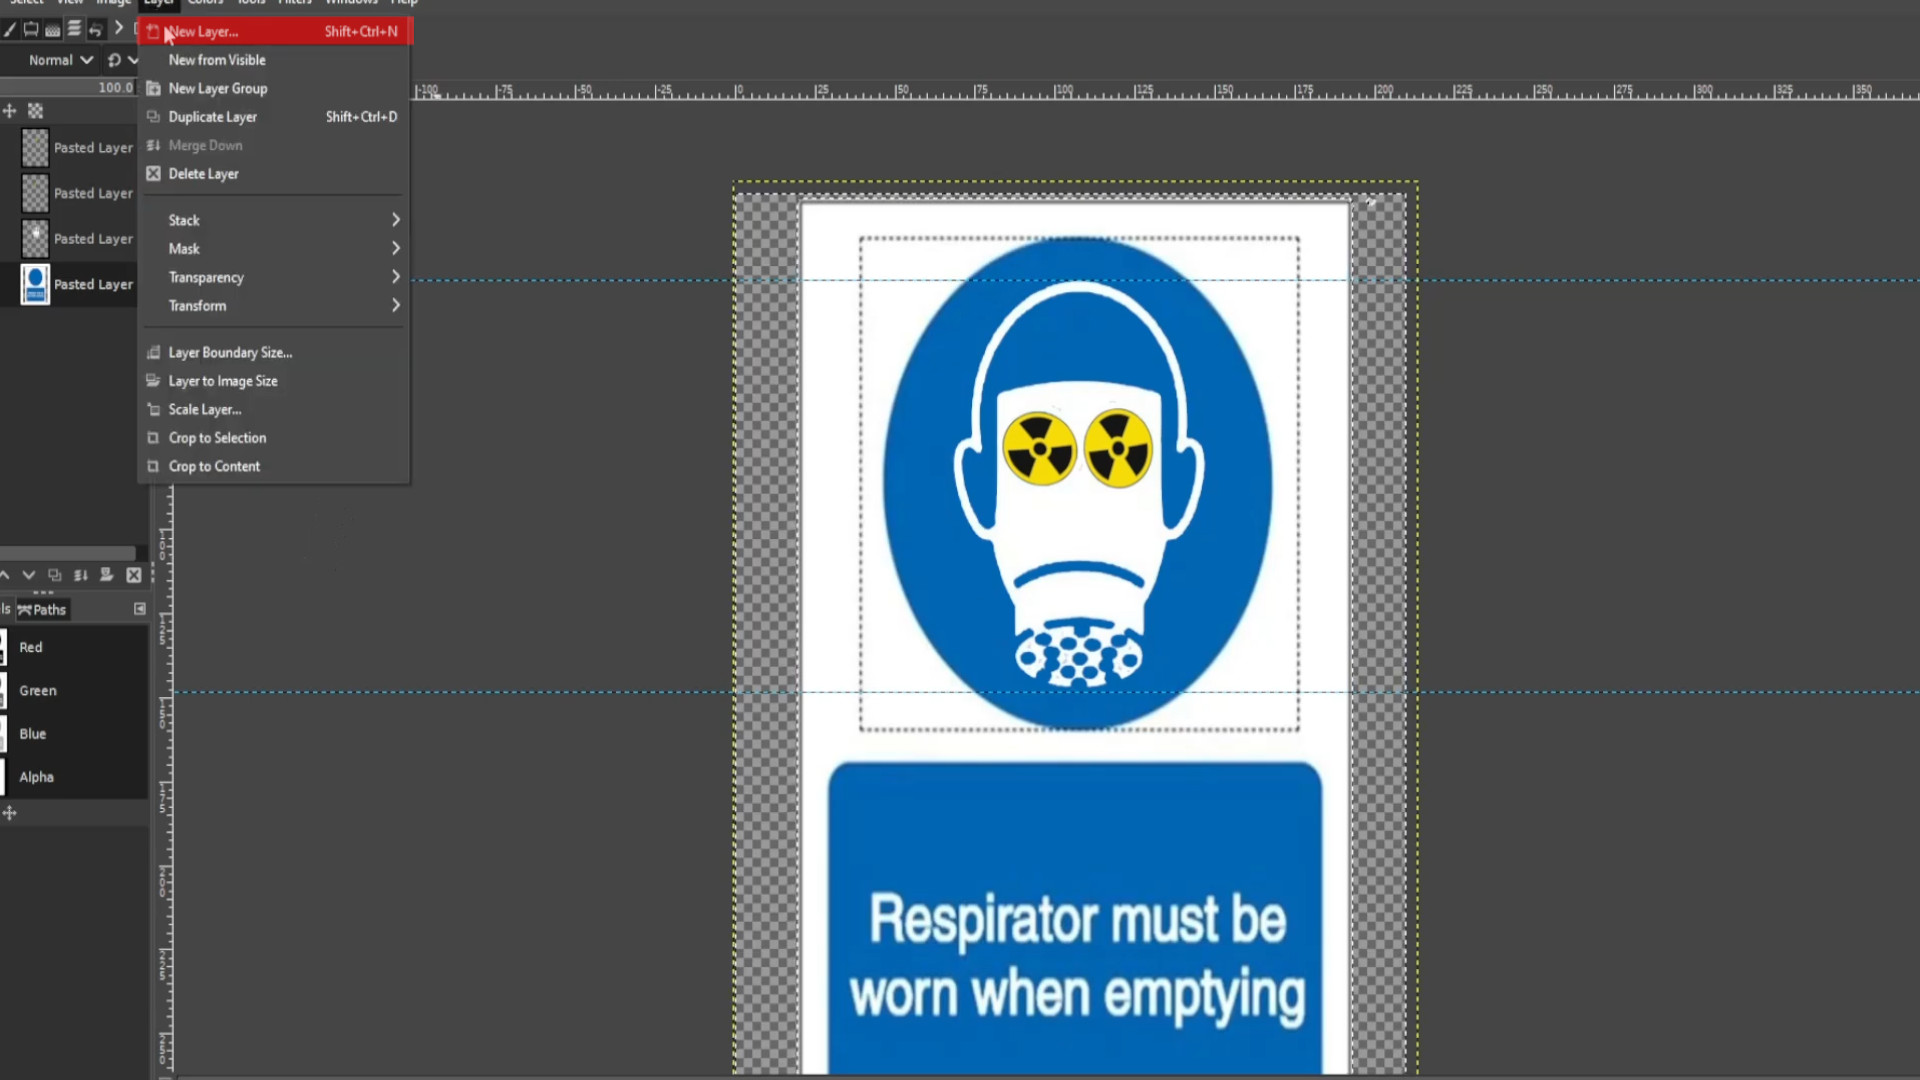
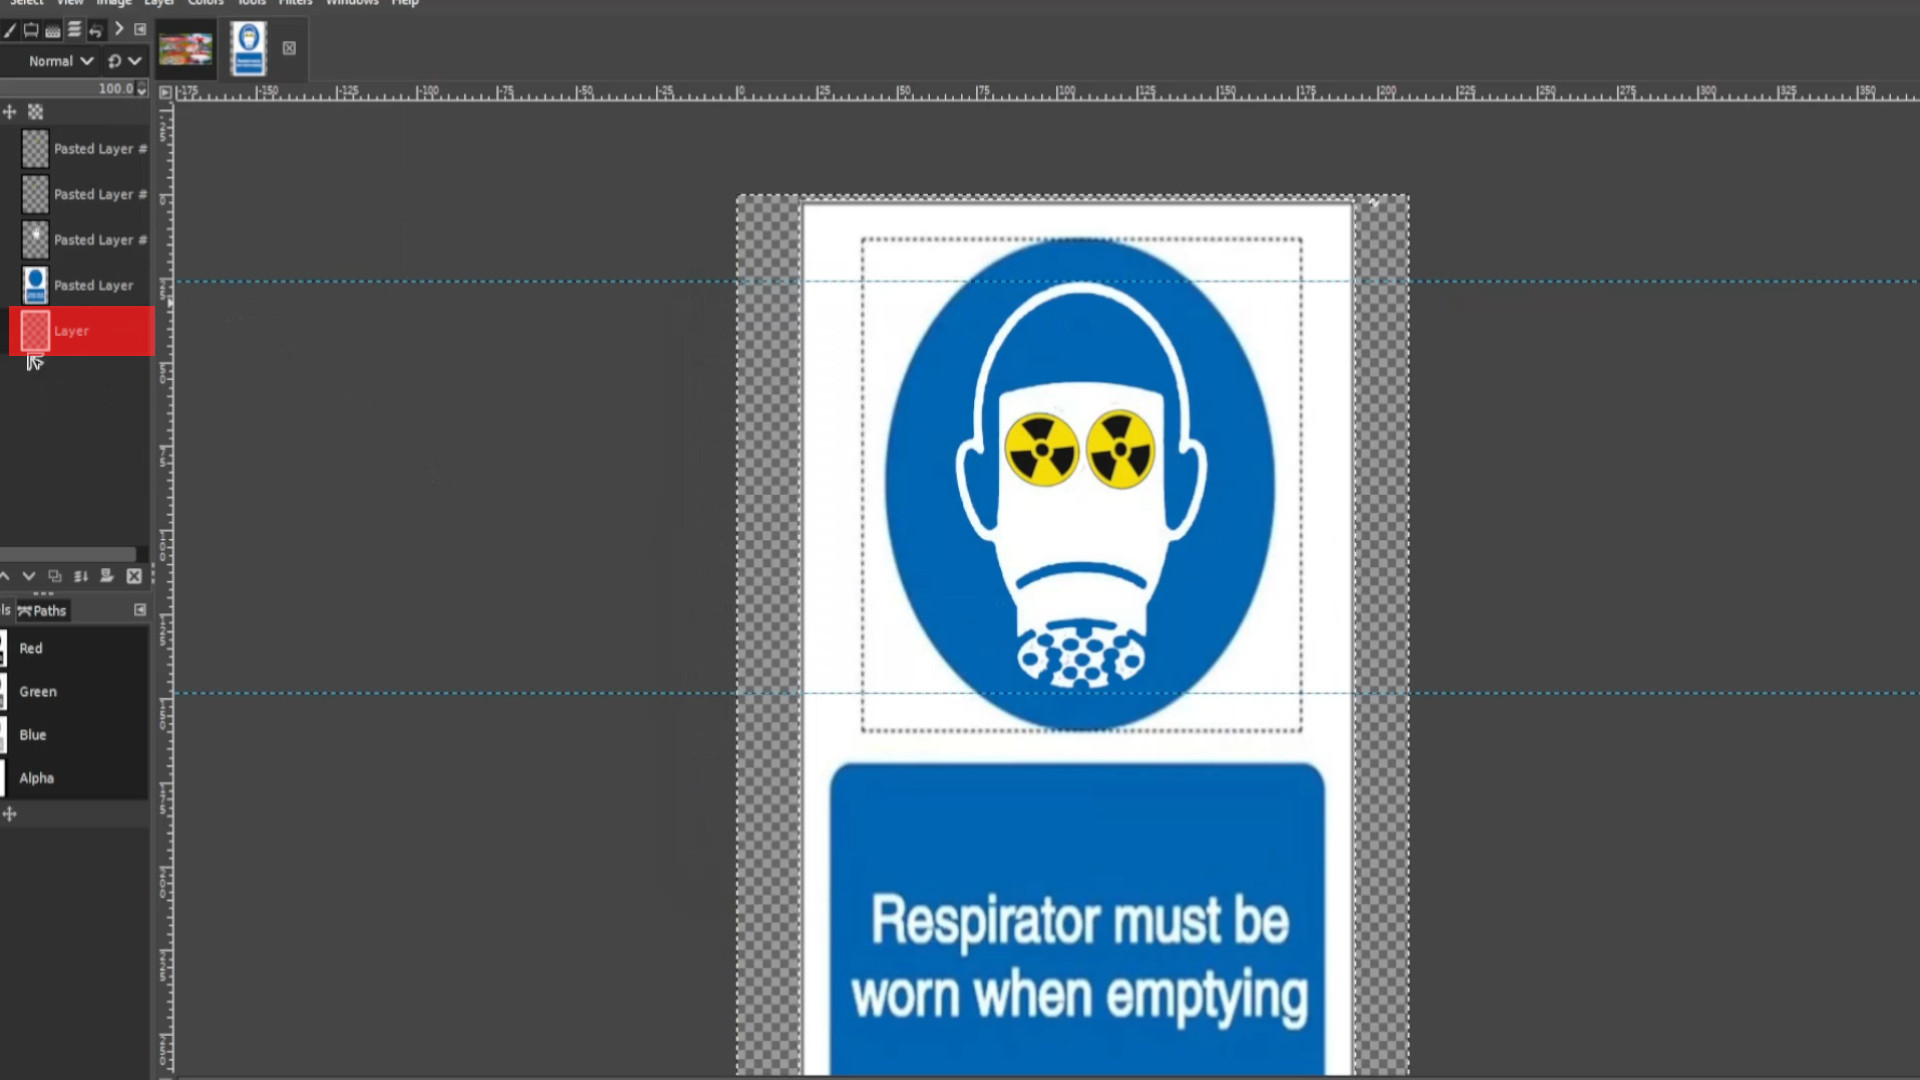
Now experiment again with the>>>OUTER TRANSPARENT BIT that is HIGHLIGHTED. Use the>>>BUCKET FILL, >>>TEXTURES, >>>FILTERS and>>>COLOURS to taste. Don’t forget to>>>EXPORT AS each time you>>>CHANGE the>>>BACKGROUND for moving backgrounds.
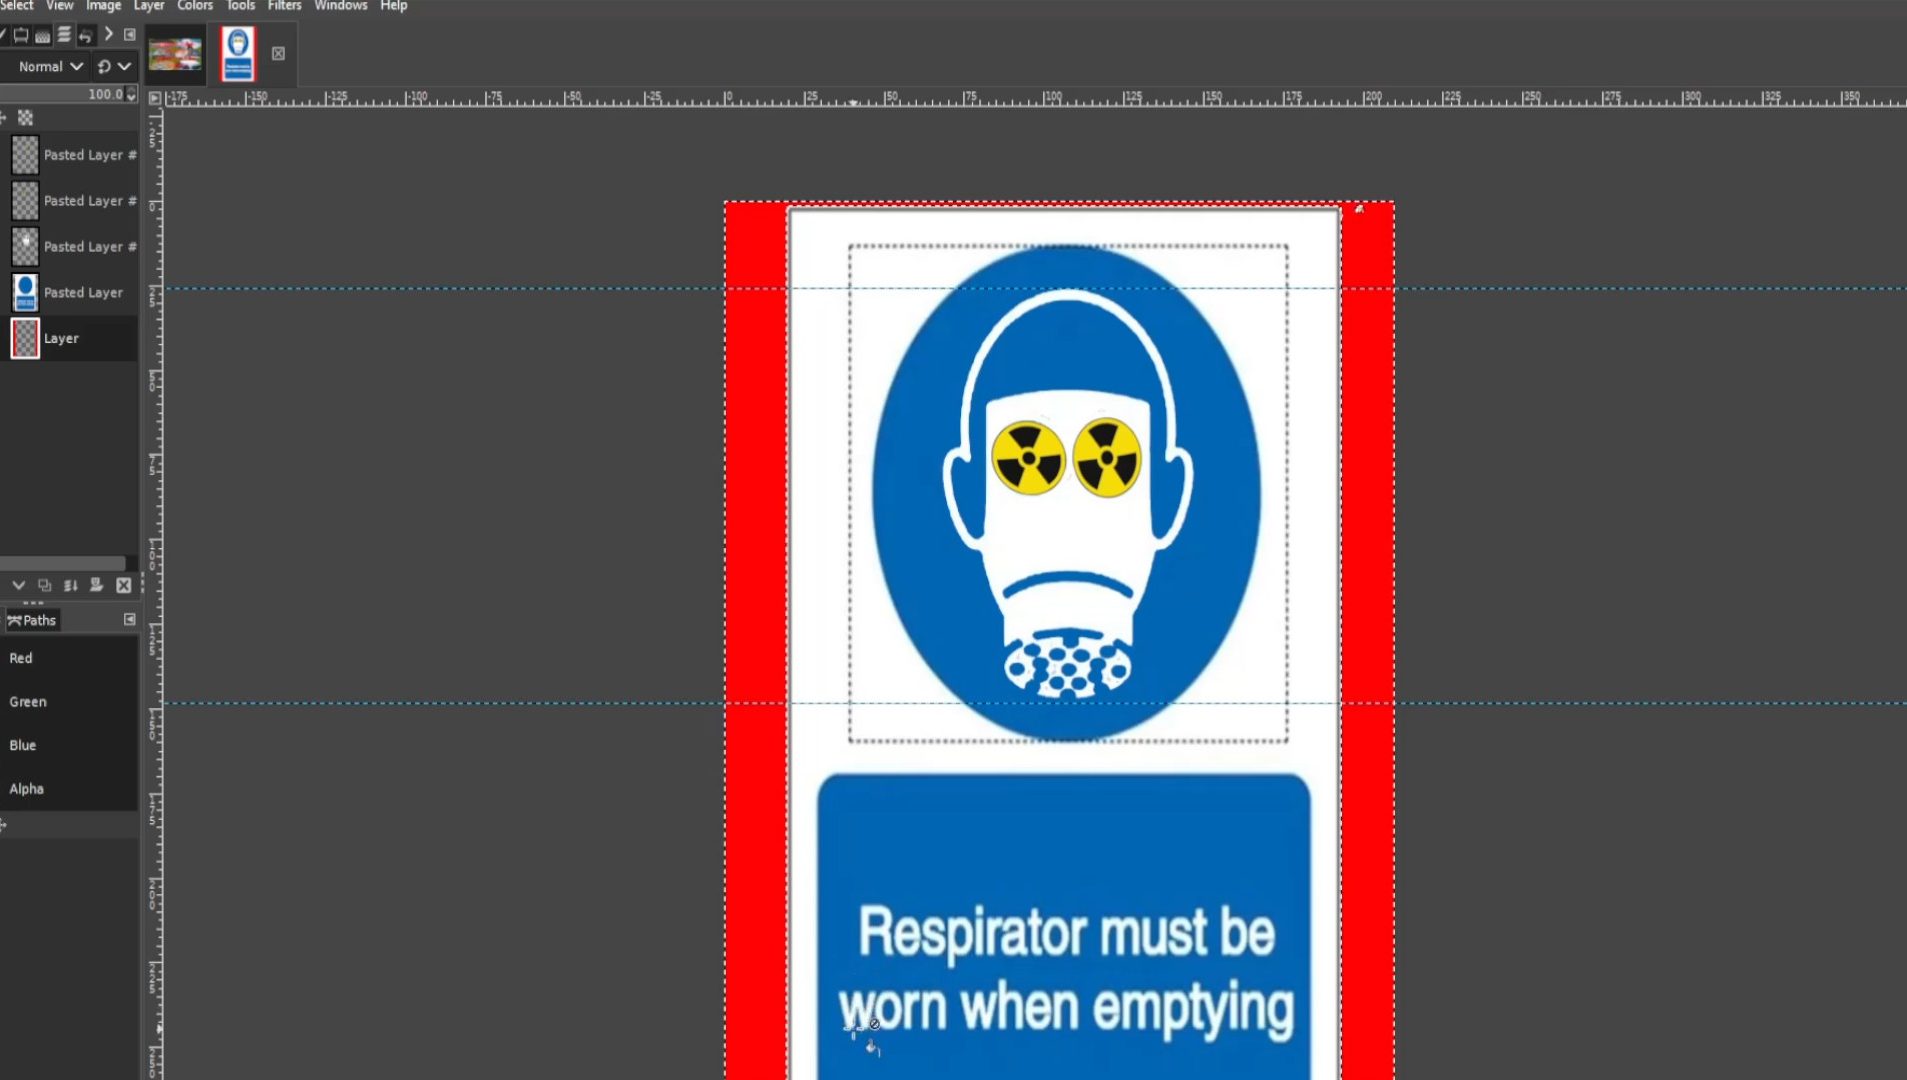
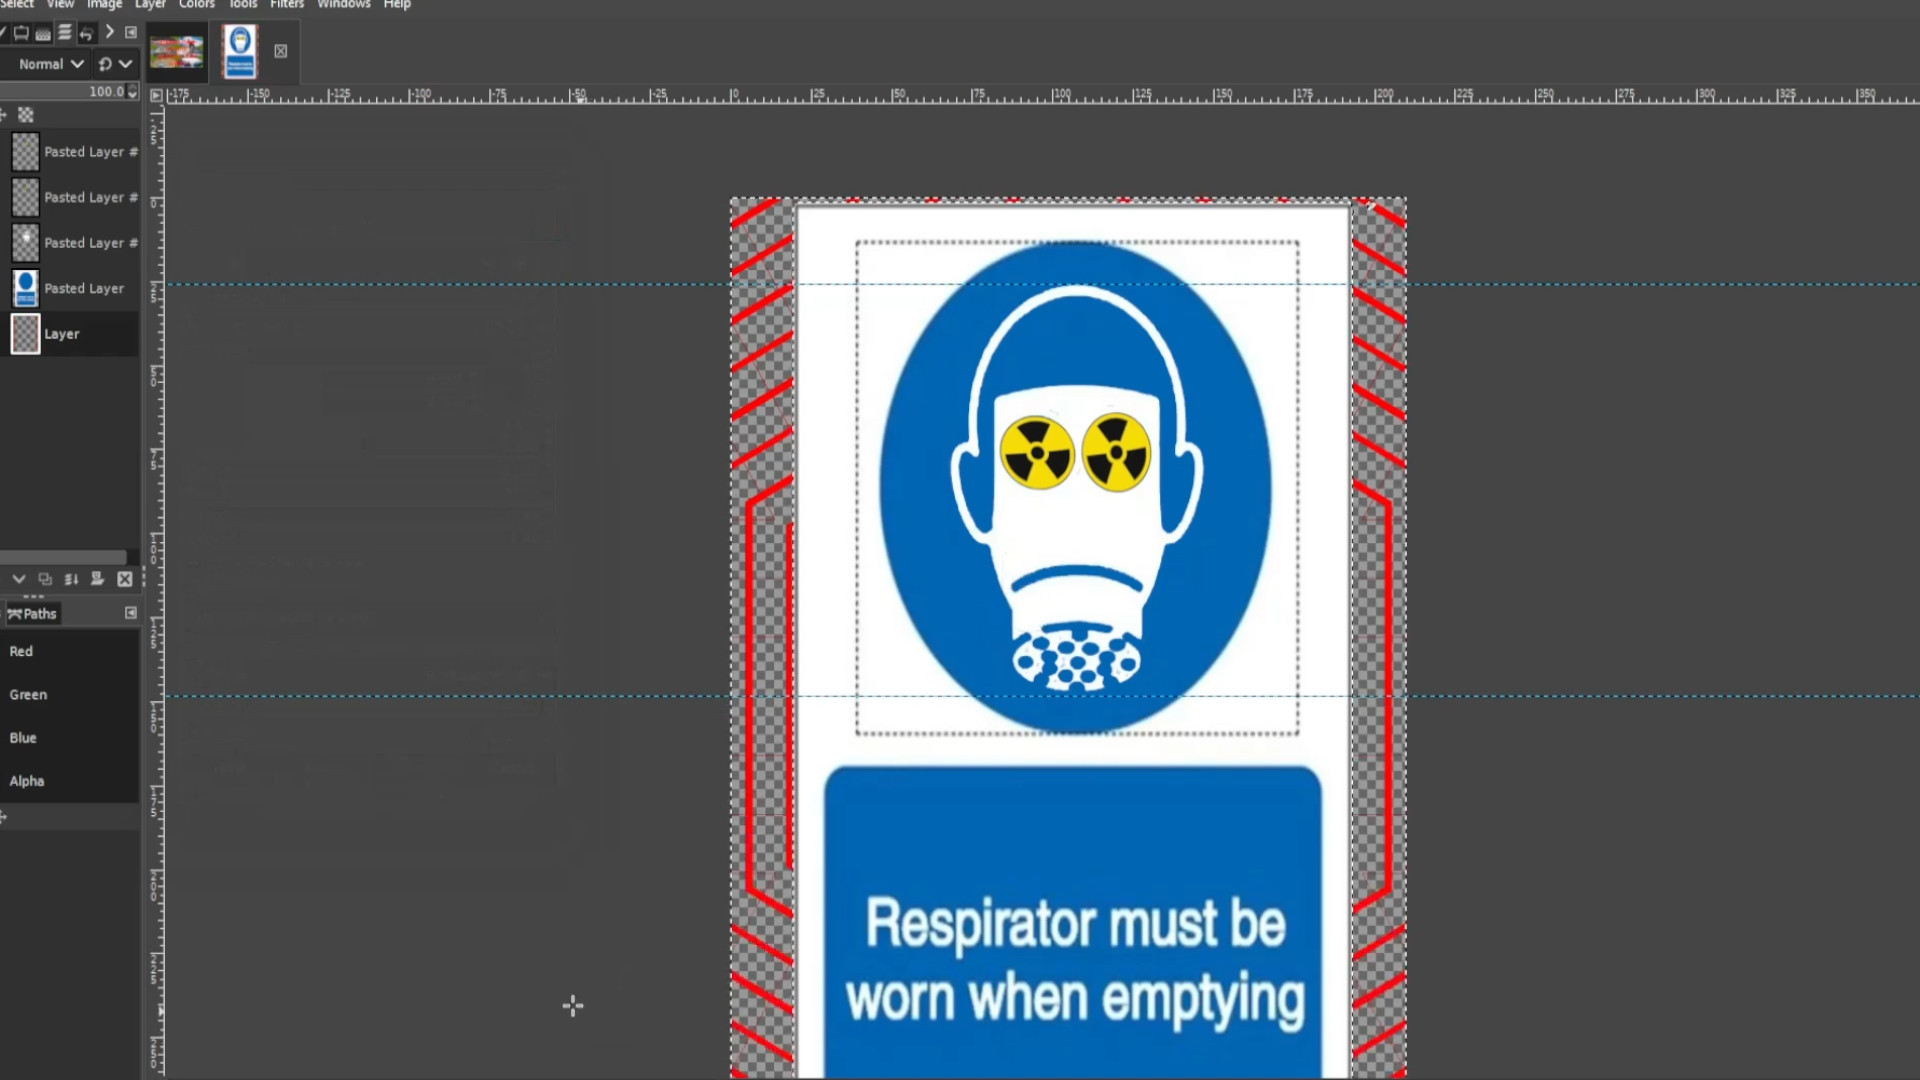
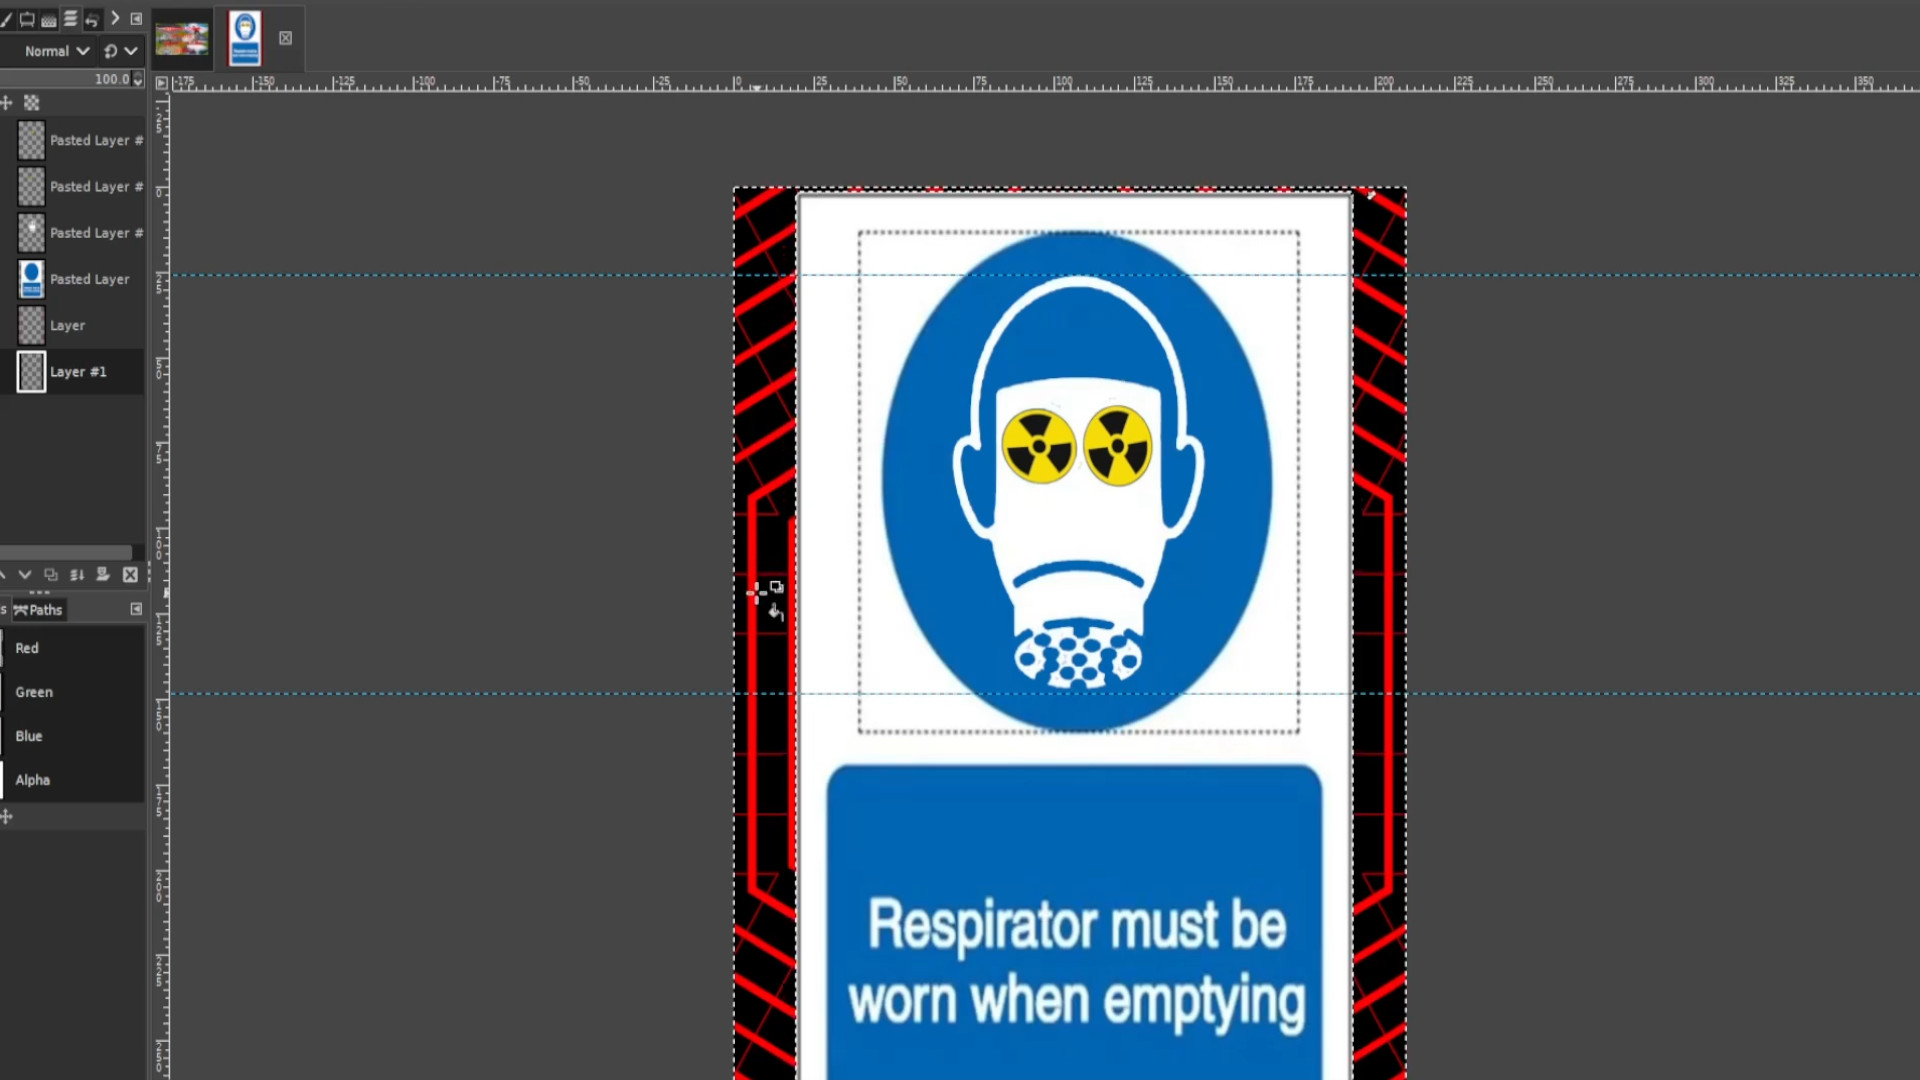
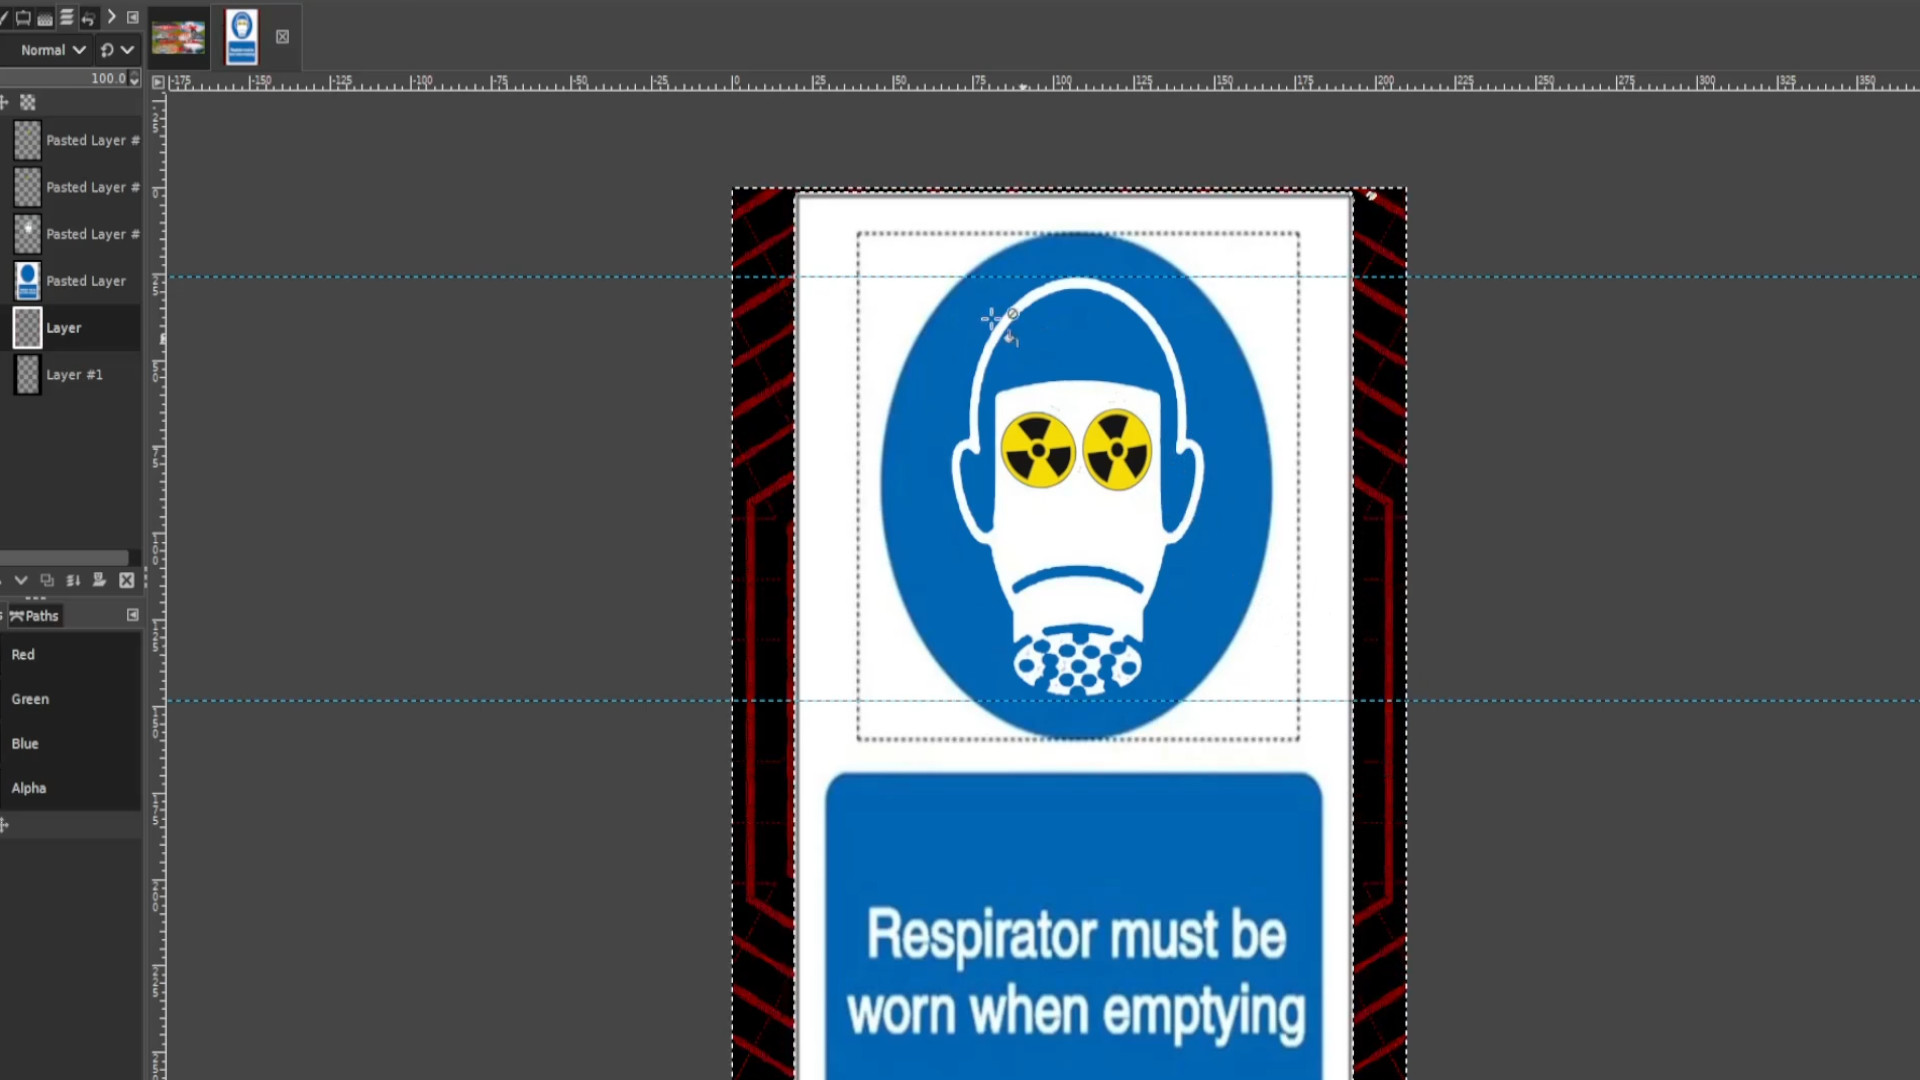
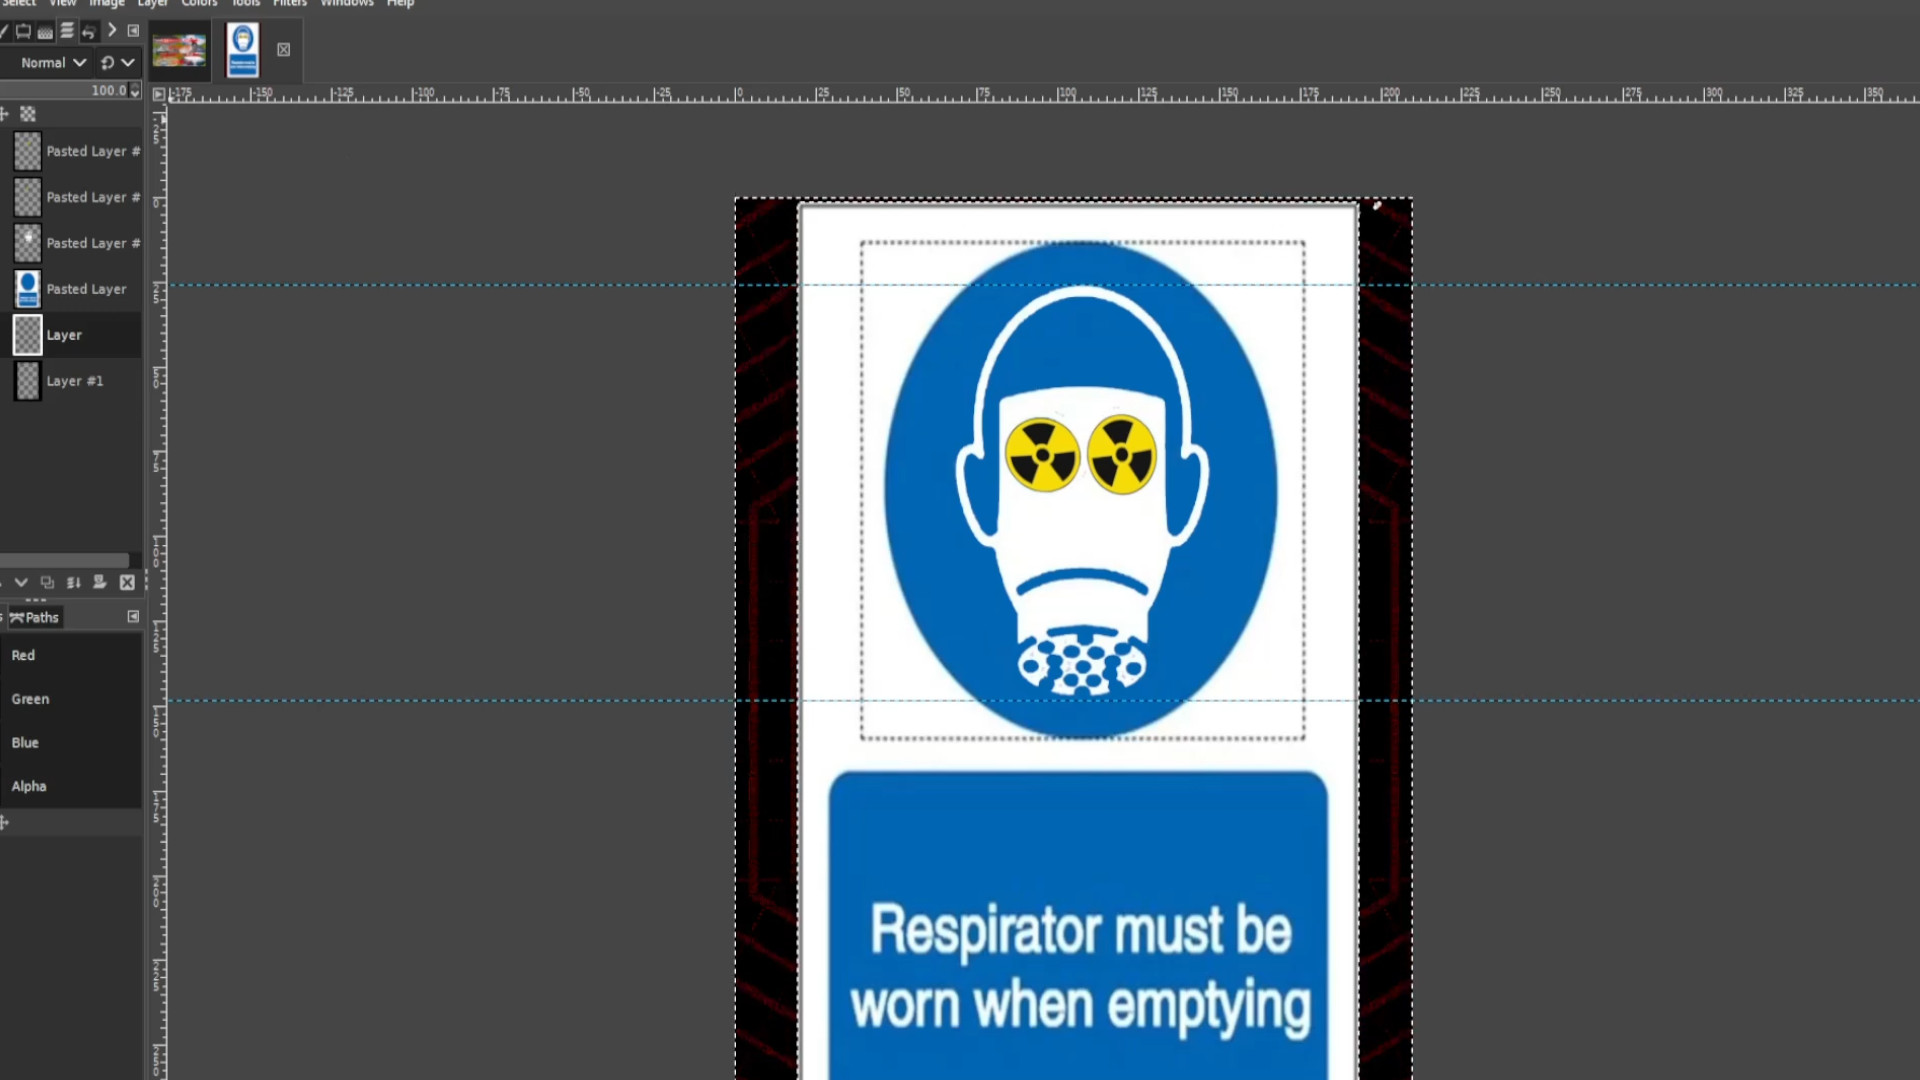
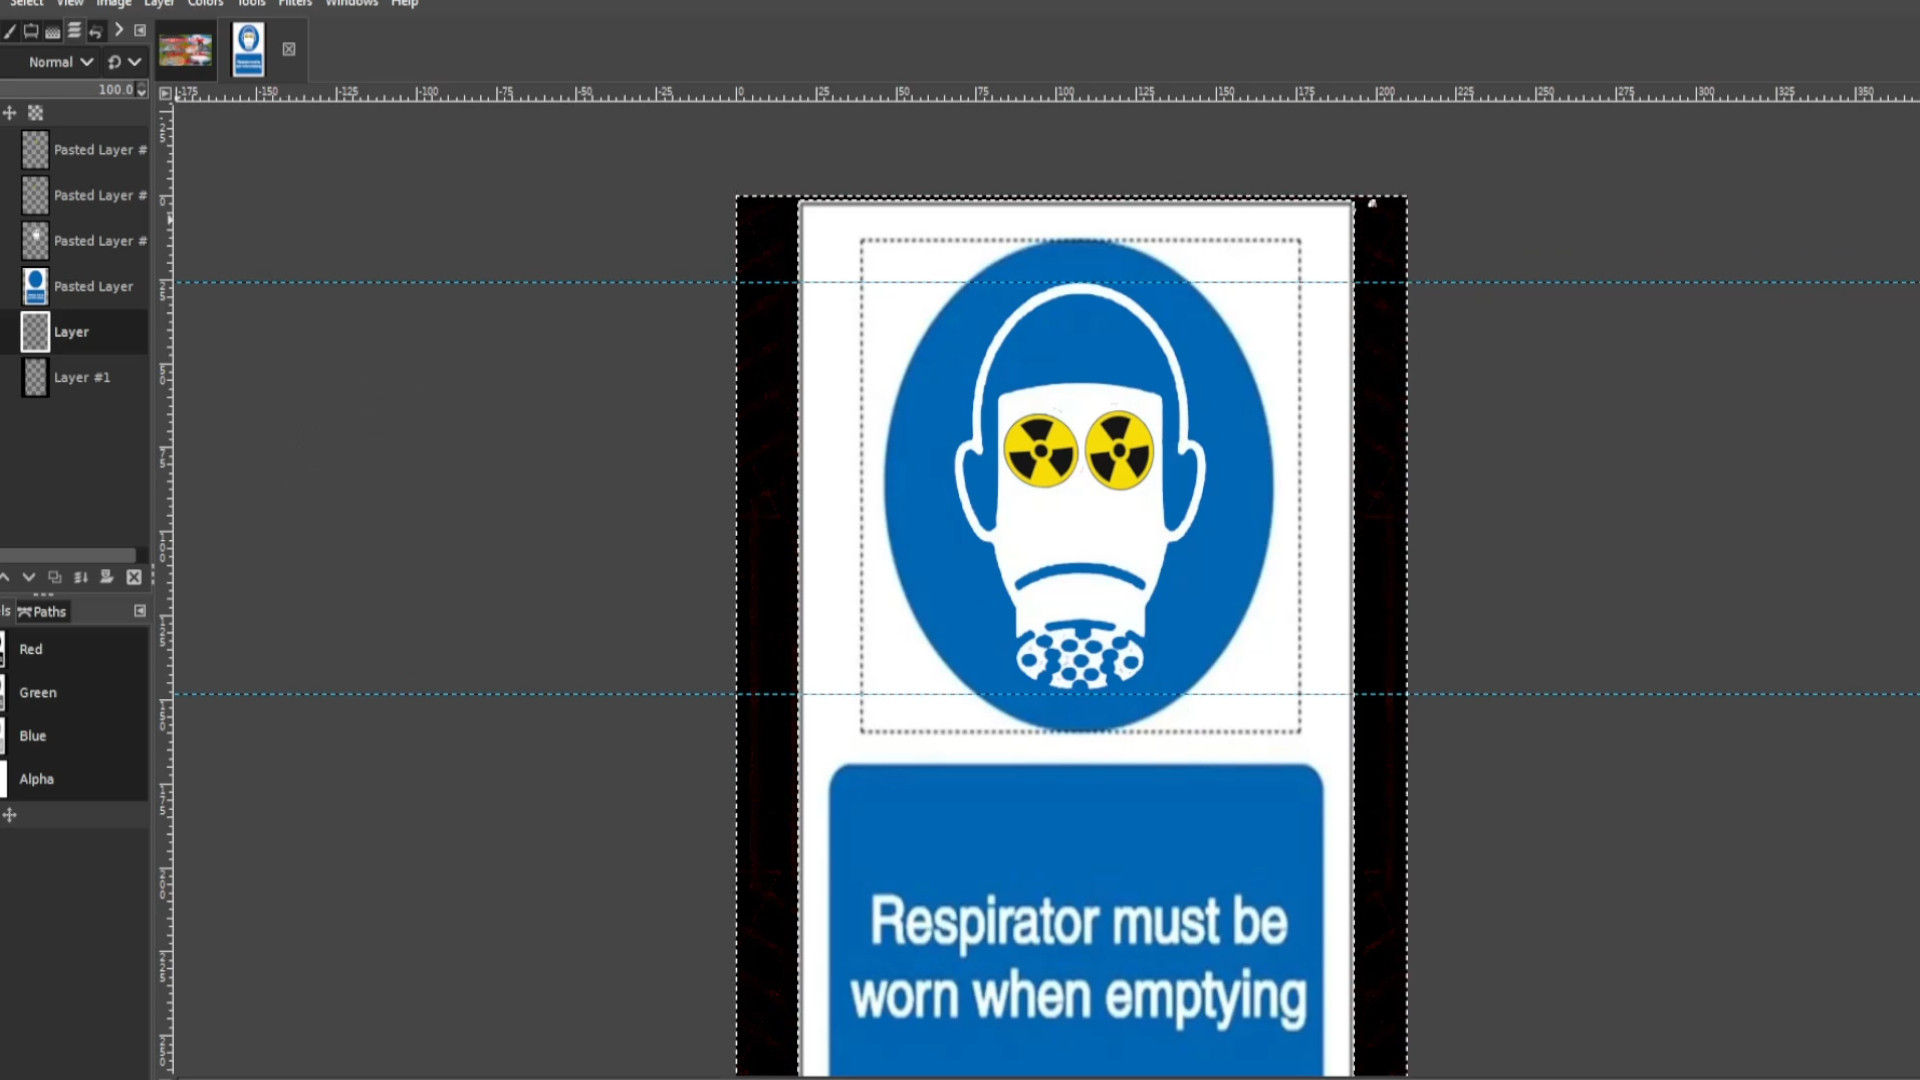
You can use a gif maker like EGIF.com to put the gif together and save as a>>>gif or>>>MP4 file.
Wet Floor Animation Tutorial
Open up Gimp and go to >>>FILE>>>NEW>>>TEMPLATE and pick the>>>A4 SIZE;
209.97 Width,
297.01 Height
in mm.
2480 Width
3508 Height
in px
>>LOAD FILE or >>>DRAG AND DROP file into Gimp. You can use the resize tool or use shortcut>>>HOLD SHIFT and PRESS R to resize the picture. You might see on the left hand side in the layers panel it says>>>FLOATING SELECTION. >>>RIGHT CLICK on the>>>LAYER and select>>>NEW LAYER now you can resize the picture.
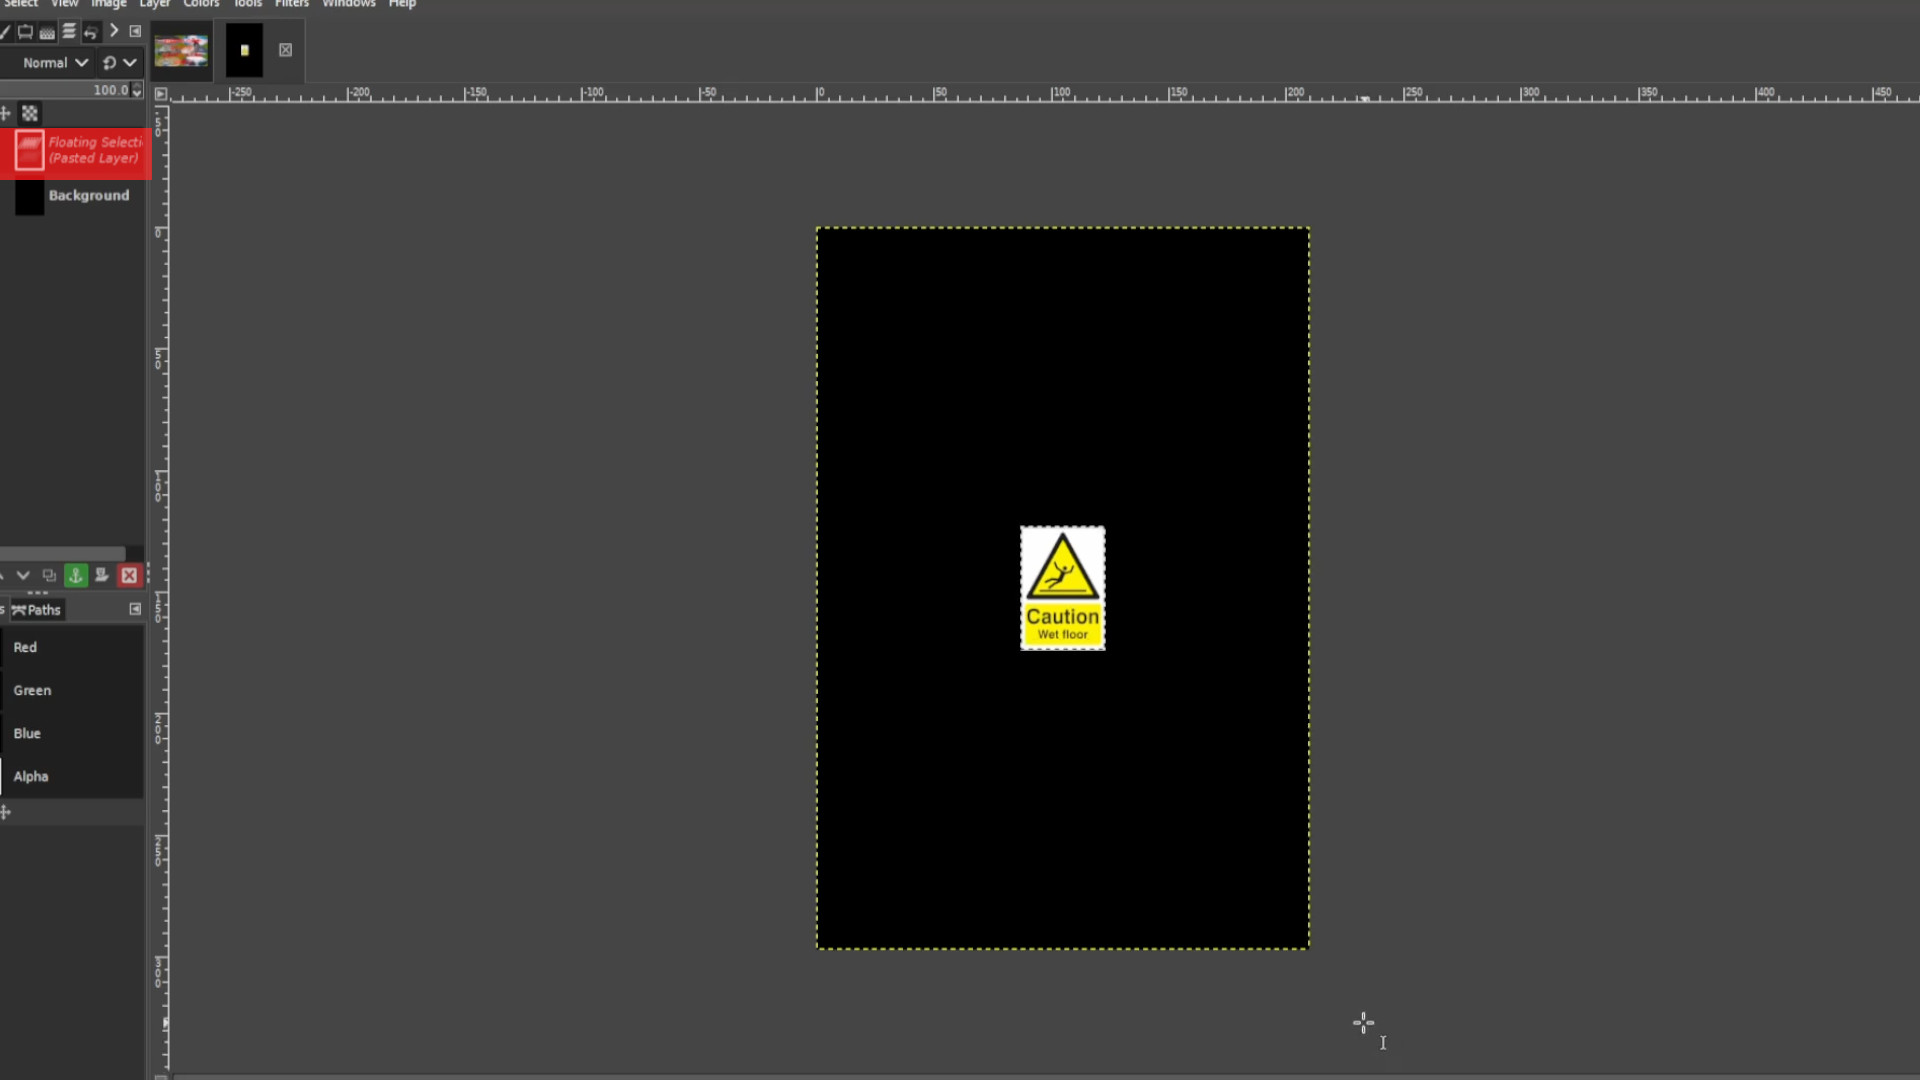
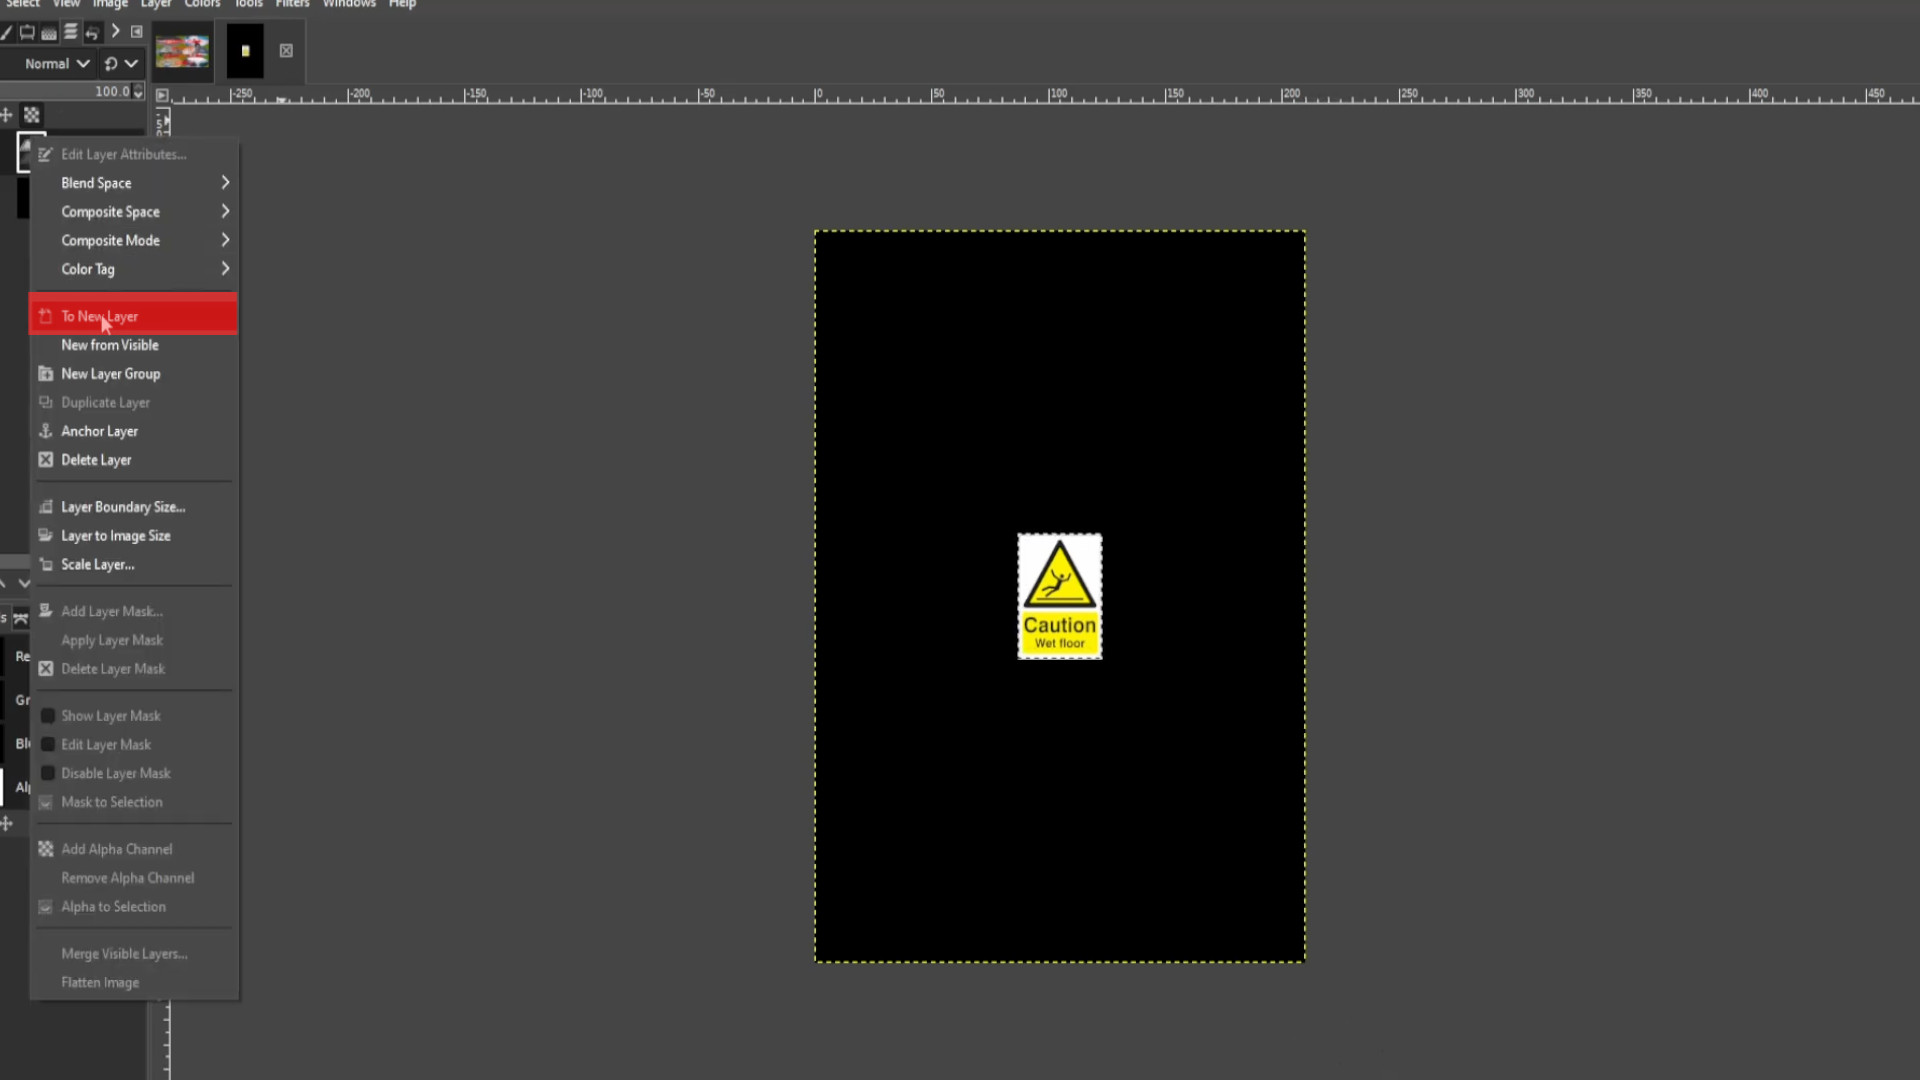
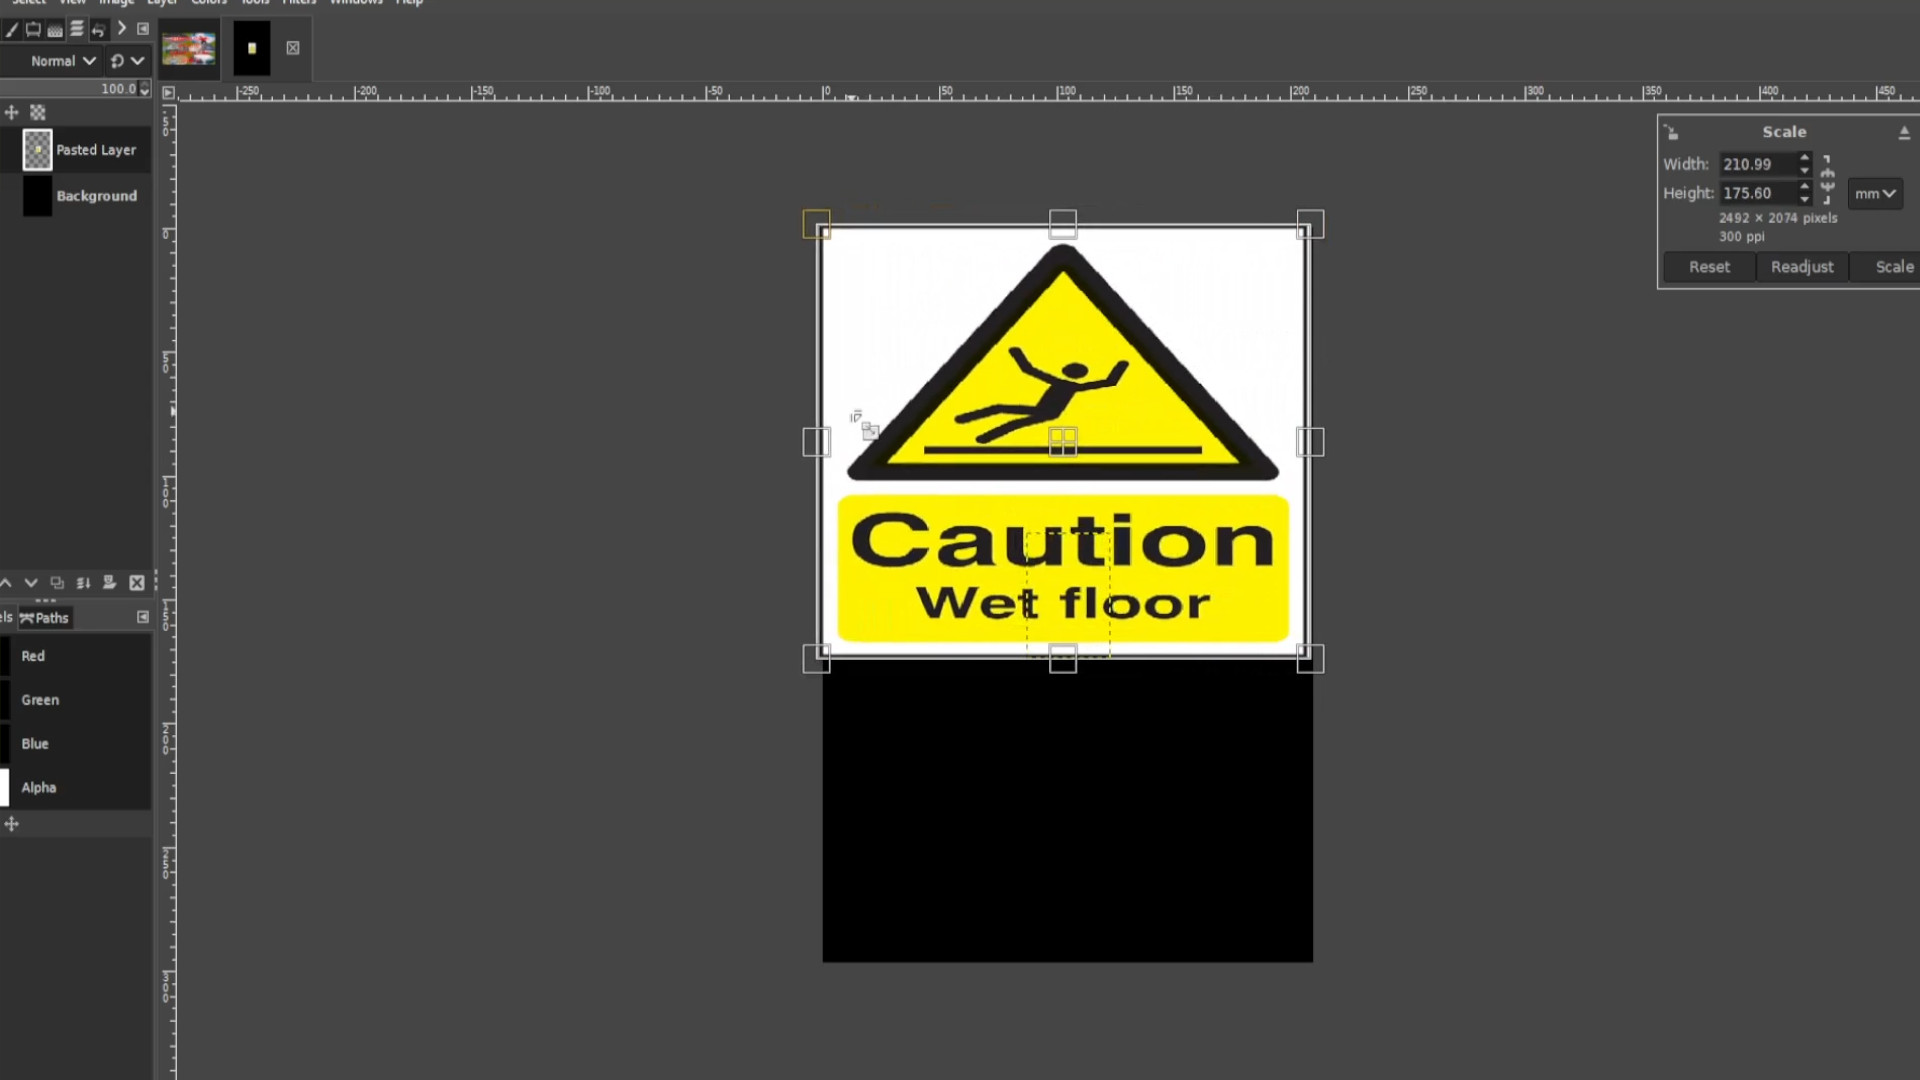
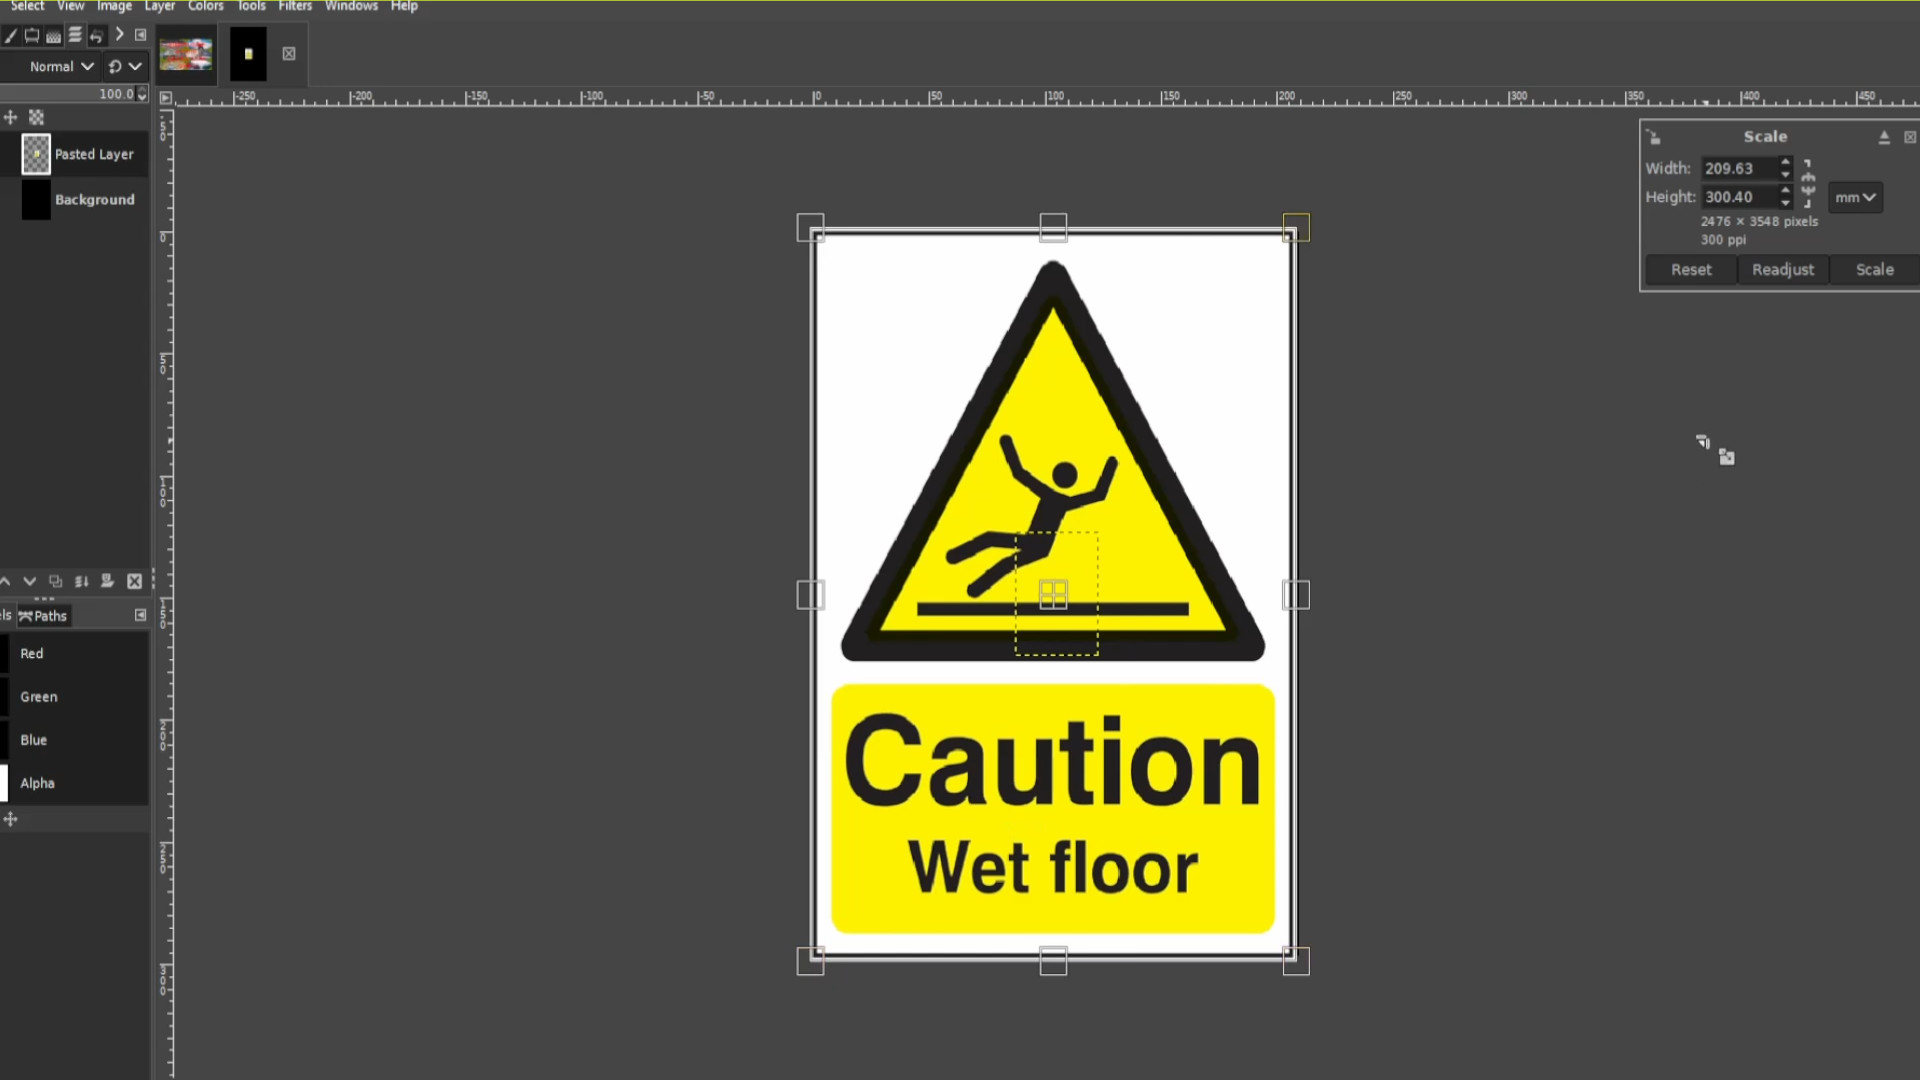
Use the>>>FUZZY SELECT TOOL to select in this case the stickman. You can >>>HOLD>>>SHIFT and>>>CLICK on the>>>LEFT BUTTON of the>>>MOUSE to select more than one bit.
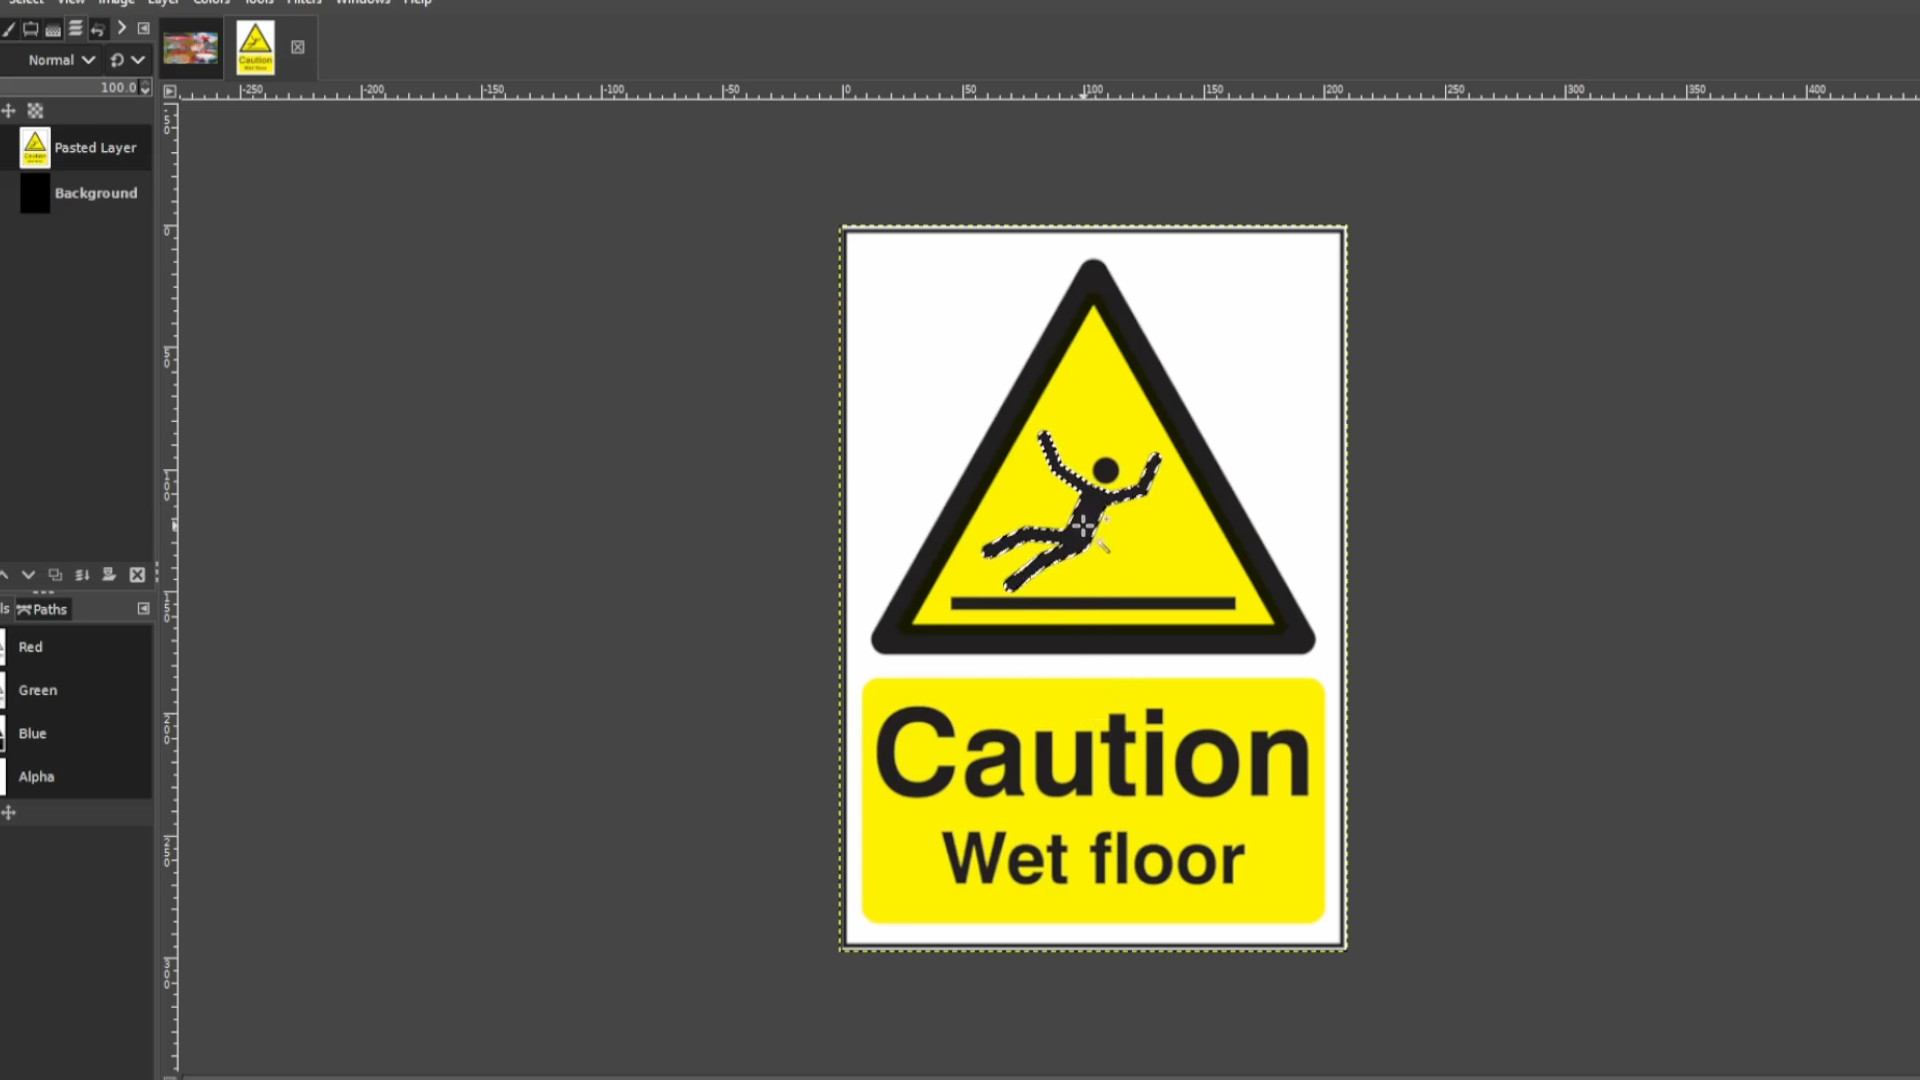
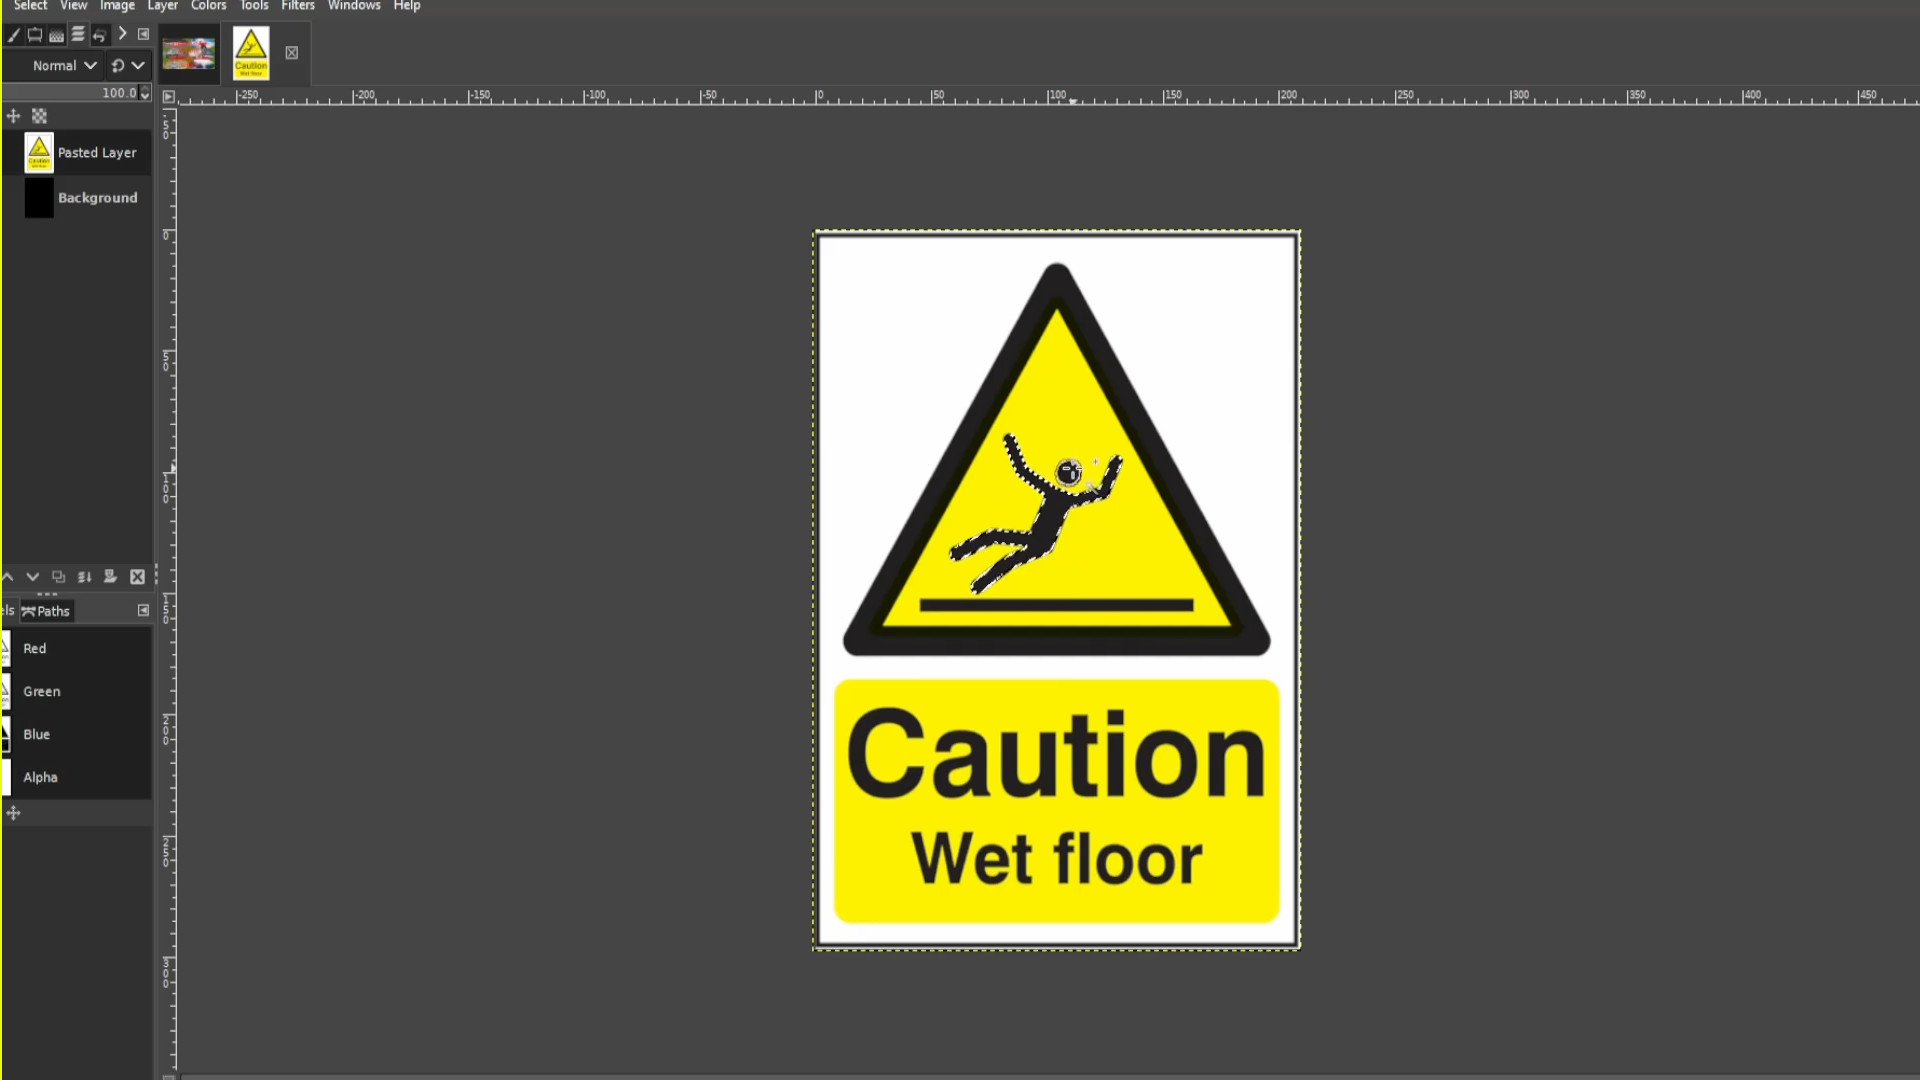
With the first layer selected>>>RIGHT CLICK on the picture and hover your cursor over>>>EDIT and>>>PRESS>>>COPY or use shortcut>>>HOLD>>>CTRL and>>>PRESS C to copy the selected bit.
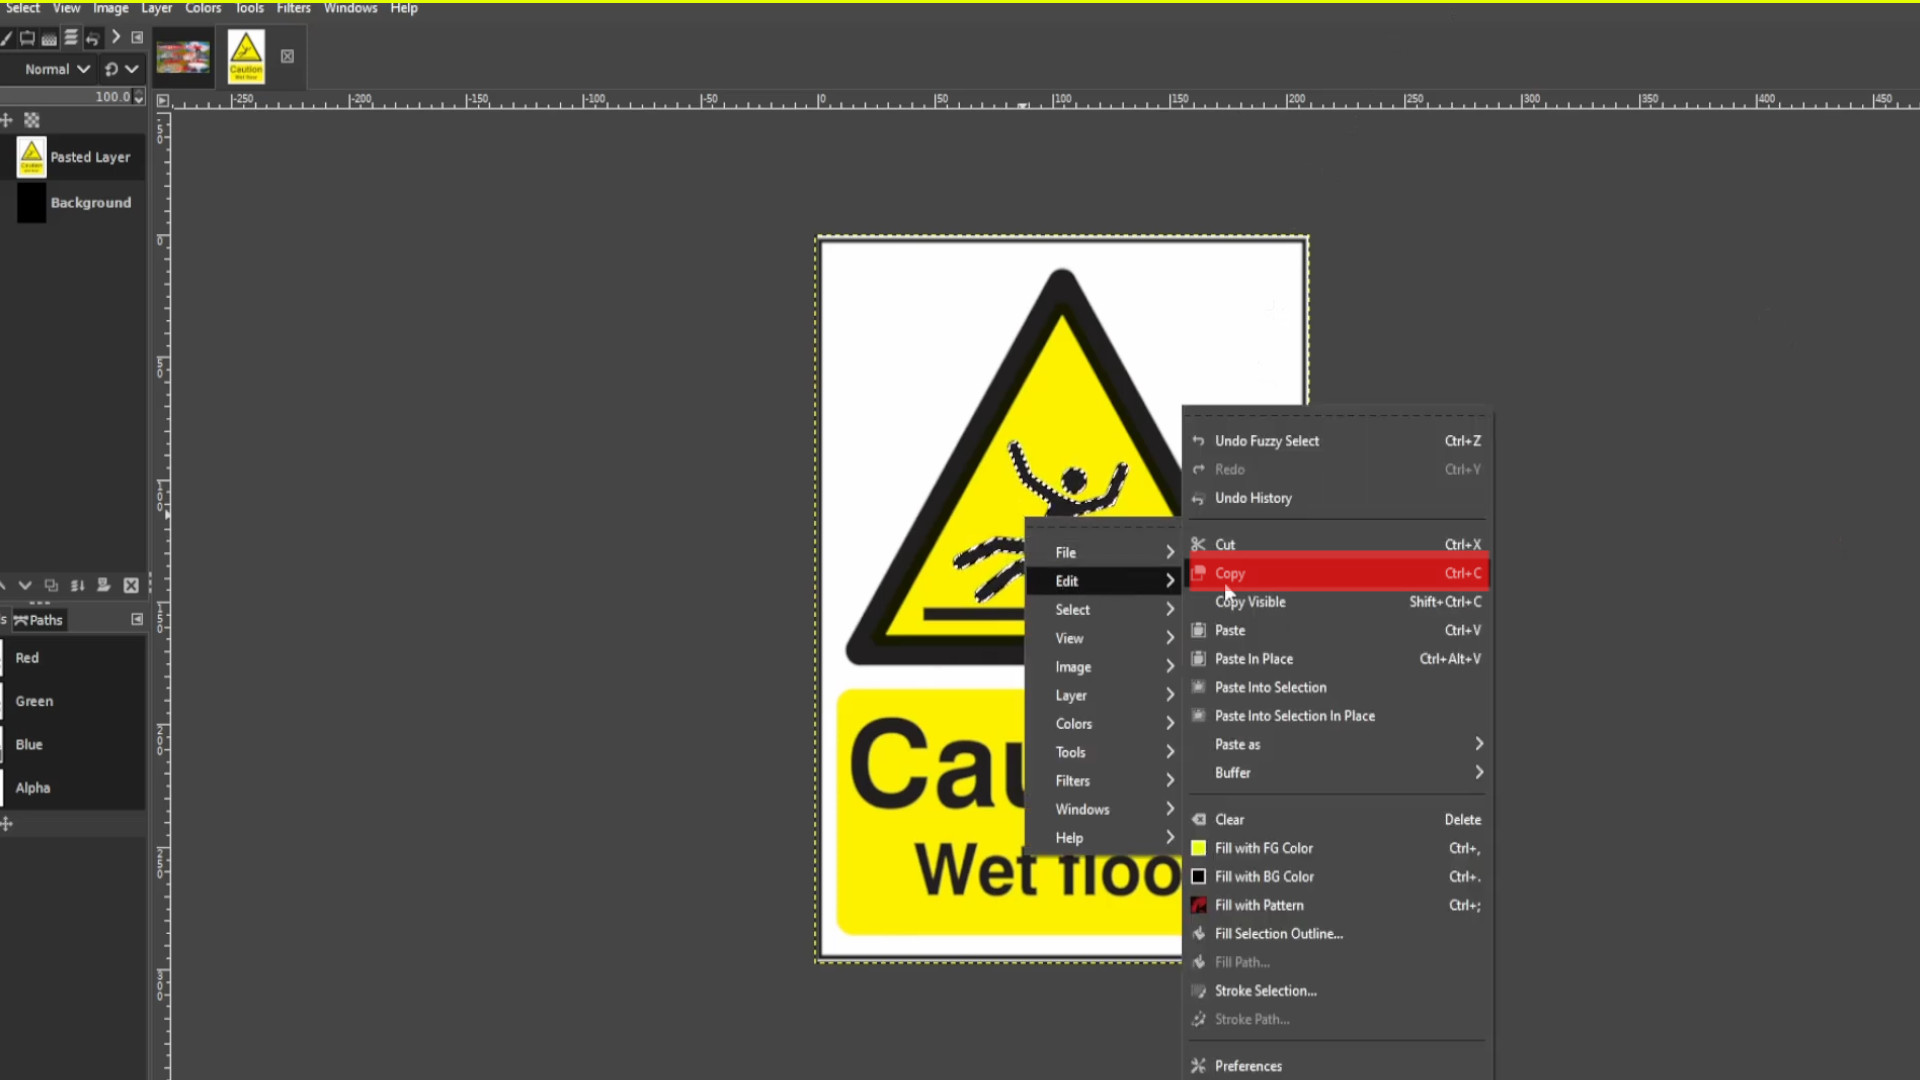
With the first layer selected>>>RIGHT CLICK on the picture and hover your cursor over>>>EDIT and>>>PRESS>>>CUT or use shortcut>>>HOLD>>>CTRL and>>>PRESS X to cut the selected bits.
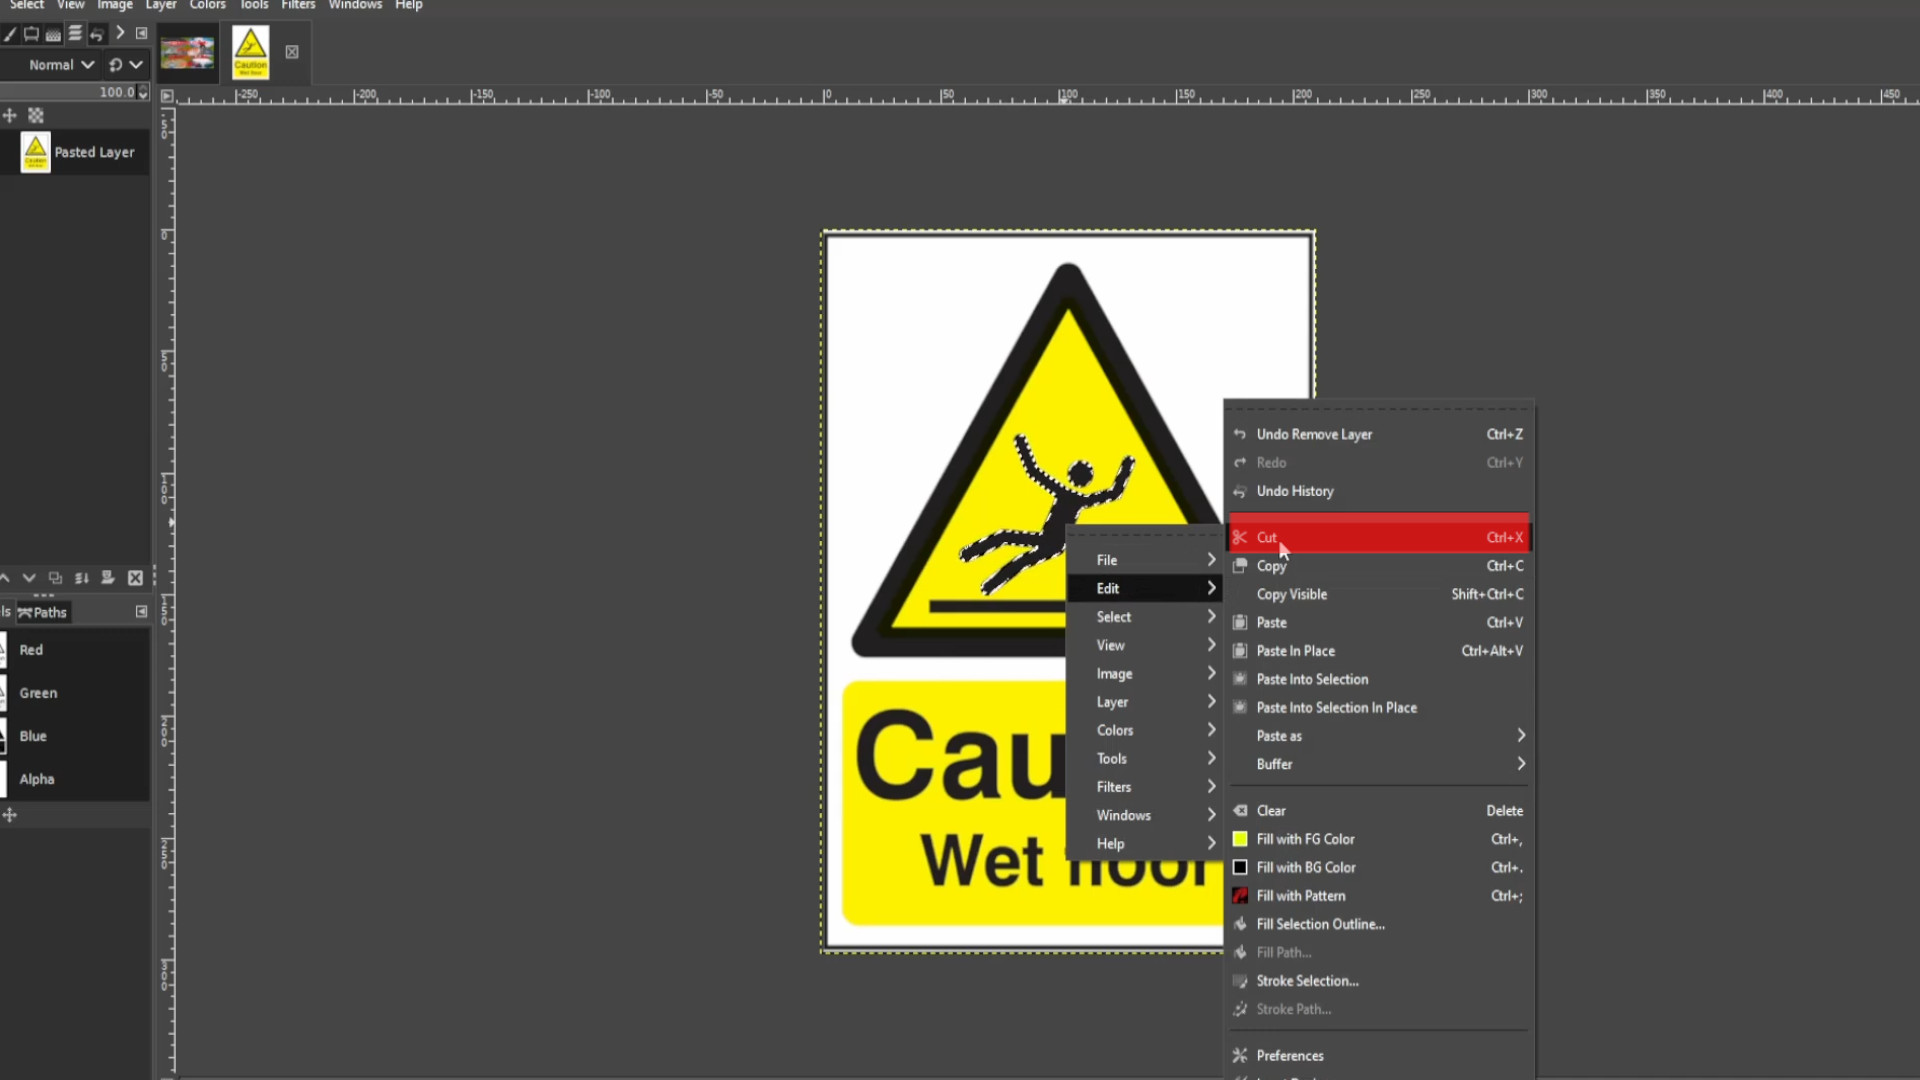
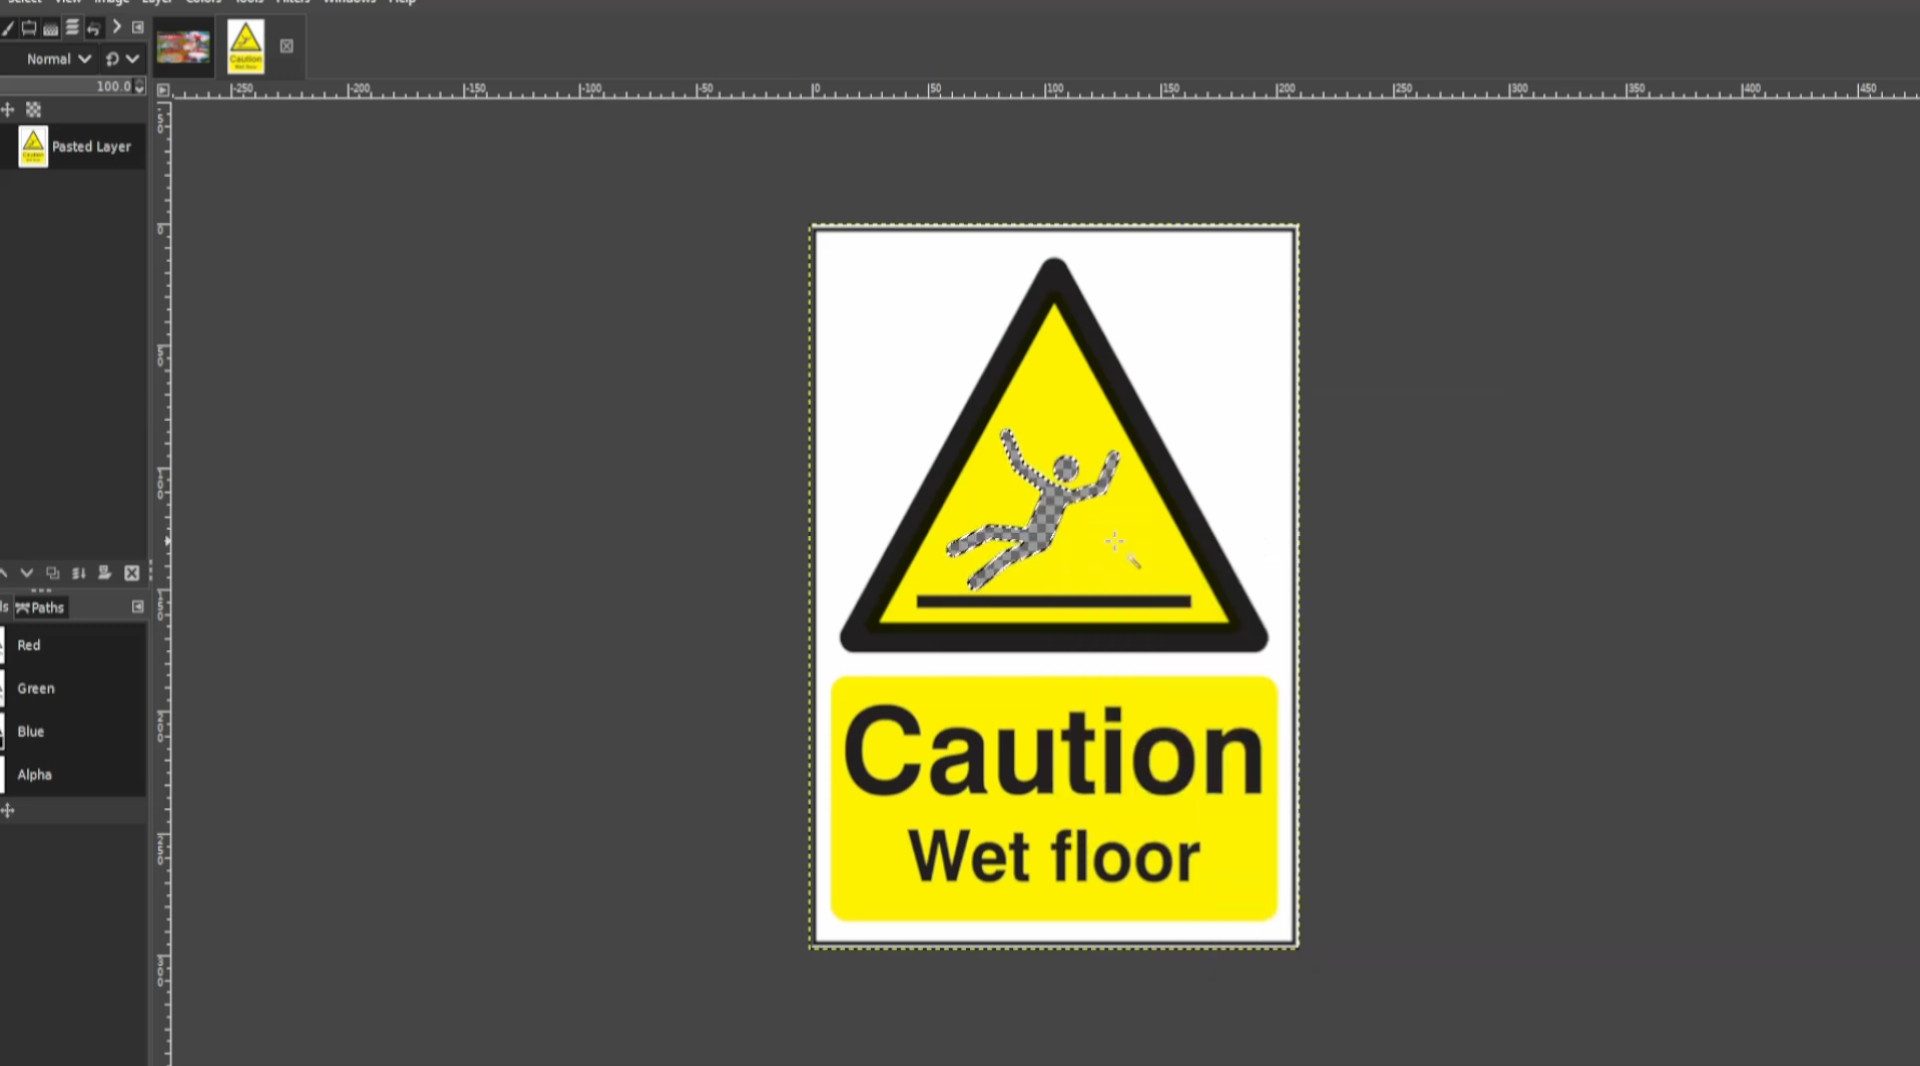
With the first layer selected>>>RIGHT CLICK on the picture and hover your cursor over>>>EDIT and>>>PRESS>>>PASTE or use shortcut>>>HOLD>>>CTRL and>>>PRESS V to paste the selected bits.
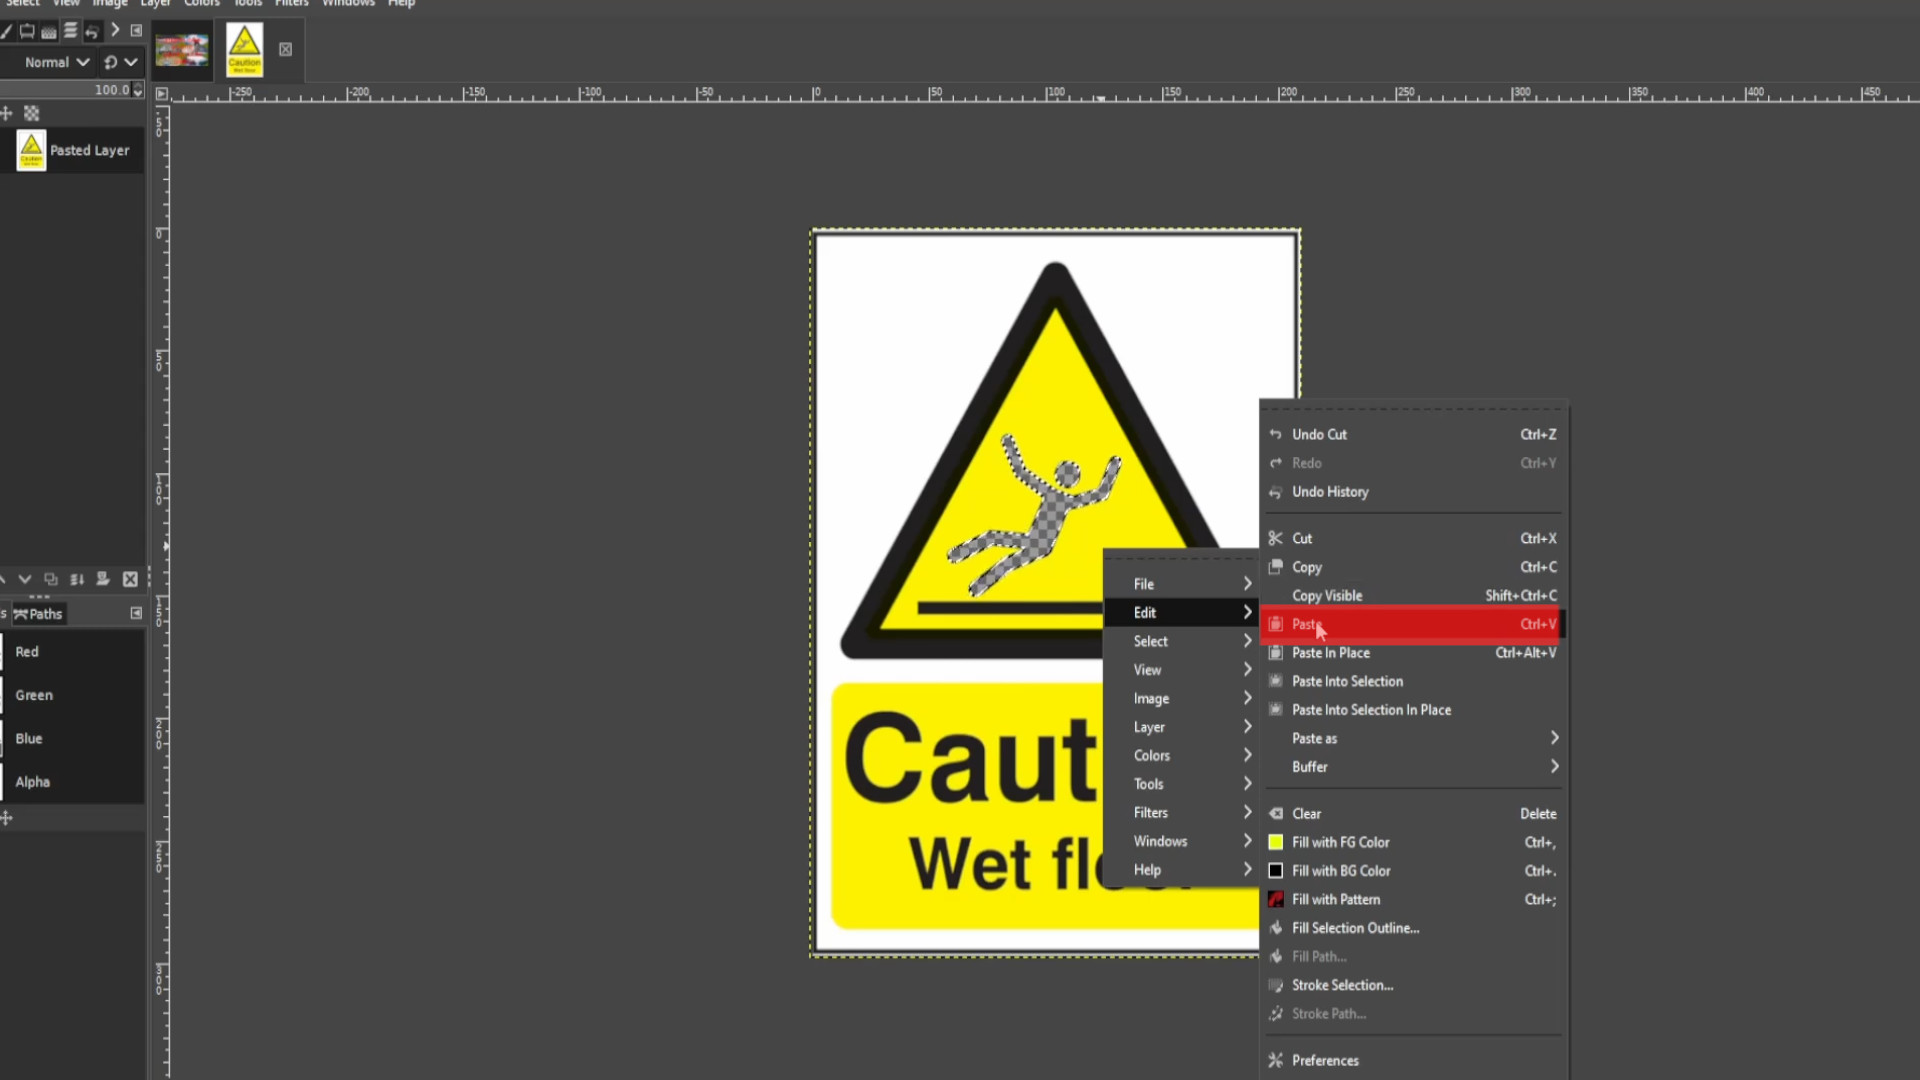
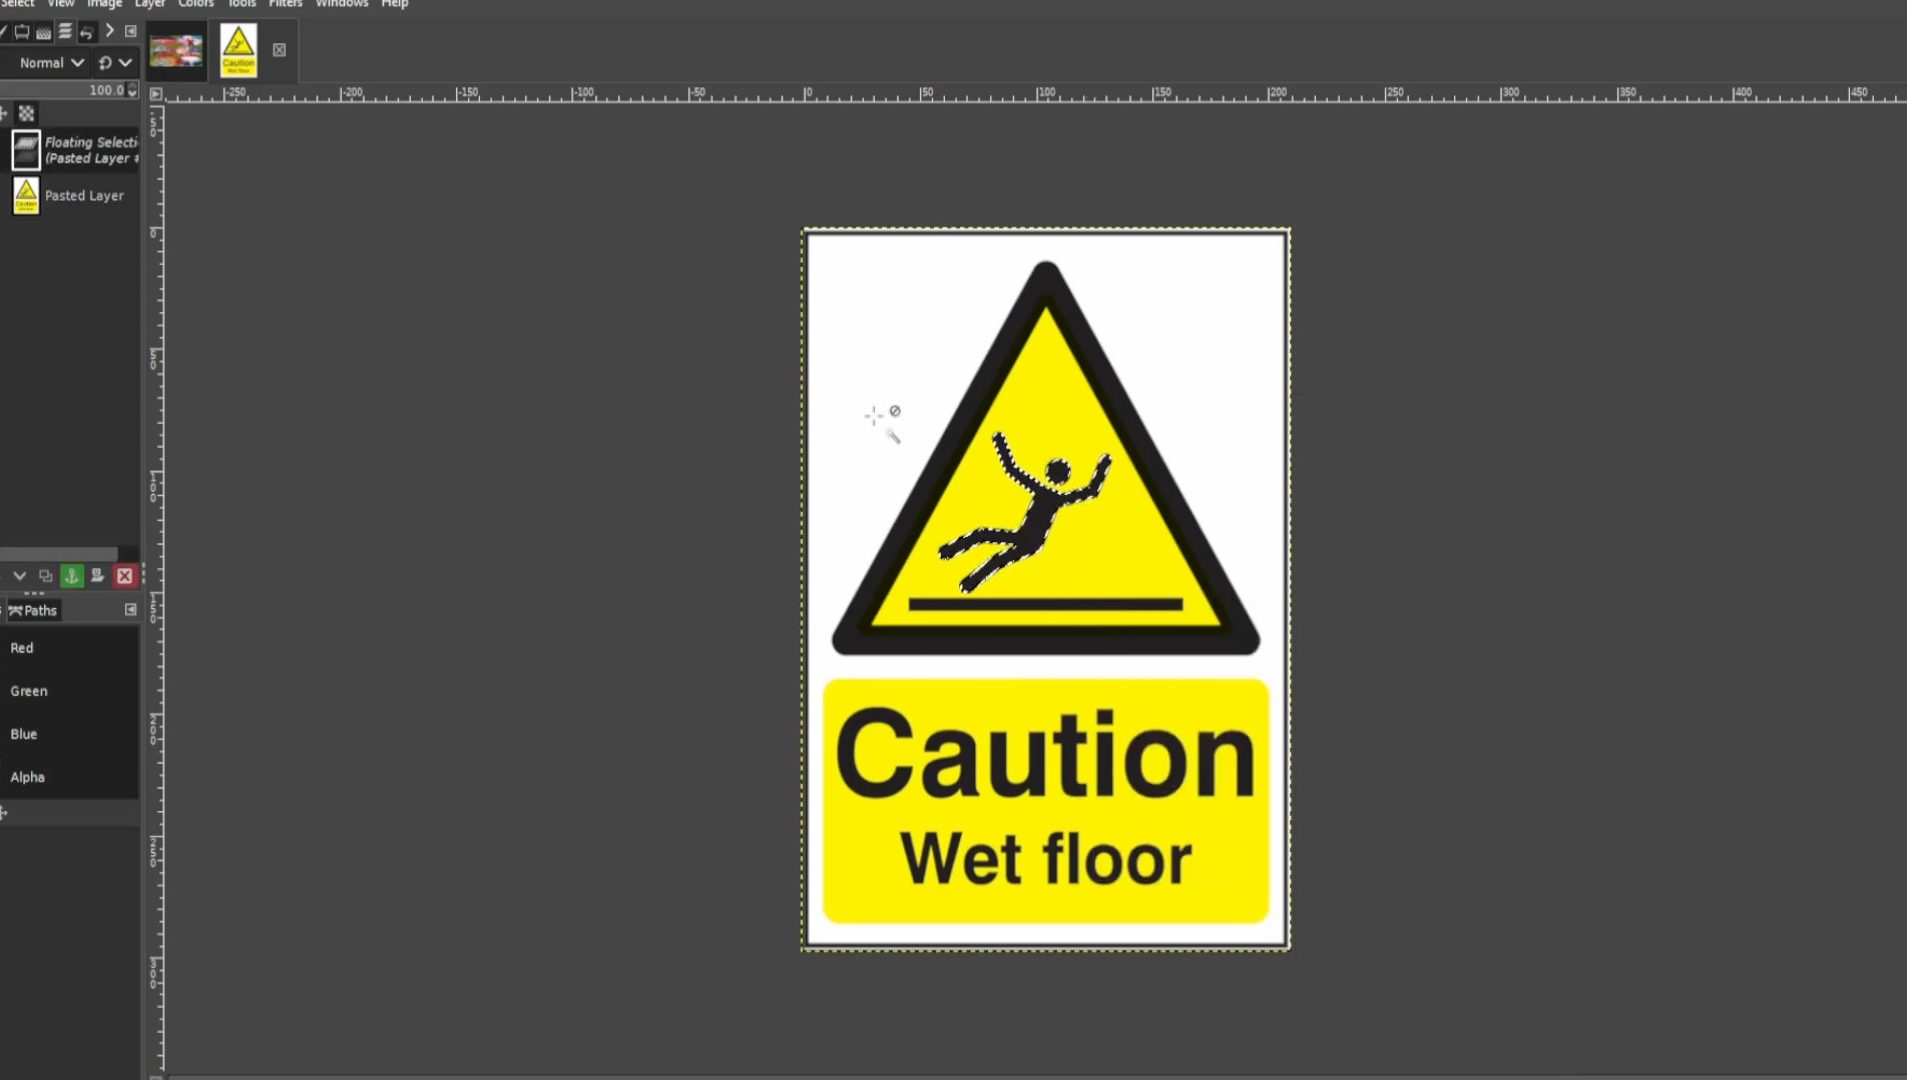
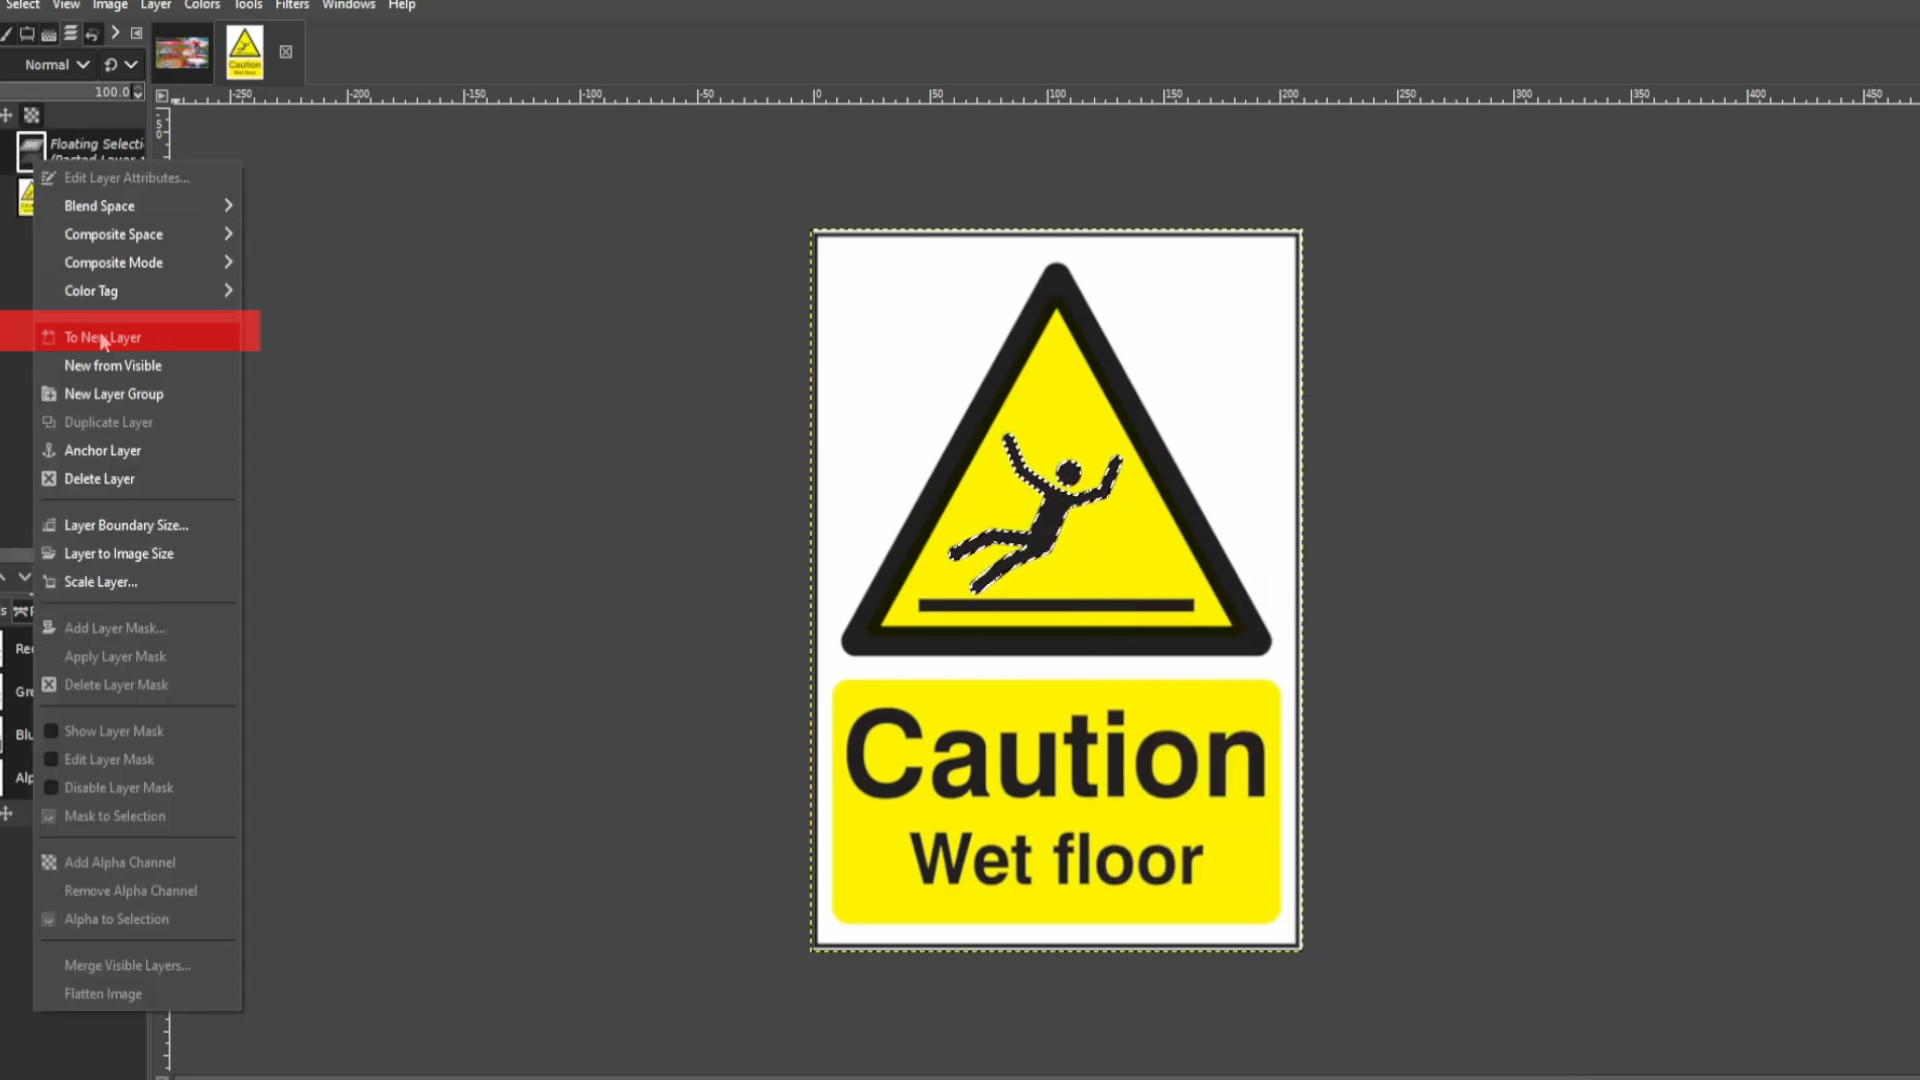
If you see on the left hand side panel in the layers panel>>>FLOATING SELECTION>>>RIGHT CLICK on the layer and select>>>NEW LAYER
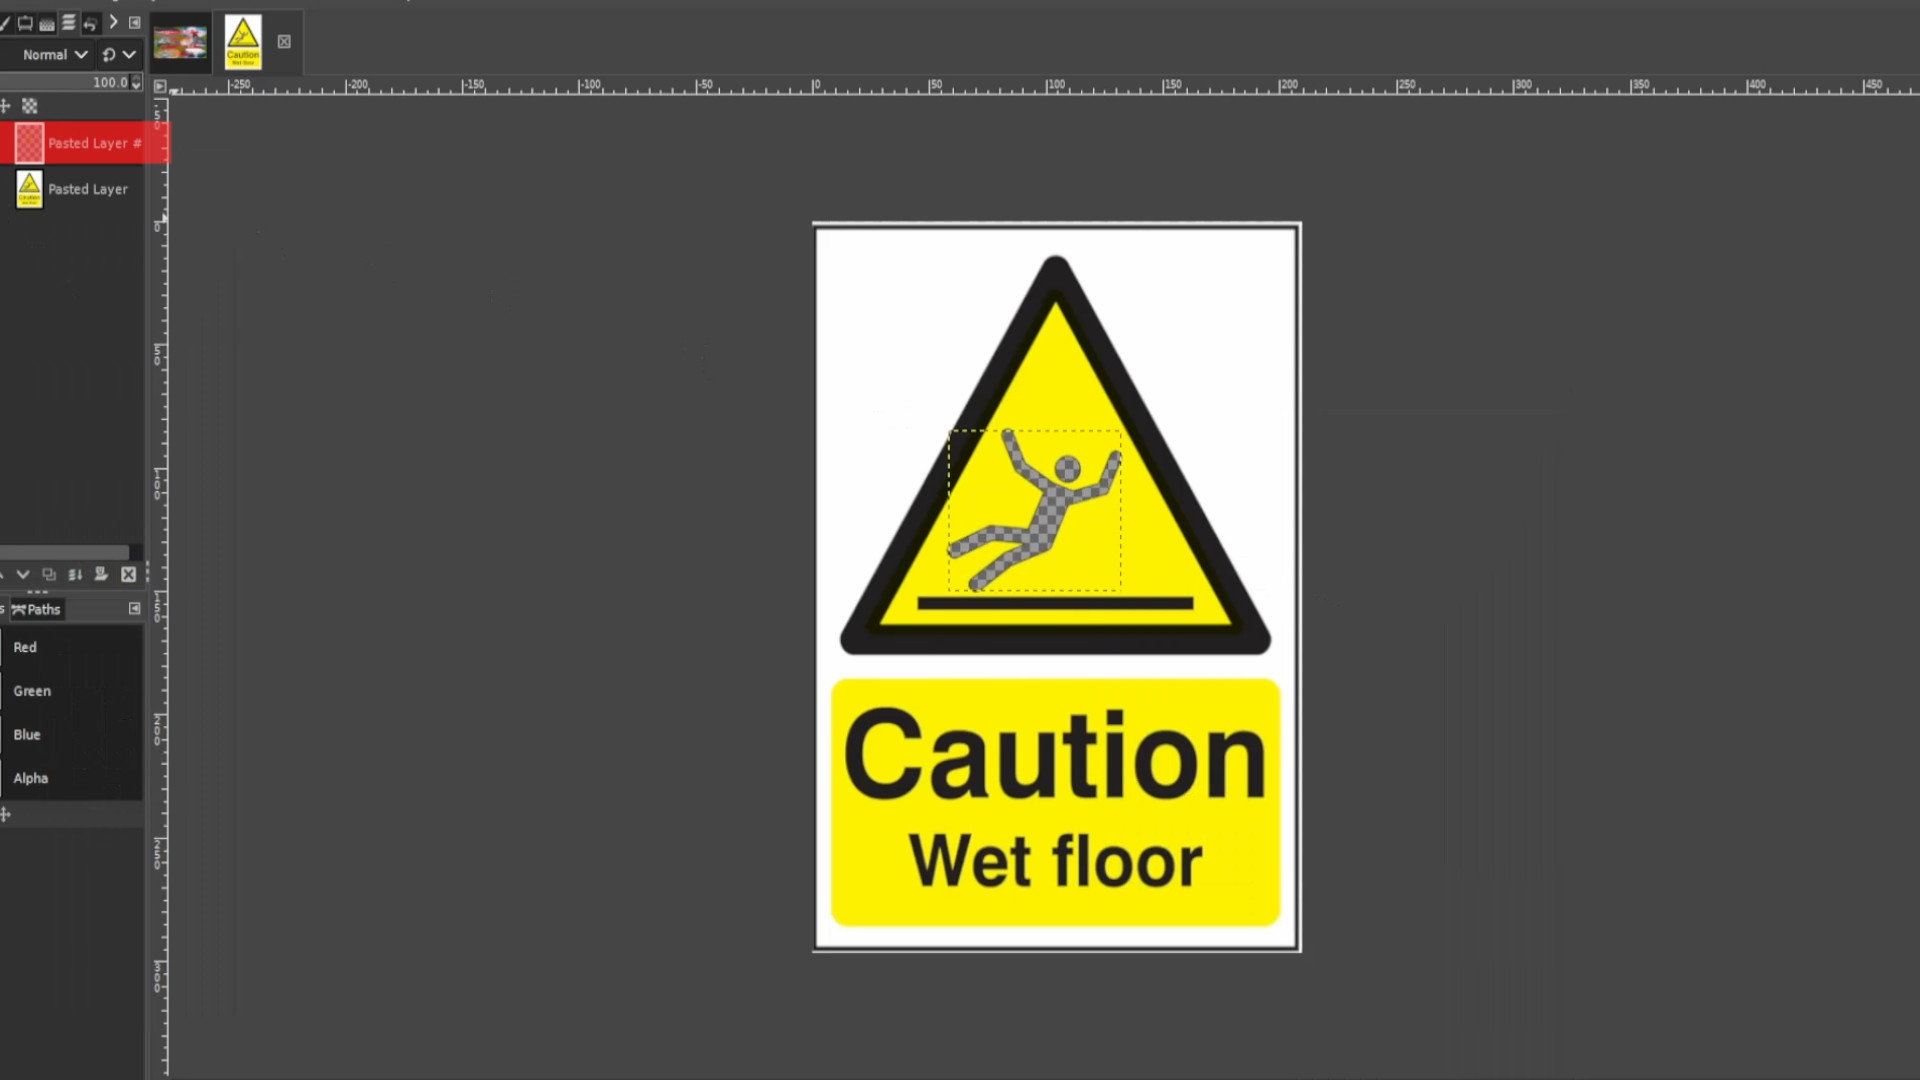
With the first layer selected PRESS the FIRST>>>EYE to hide the layer it should be transparent. If it’s not >>>DELETE the last >>>LAYER in the left hand side>>>LAYERS PANEL and go to >>>LAYER>>>TRANSPARENCY>>>ADD ALPHA CHANNEL.
With the bottom layer selected and using the>>>COLOUR PICKER select in this case any yellow bit that’s not transparent. 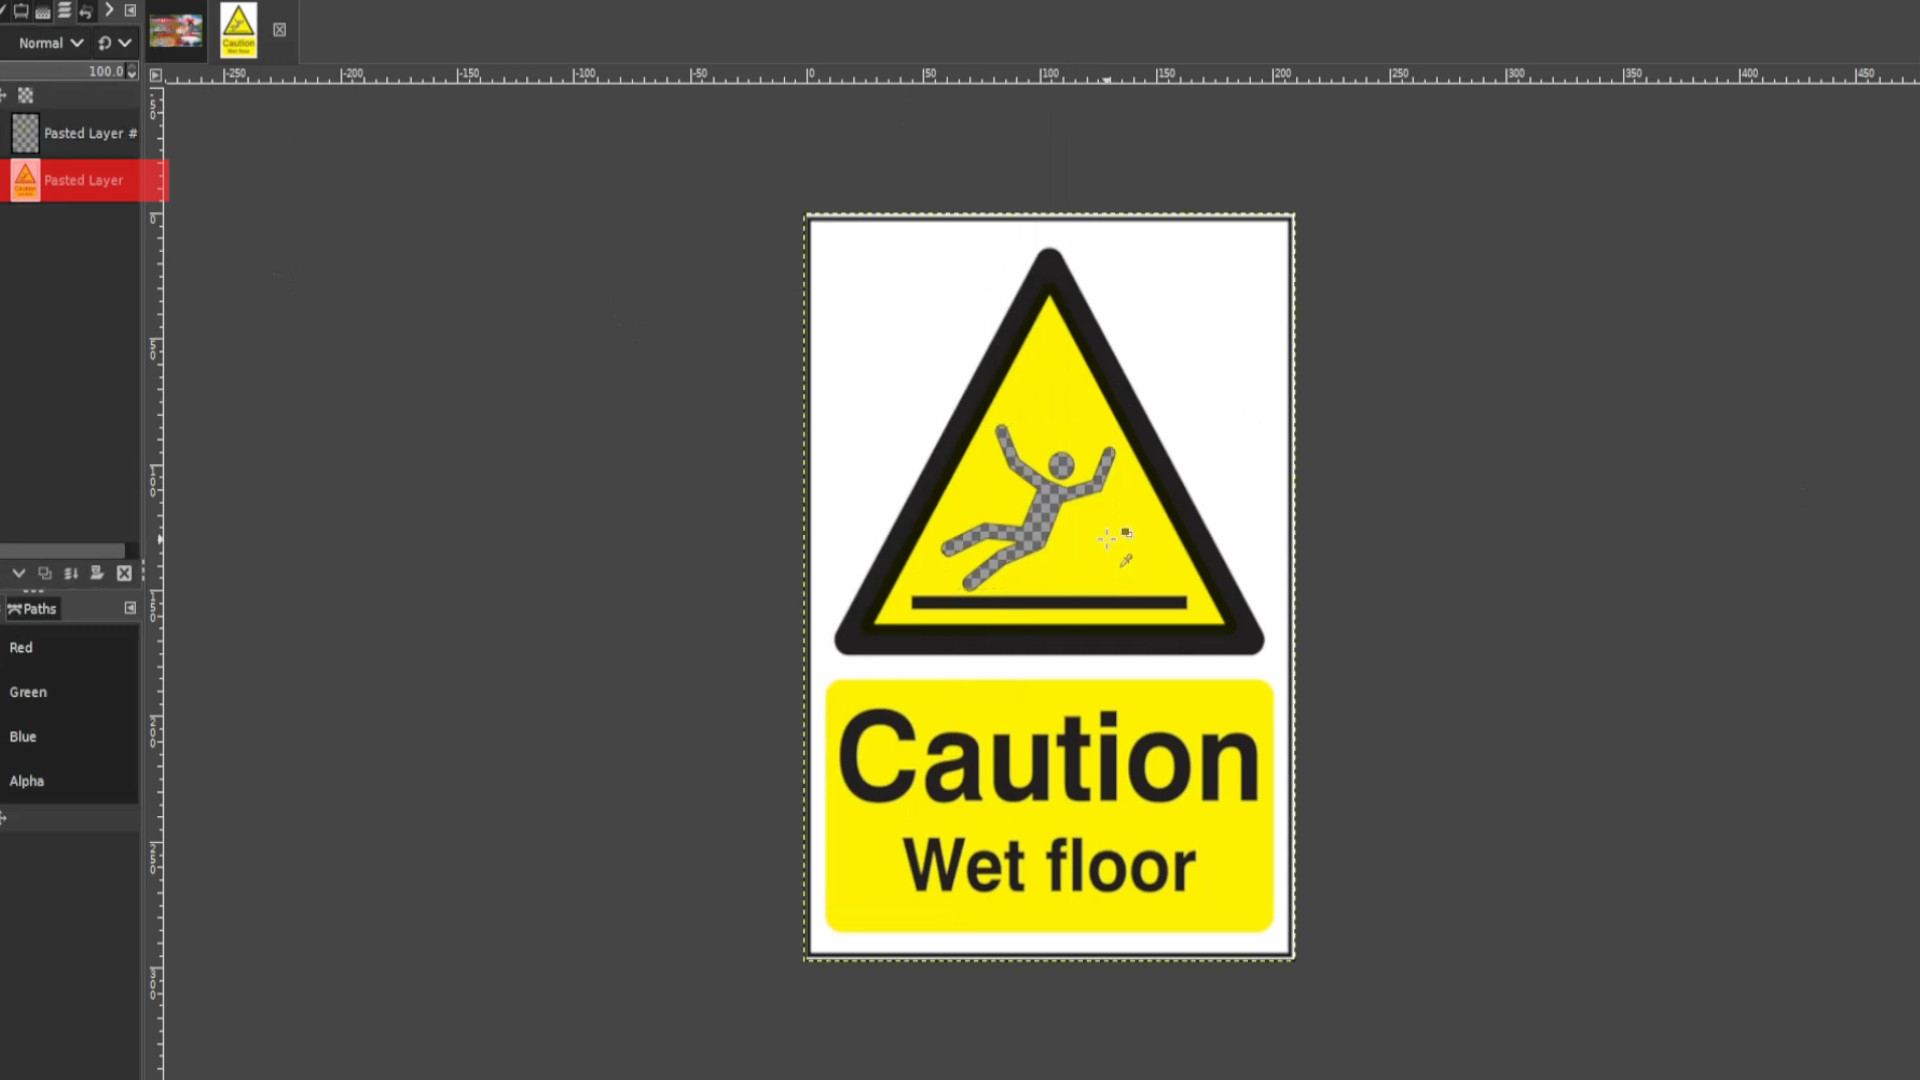
With the bottom layer selected Use the>>>PAINT BRUSH to fill in the transparent bit leaving in this case the triangle completely yellow. 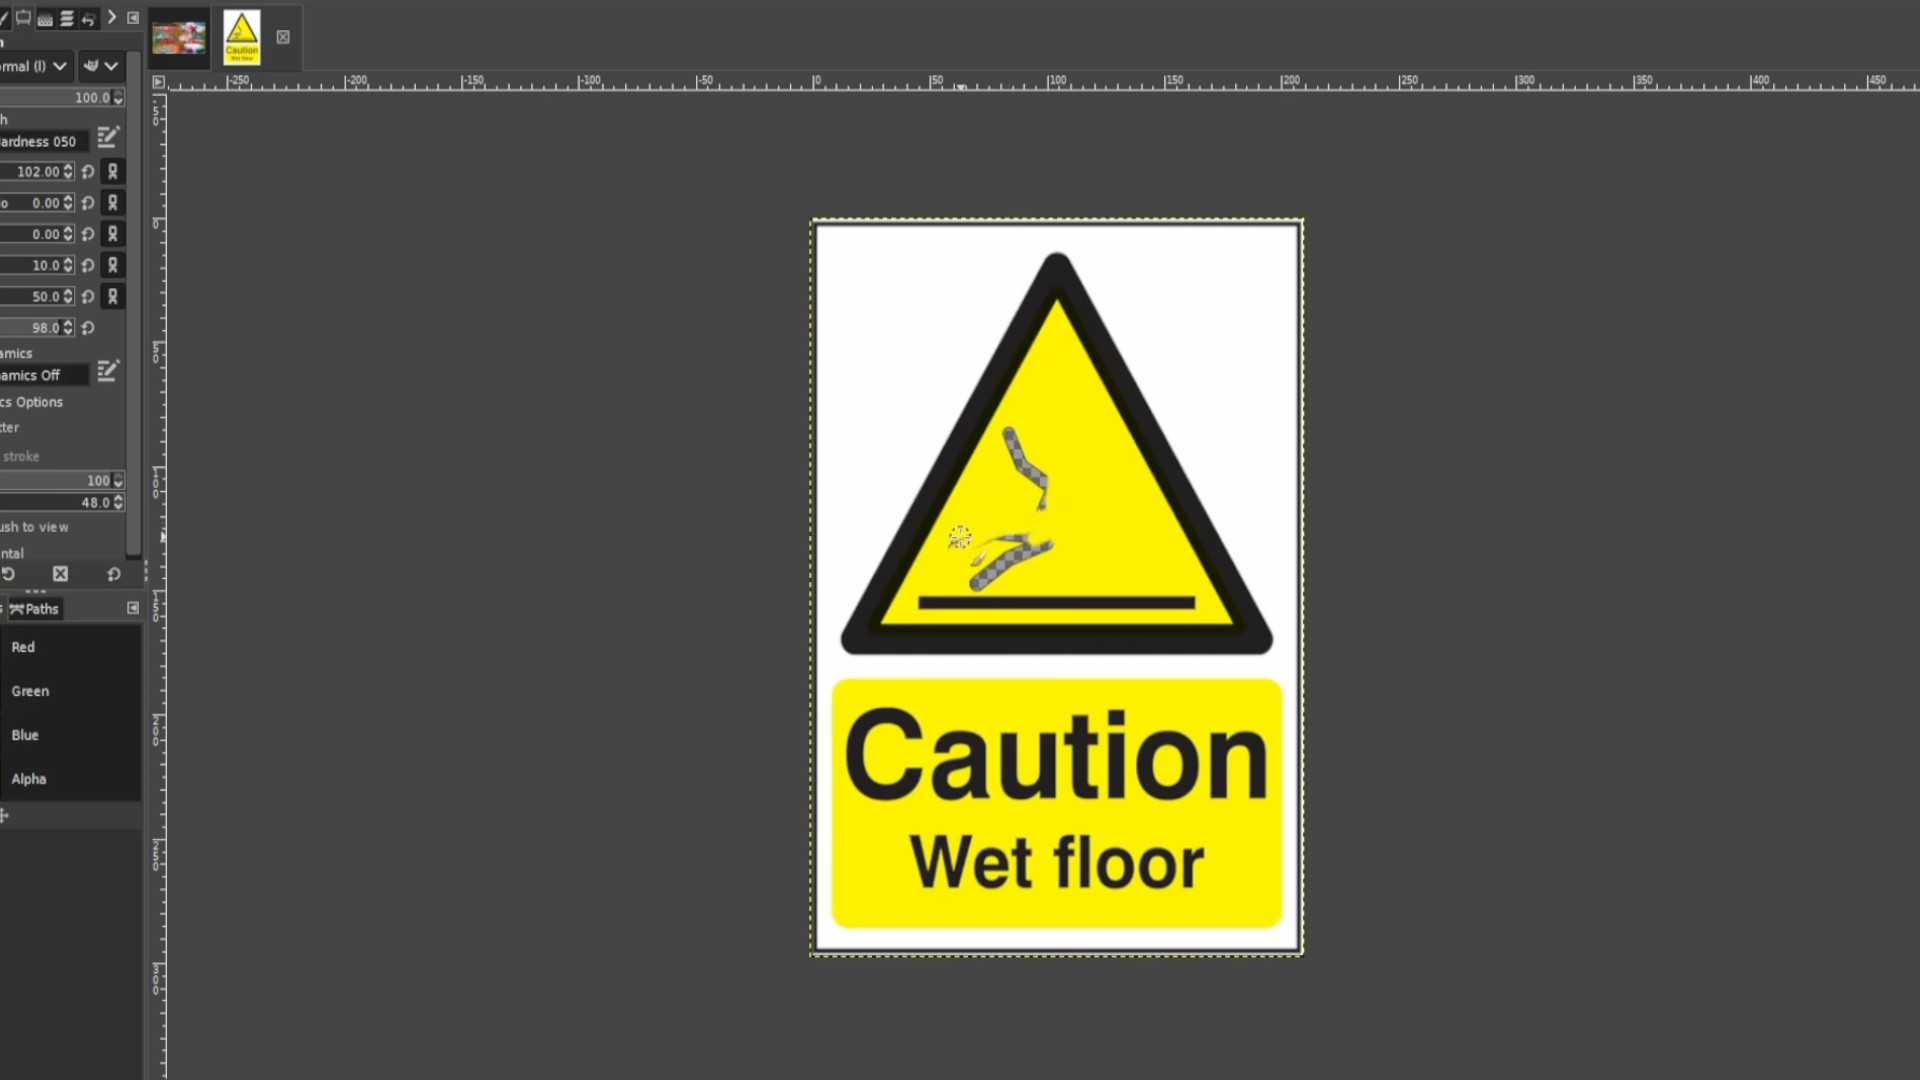
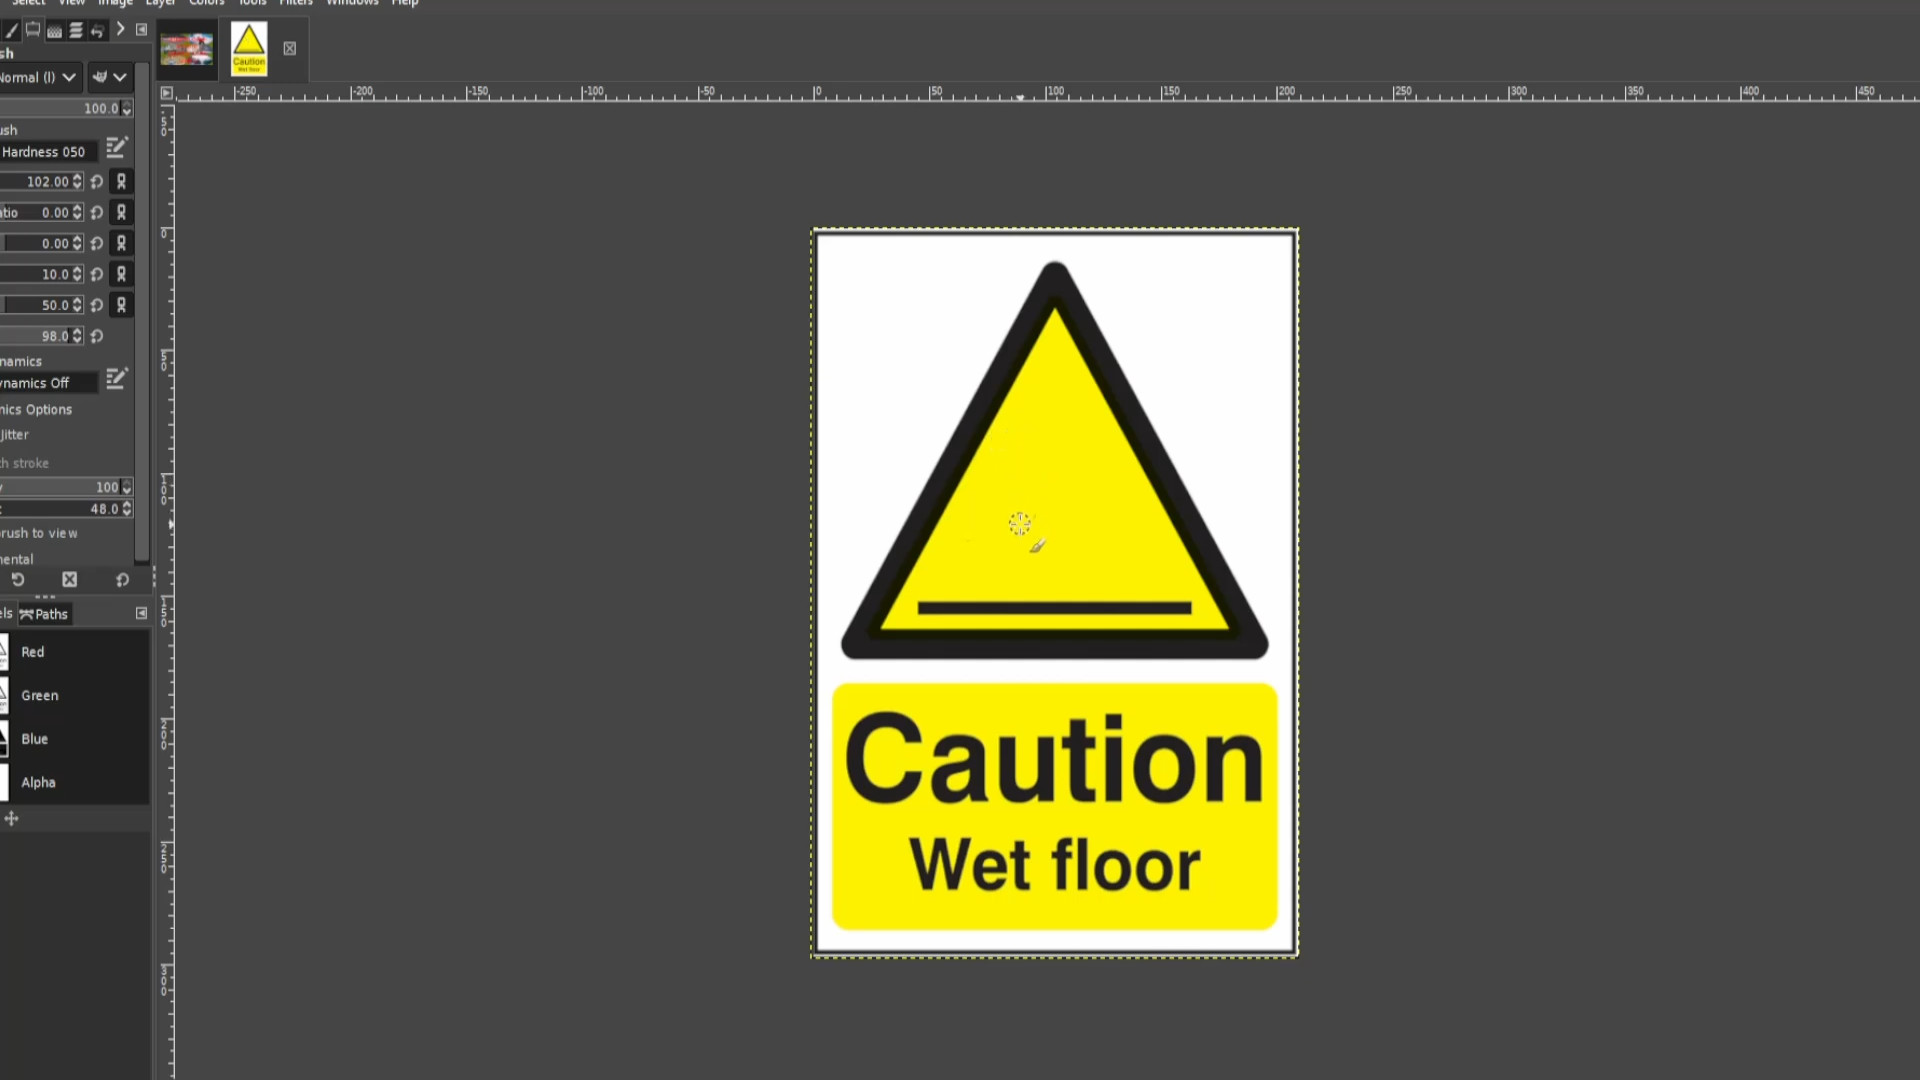
>>>UNHIDE the LAYER by clicking on the on the first layer eye section to unhide the layer. 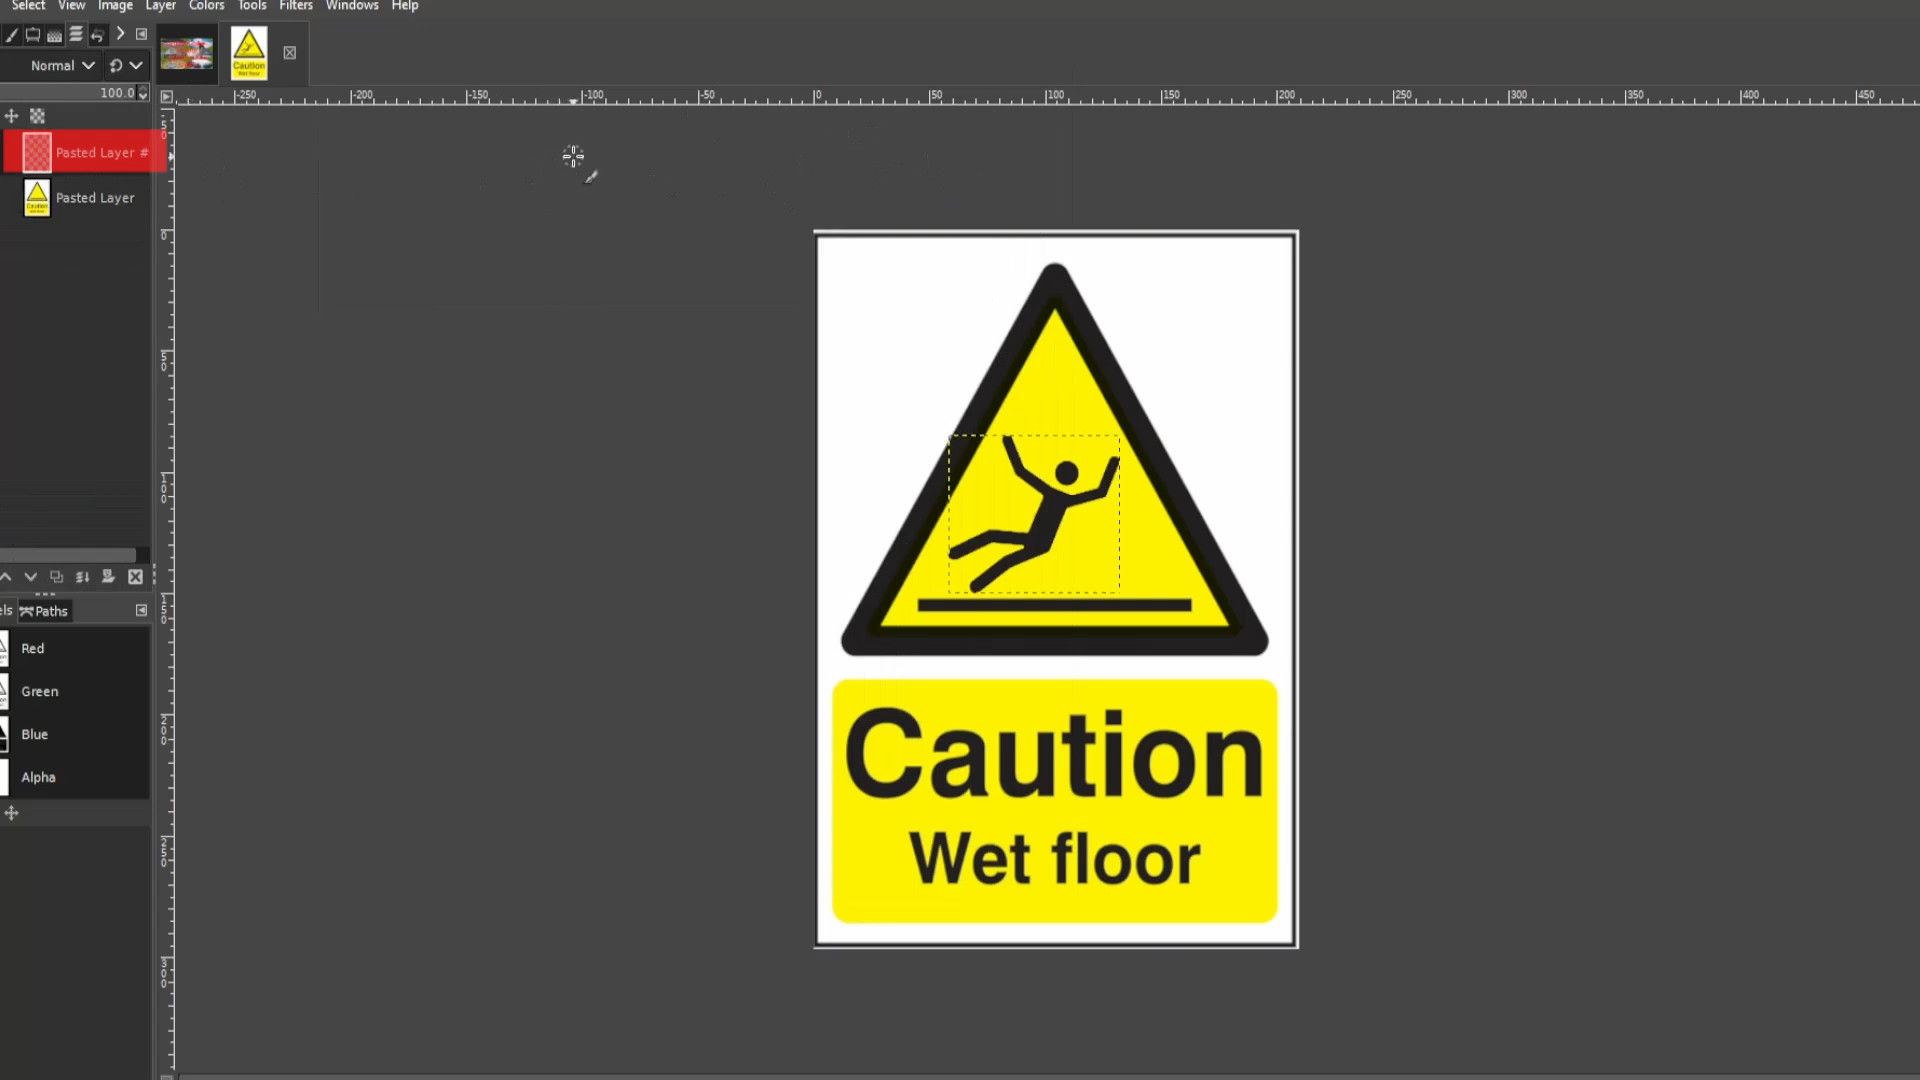
Use the>>>ROTATE TOOL to move it slightly. In this case I’m going to make it look like he’s falling so move it just slightly and>>>EXPORT the frame with a >>>JPG or>>>PNG extension at the end of the file name for example>>>0.jpg or>>>0.png. For shortcuts you can HOLD>>>SHIFT and >>>PRESS>>>R to rotate the stickman. 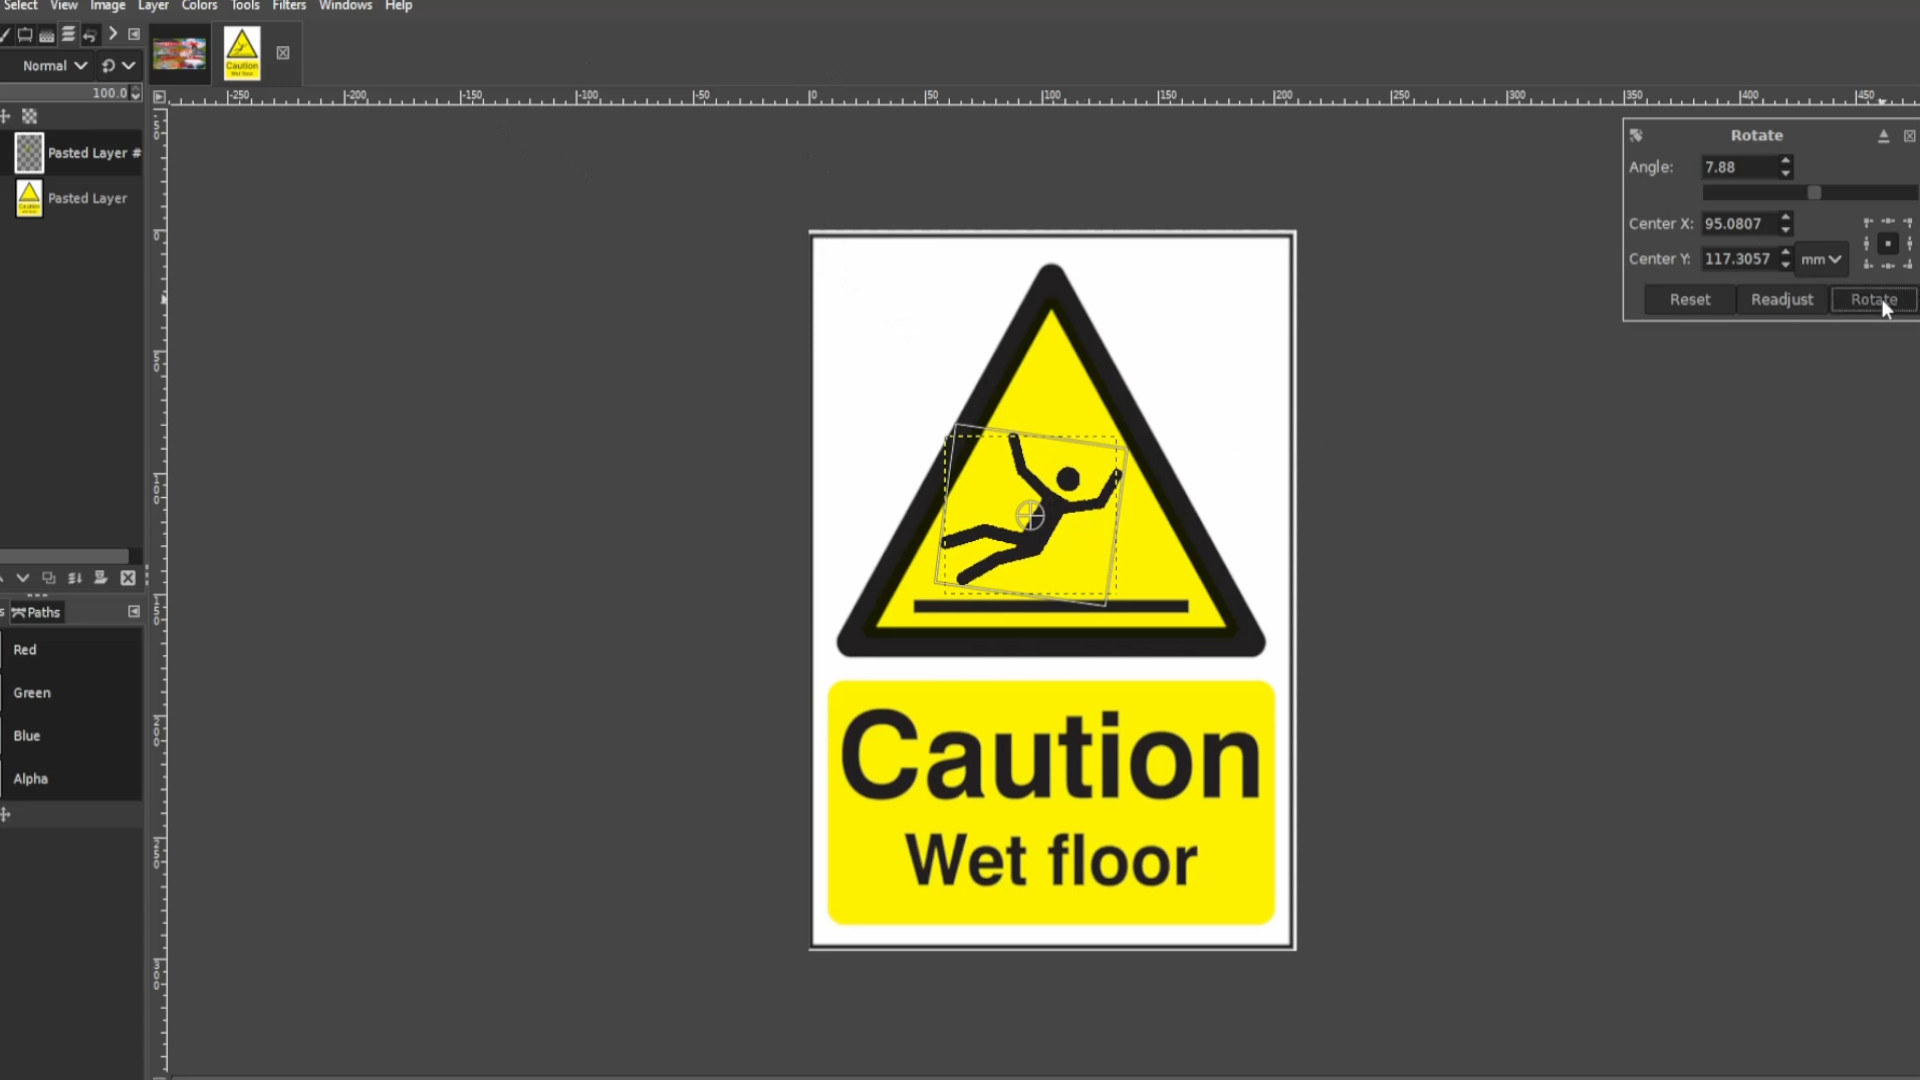
Repeat step 12 >>>EXPORTING AS each time you move it slightly and don’t forget to rename the file I did numbers so this one will be >>>1.jpg or >>>1.png and so forth. Do this until you finished animating the sign.
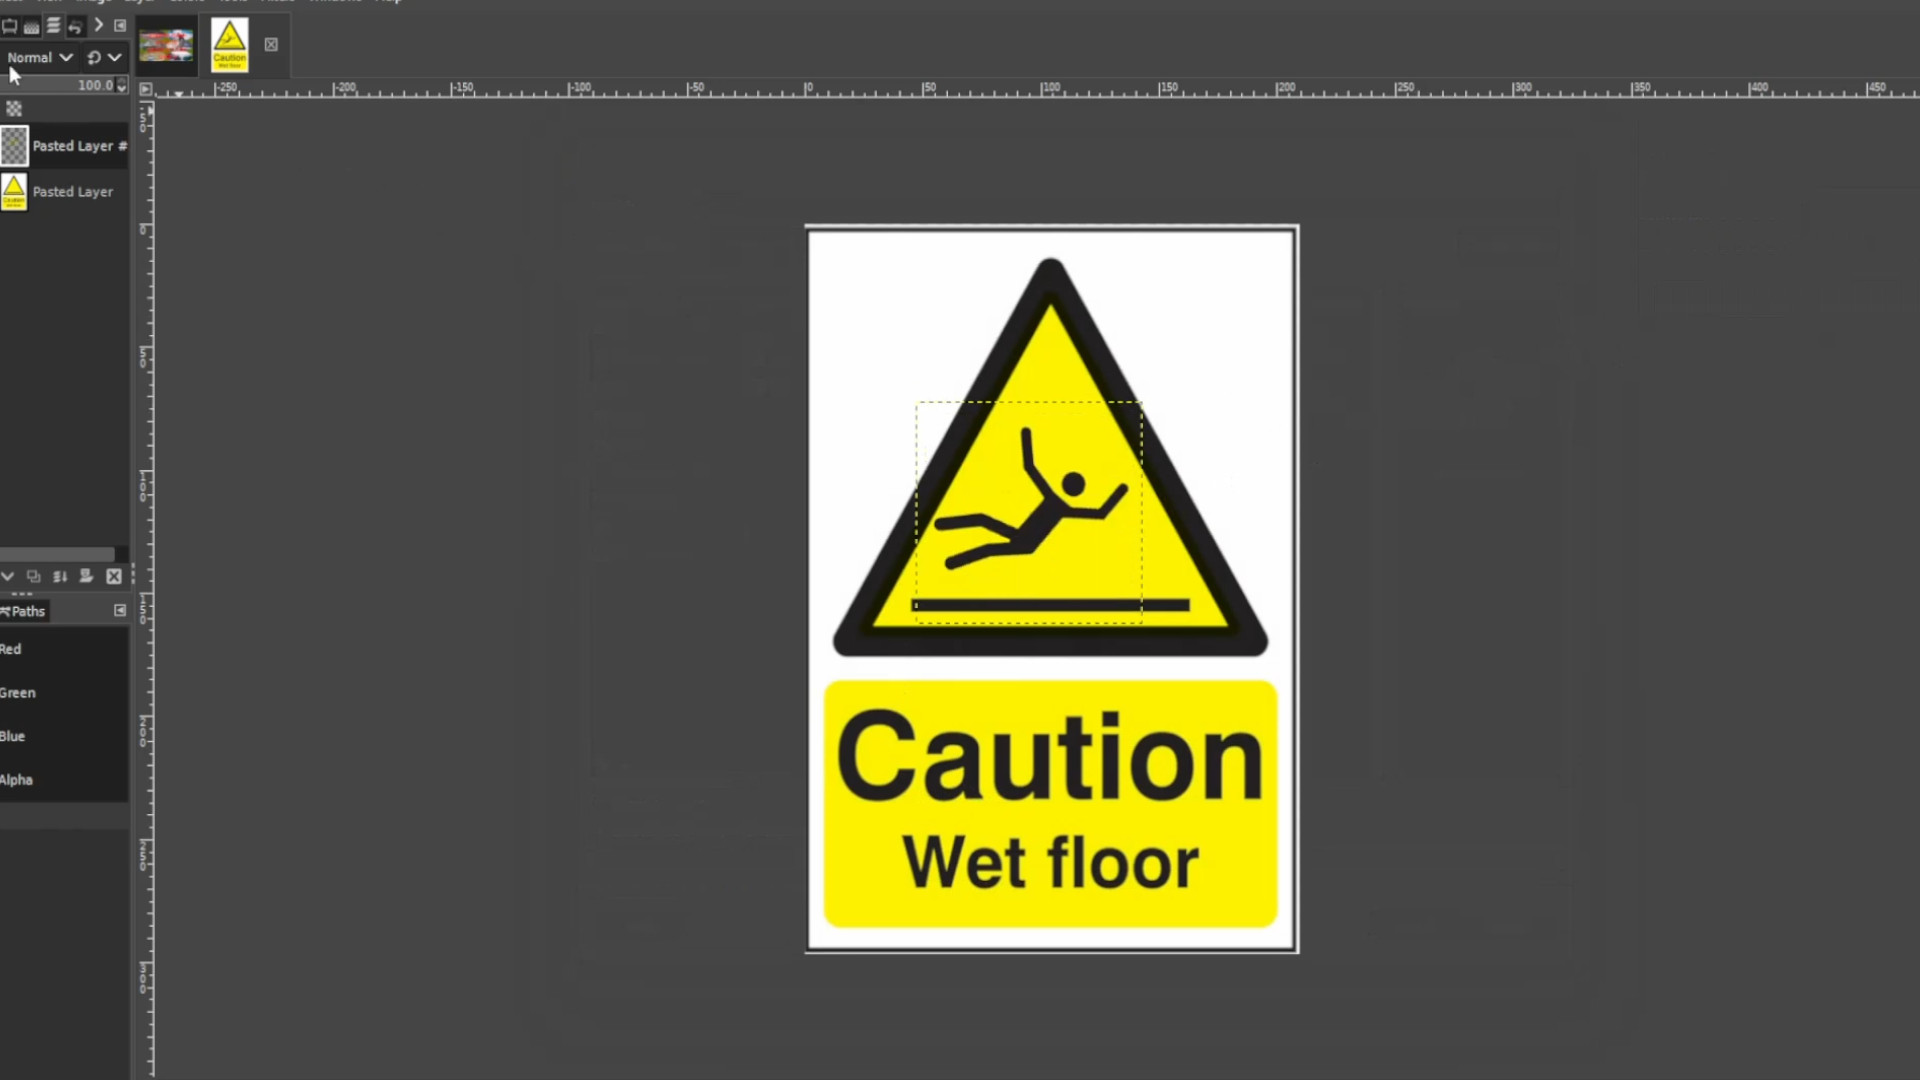
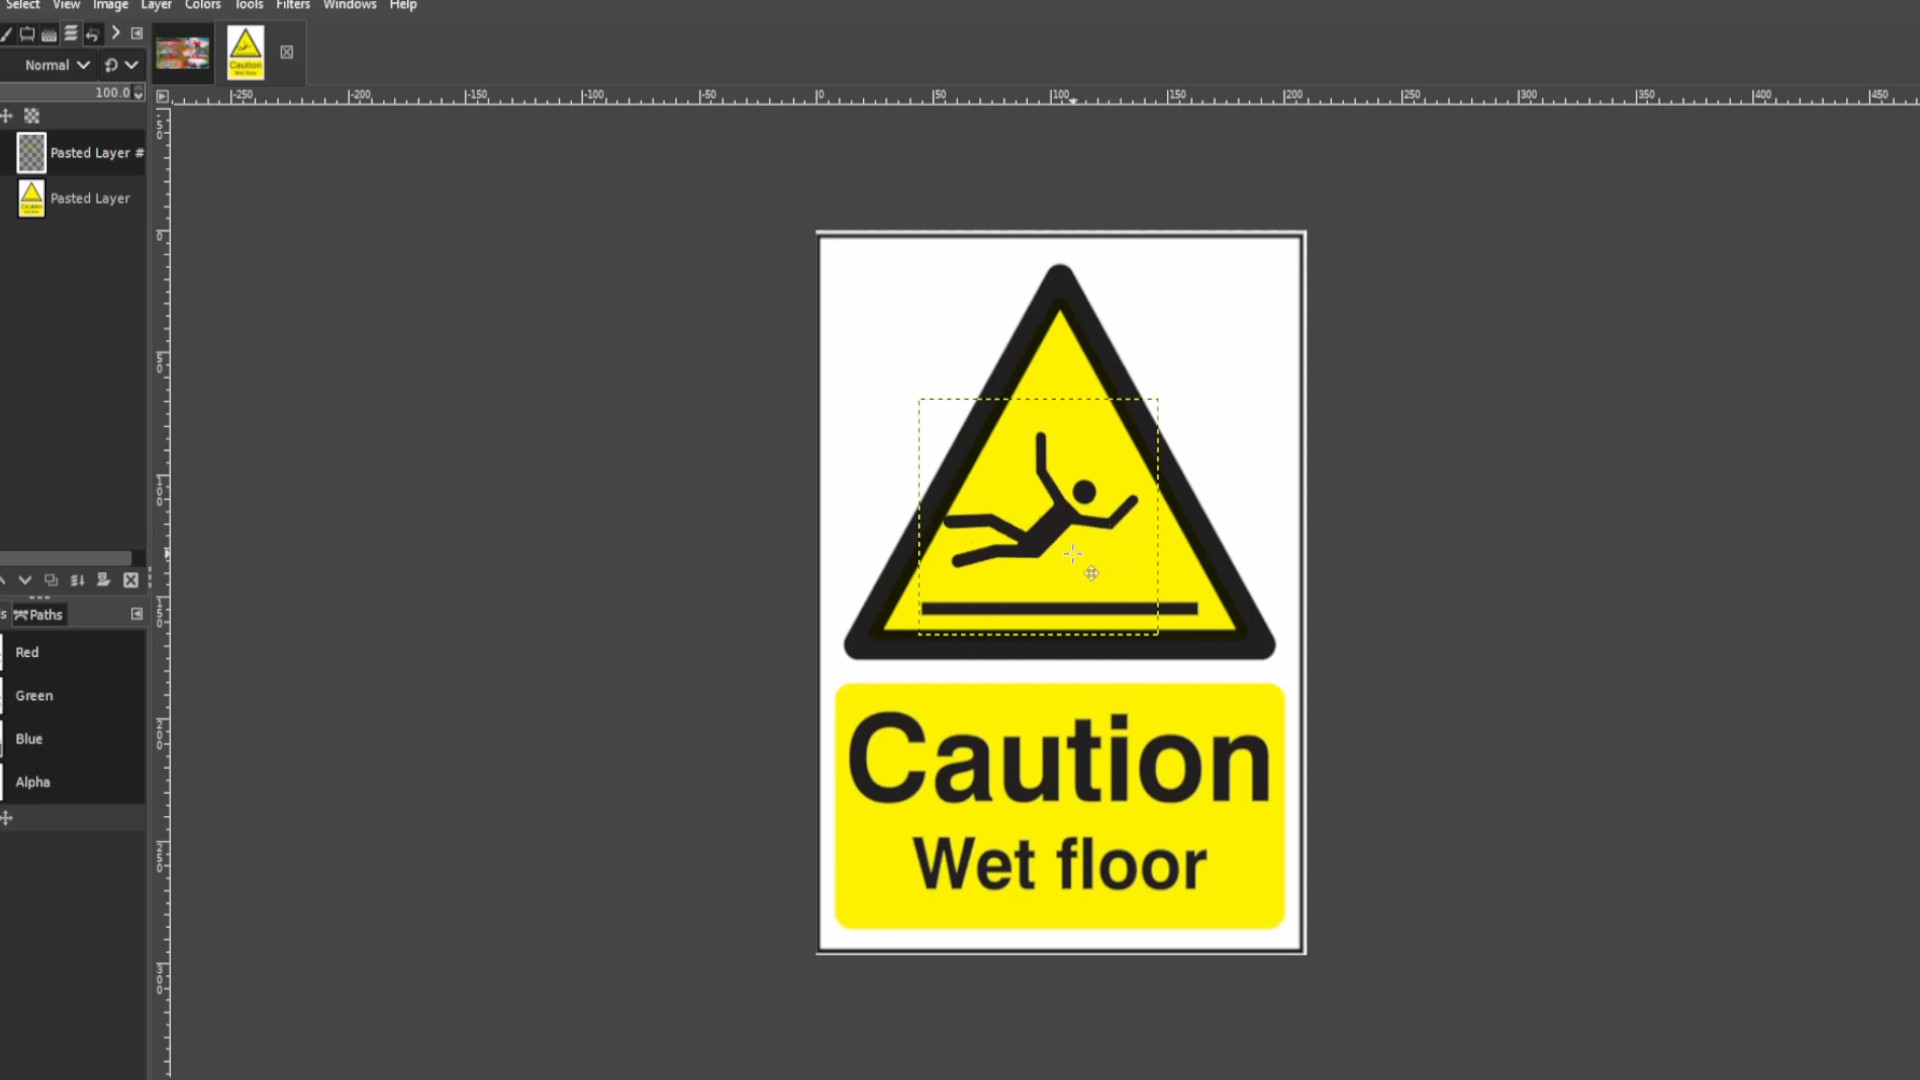
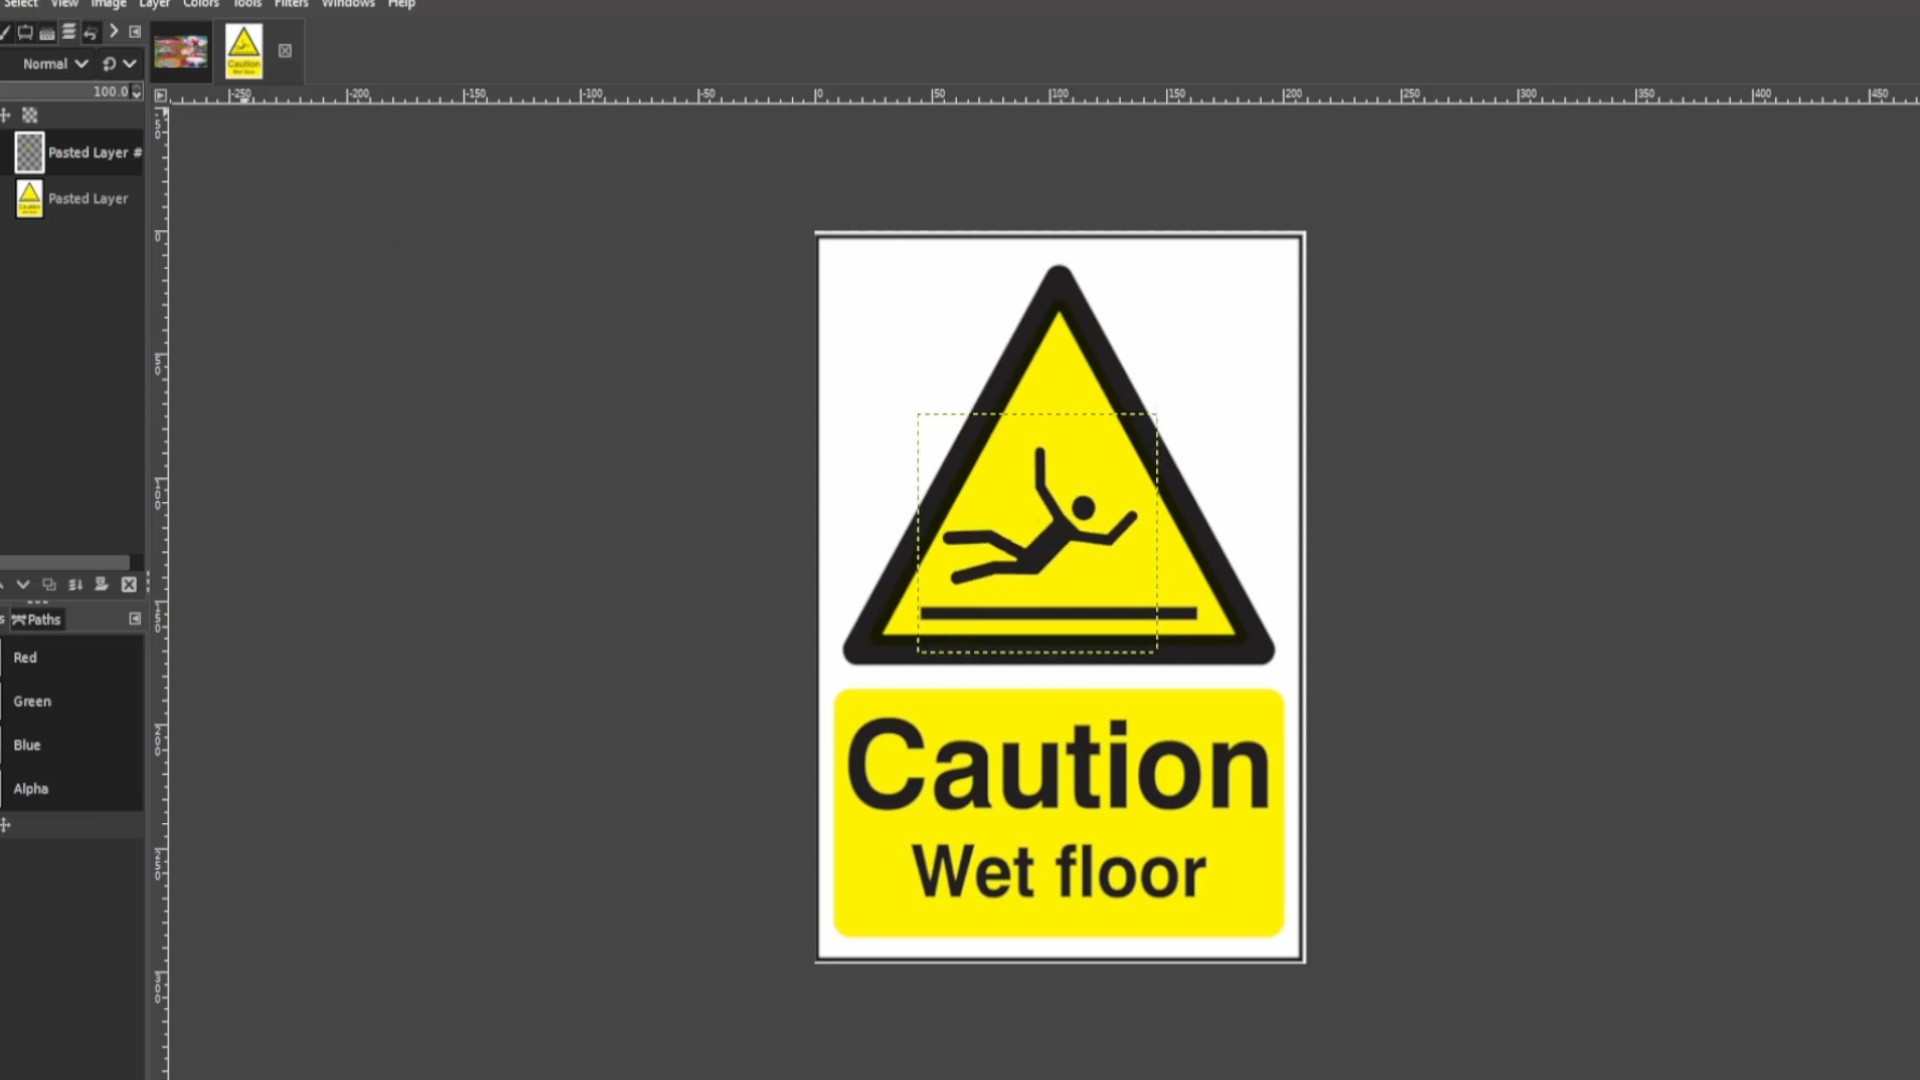
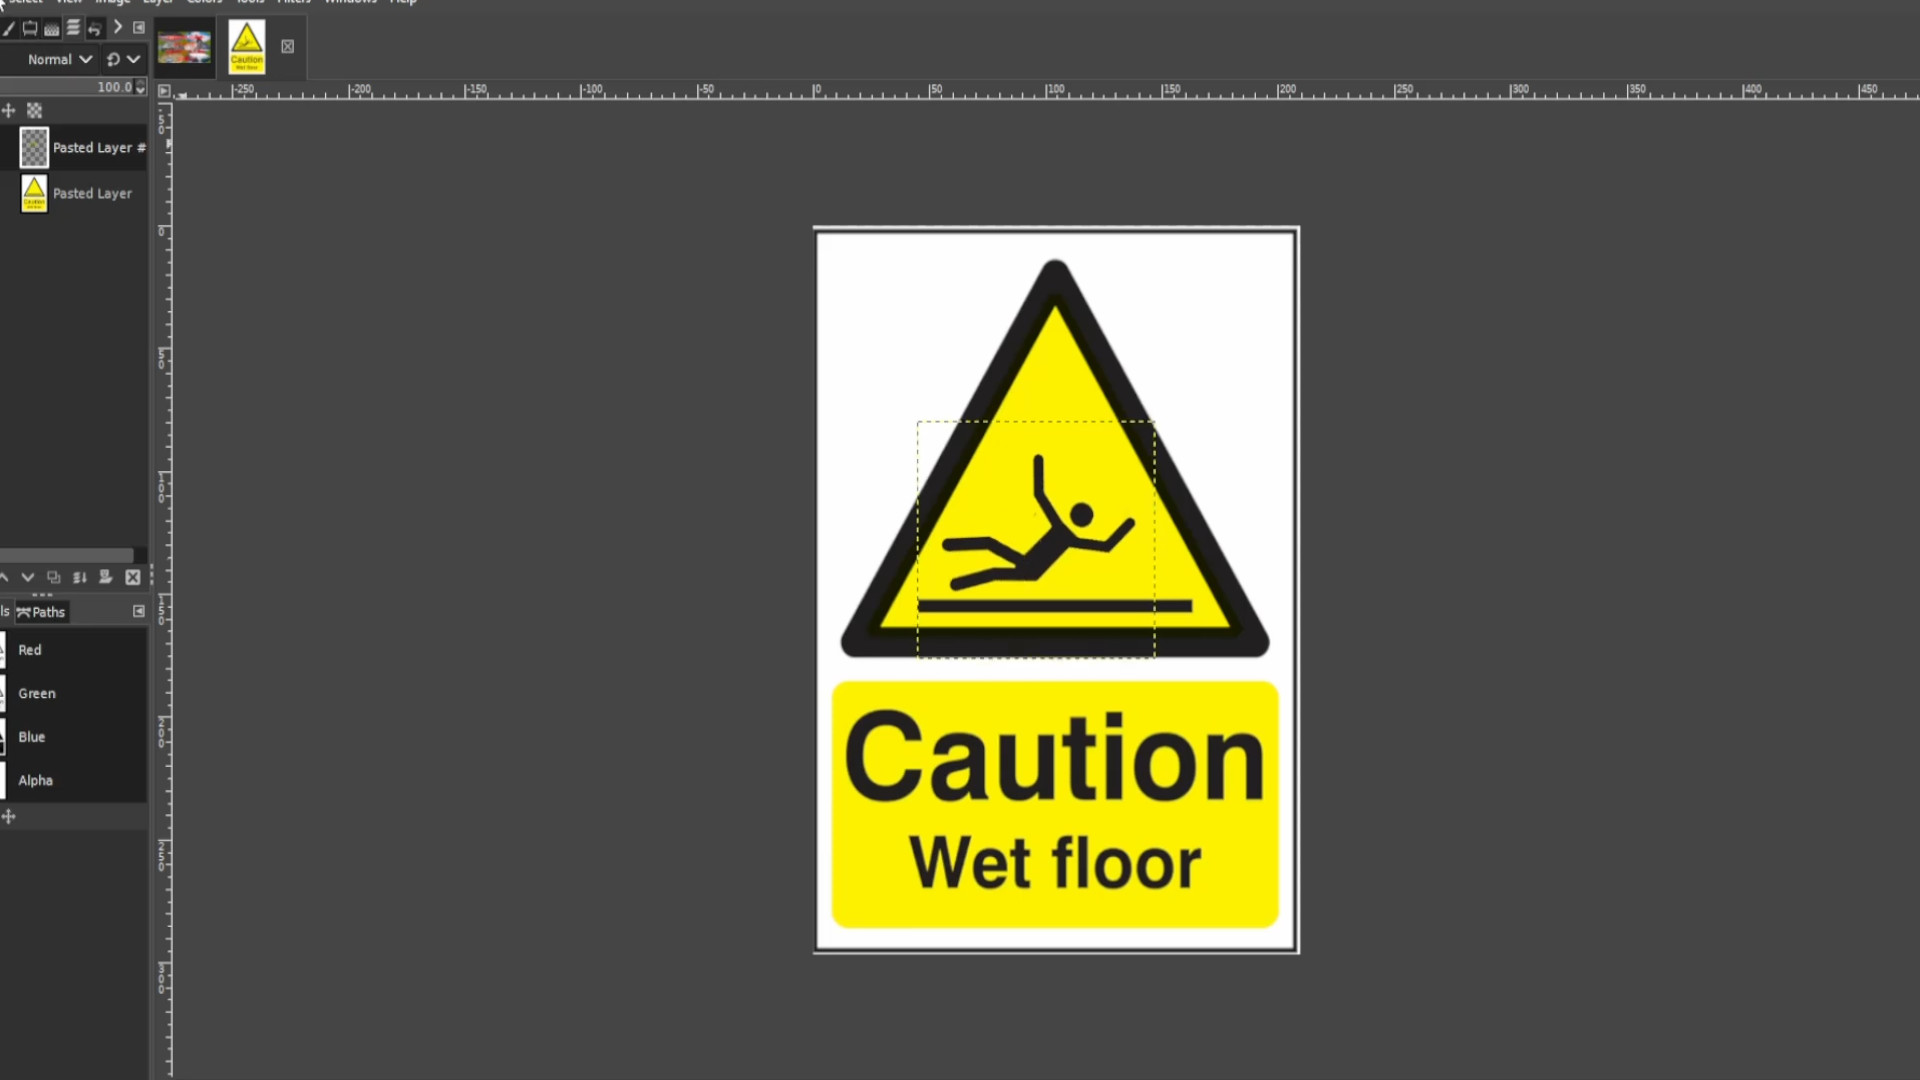
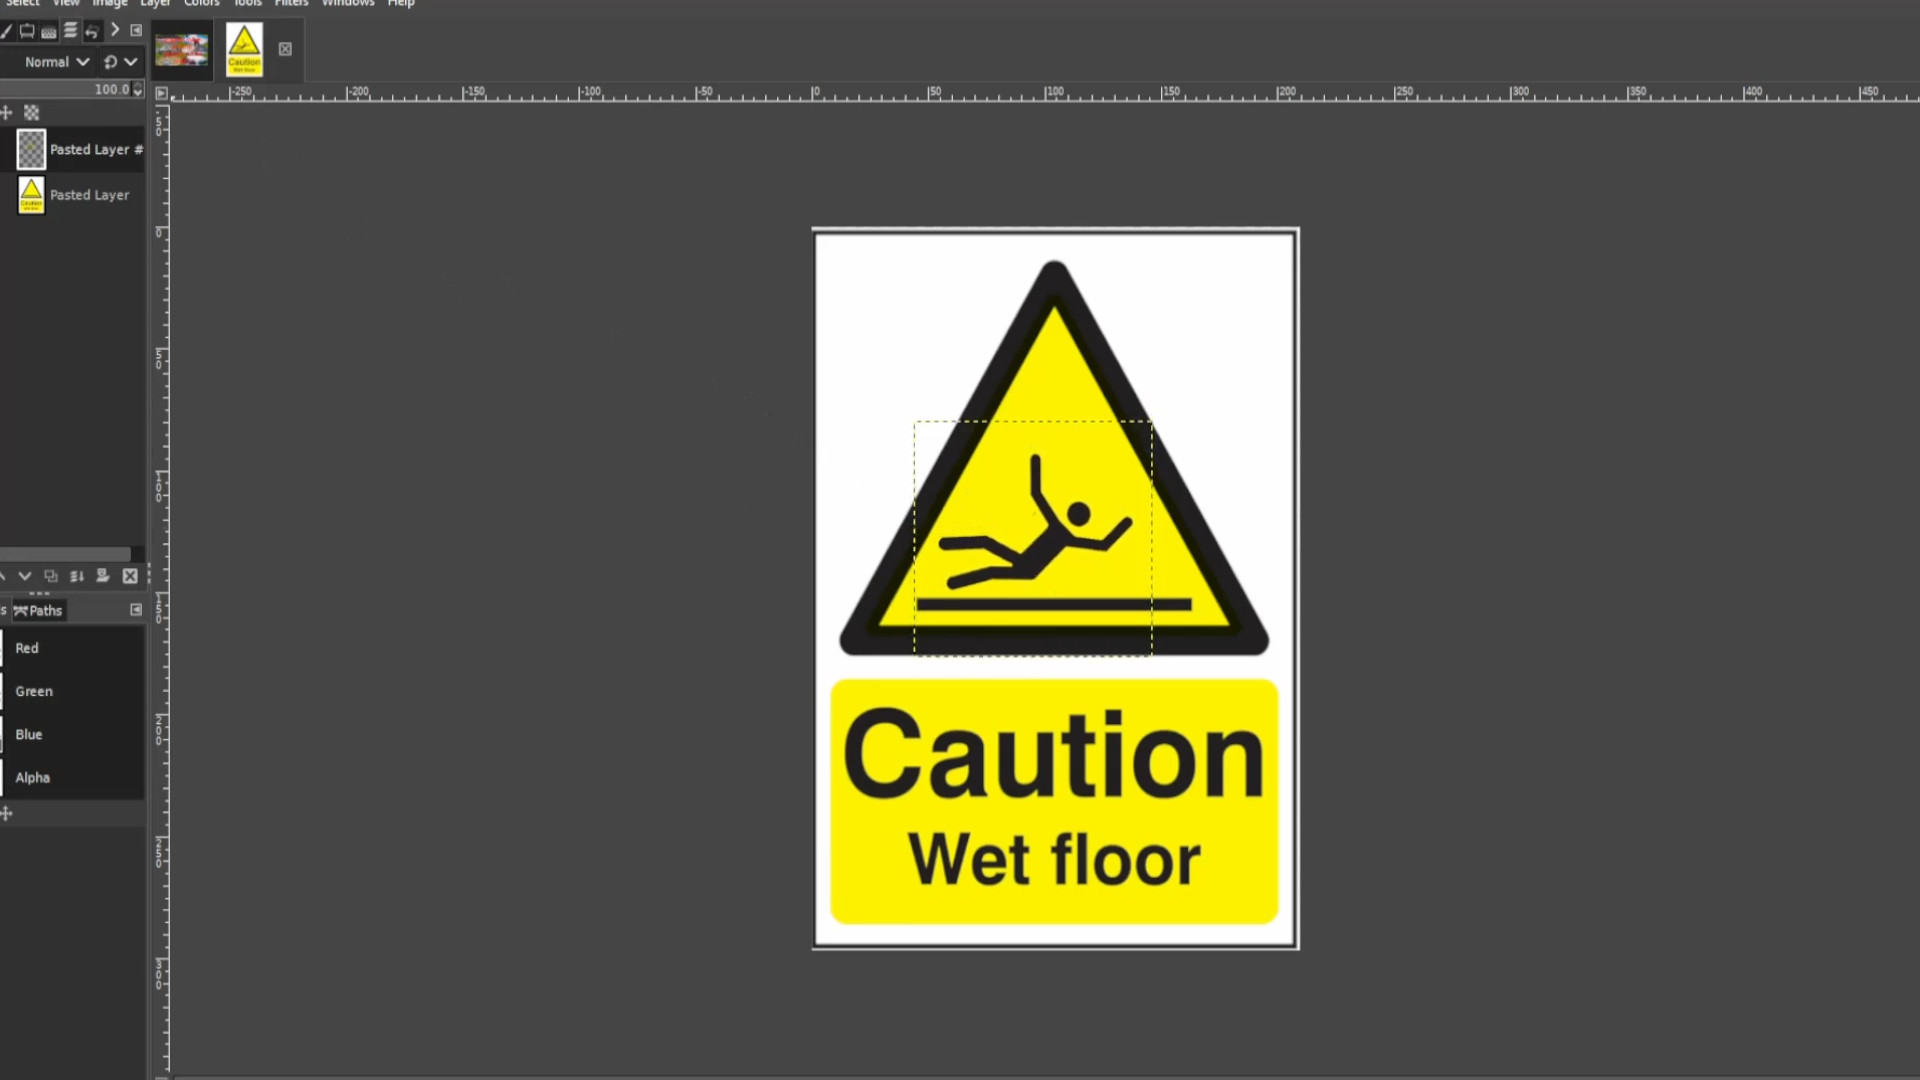
Repeat step >>>3-7 to do the letters if you want to animate them or don’t to leave the bottom half still.
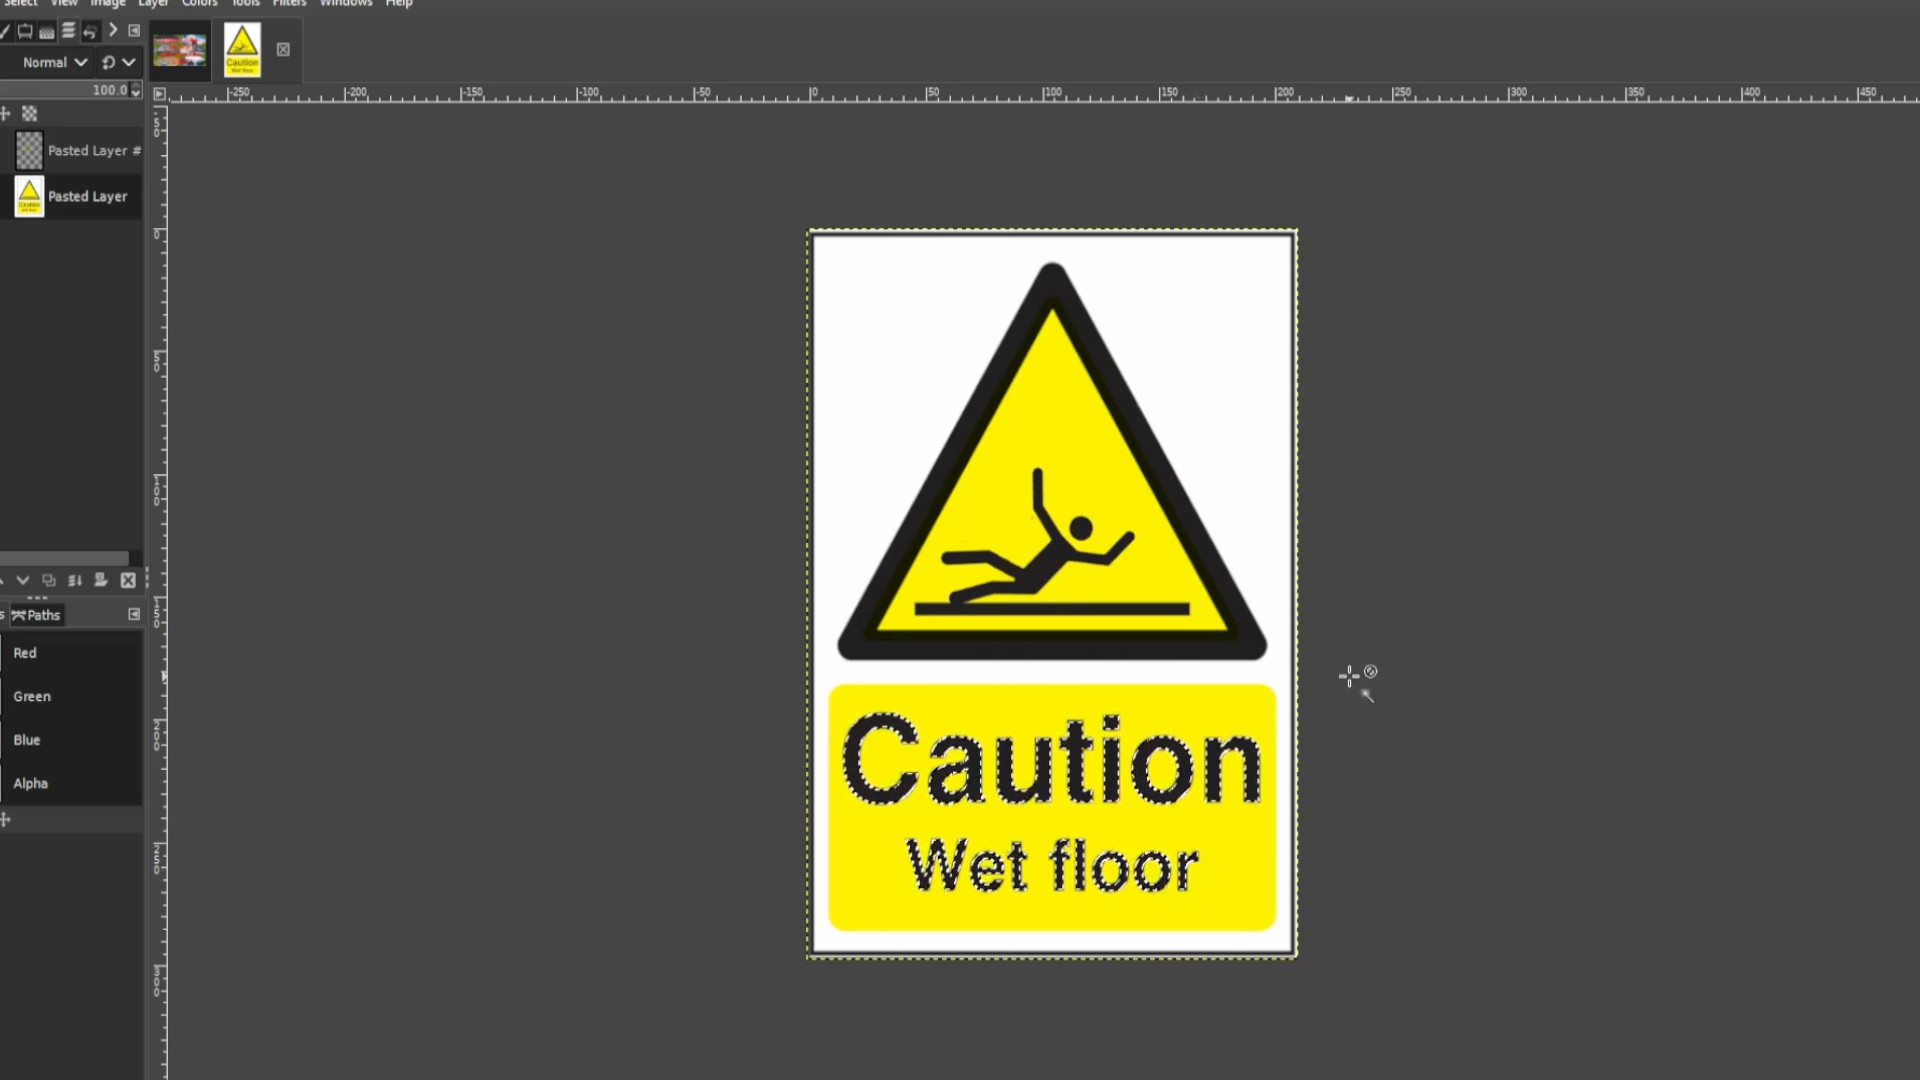
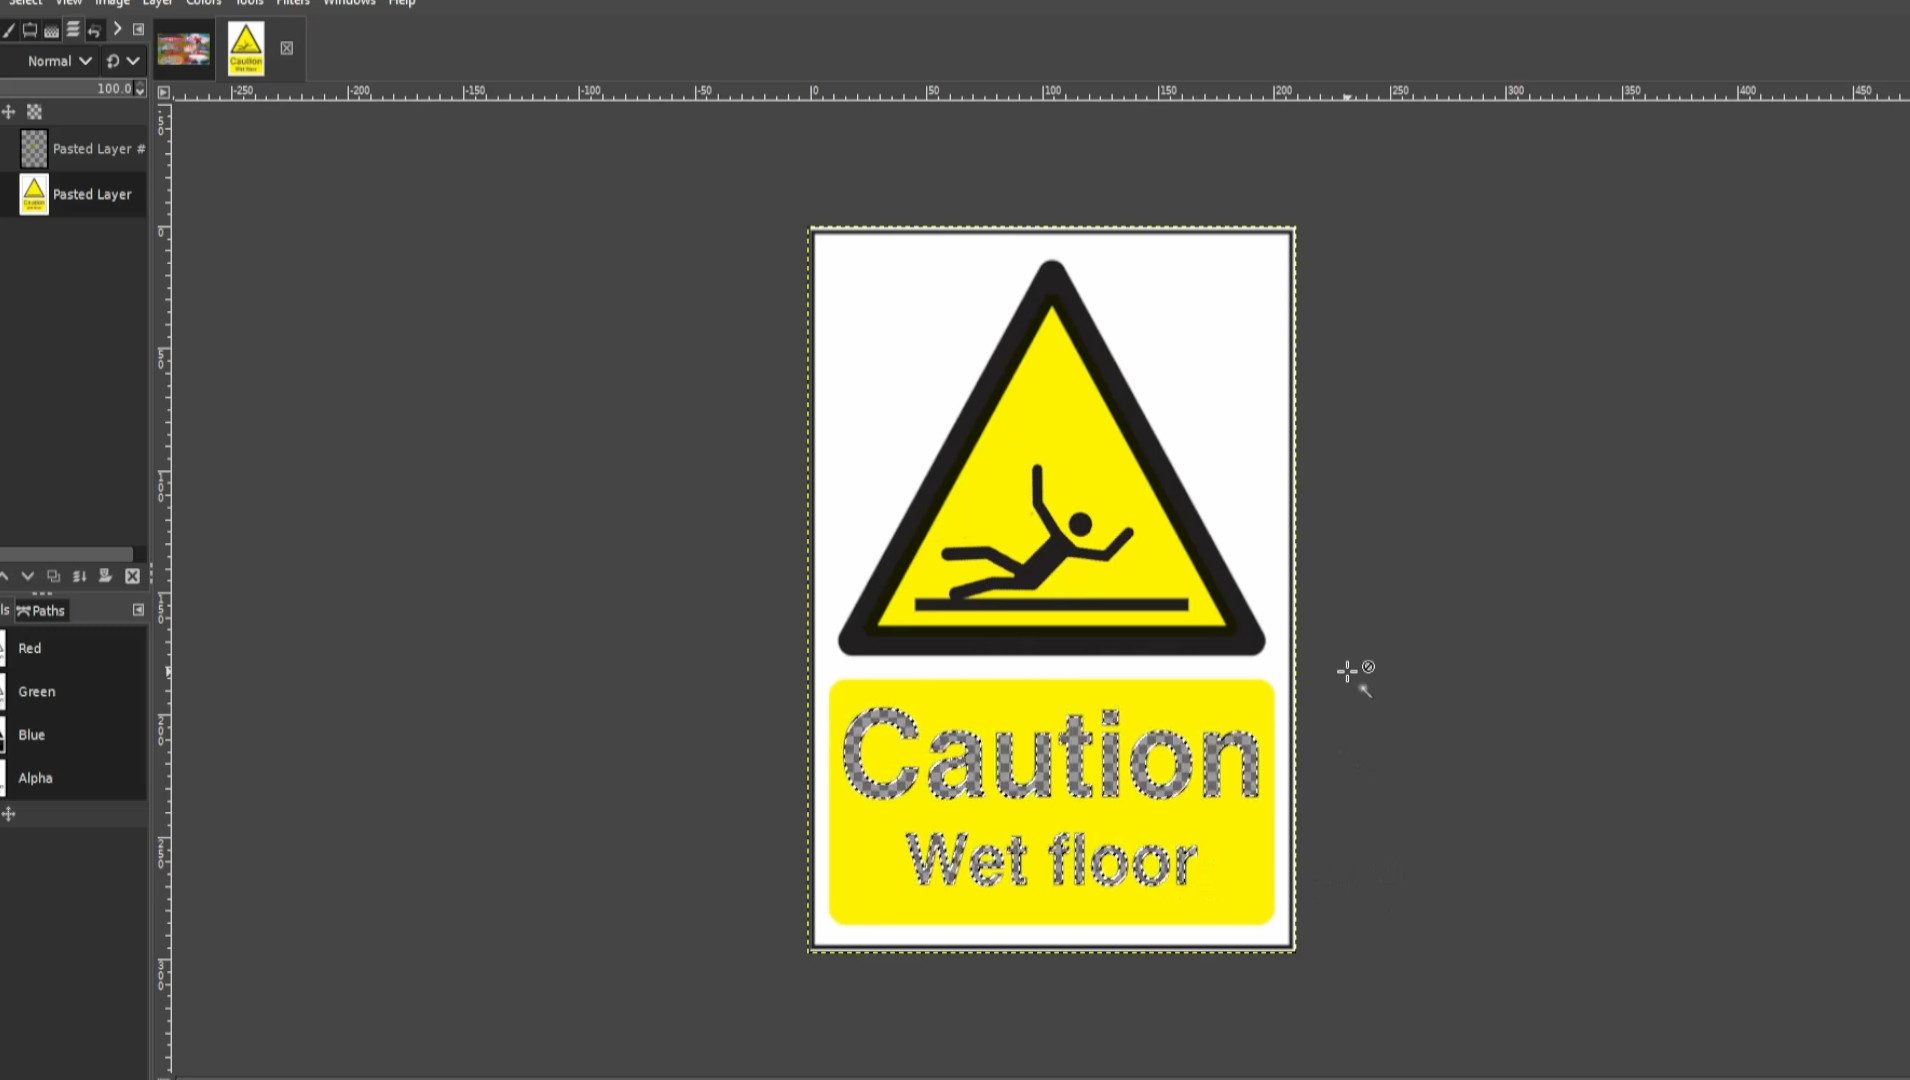
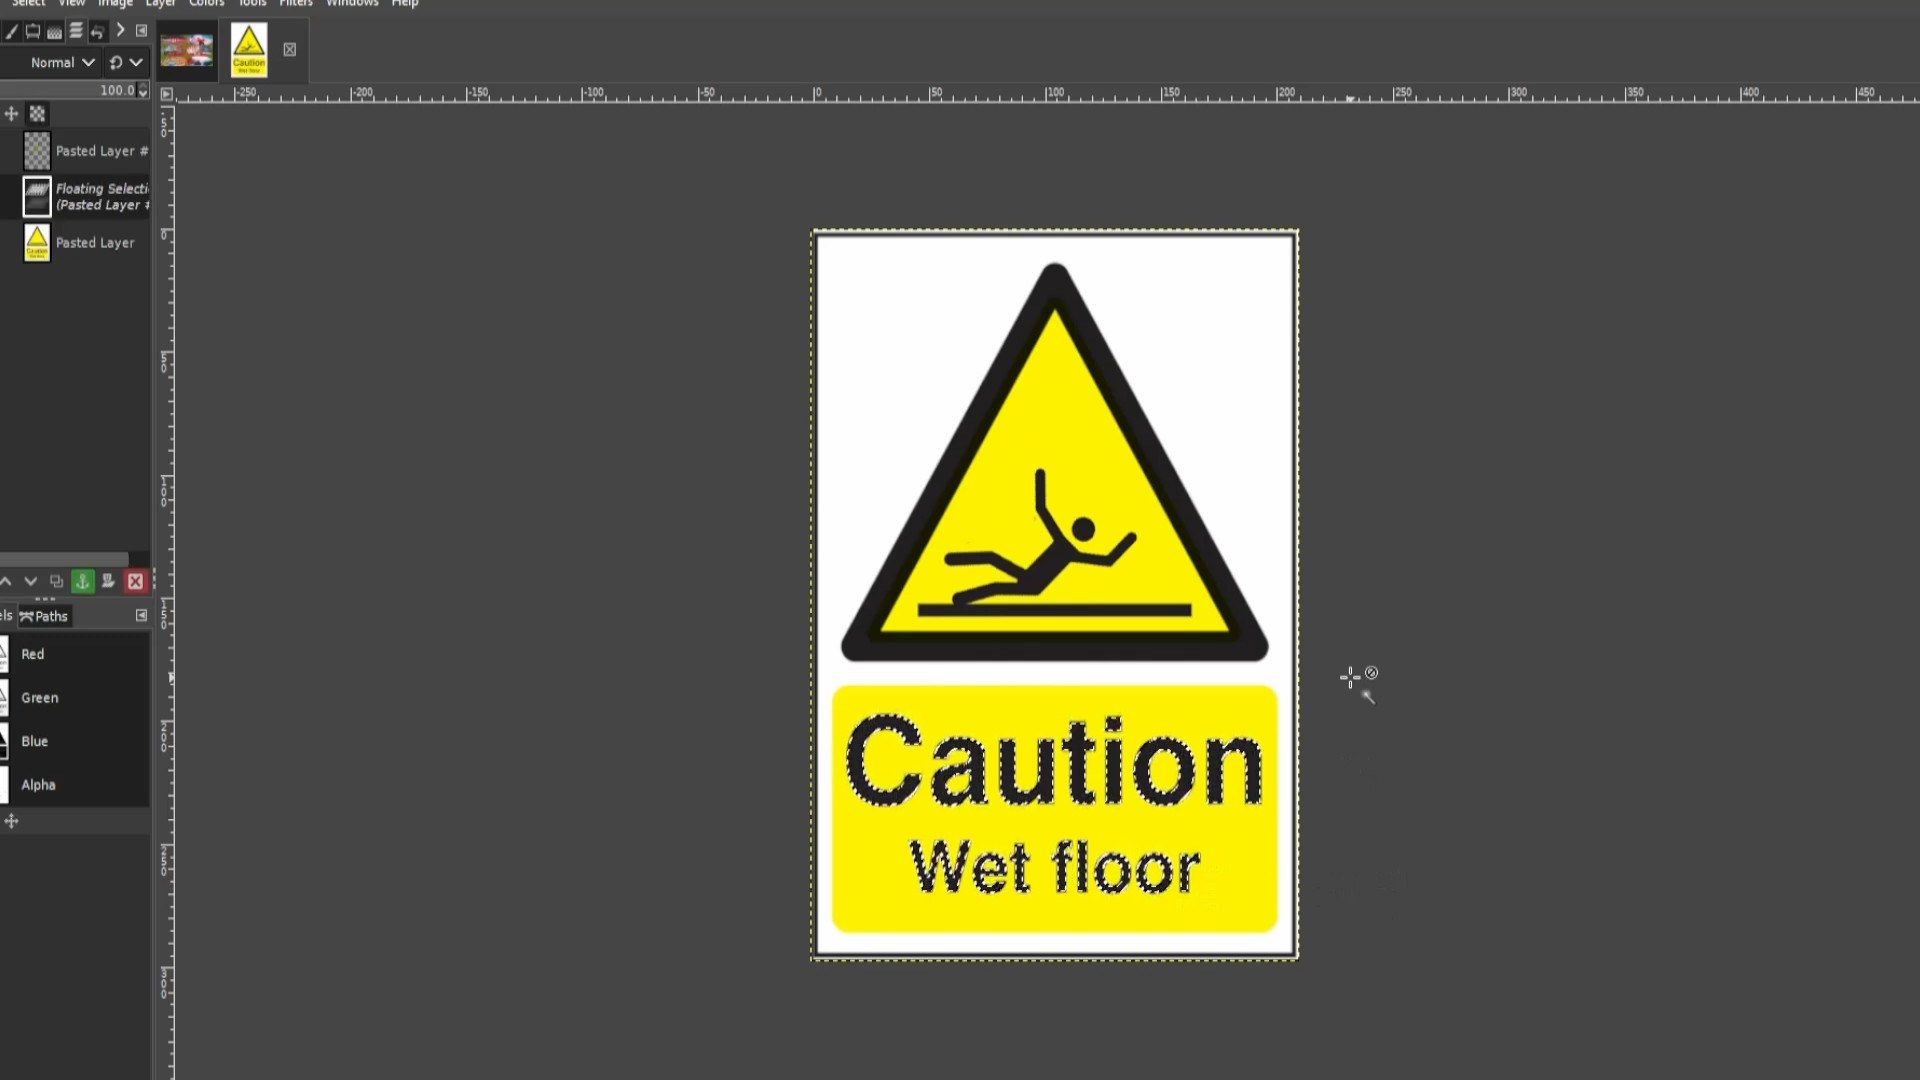
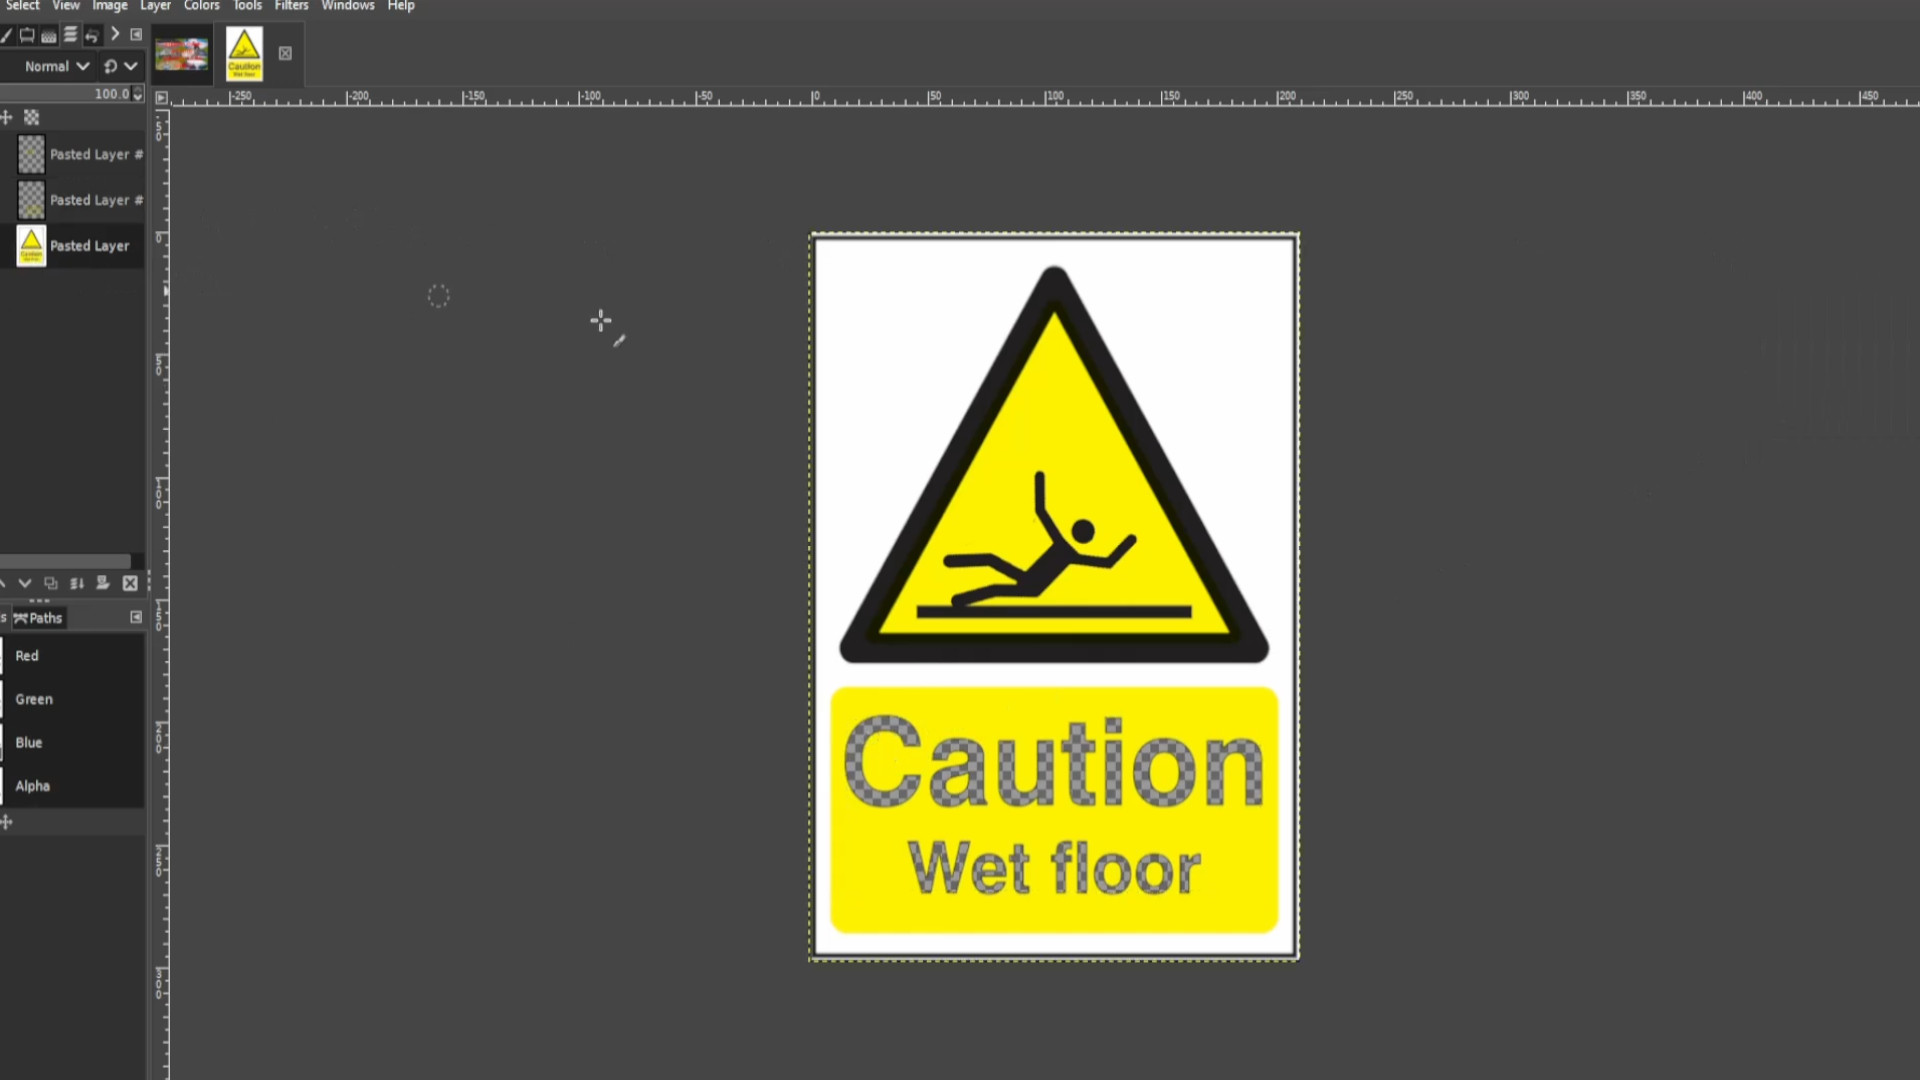
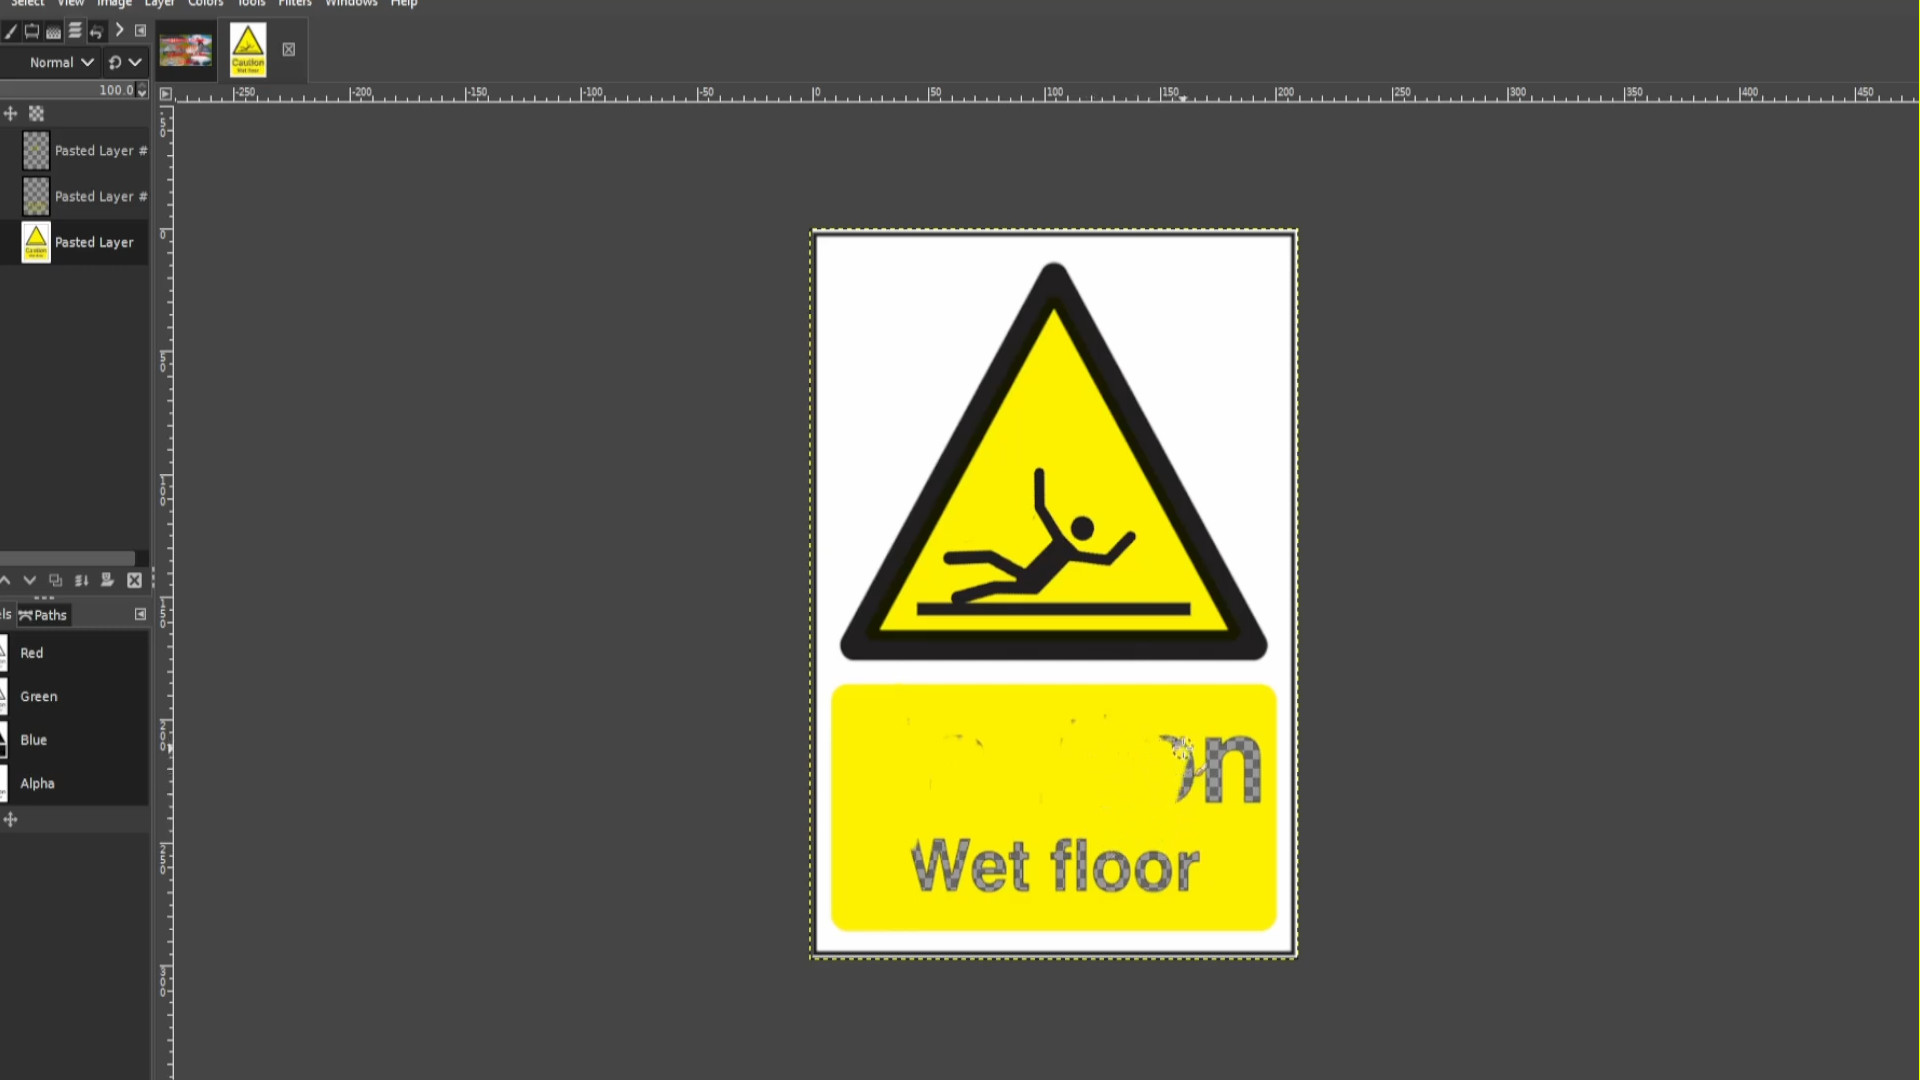
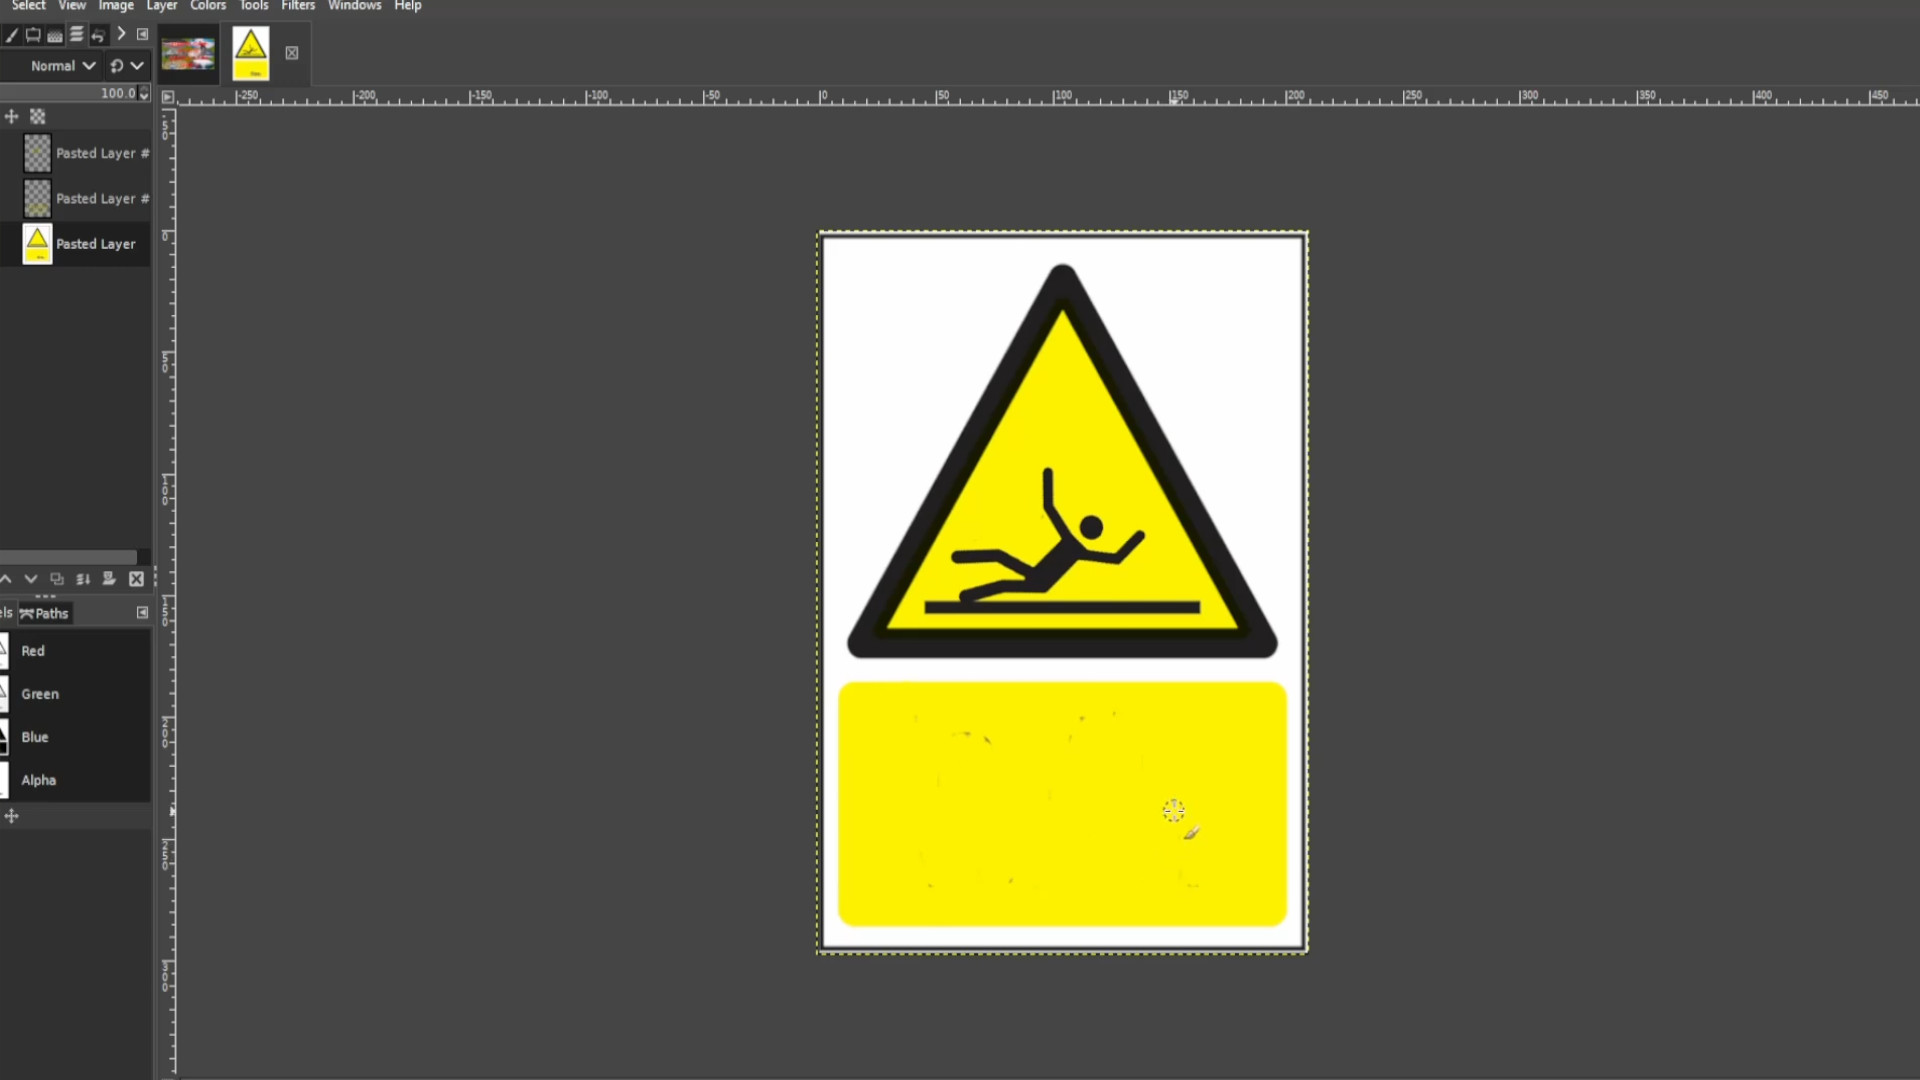
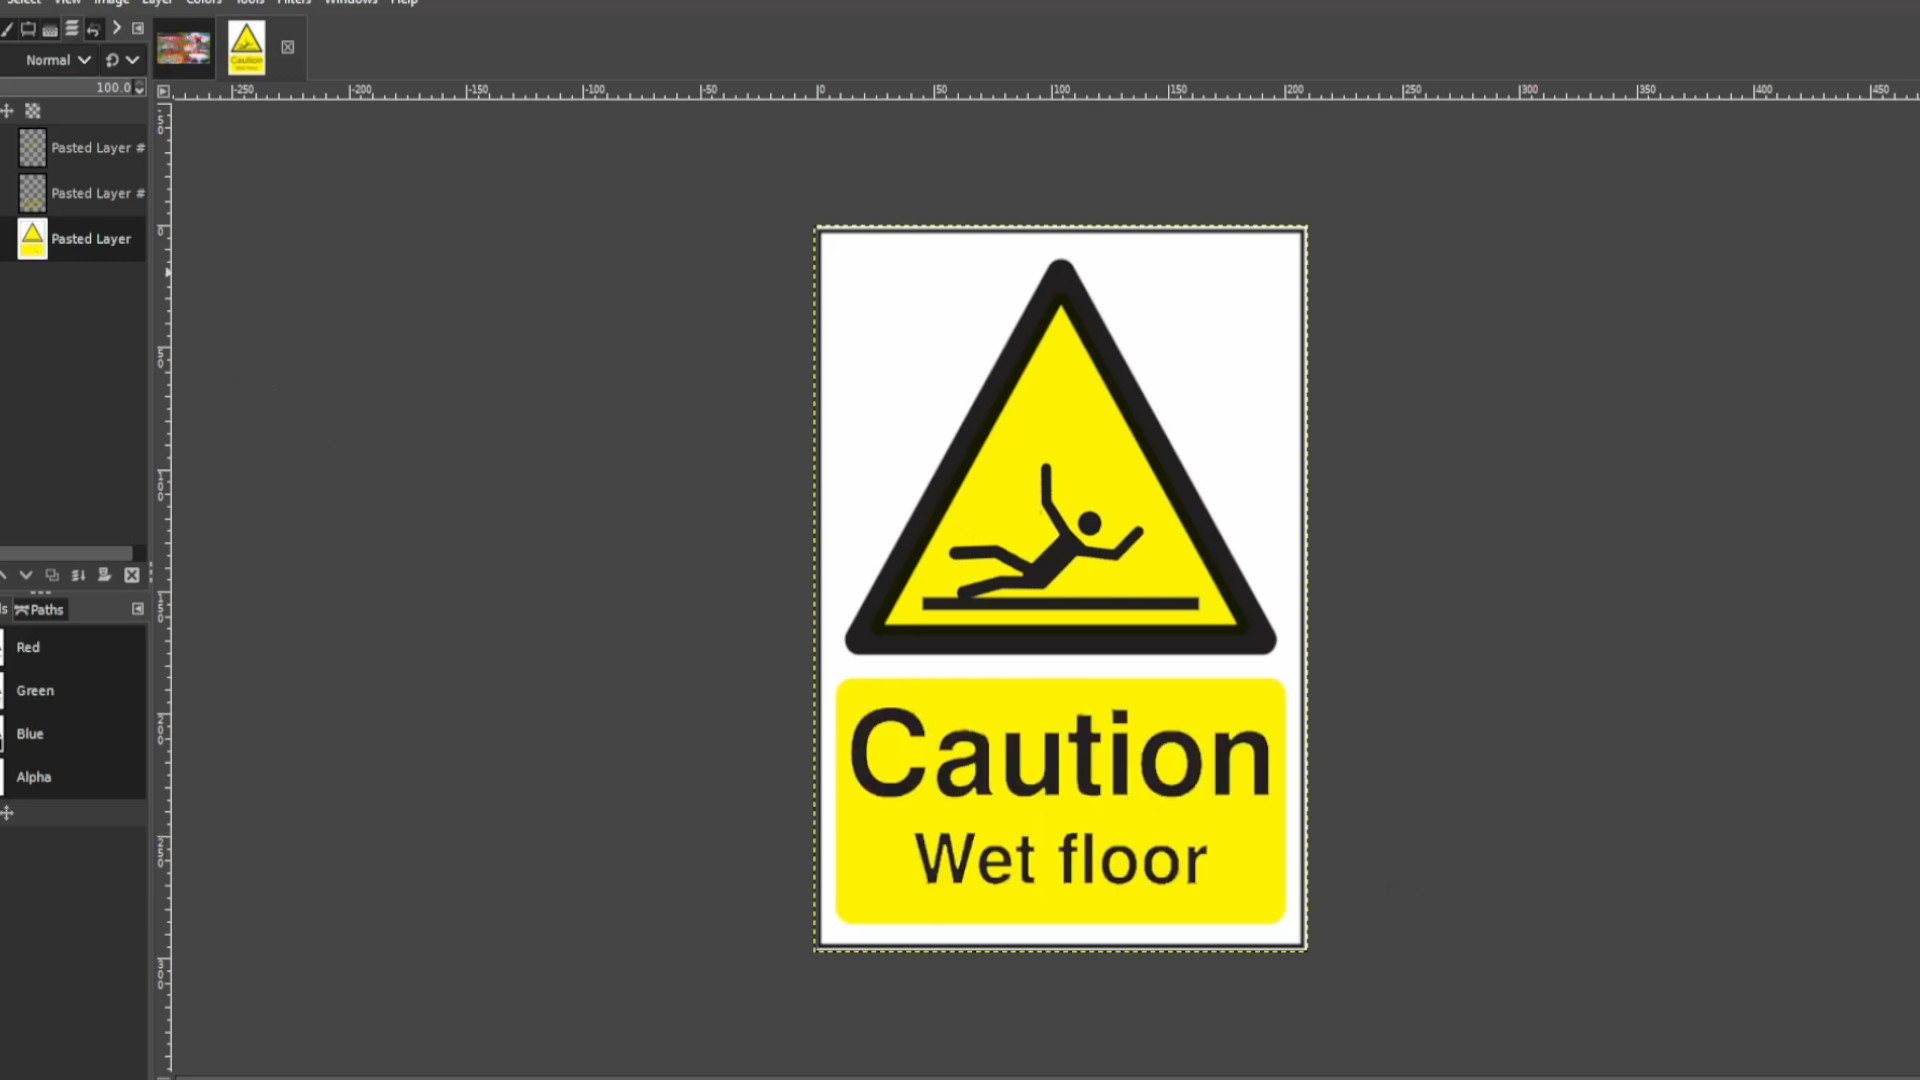
>>>TURN OFF THE LAYER by>>>CLICKING ON THE FIRST EYE in>>>THE LAYERS TAB on the>>>LEFT HAND SIDE. >>>and EXPORT the file.
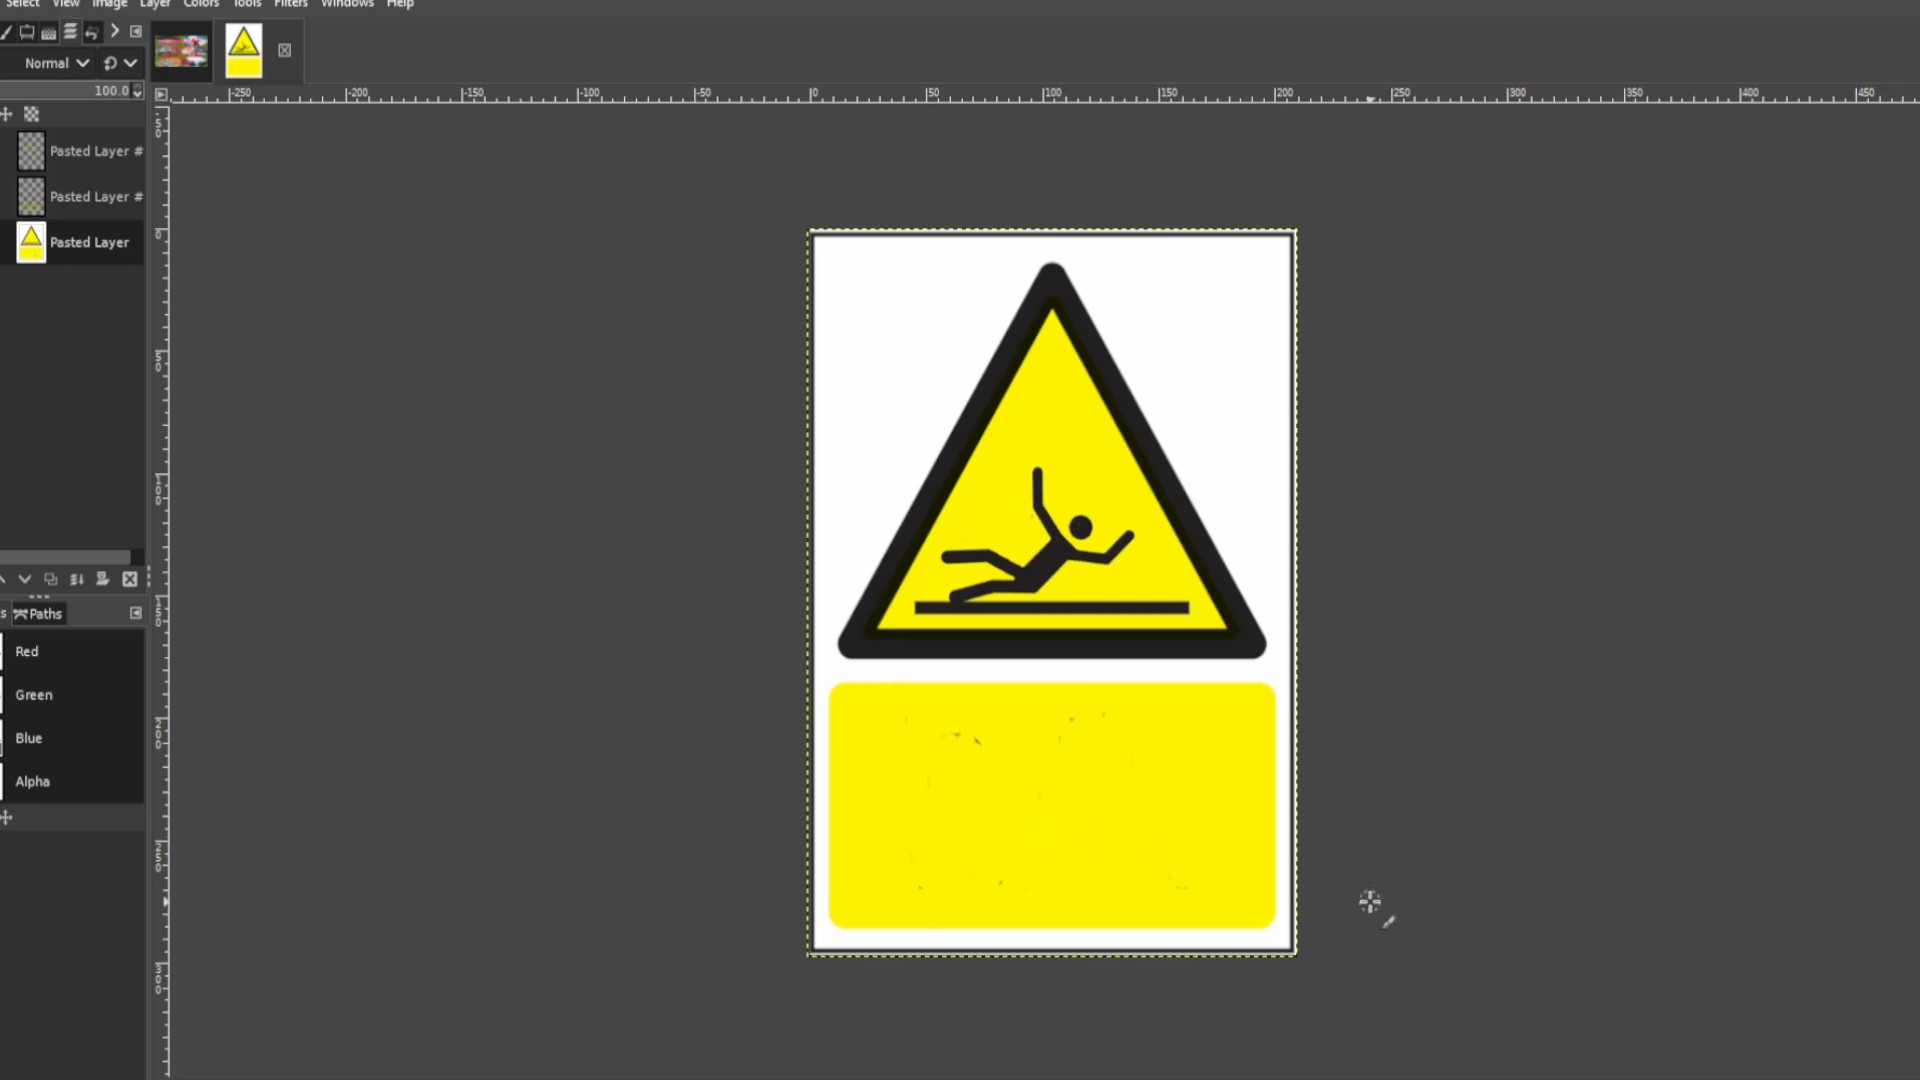
Repeat>>>>STEP 15 5-10 times>>>EXPORTING AS each time you turn on and off the layer.
You can use a gif maker like EGIF.com to put the gif together and save as a>>>gif or>>>MP4 file.
How To Make A Photo Collage In Gimp #3
Open up Gimp and go to >>>FILE>>>NEW>>>TEMPLATE and pick the>>>A4 SIZE;
209.97 Width,
297.01 Height
in mm.
2480 Width
3508 Height
in px
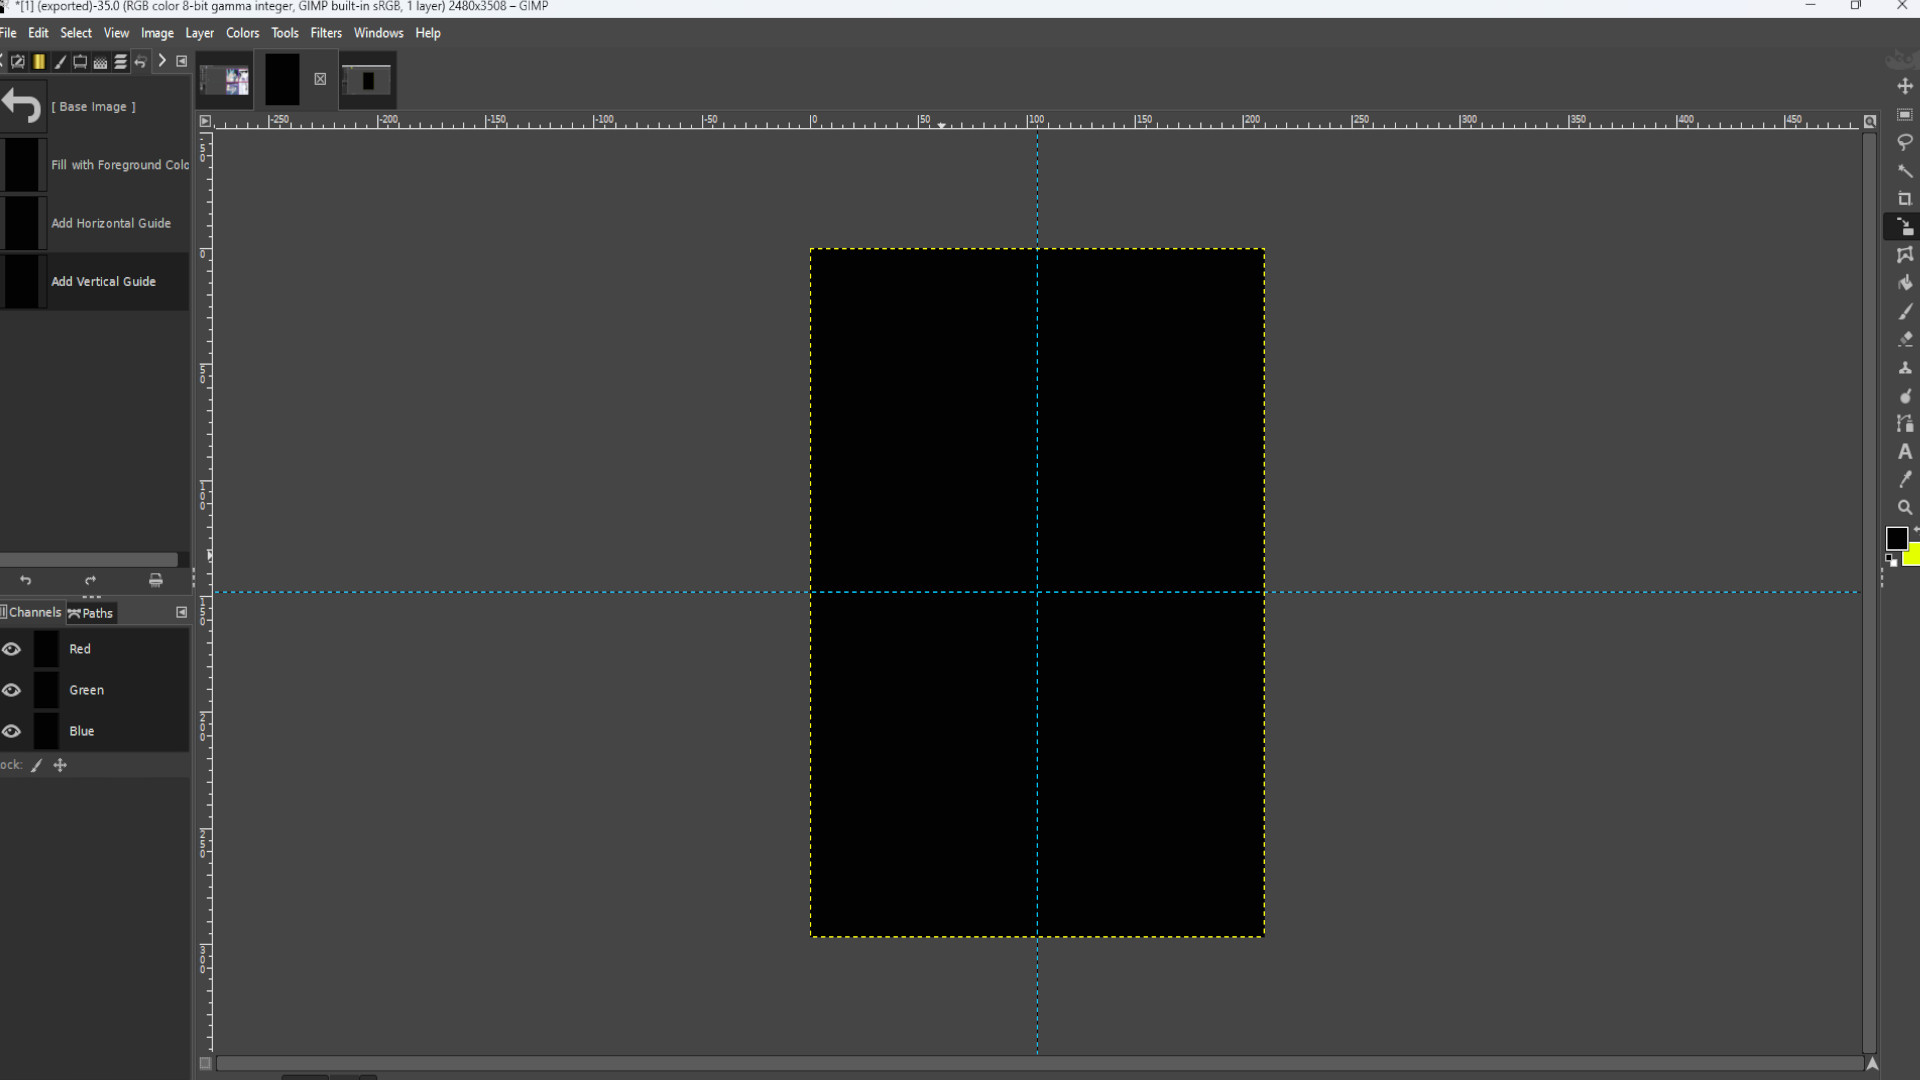
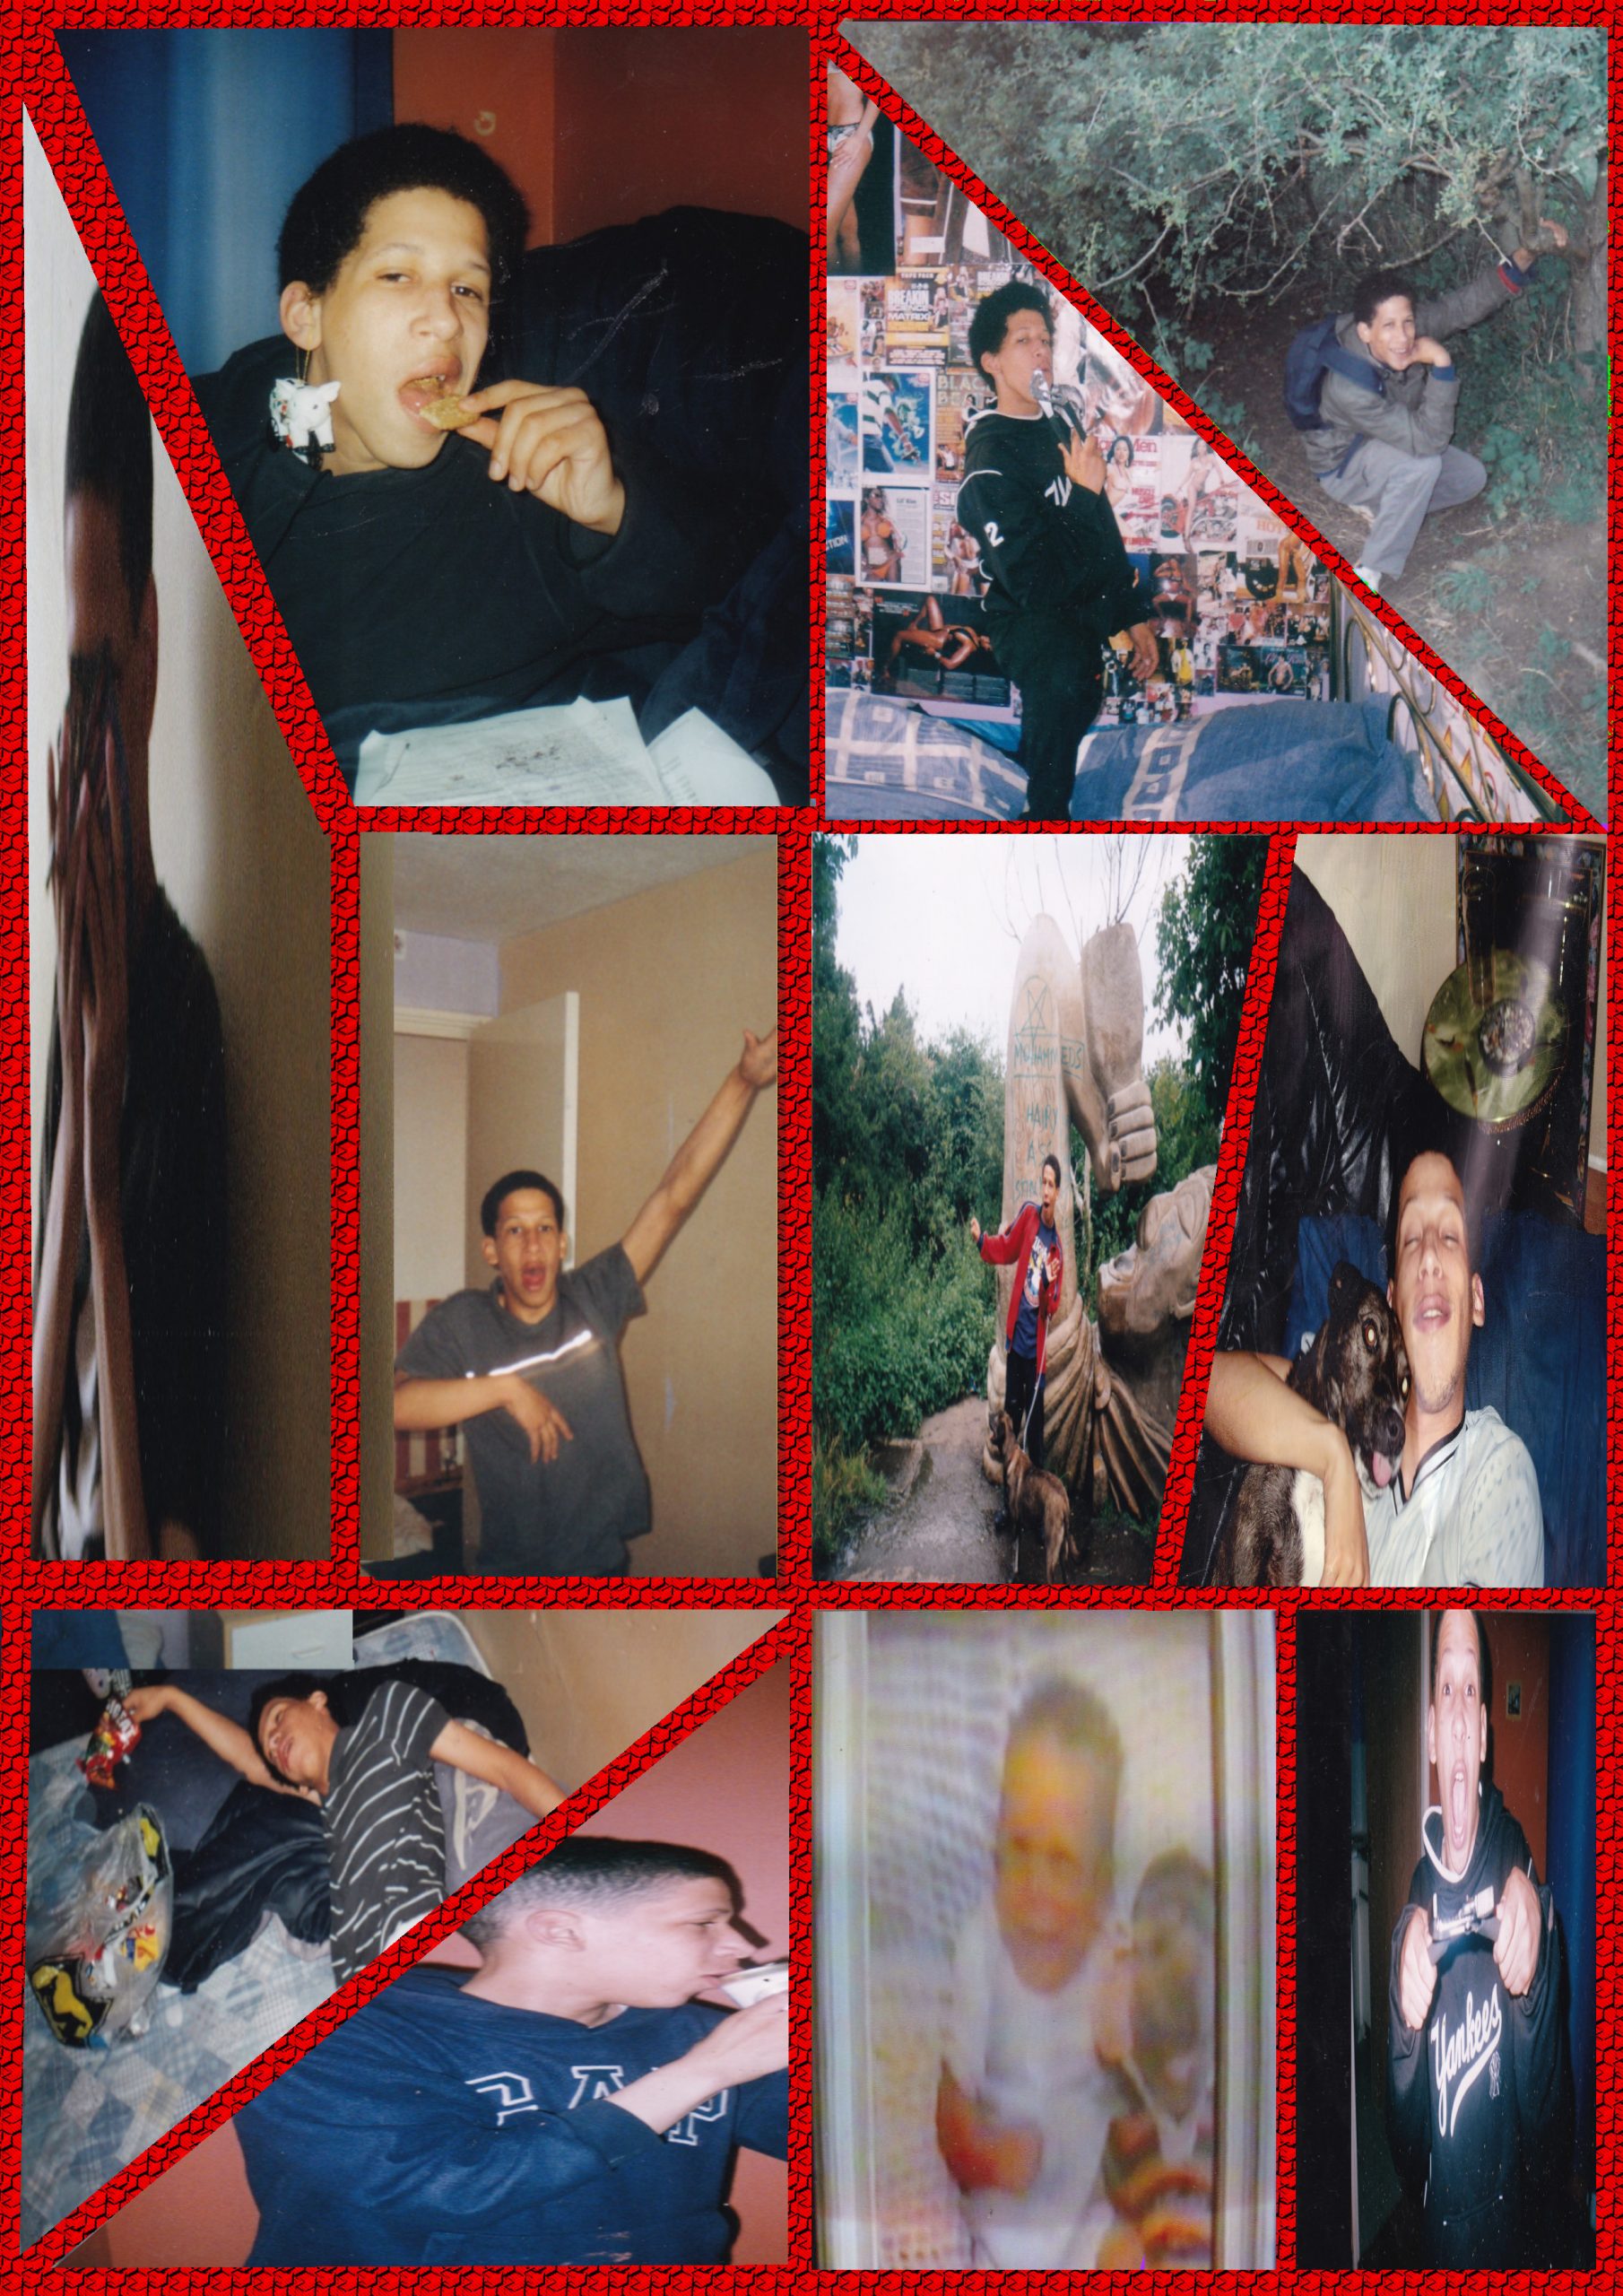
Go to>>>IMAGE>>>GUIDES>>>NEW GUIDE BY PERECENT and pick>>>DIRECTION>>>HORIZONTAL>>>POSTION (In Percent)>>>50.00
And again Go to>>>IMAGE>>>GUIDES>>>NEW GUIDE BY PERECENT and pick>>>DIRECTION>>>VERTICAL>>>POSTION (In Percent)>>>50.00
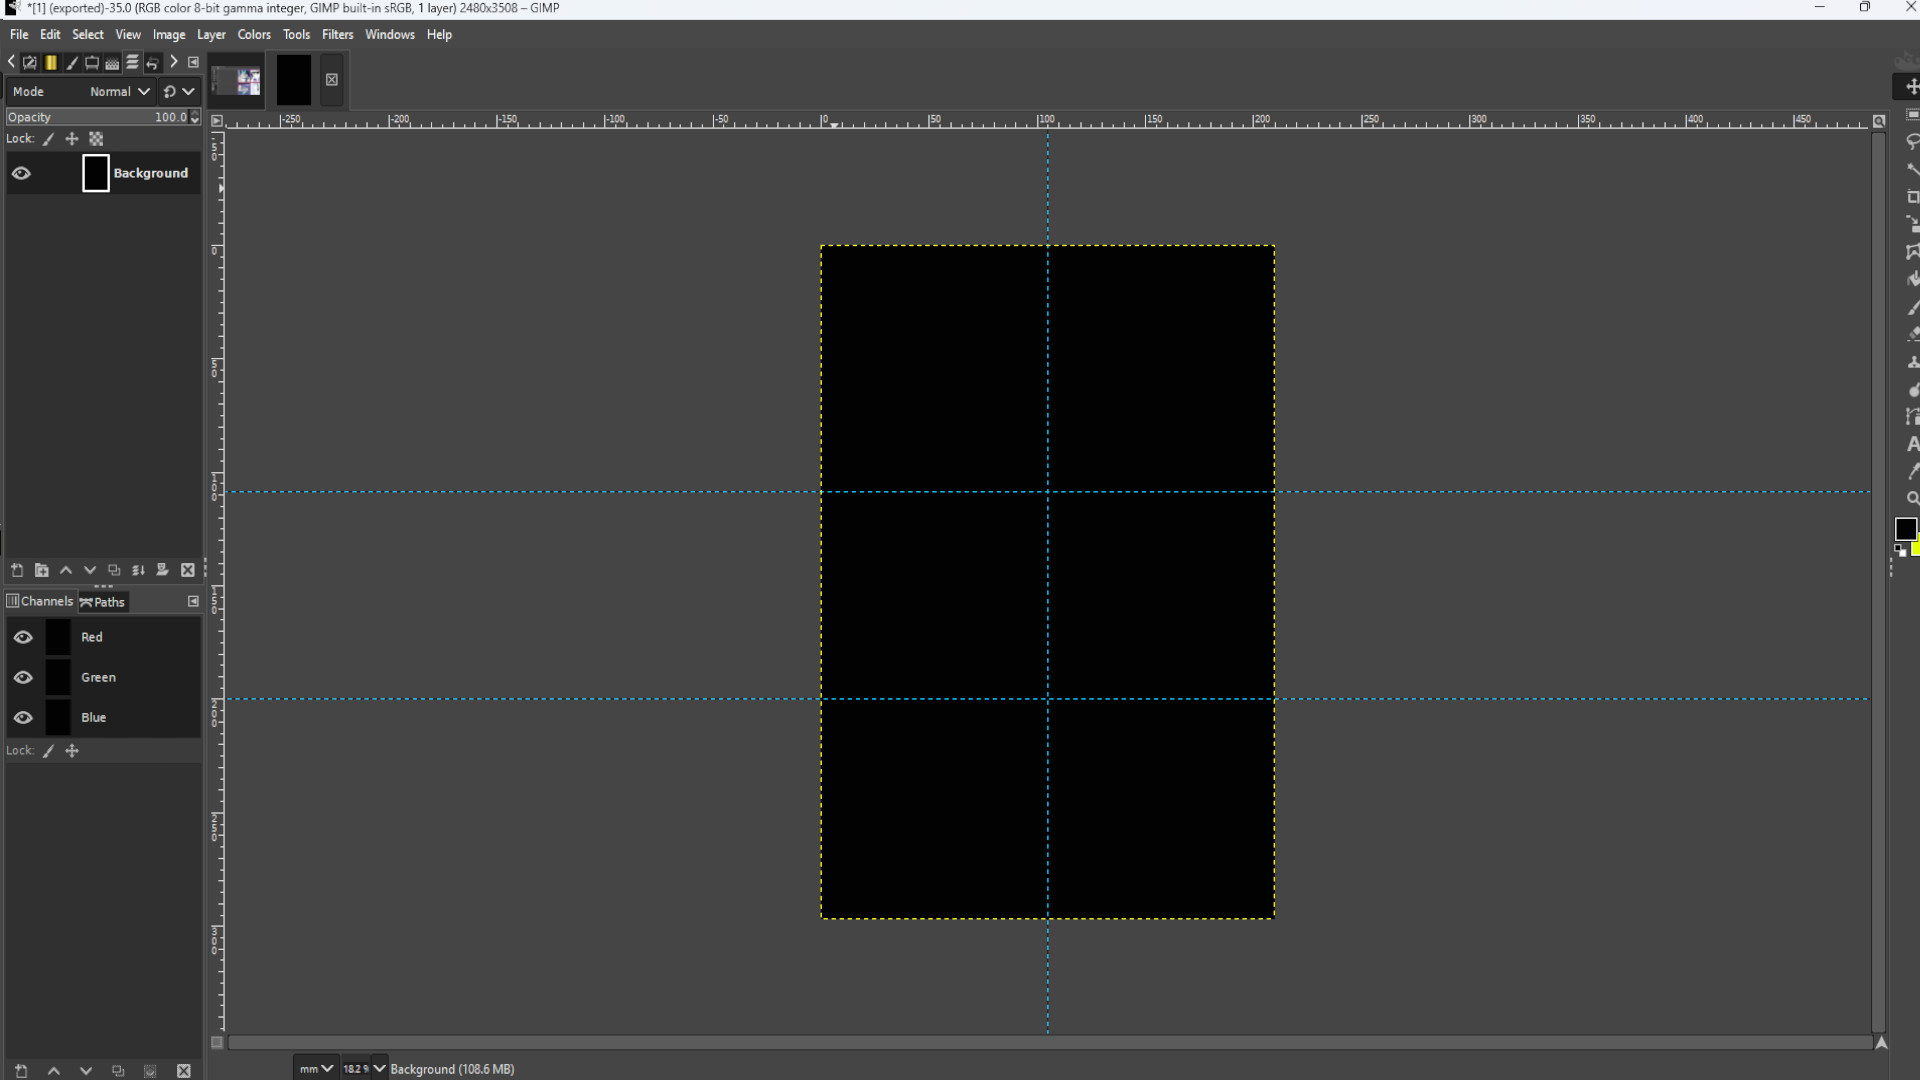
Repeat this for how many photos you want and spread out the guides evenly over the page. I used eight boxes in total and I >>>HOVERED THE CURSOR over the guide and>>>HELD SHIFT to drag around the guide into sections.
Using the>>>ELLIPSE SELECT TOOL DRAW a CIRCLE filling up the width of the section but you can have it as big or small as you like.
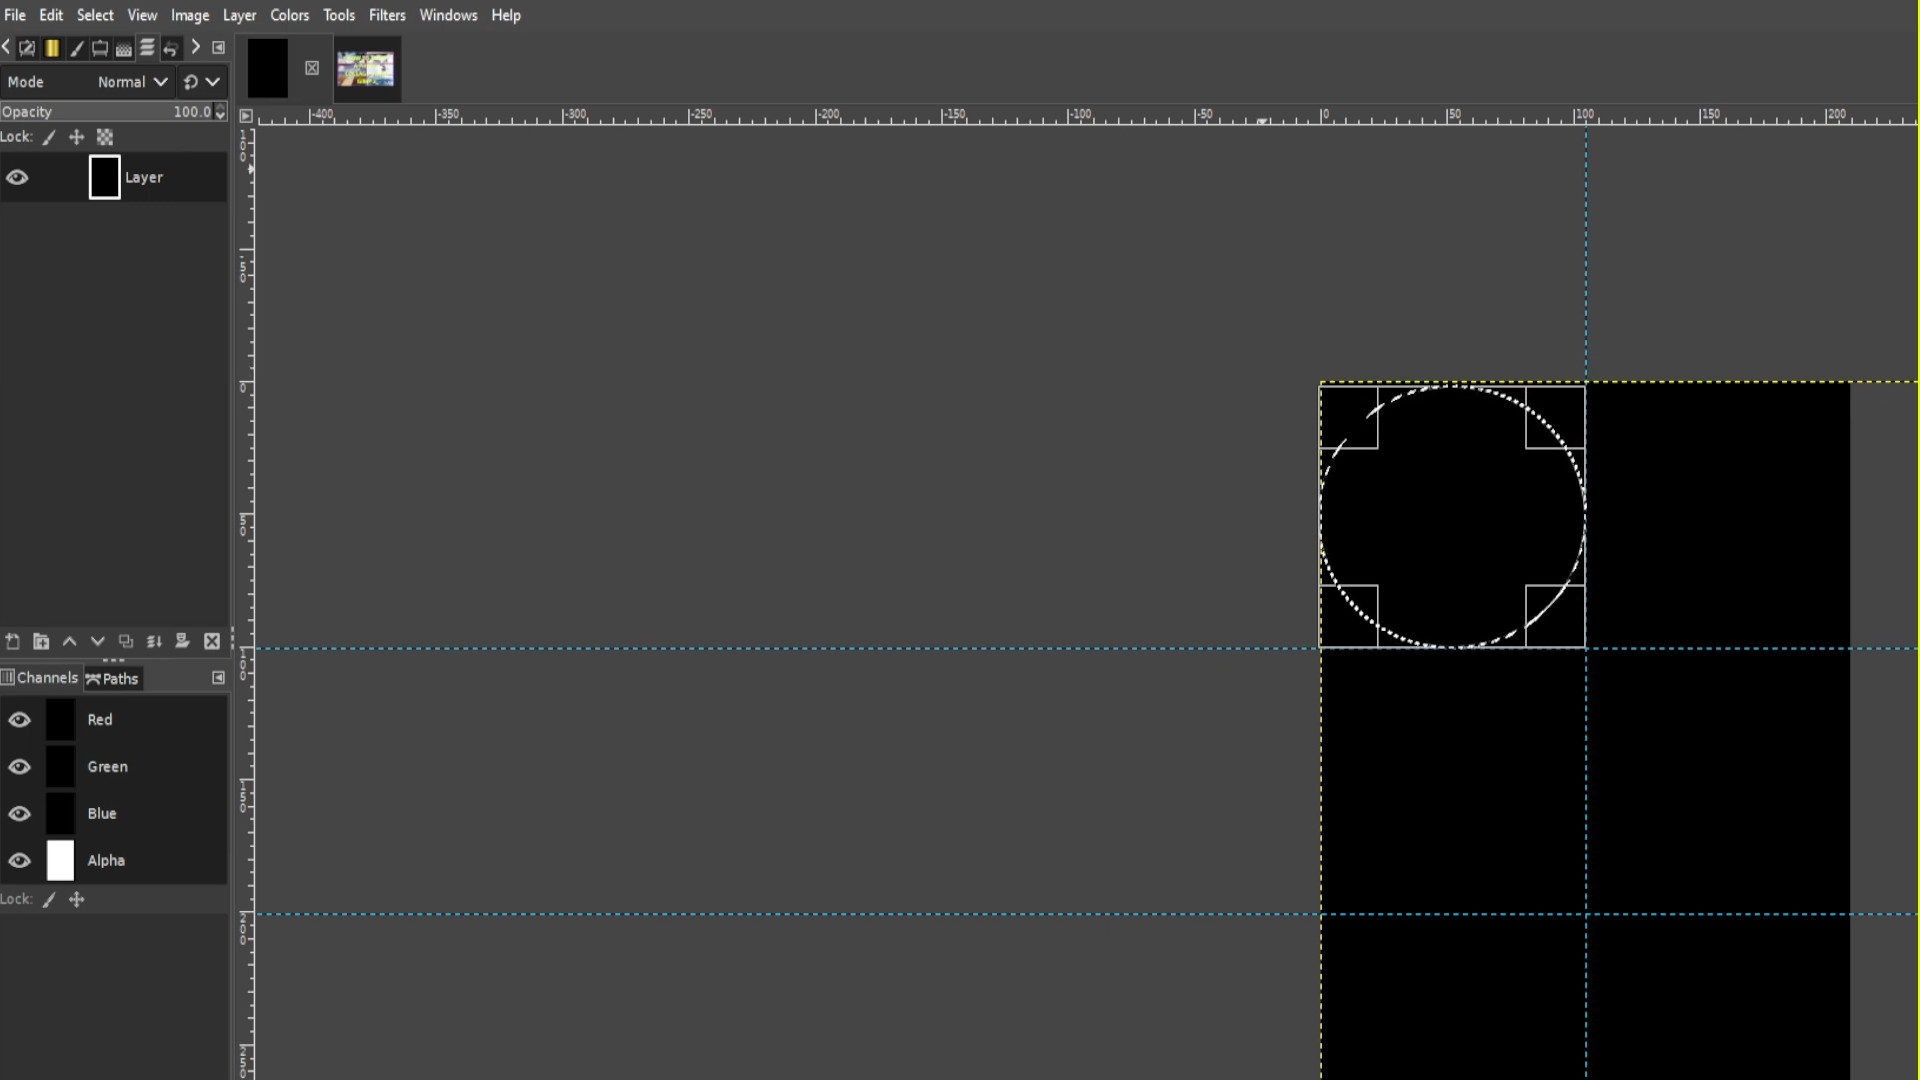
Go to>>>LAYER>>>TRANSPARENCY>>>ADD ALPHA CHANNEL. If it’s greyed out it’s been added and you can ignore this step.
Go to LAYER>>>ADD A LAYER
Use the>>>BUCKET FILL to fill in the circle leaving a couple of inches of the main background for the frame.
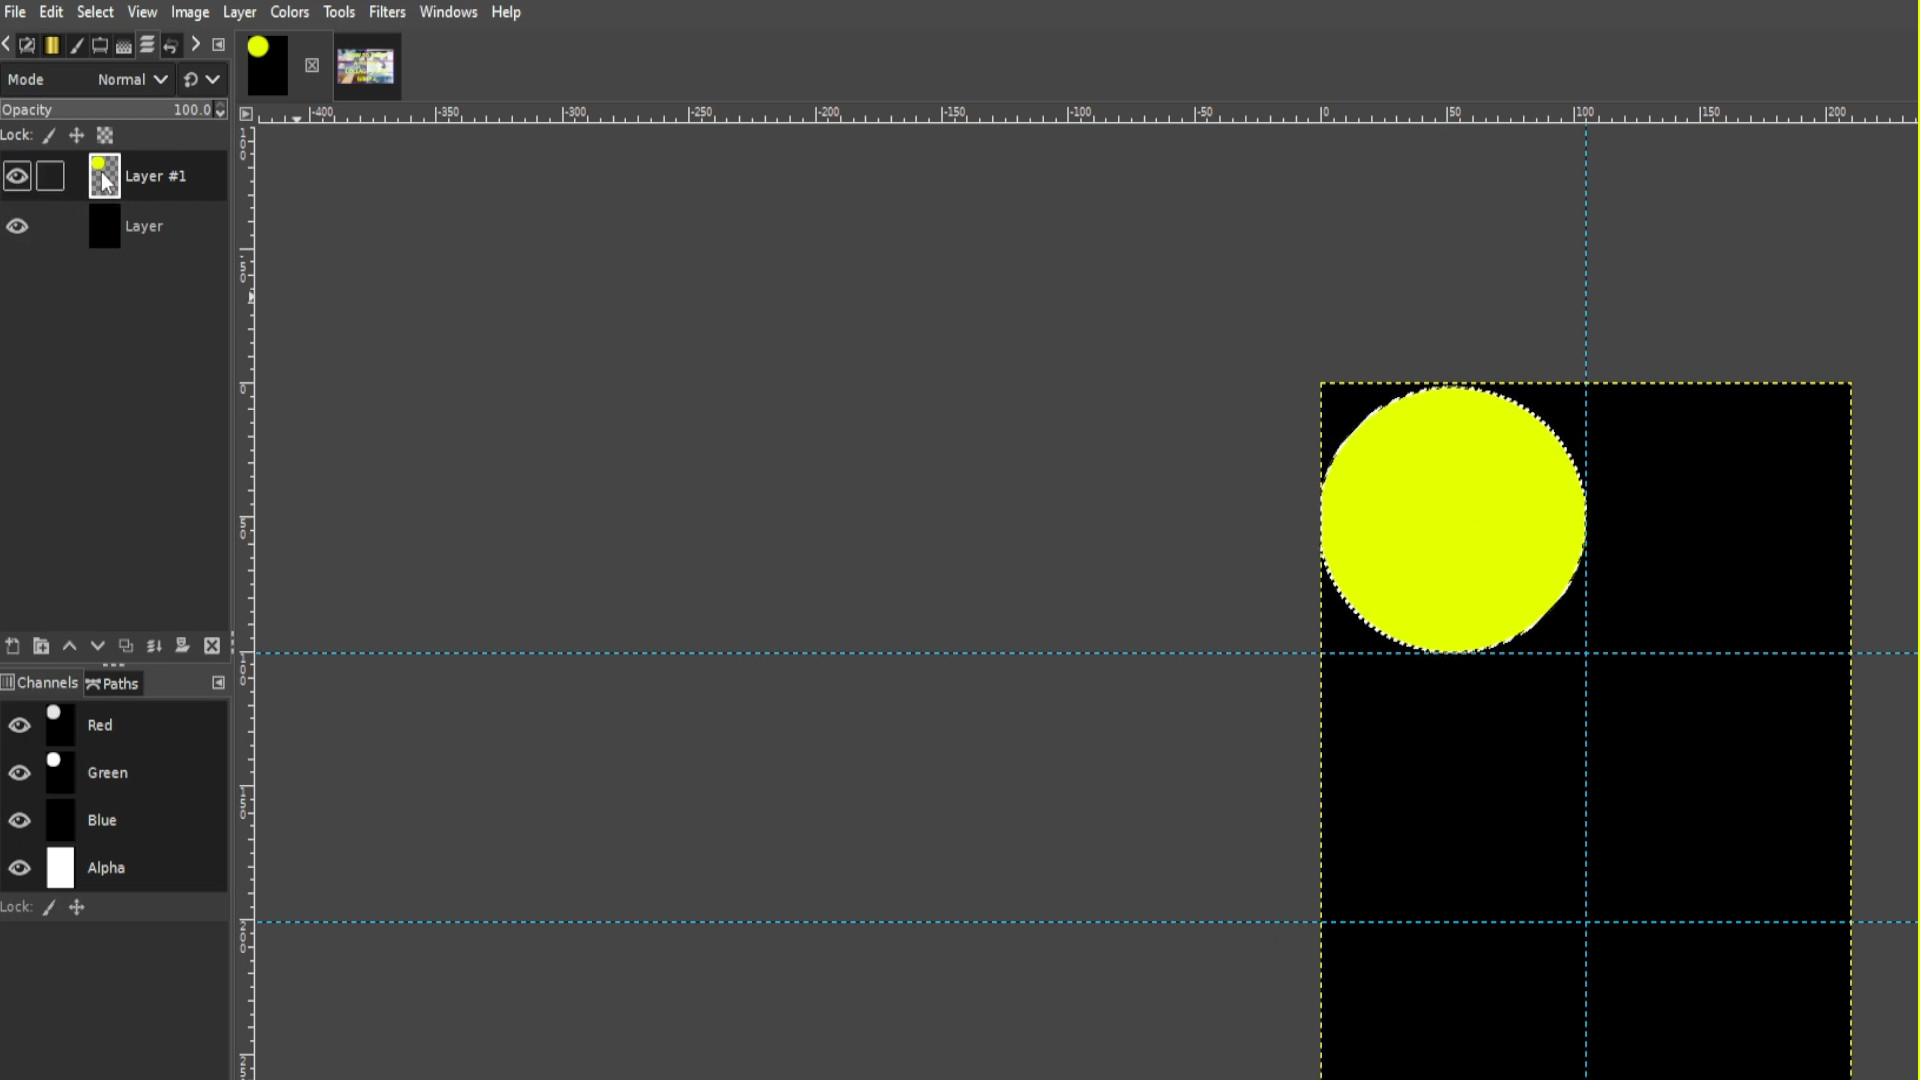
Once you’ve made your circle and with the circle highlighted>>>CLICK ON THE BOTTOM LAYER on the left hand side layer’s panel which is the background you started with. If you can’t see the layers tab then go to>>>WINDOWS>>>DOCKABLE DIALOGS>>>LAYERS
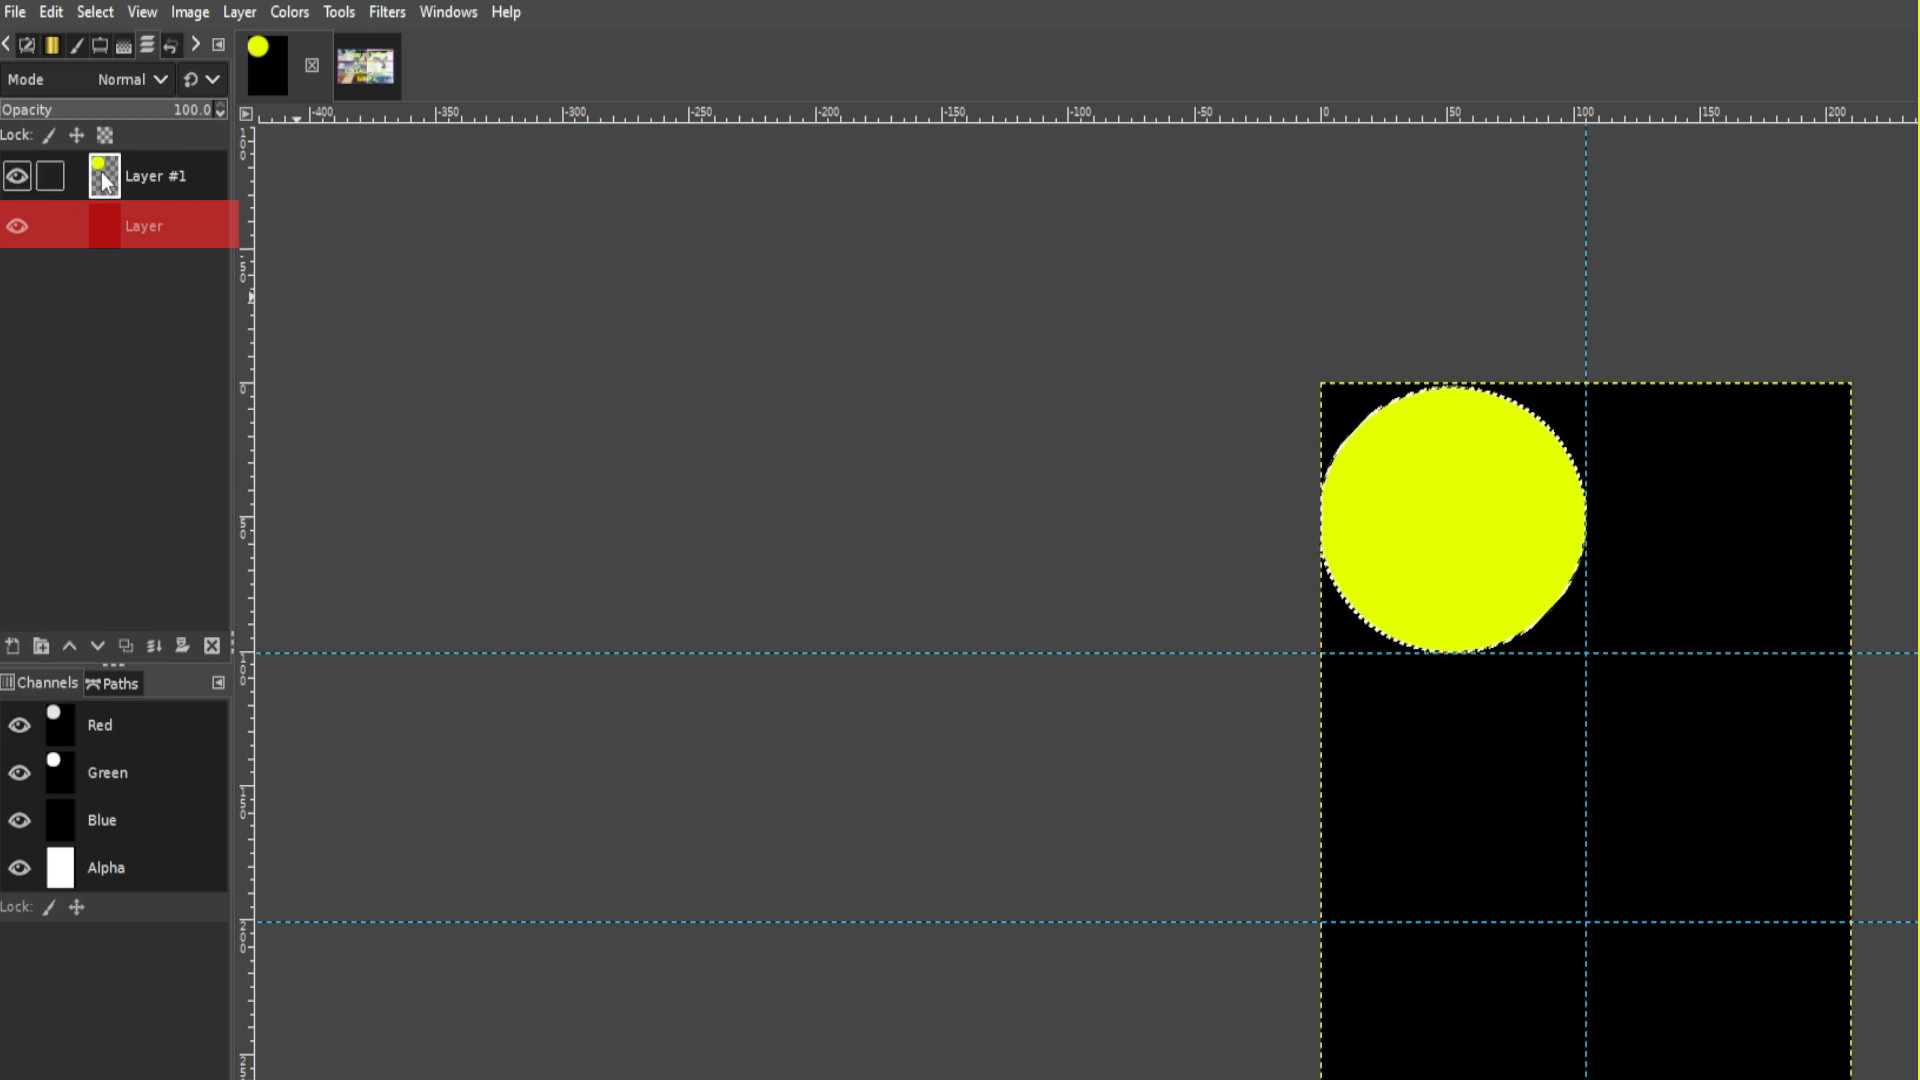
With the circle selected and you are on the bottom layer>>>HOLD>>>CTRL and>>>PRESS X to delete the background of the main background keeping the filled in coloured circle at the top of the layer.
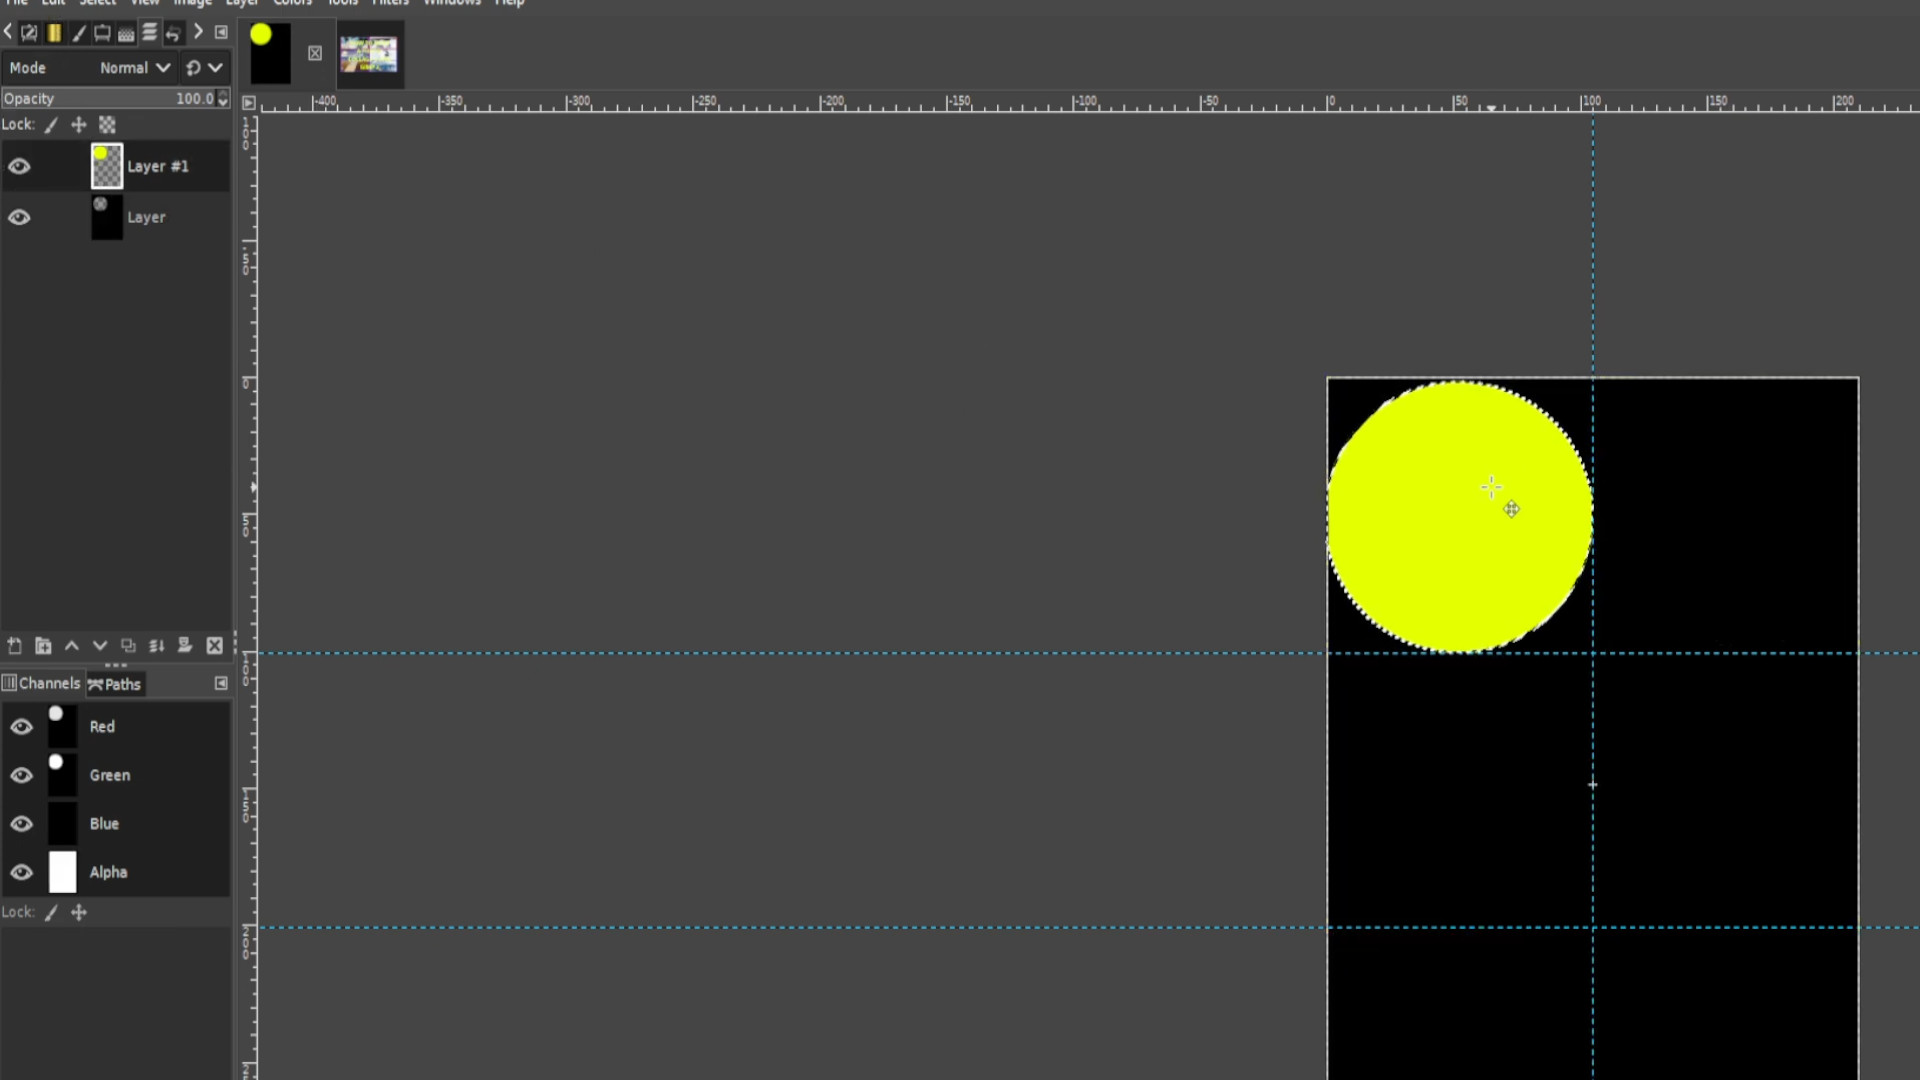
Move the coloured circle around the sections and with it highlighted cut each sections main background (the one you started with.) Once done delete the circle. 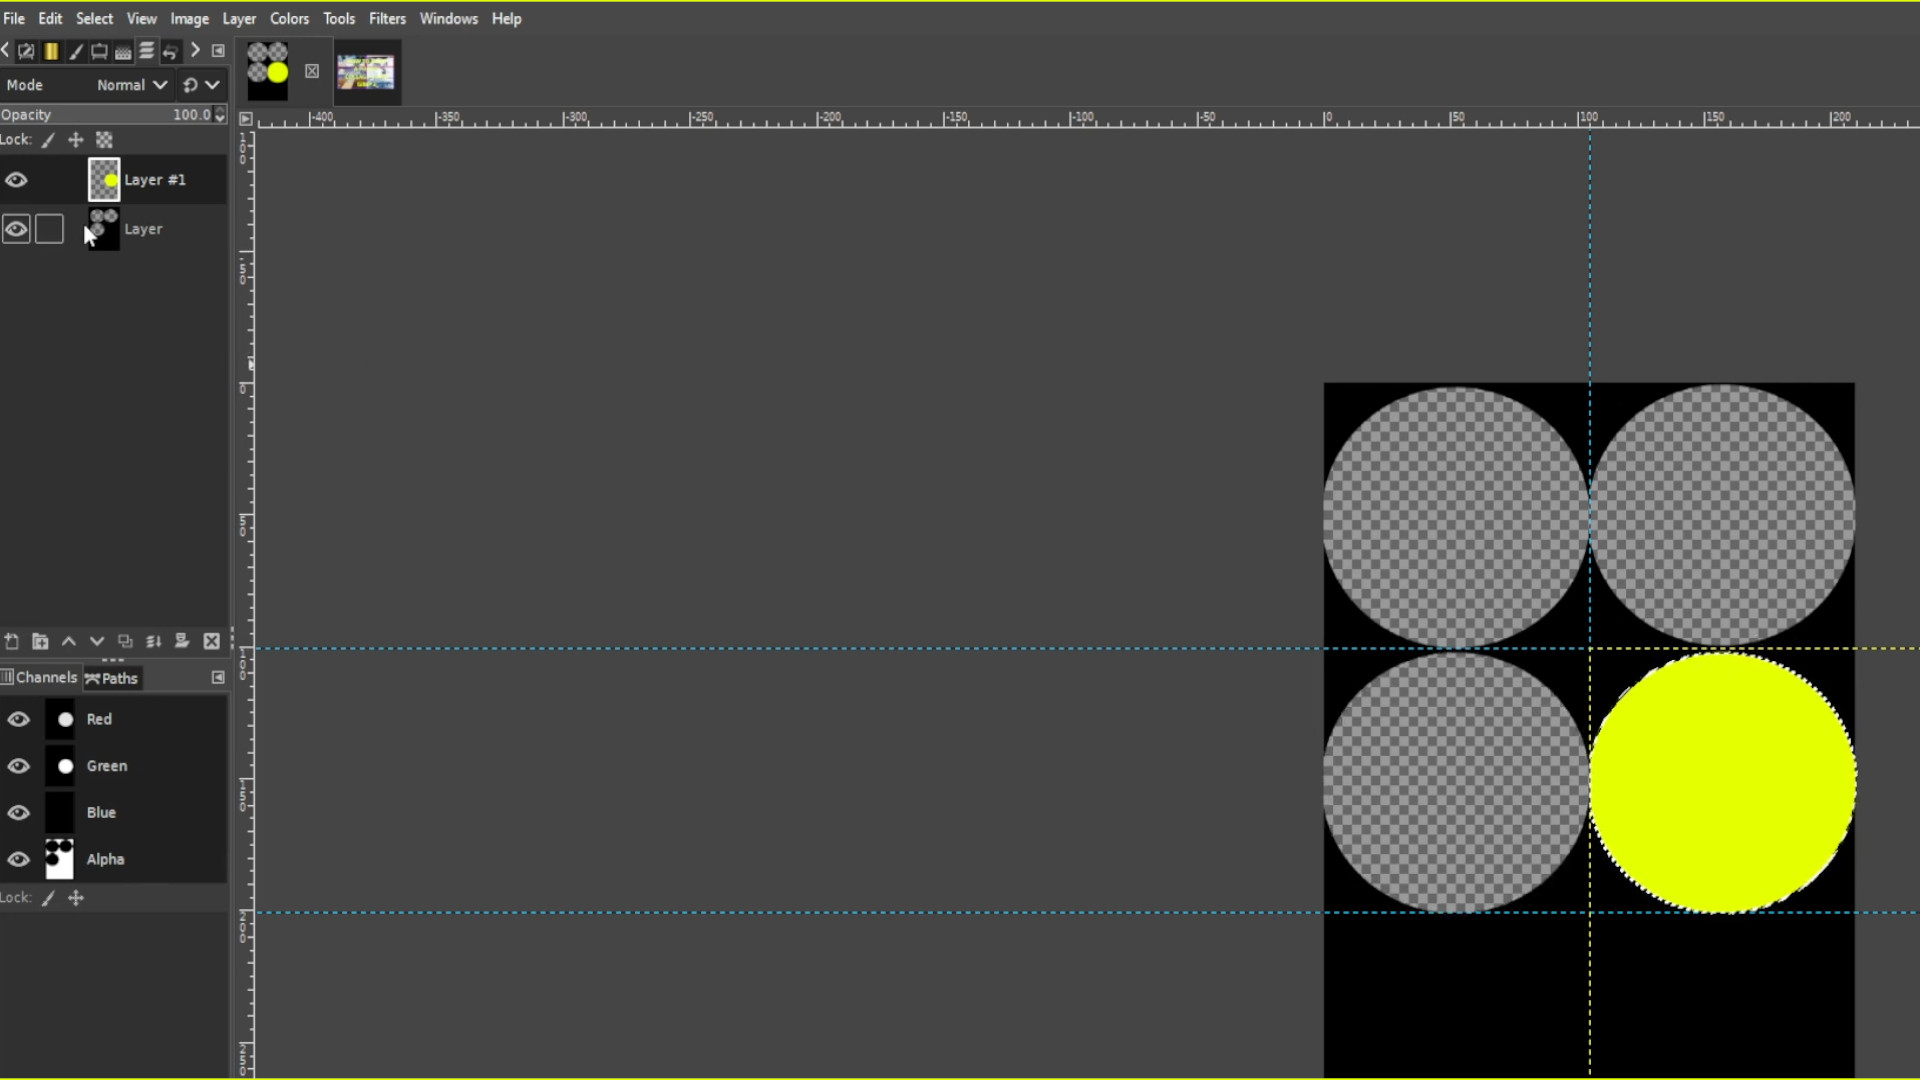
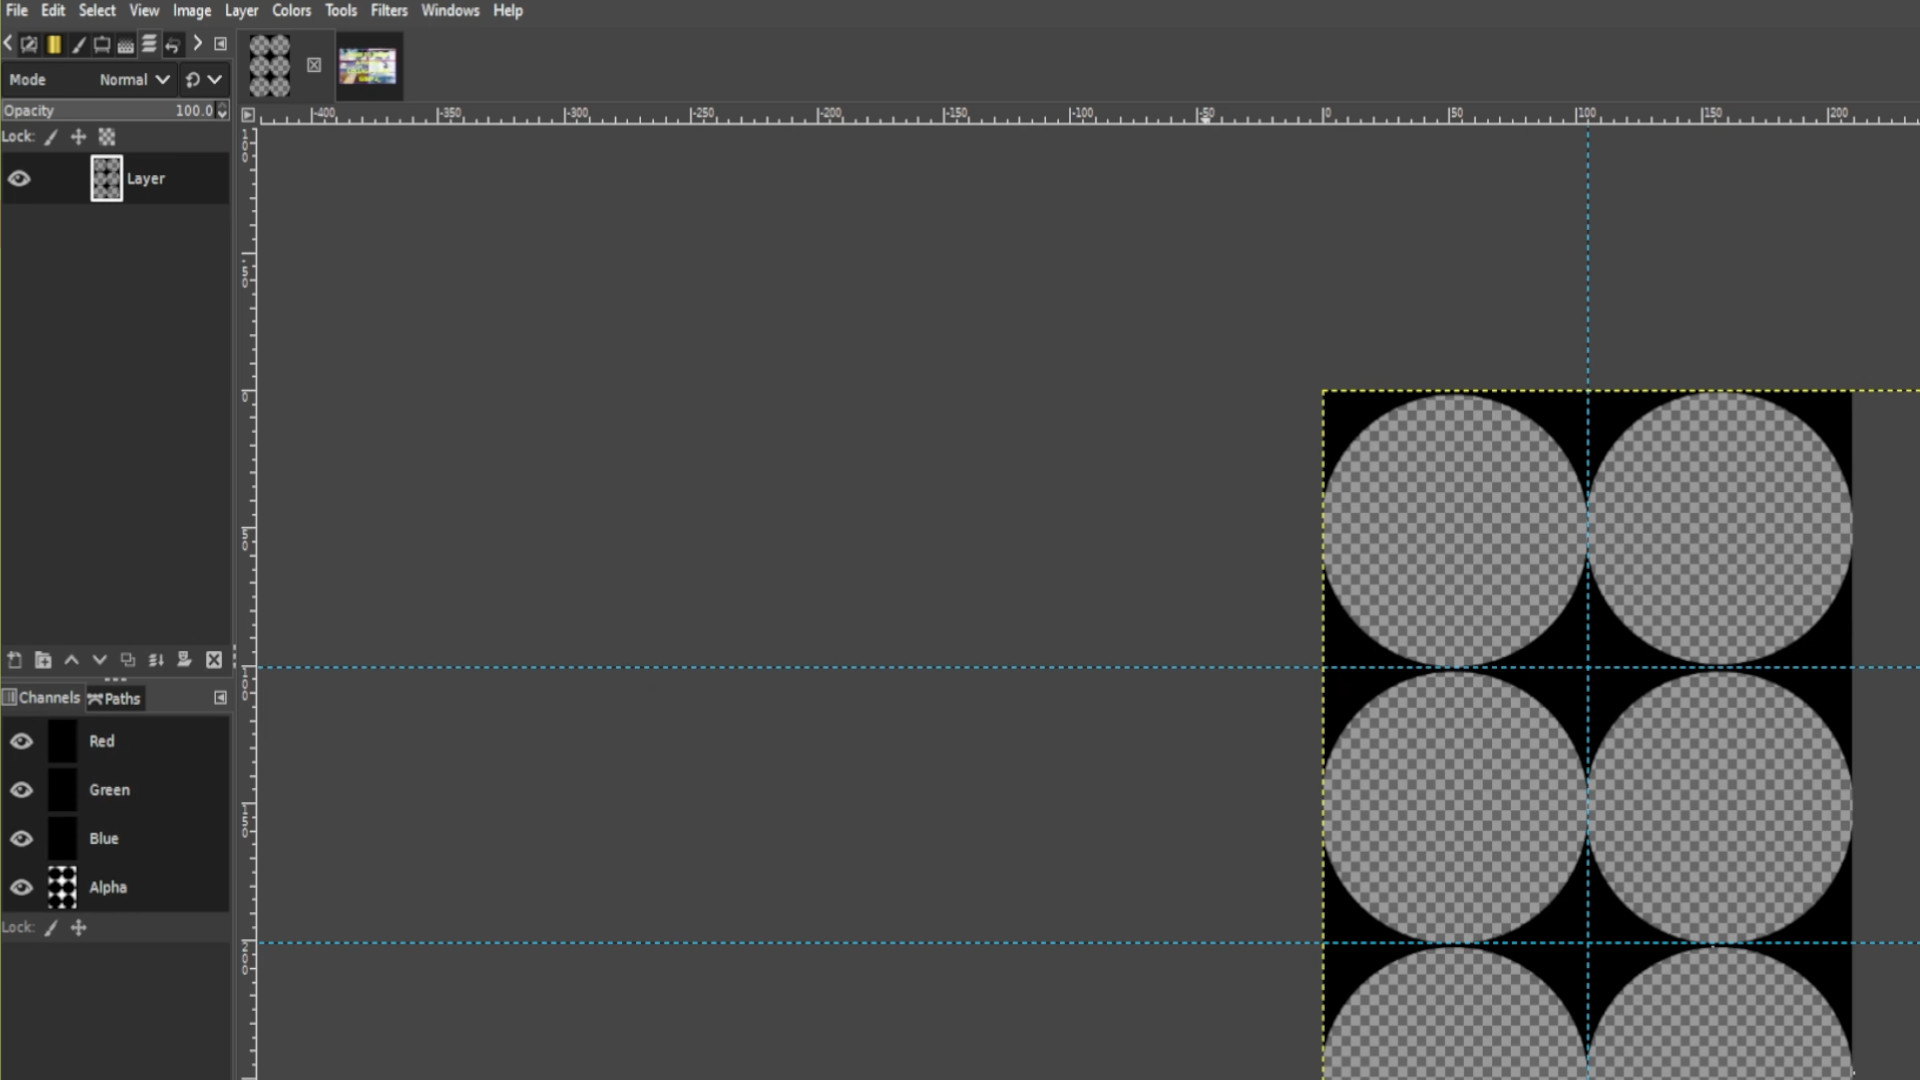
>>>SELECT THE BOTTOM LAYER AND>>>ADD PHOTO 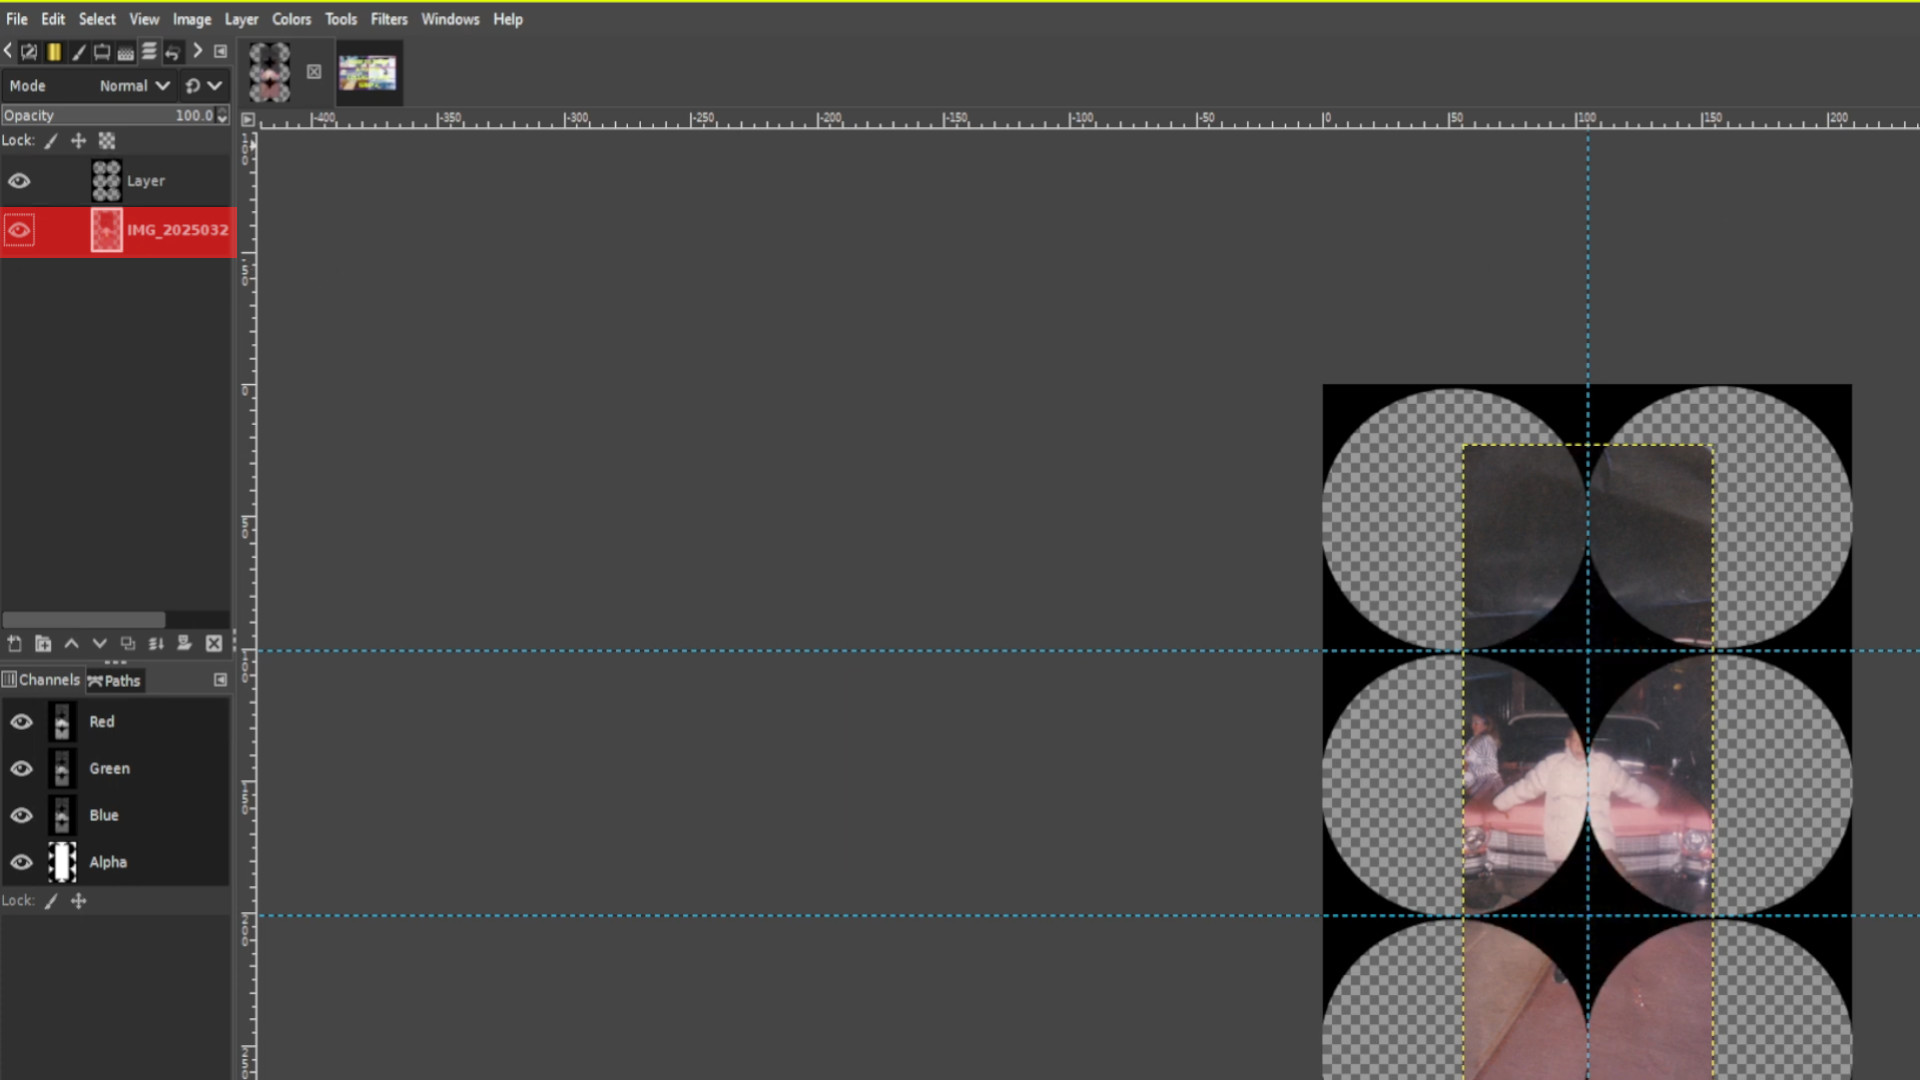
>>>USE THE RESIZE TOOL>>>SHIFT and>>>S to >>>SCALE up or down the image it’s best to work with bigger pictures. 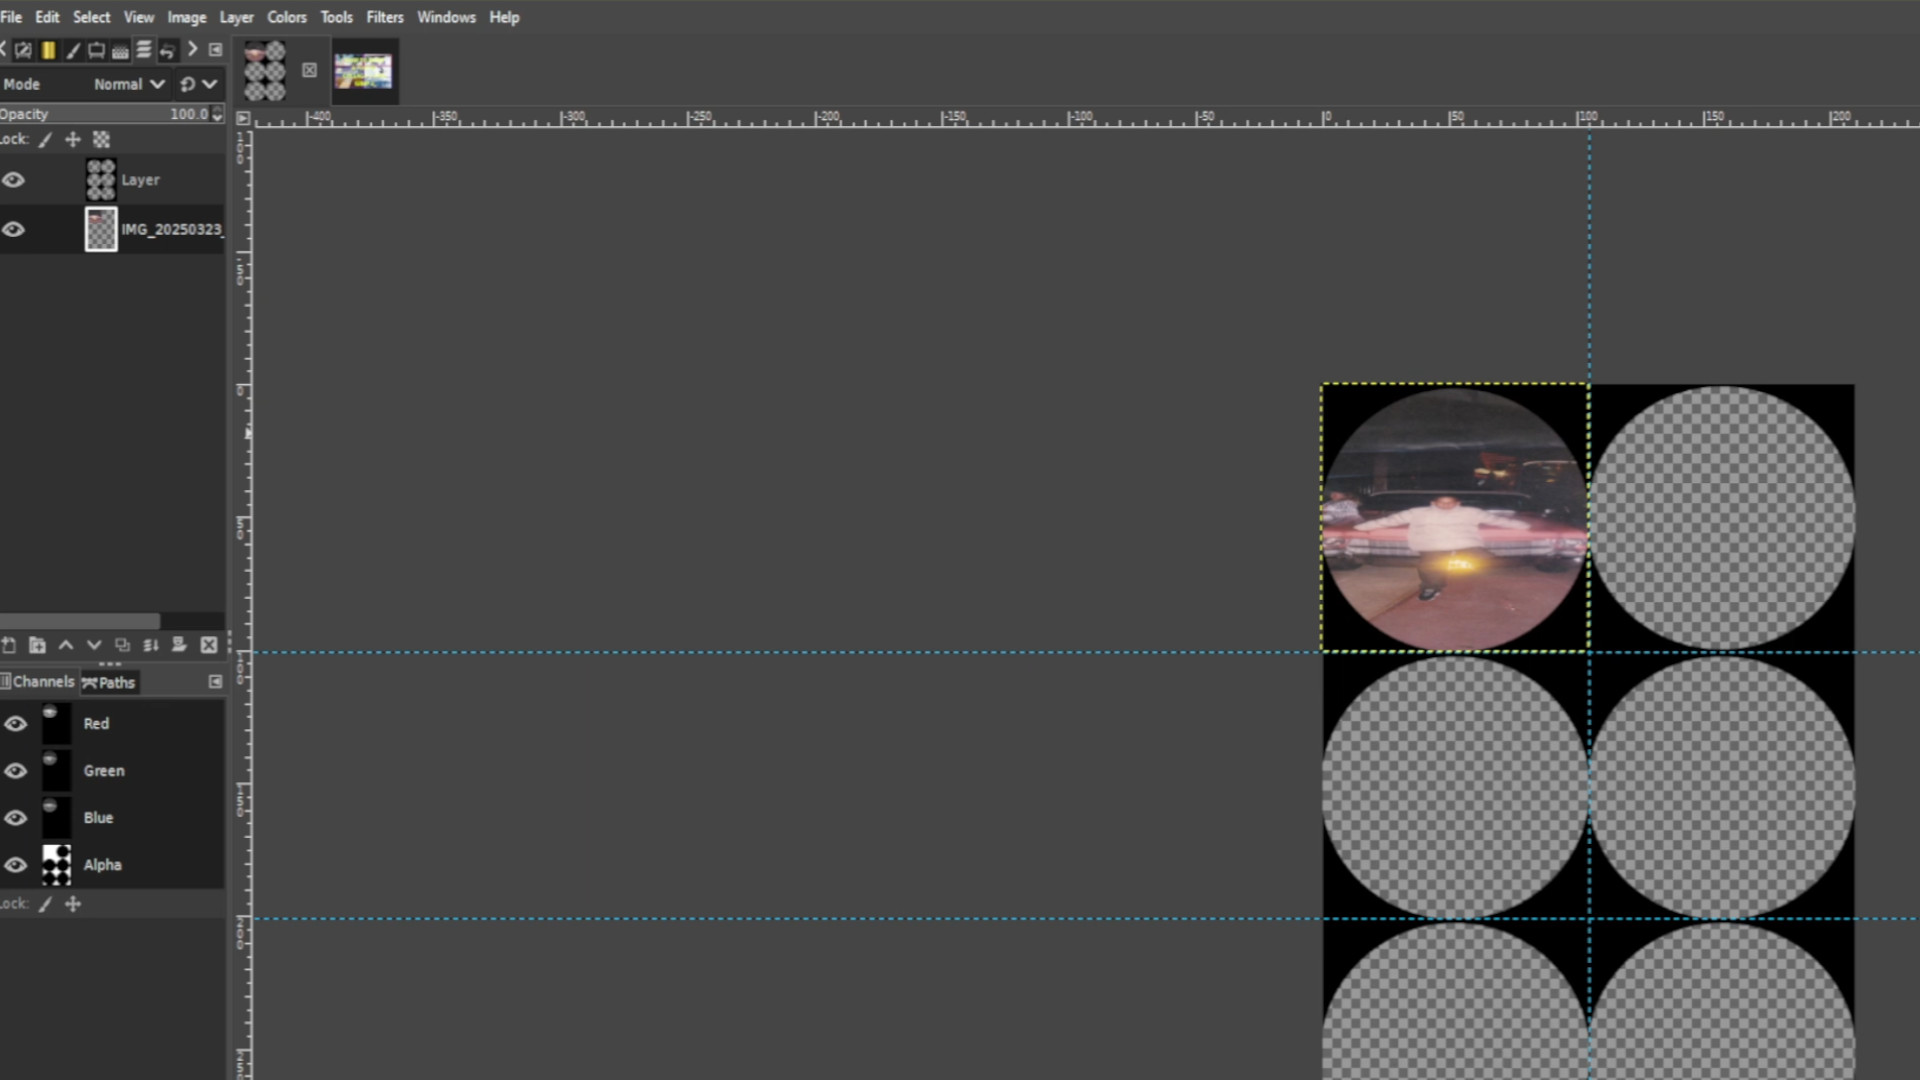
Repeat Steps 10 and 11 until it’s filled out.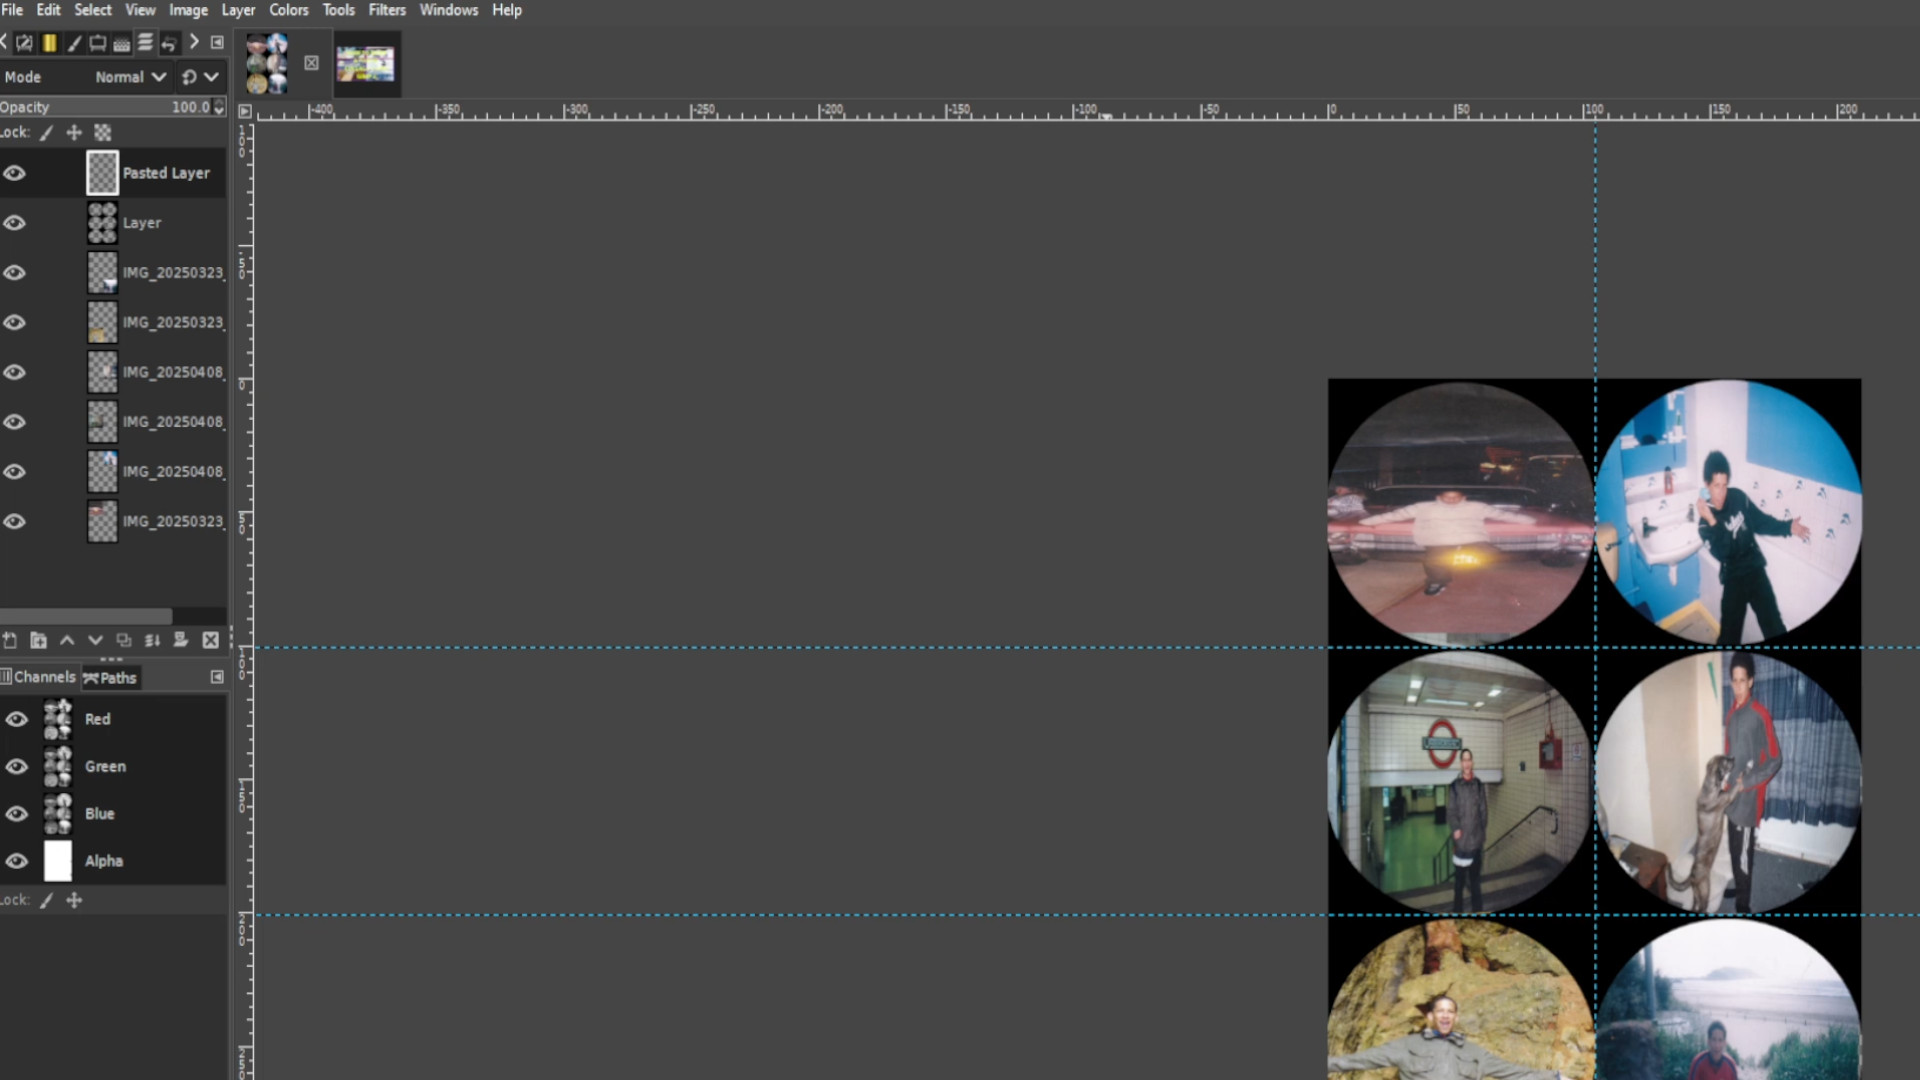
Add texture and stretch it the entire canvas space, make sure you are on the top layer.
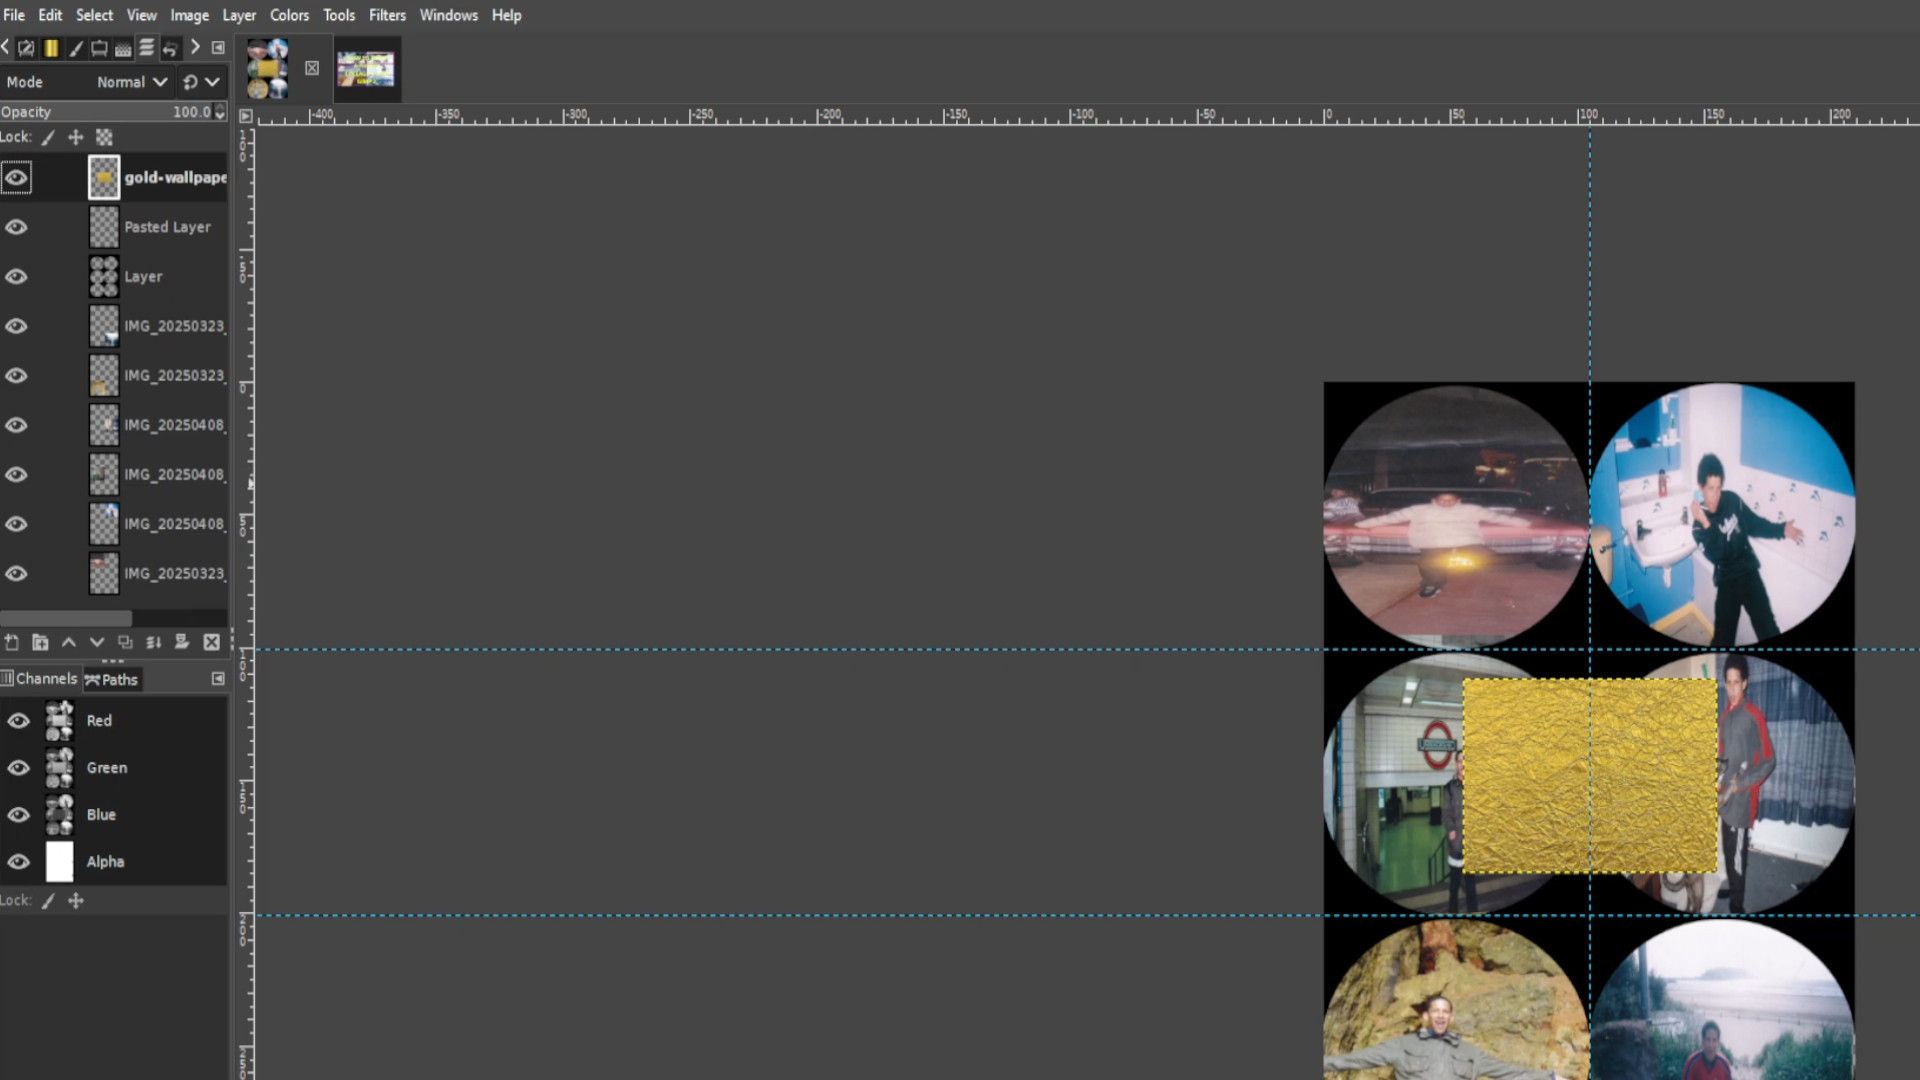
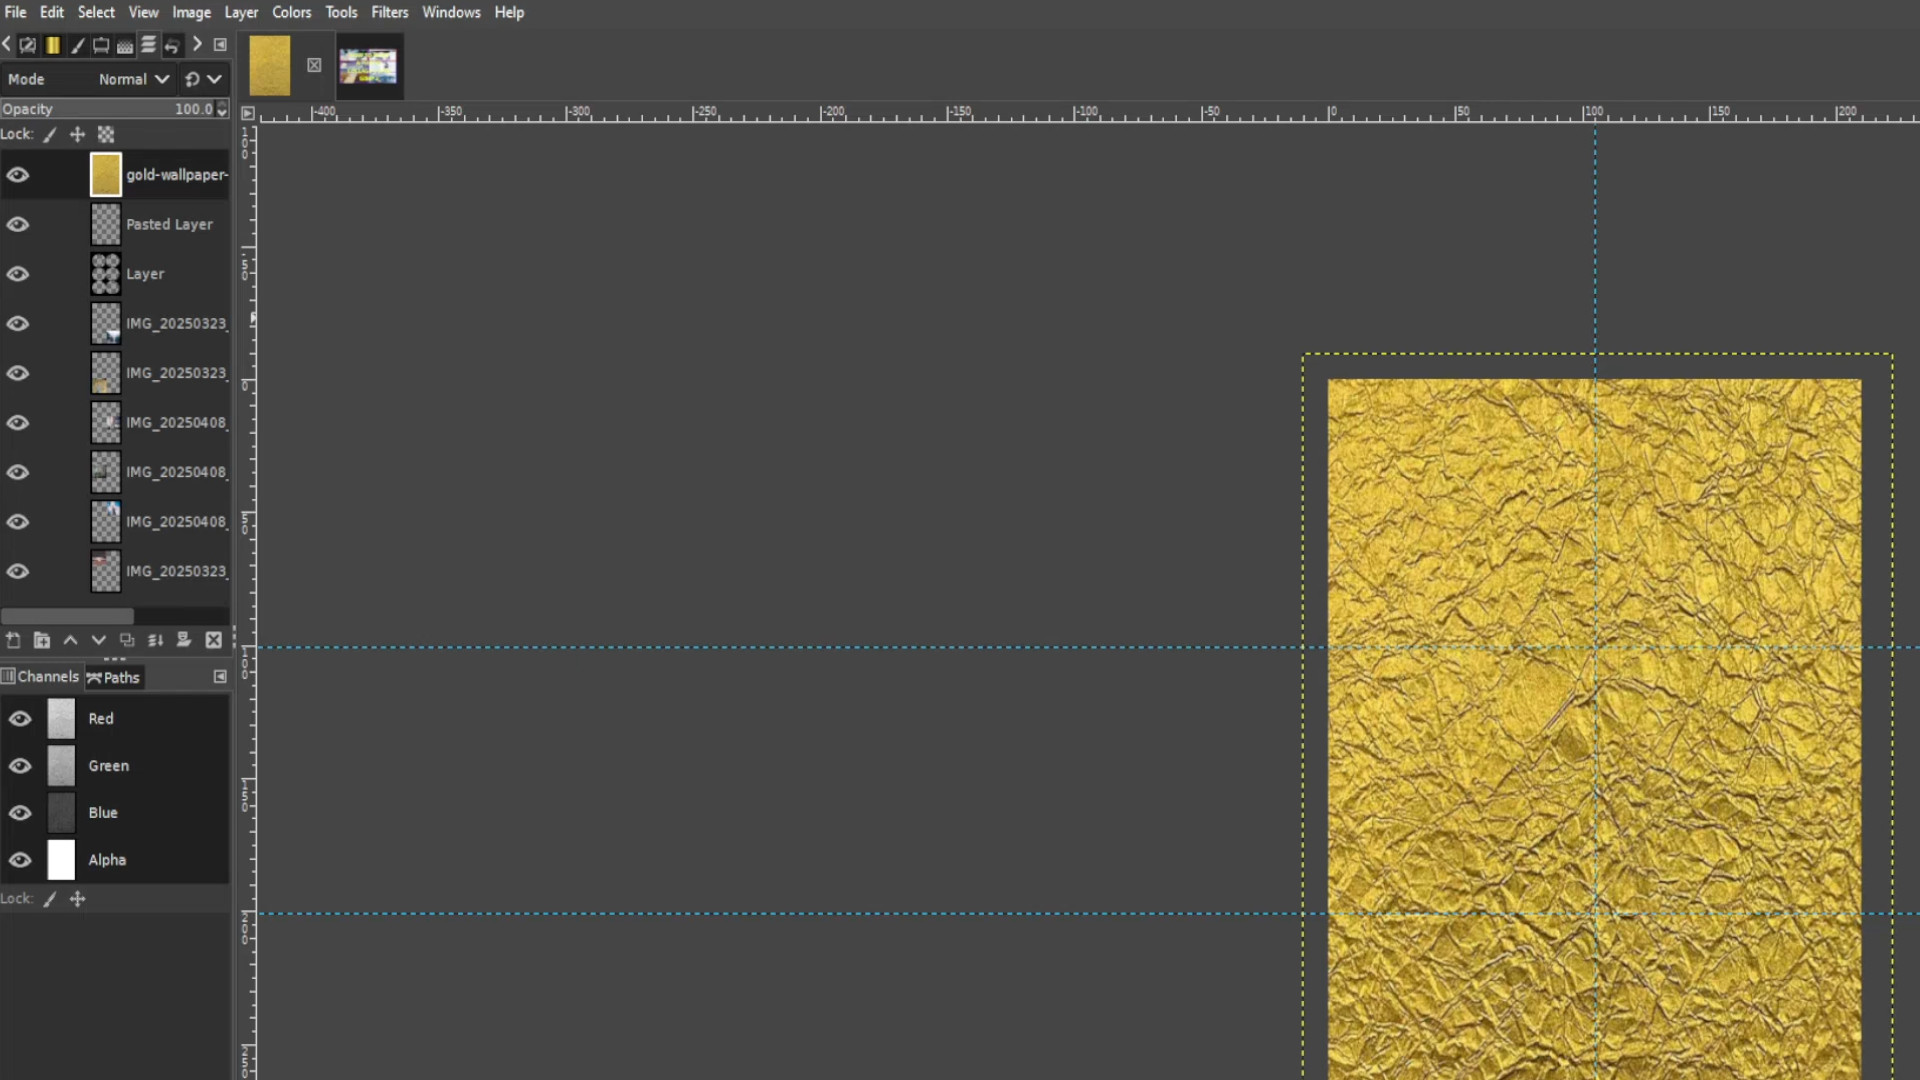
Go to the>>>LAYERS TAB and>>>TURN OFF THE TEXTURE LAYER by clicking on the first eye it should be the top layer in the left hand side layers tab
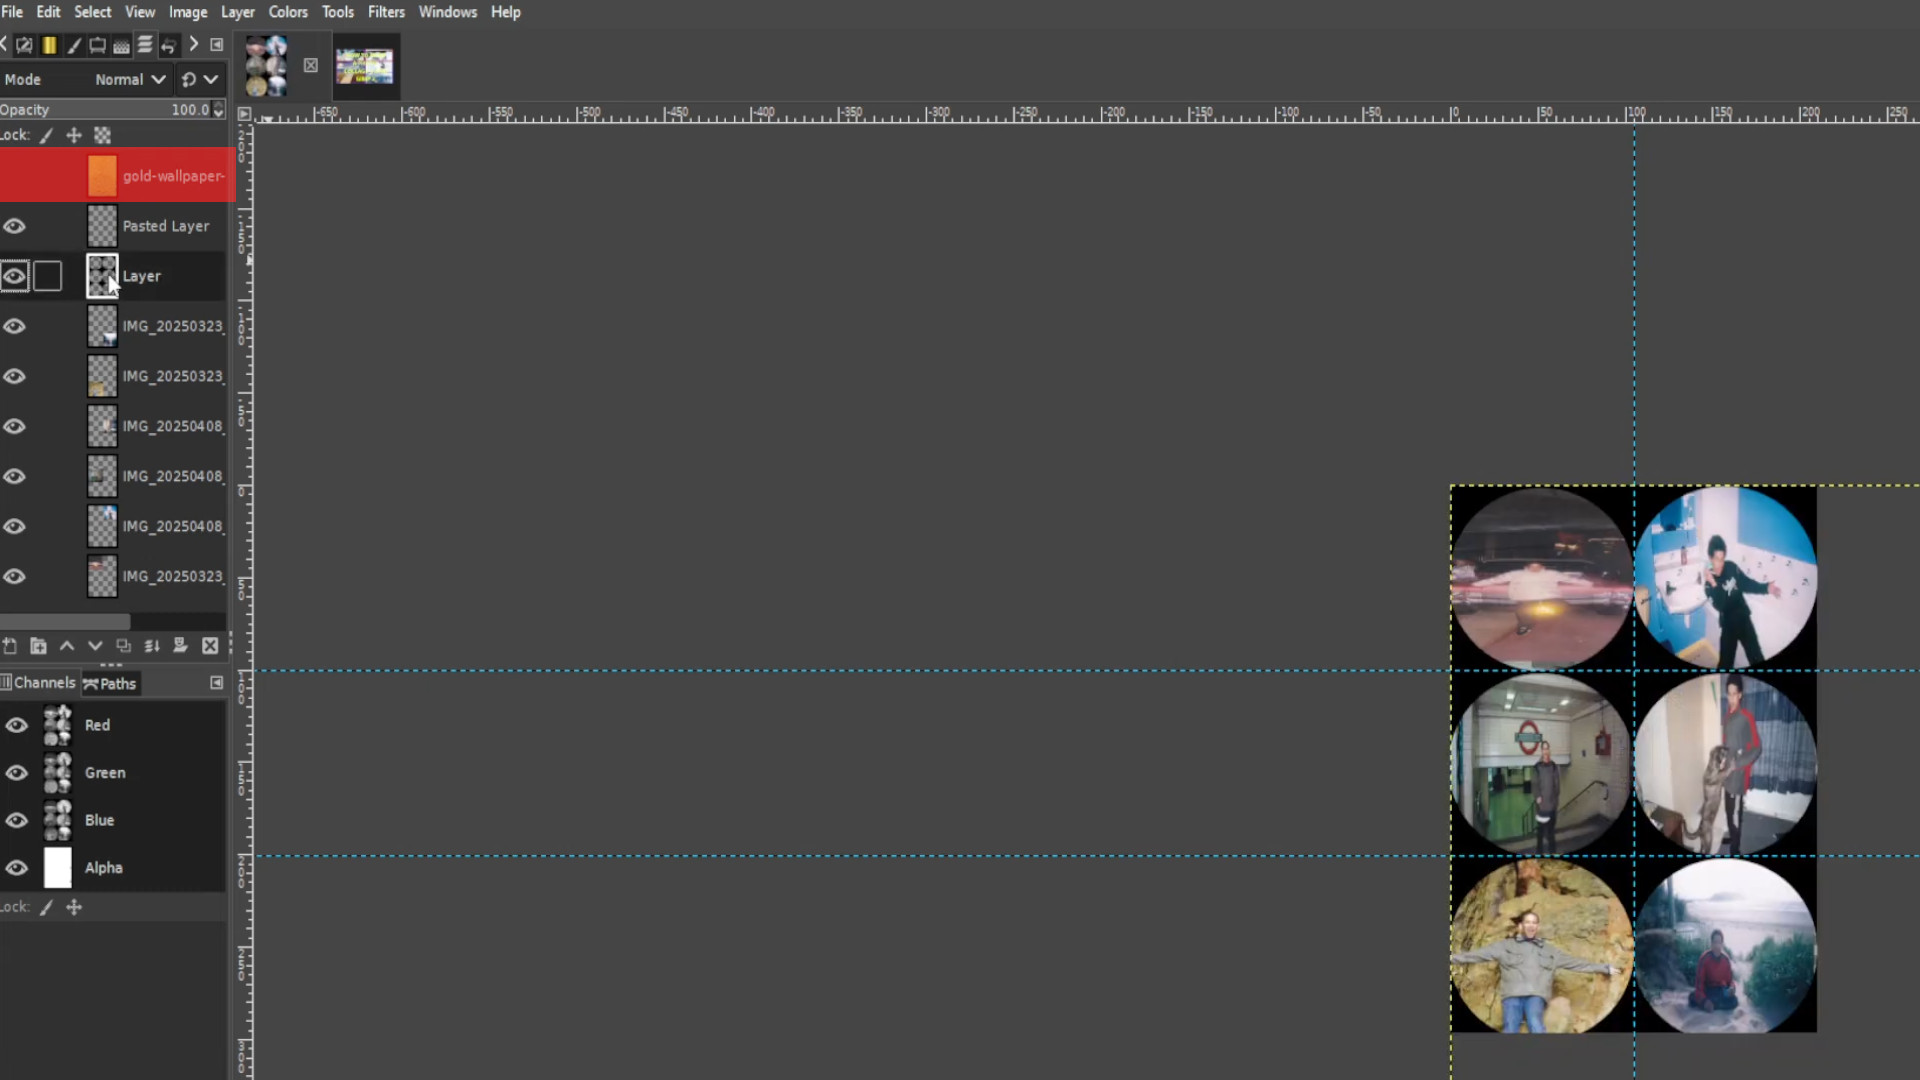
Go to>>>LAYERS TAB and>>>SELECT THE CIRCLES by using the>>>FUZZY SELECT TOOL making sure the frame is untouched but the middle is highlighted, it should be second from the top in the layers section.
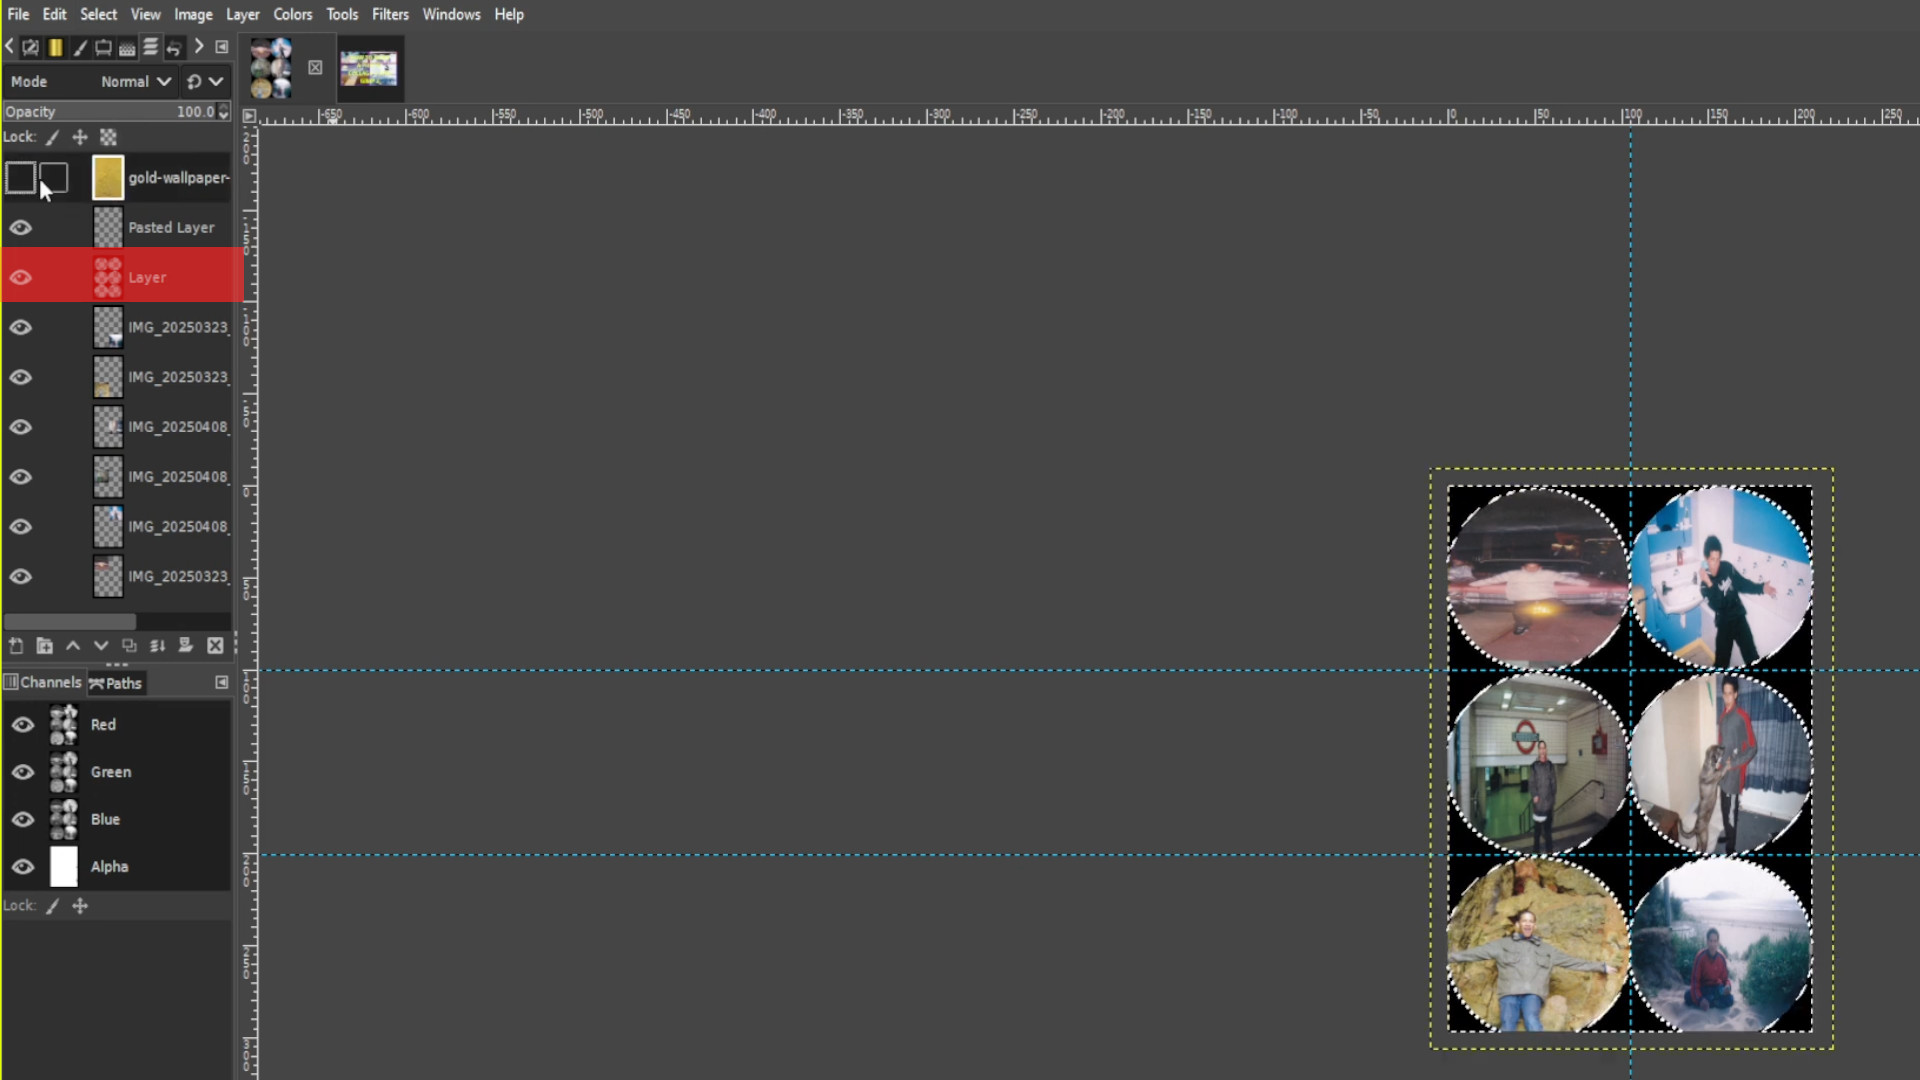
Unhide layer by clicking on the first layer eye in the left hand side of the layers section.
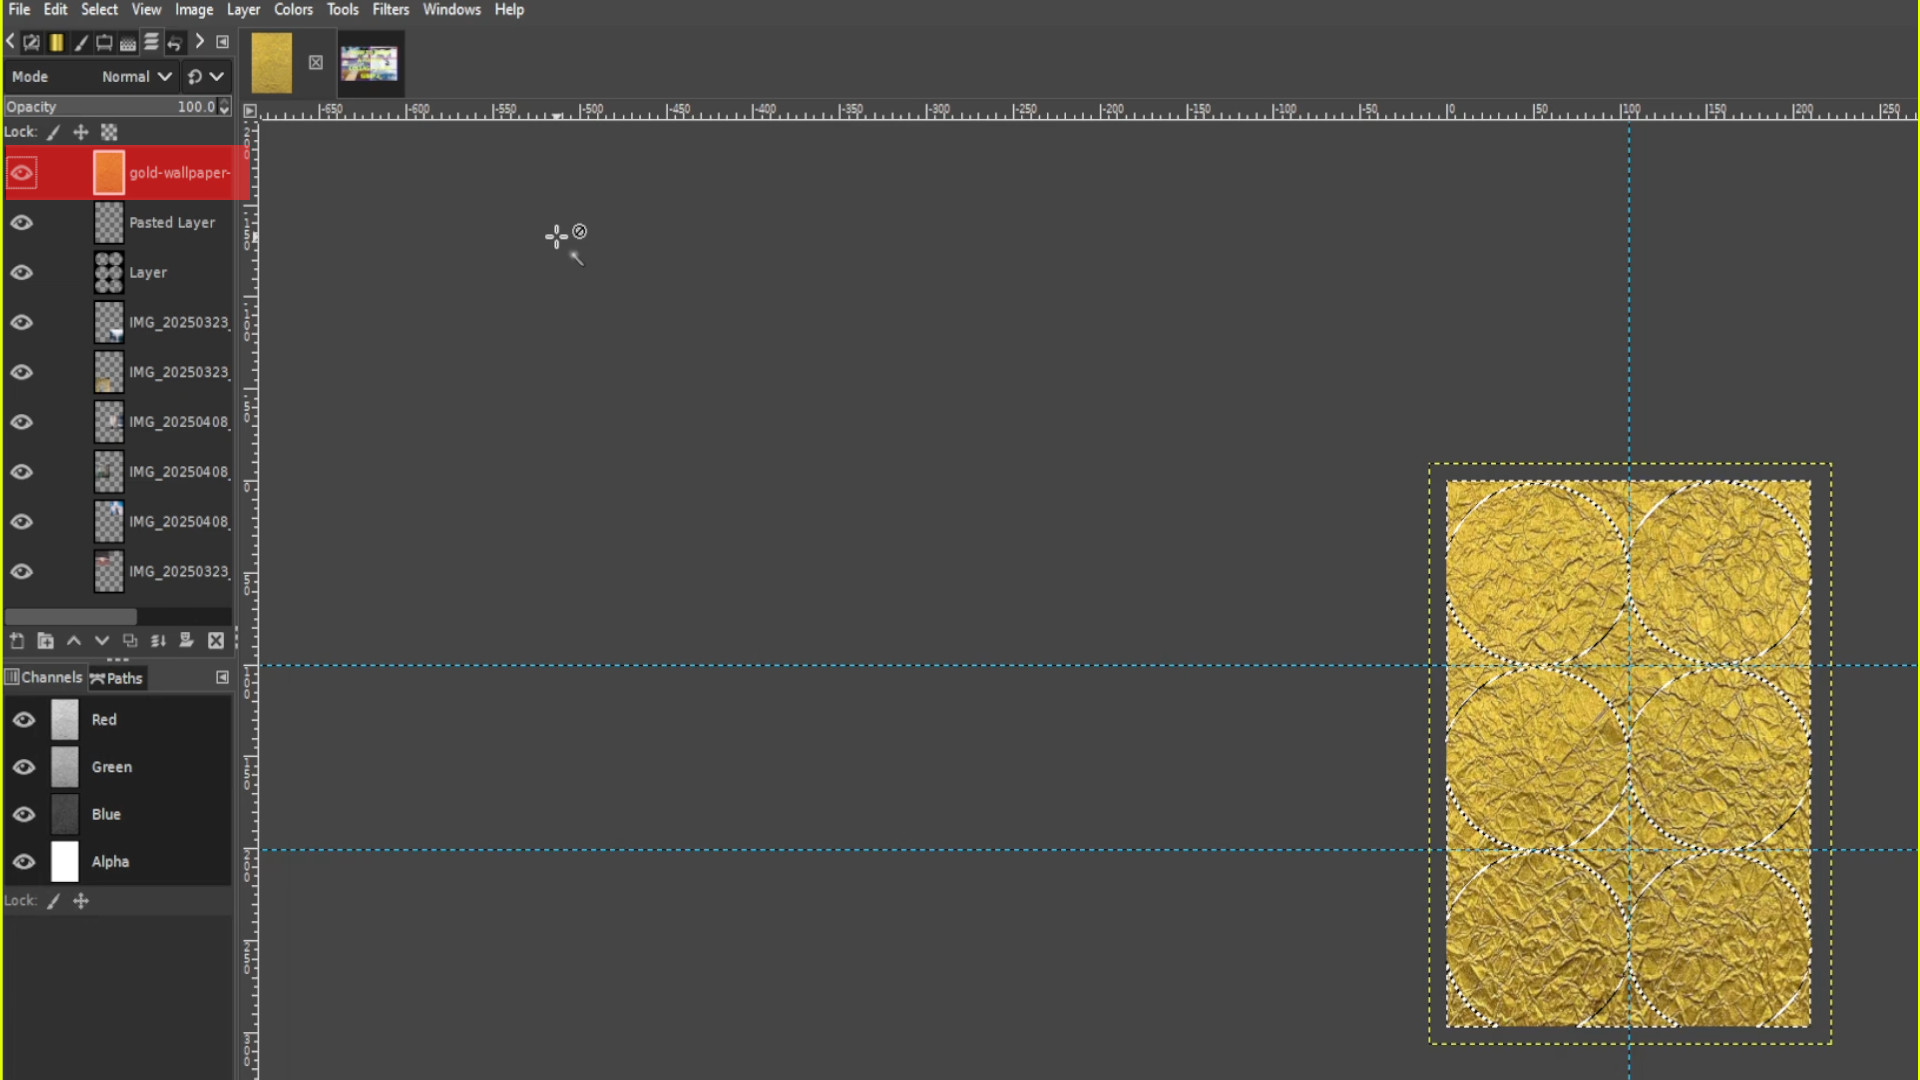
Now highlighted>>>HOLD CTRL and>>>PRESS X to remove the inner texture leaving a background around it.
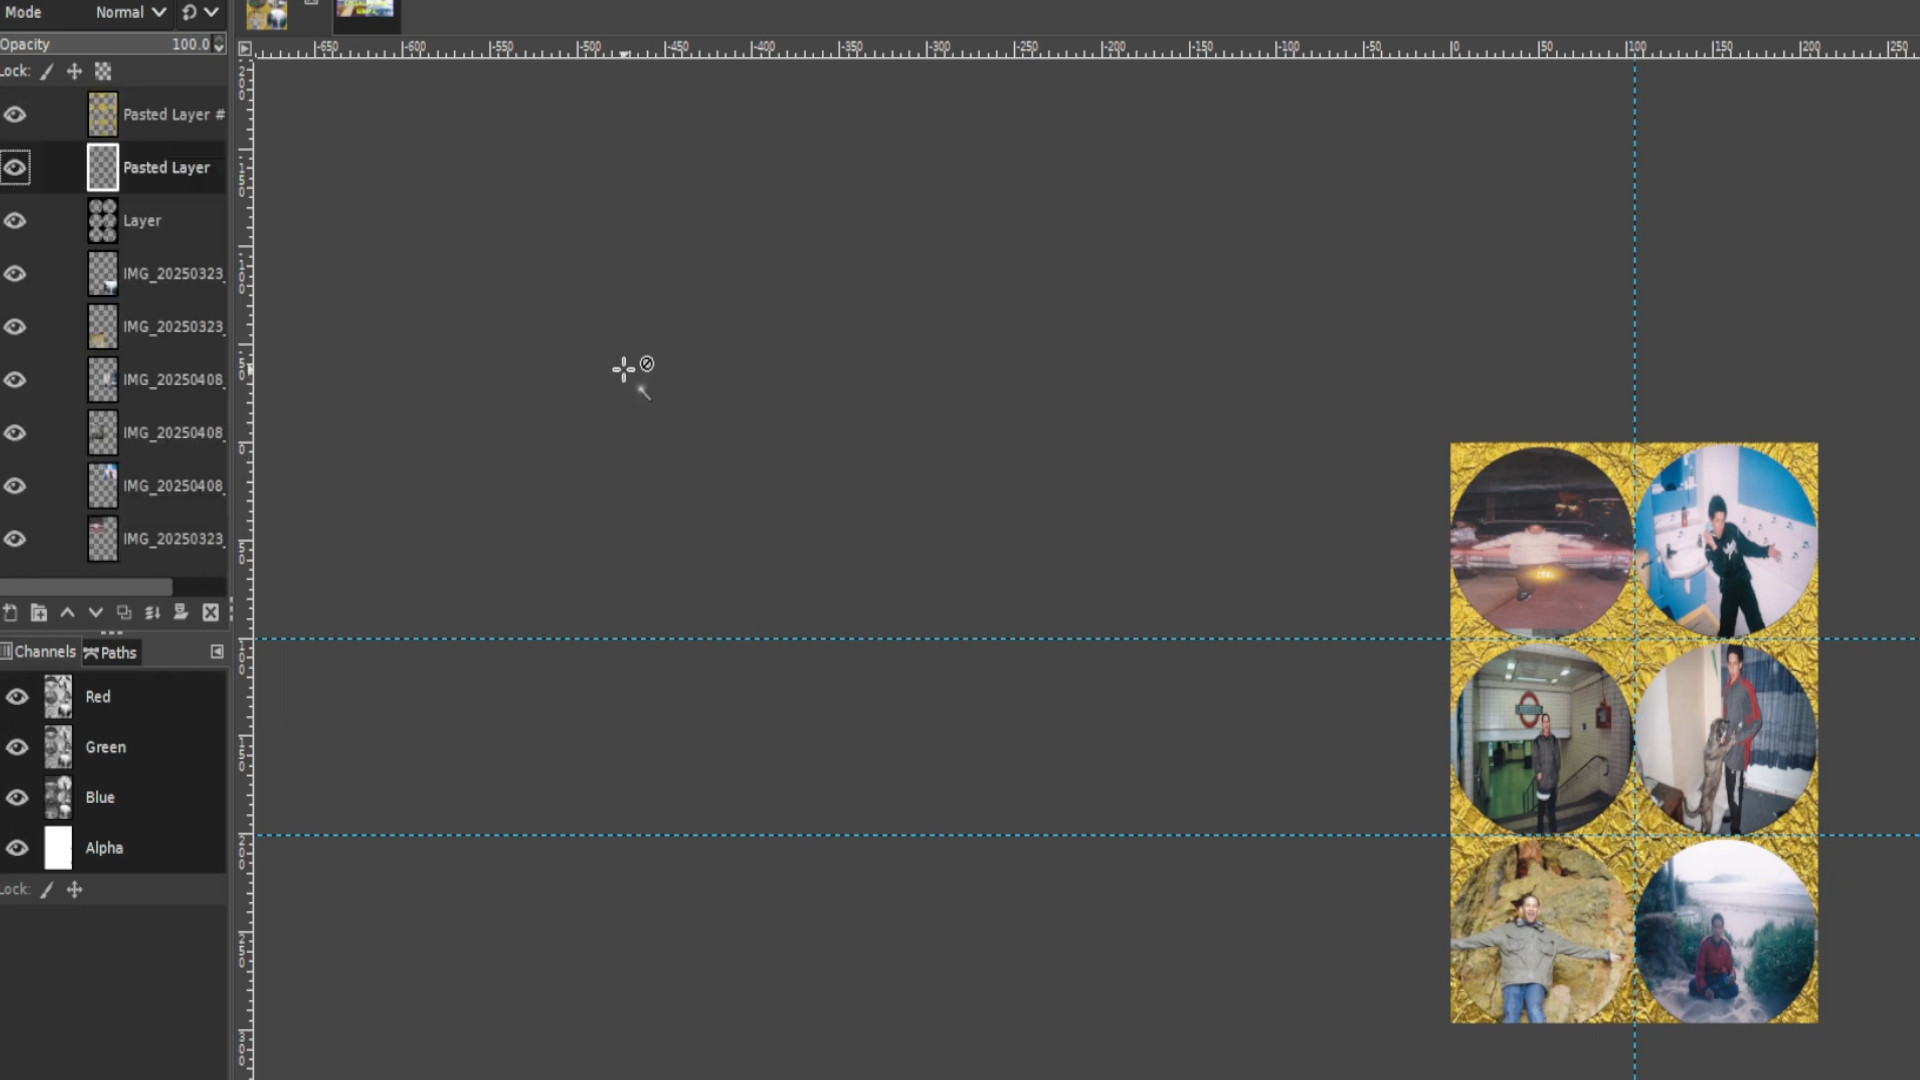
EXPERIMENT with BUCKET FILL, COLOUR and FILTERS to taste.
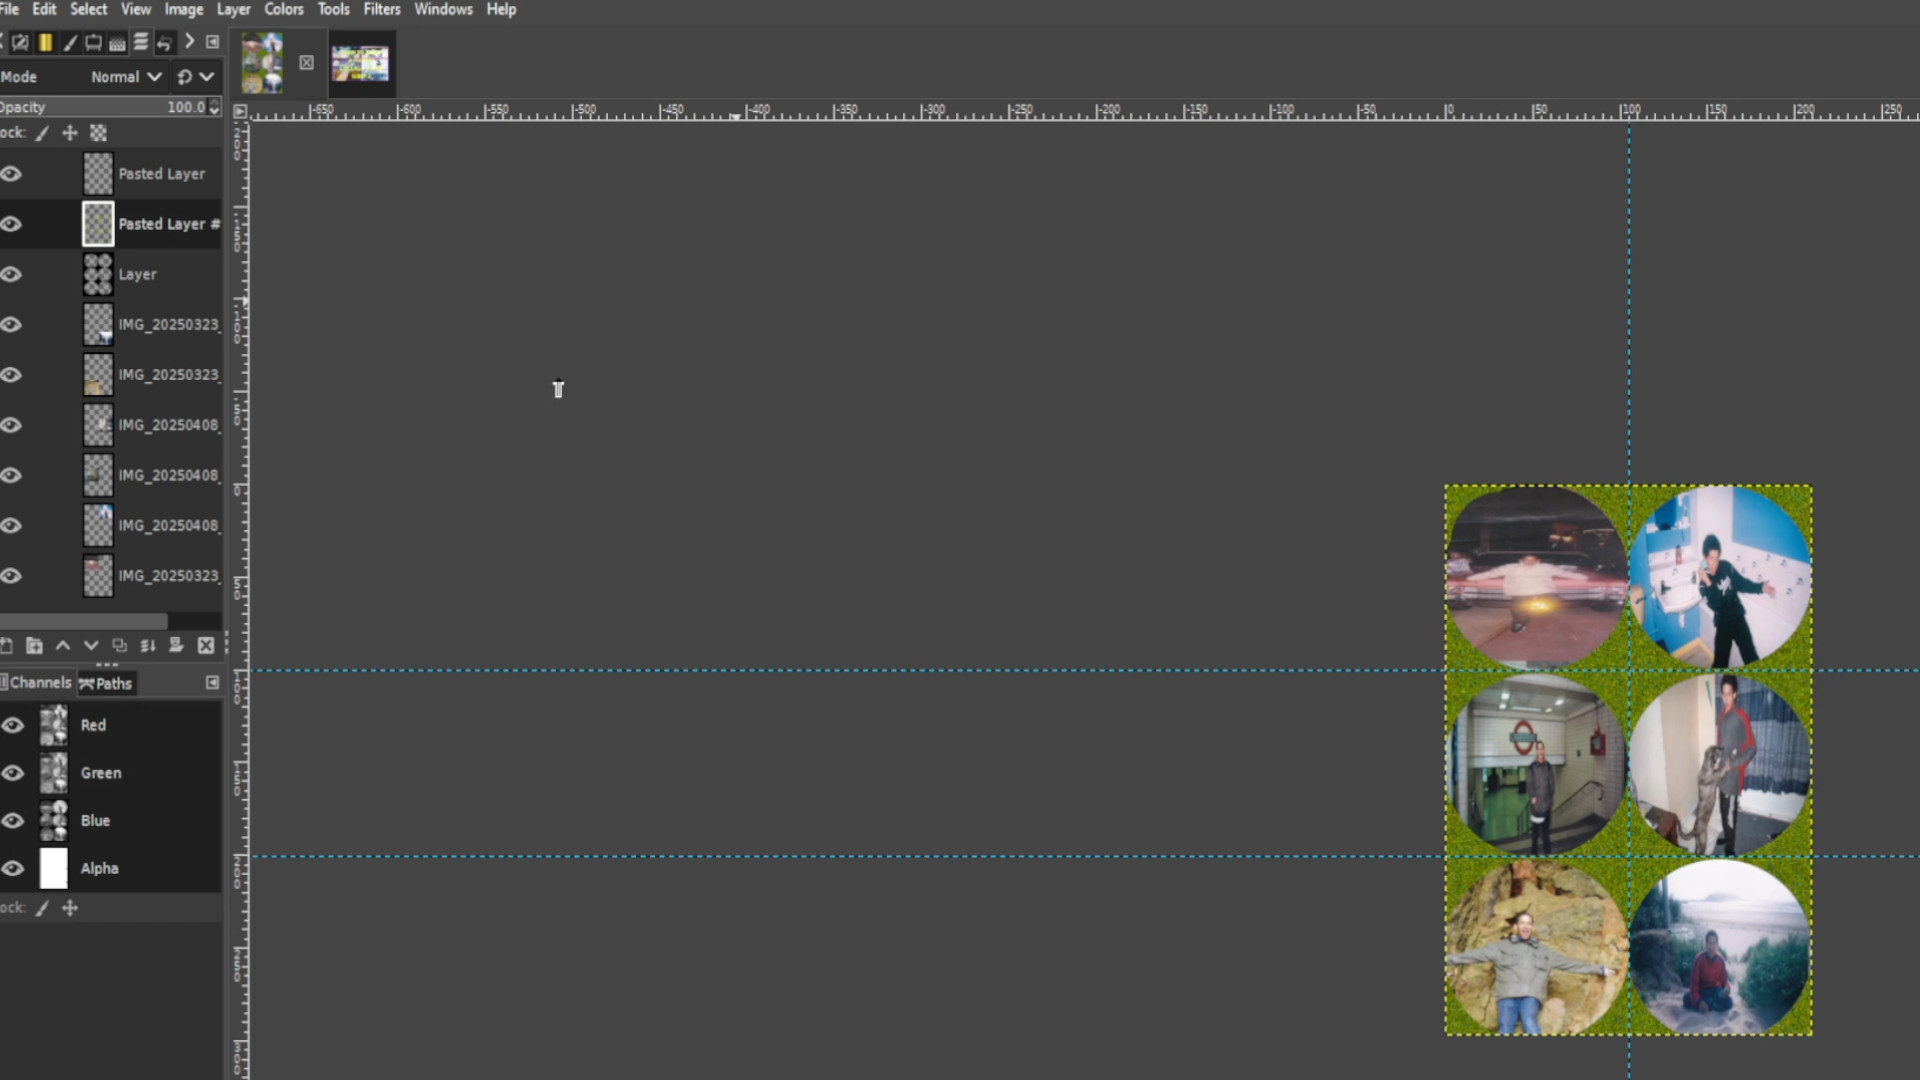
Export image by going to>>>FILE>>>EXPORT TO or>>>EXPORT AS and save with a JPG or PNG extension EG; COLLAGE__INSERT NUMBER.jpg or COLLAGE__INSERT NUMBER.png.
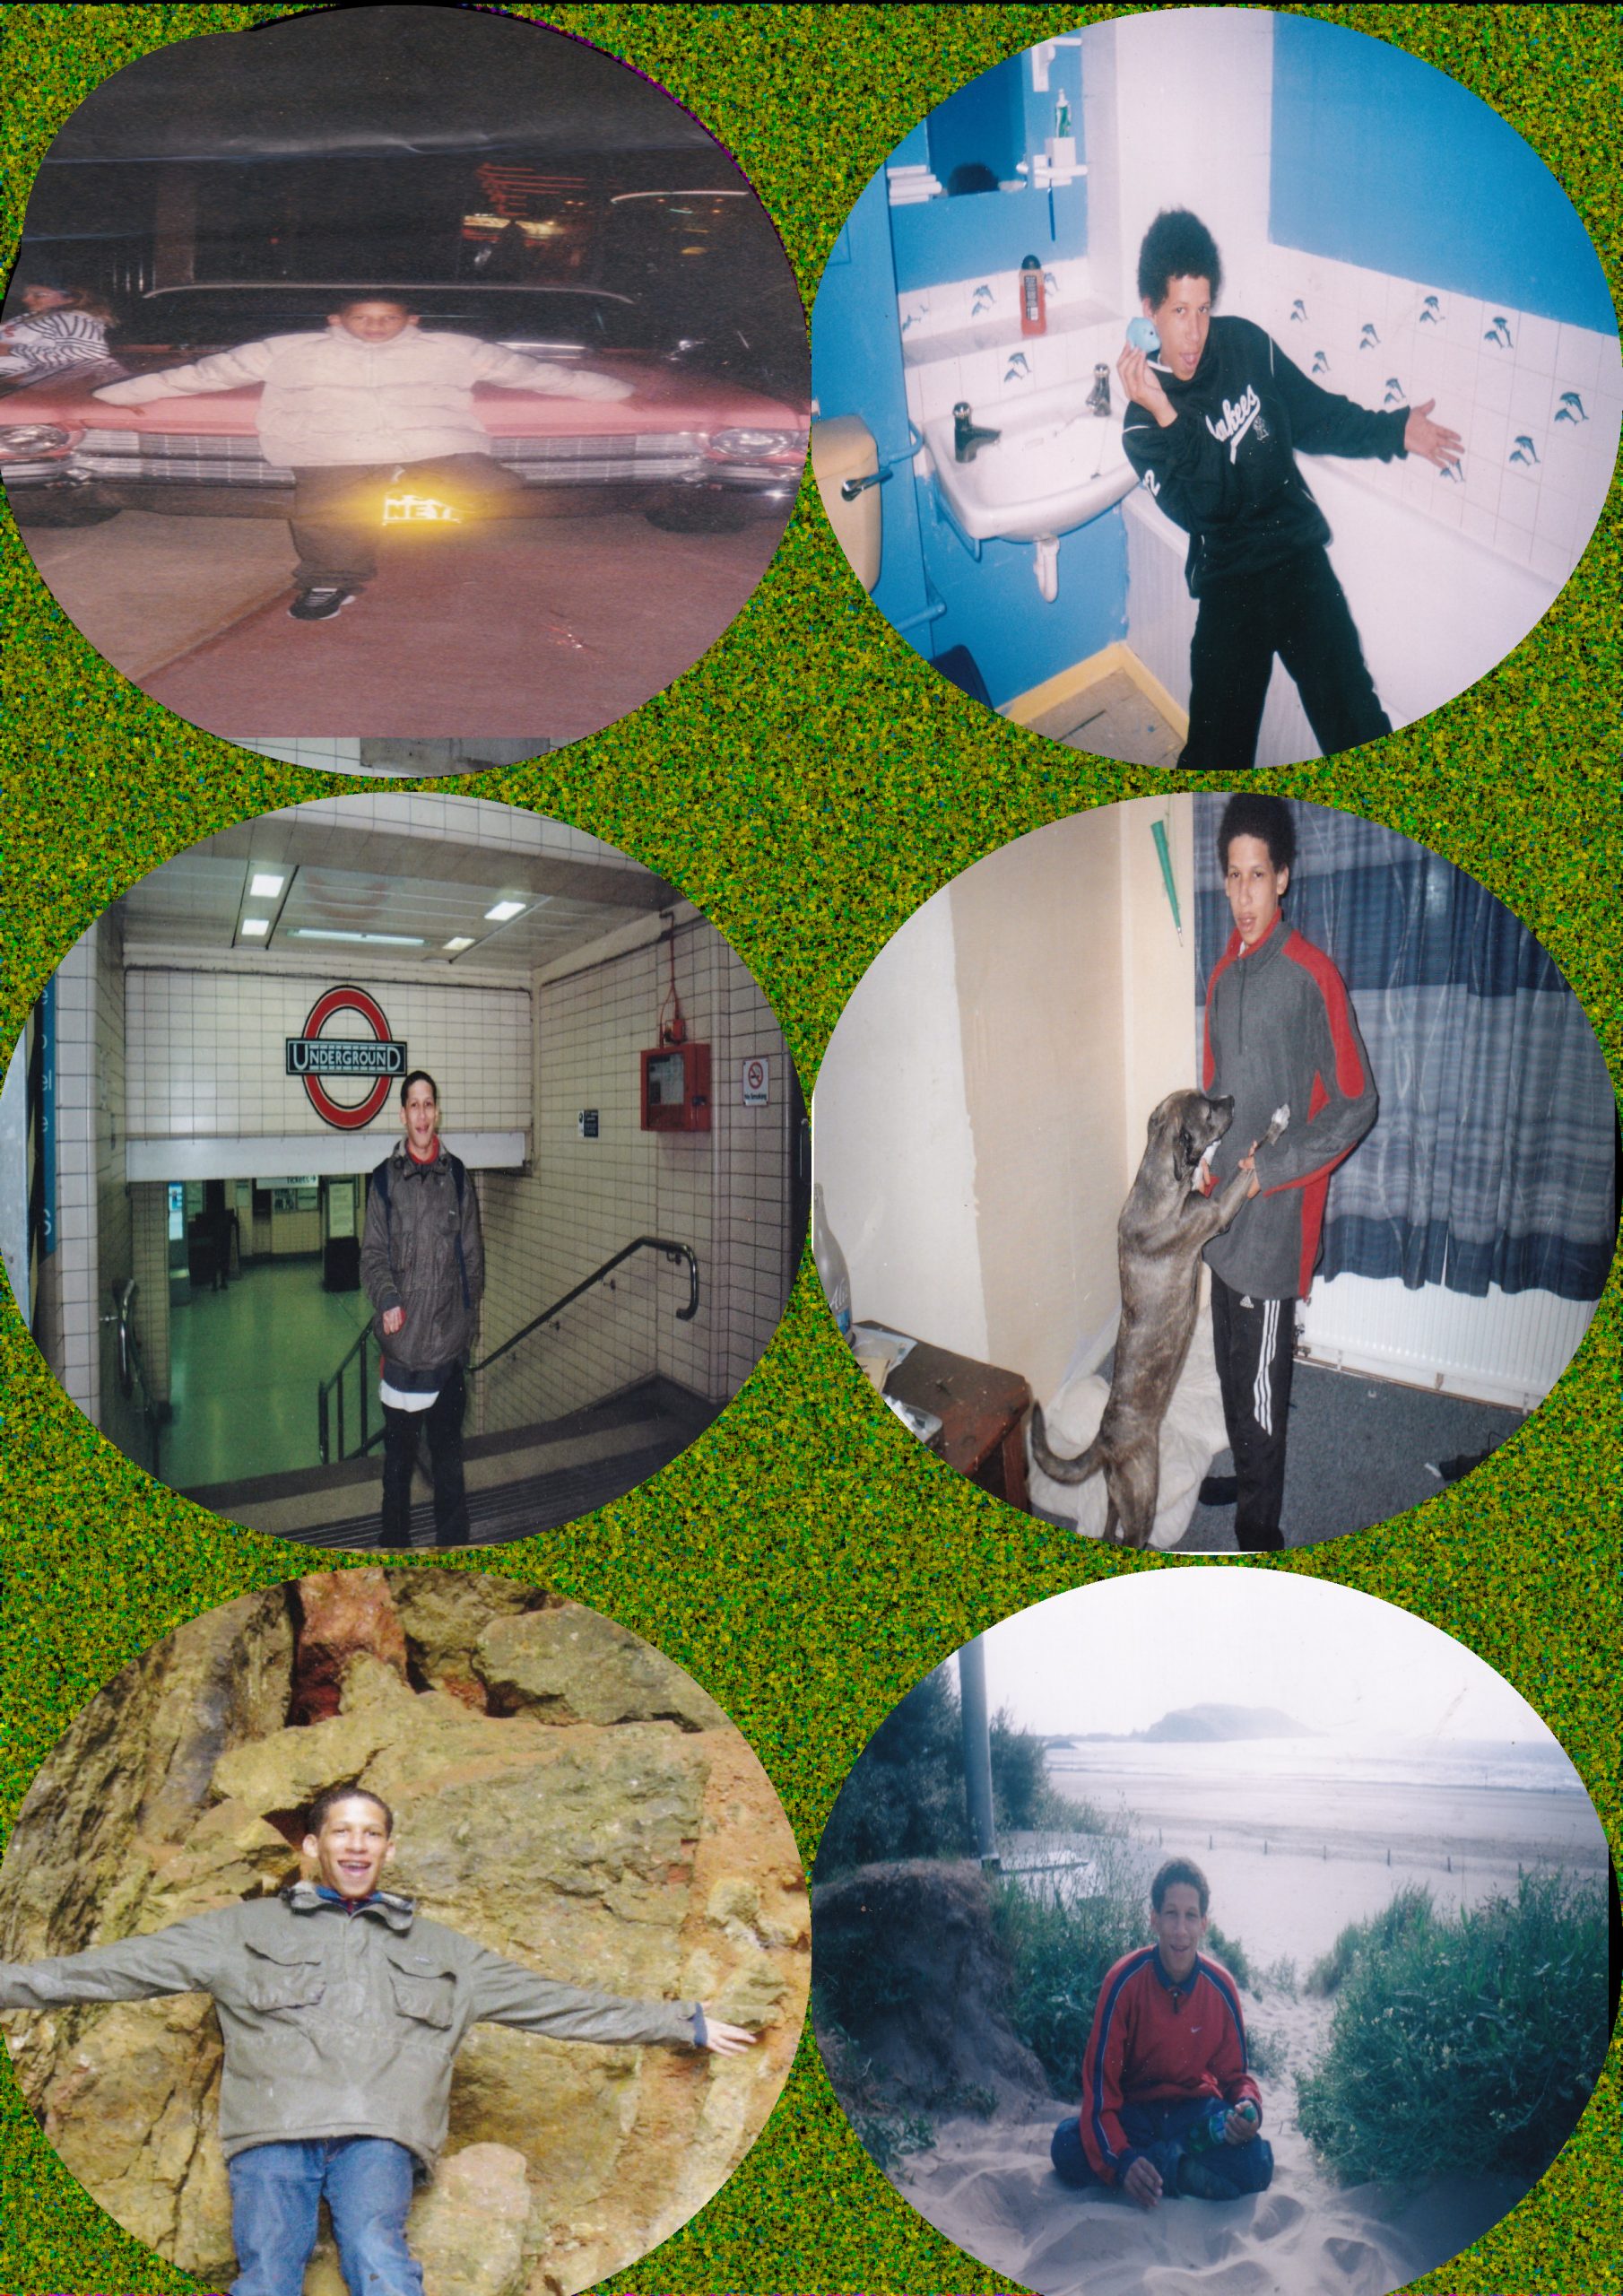
How To Make A Photo Collage In Gimp #2
Open up Gimp and go to >>>FILE>>>NEW>>>TEMPLATE and pick the>>>A4 SIZE;
209.97 Width,
297.01 Height
in mm.
2480 Width
3508 Height
in px
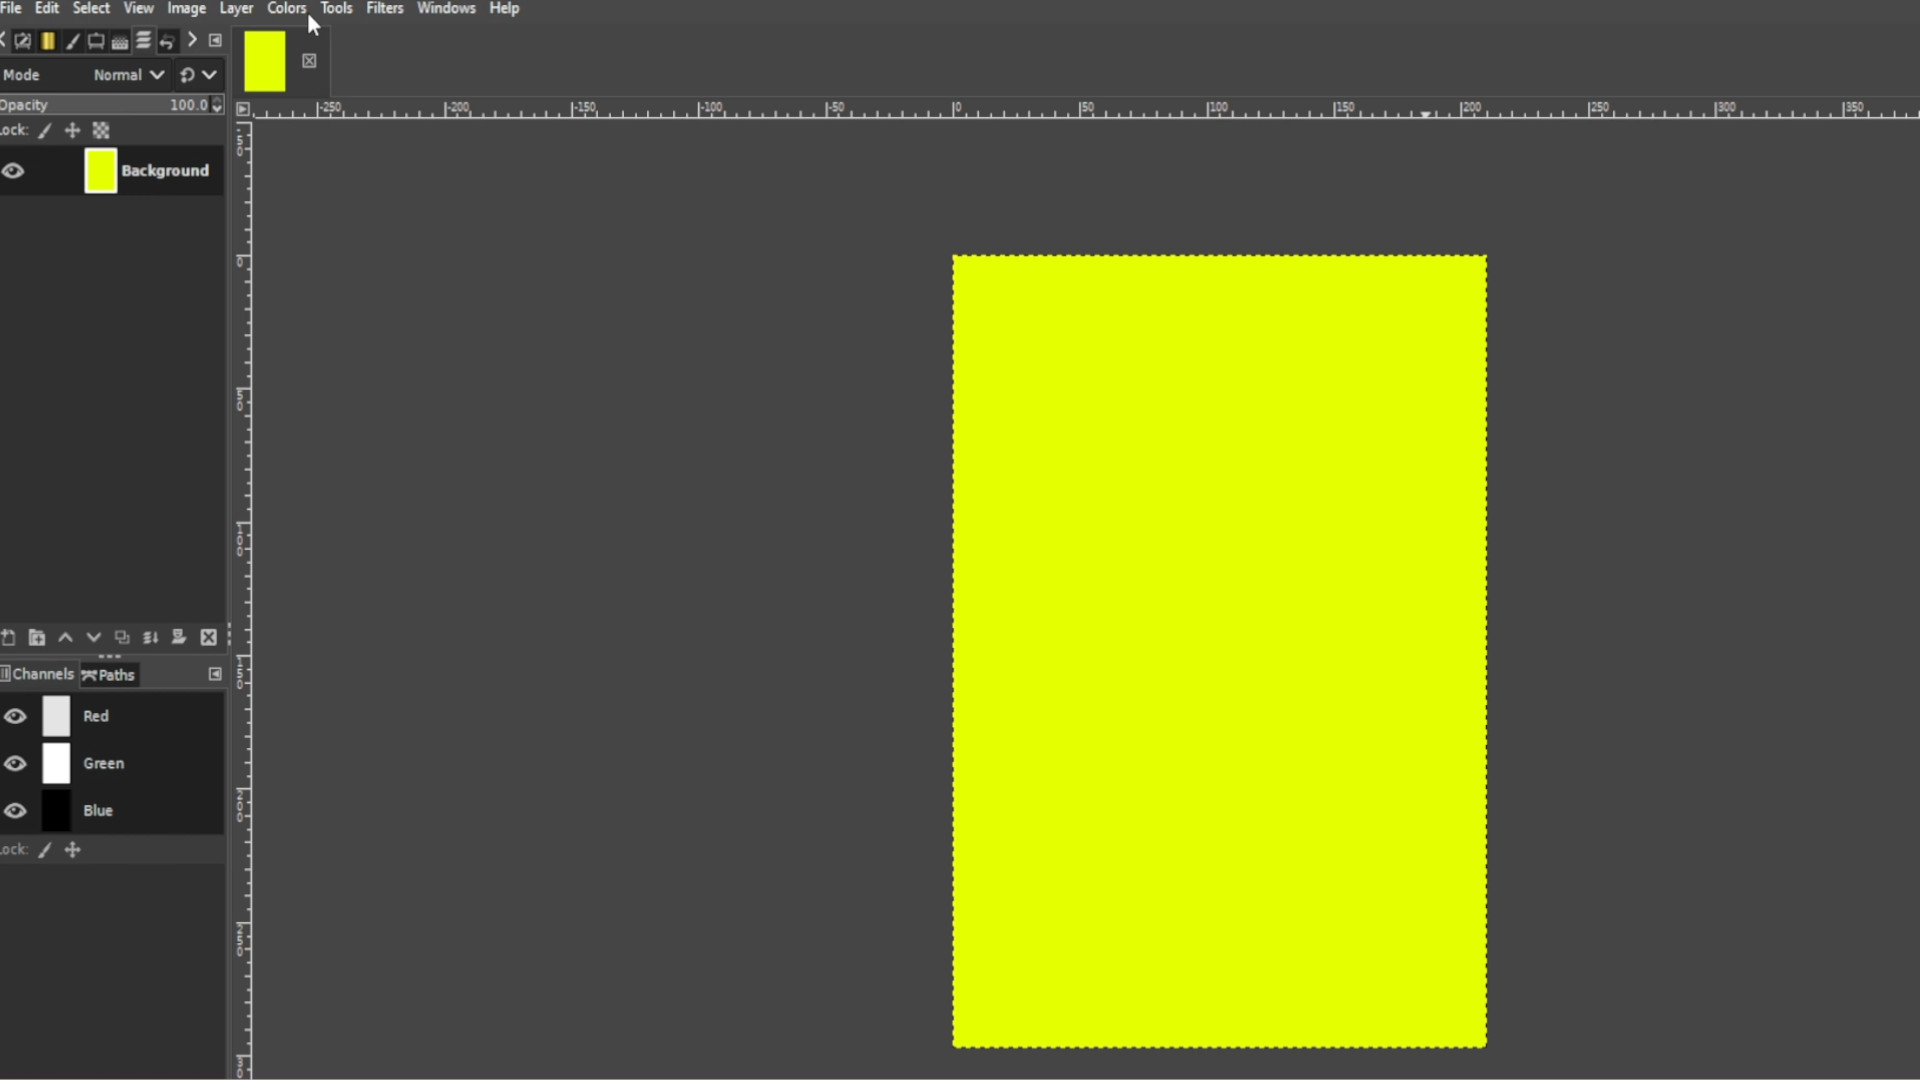
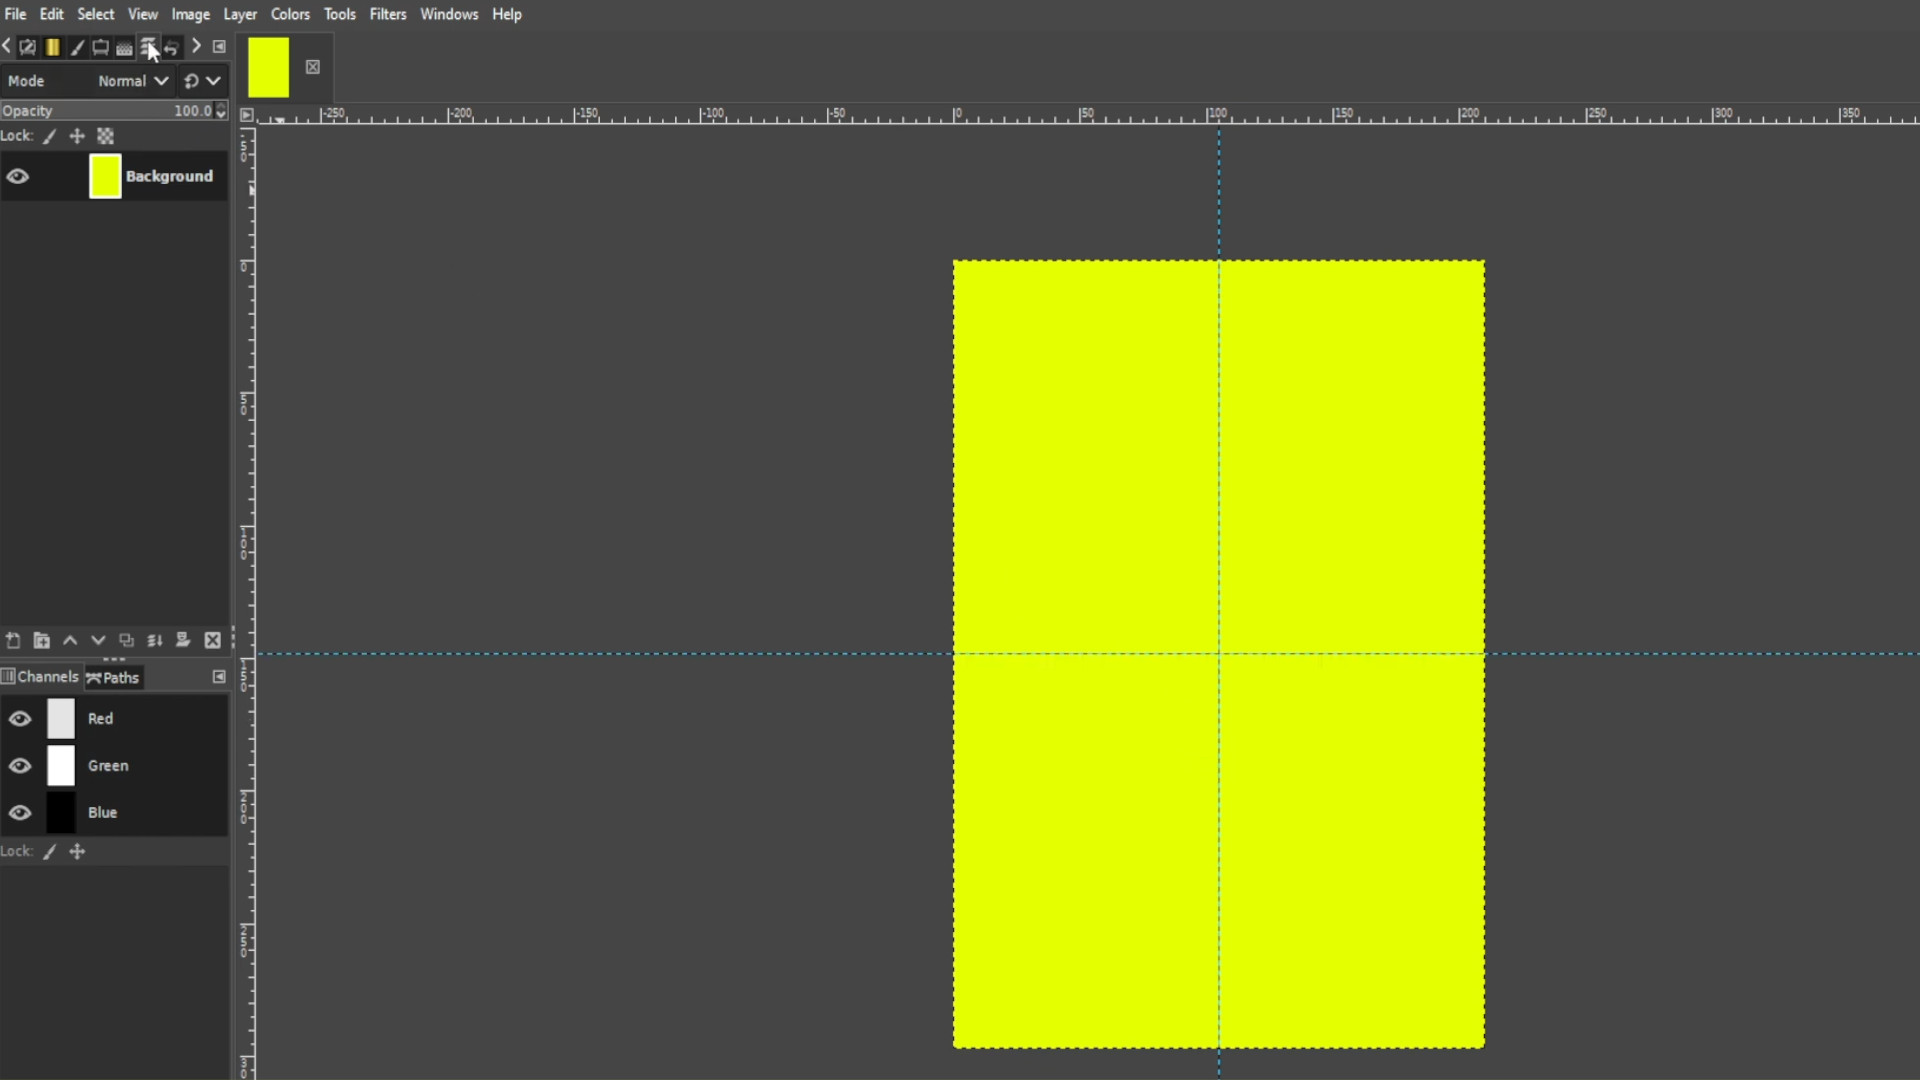
Go to>>>IMAGE>>>GUIDES>>>NEW GUIDE BY PERECENT and pick>>>DIRECTION>>>HORIZONTAL>>>POSTION (In Percent)>>>50.00
And again Go to>>>IMAGE>>>GUIDES>>>NEW GUIDE BY PERECENT and pick>>>DIRECTION>>>VERTICAL>>>POSTION (In Percent)>>>50.00
Repeat this for how many photos you want and spread out the guides evenly over the page. I used eight boxes in total and I >>>HOVERED THE CURSOR over the guide and>>>HELD SHIFT to drag around the guide into sections.
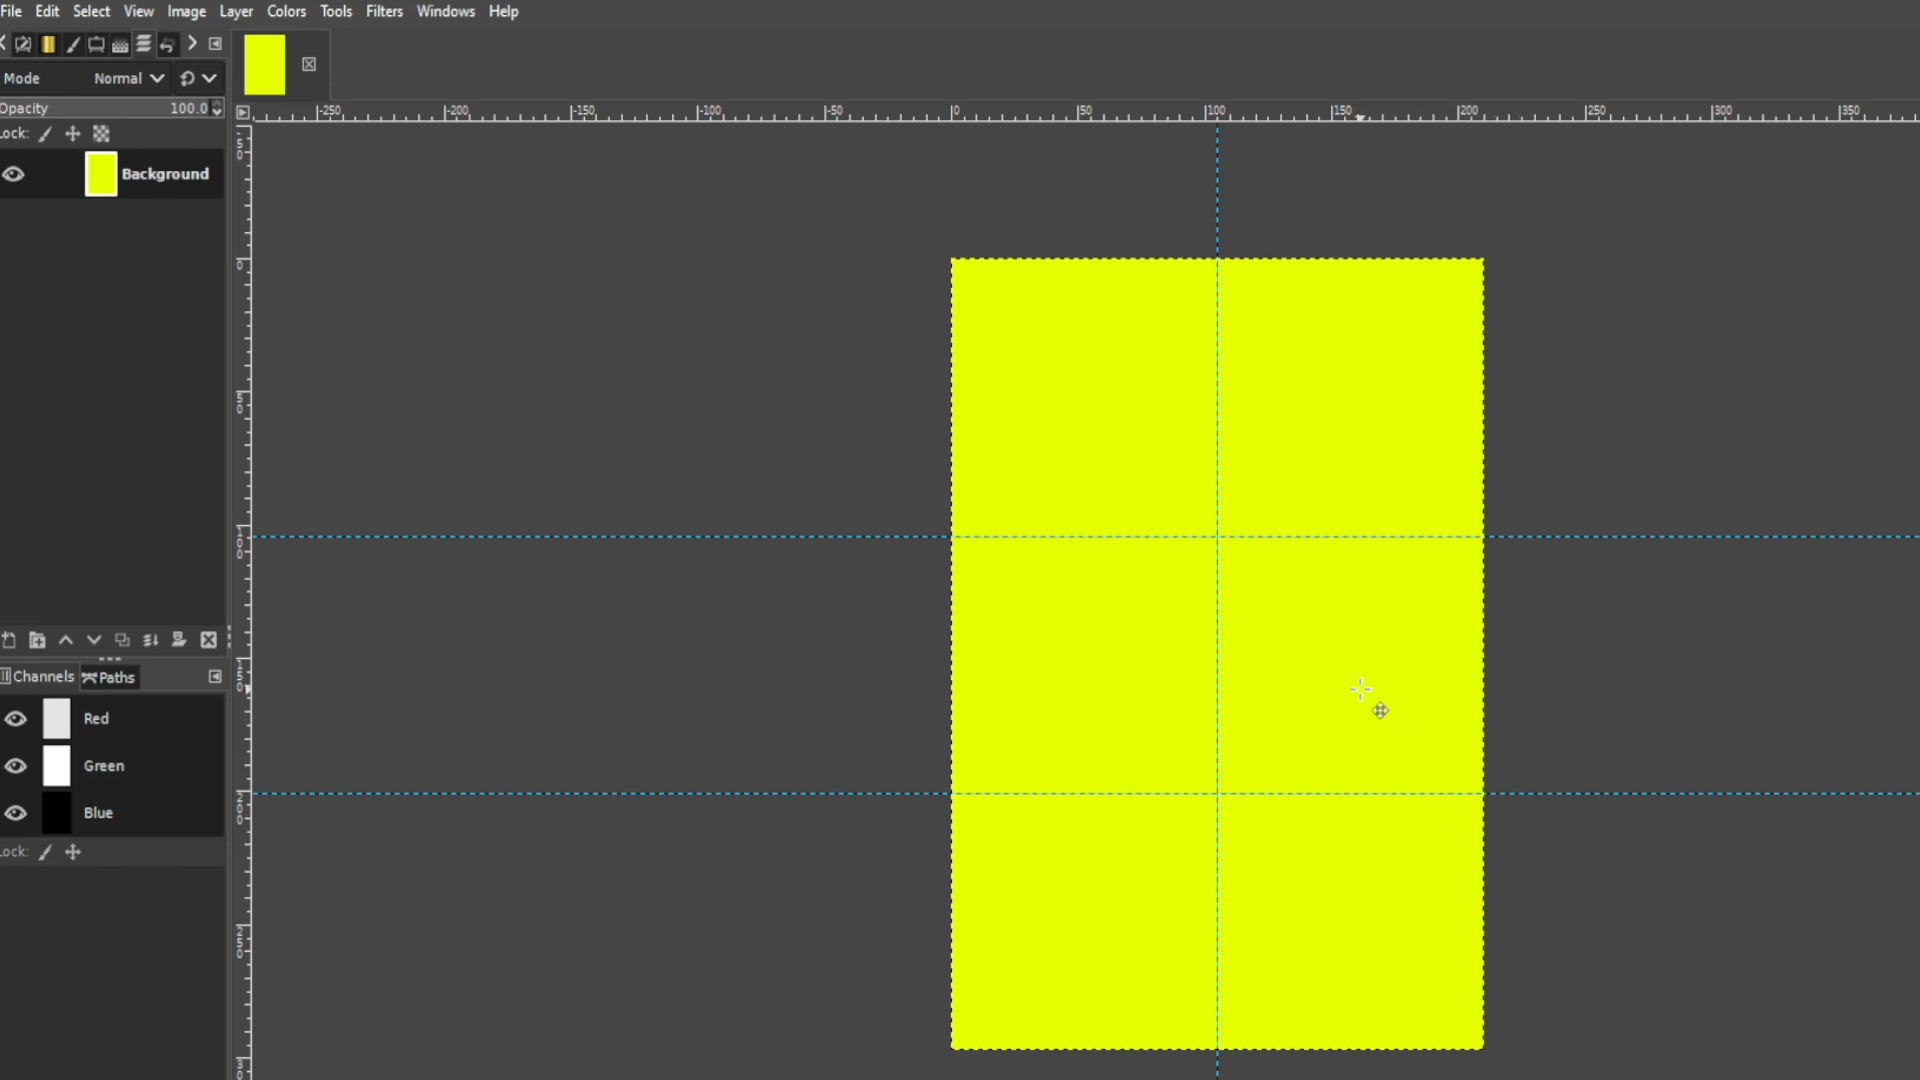
Using the>>>RECTANGLE SELECT draw a square box leaving a inch or two around the edges it should snap into place when you draw around the guides.
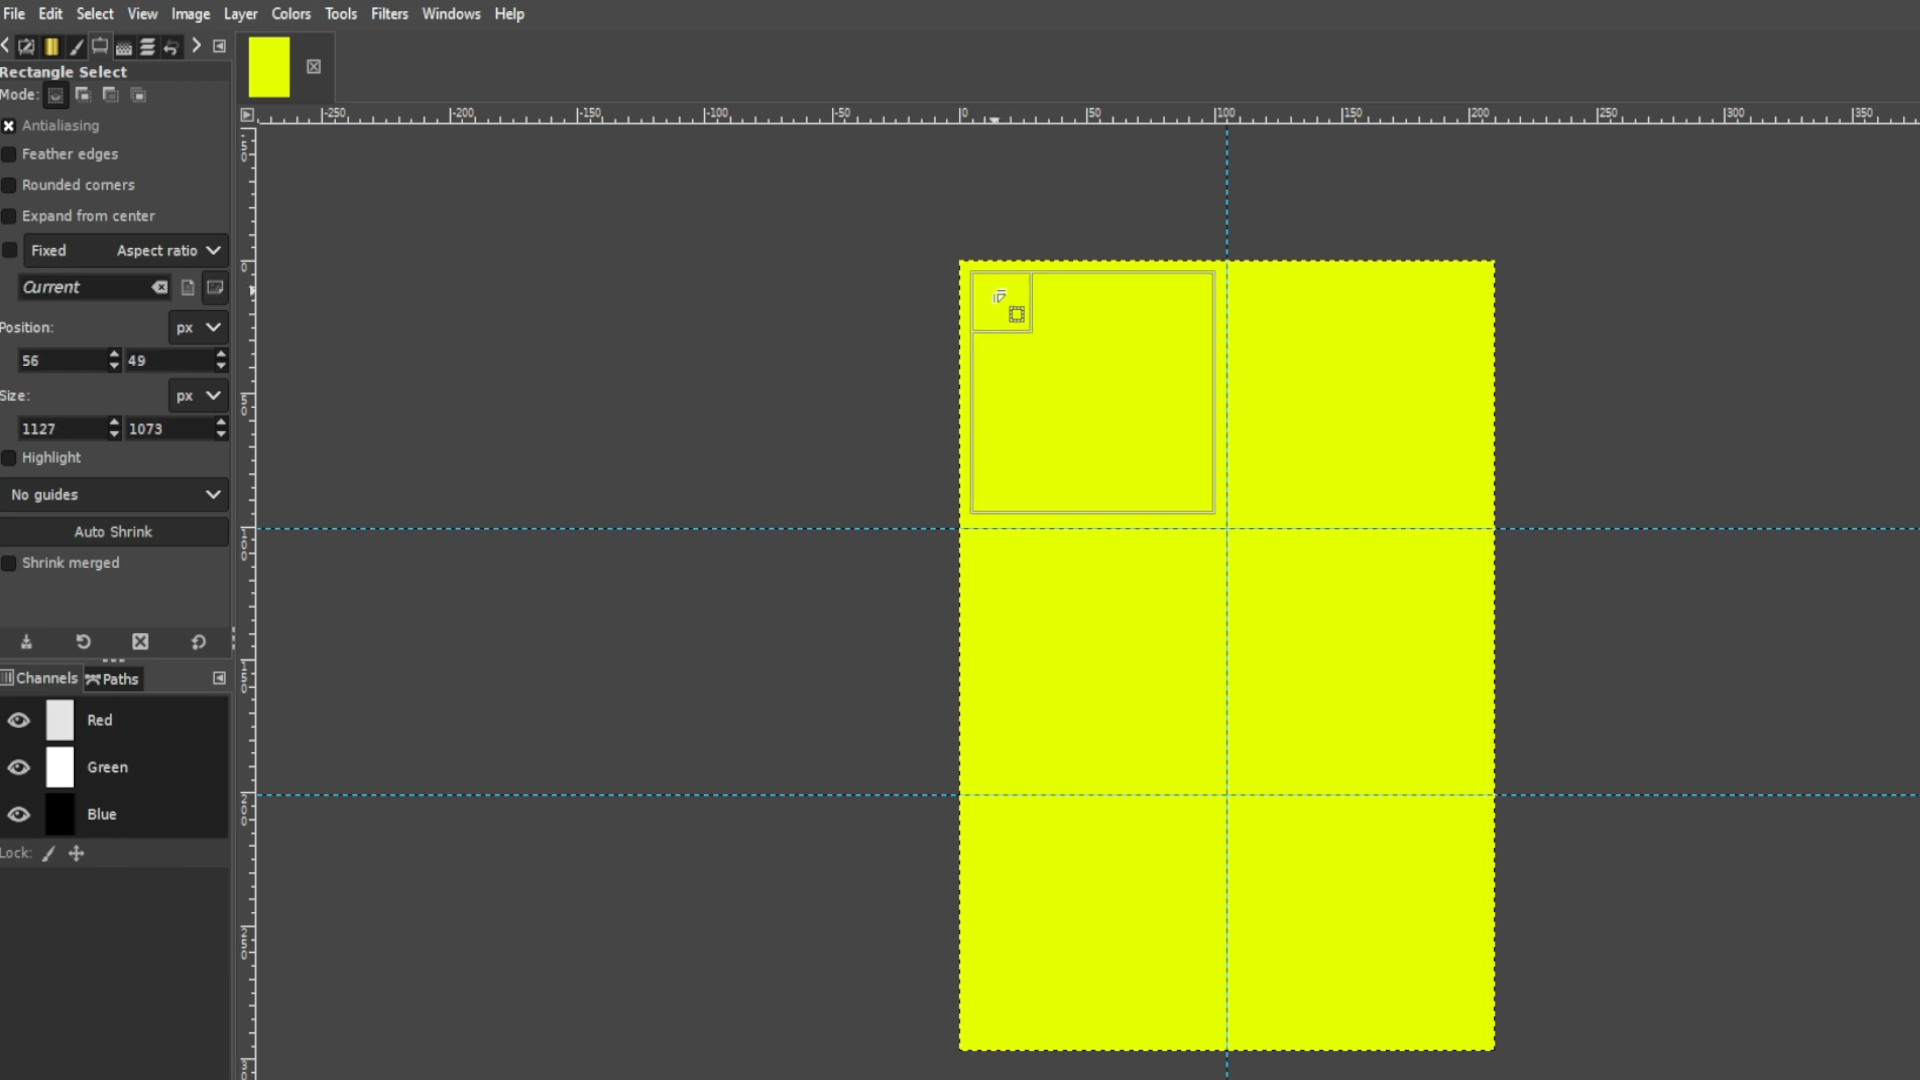
Go to>>>LAYER>>>TRANSPARENCY>>>ADD ALPHA CHANNEL. If it’s greyed out it’s been added and you can ignore this step.
Go to LAYER>>>ADD A LAYER
Use the>>>BUCKET FILL to fill in the square leaving a couple of inches of the main background for the frame.
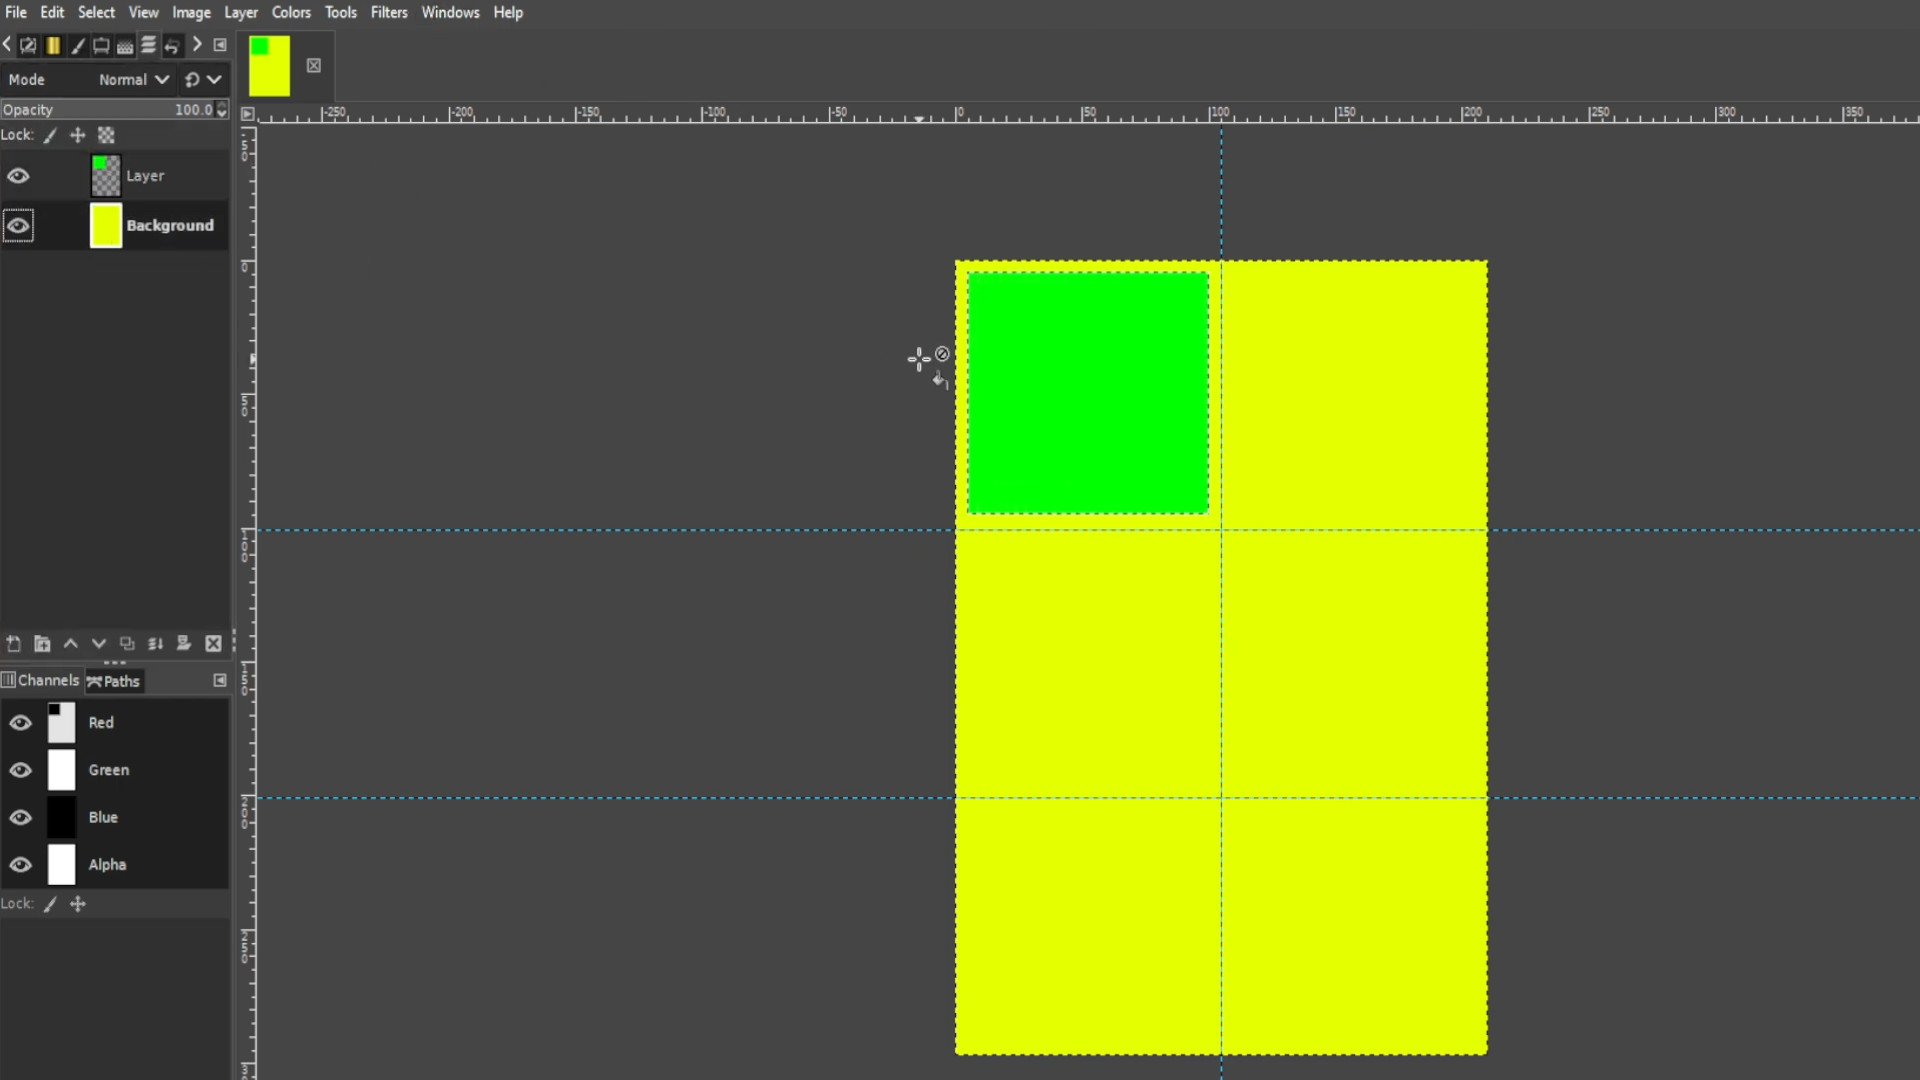
Once you’ve made your framed box and with the square highlighted>>>CLICK ON THE BOTTOM LAYER on the left hand side layer’s panel which is the background you started with. If you can’t see the layers tab then go to>>>WINDOWS>>>DOCKABLE DIALOGS>>>LAYERS
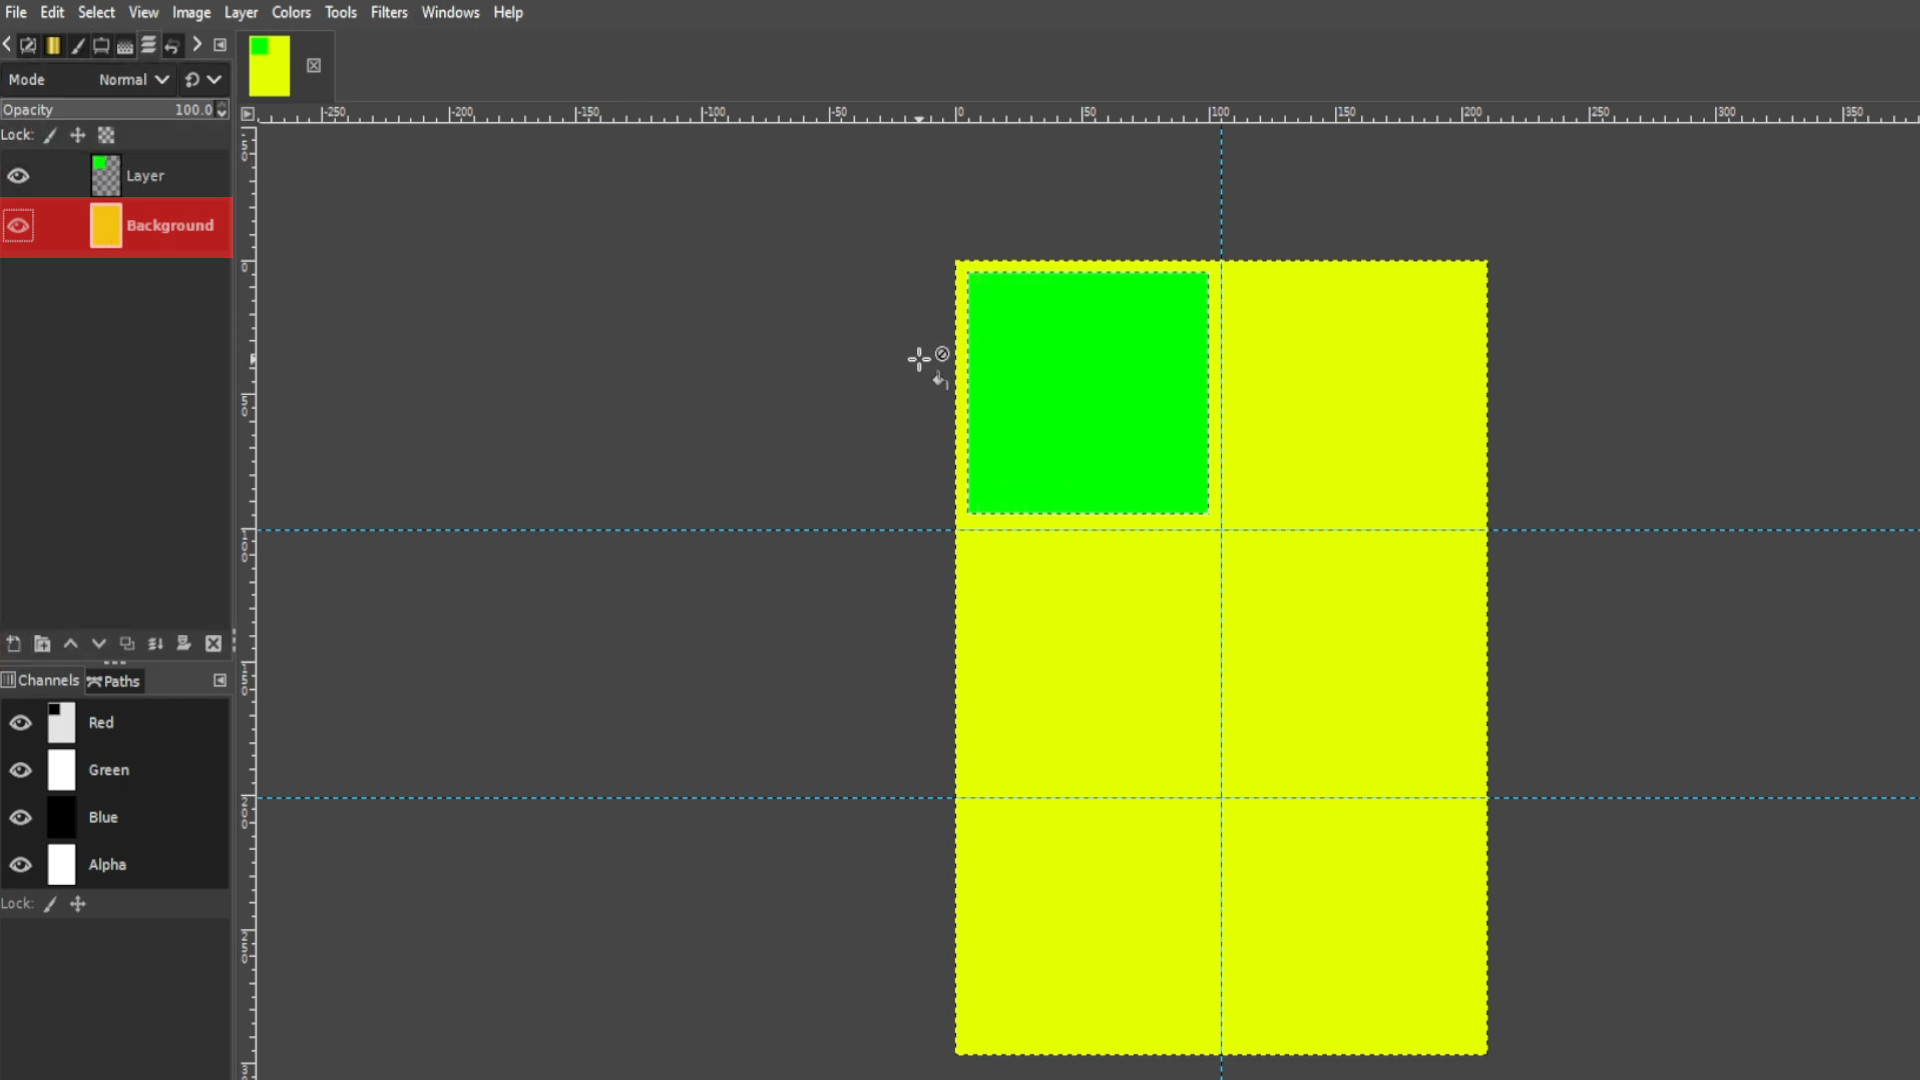
With the box selected and you are on the bottom layer>>>HOLD>>>CTRL and>>>PRESS X to delete the background of the main background keeping the filled in coloured square at the top of the layer.
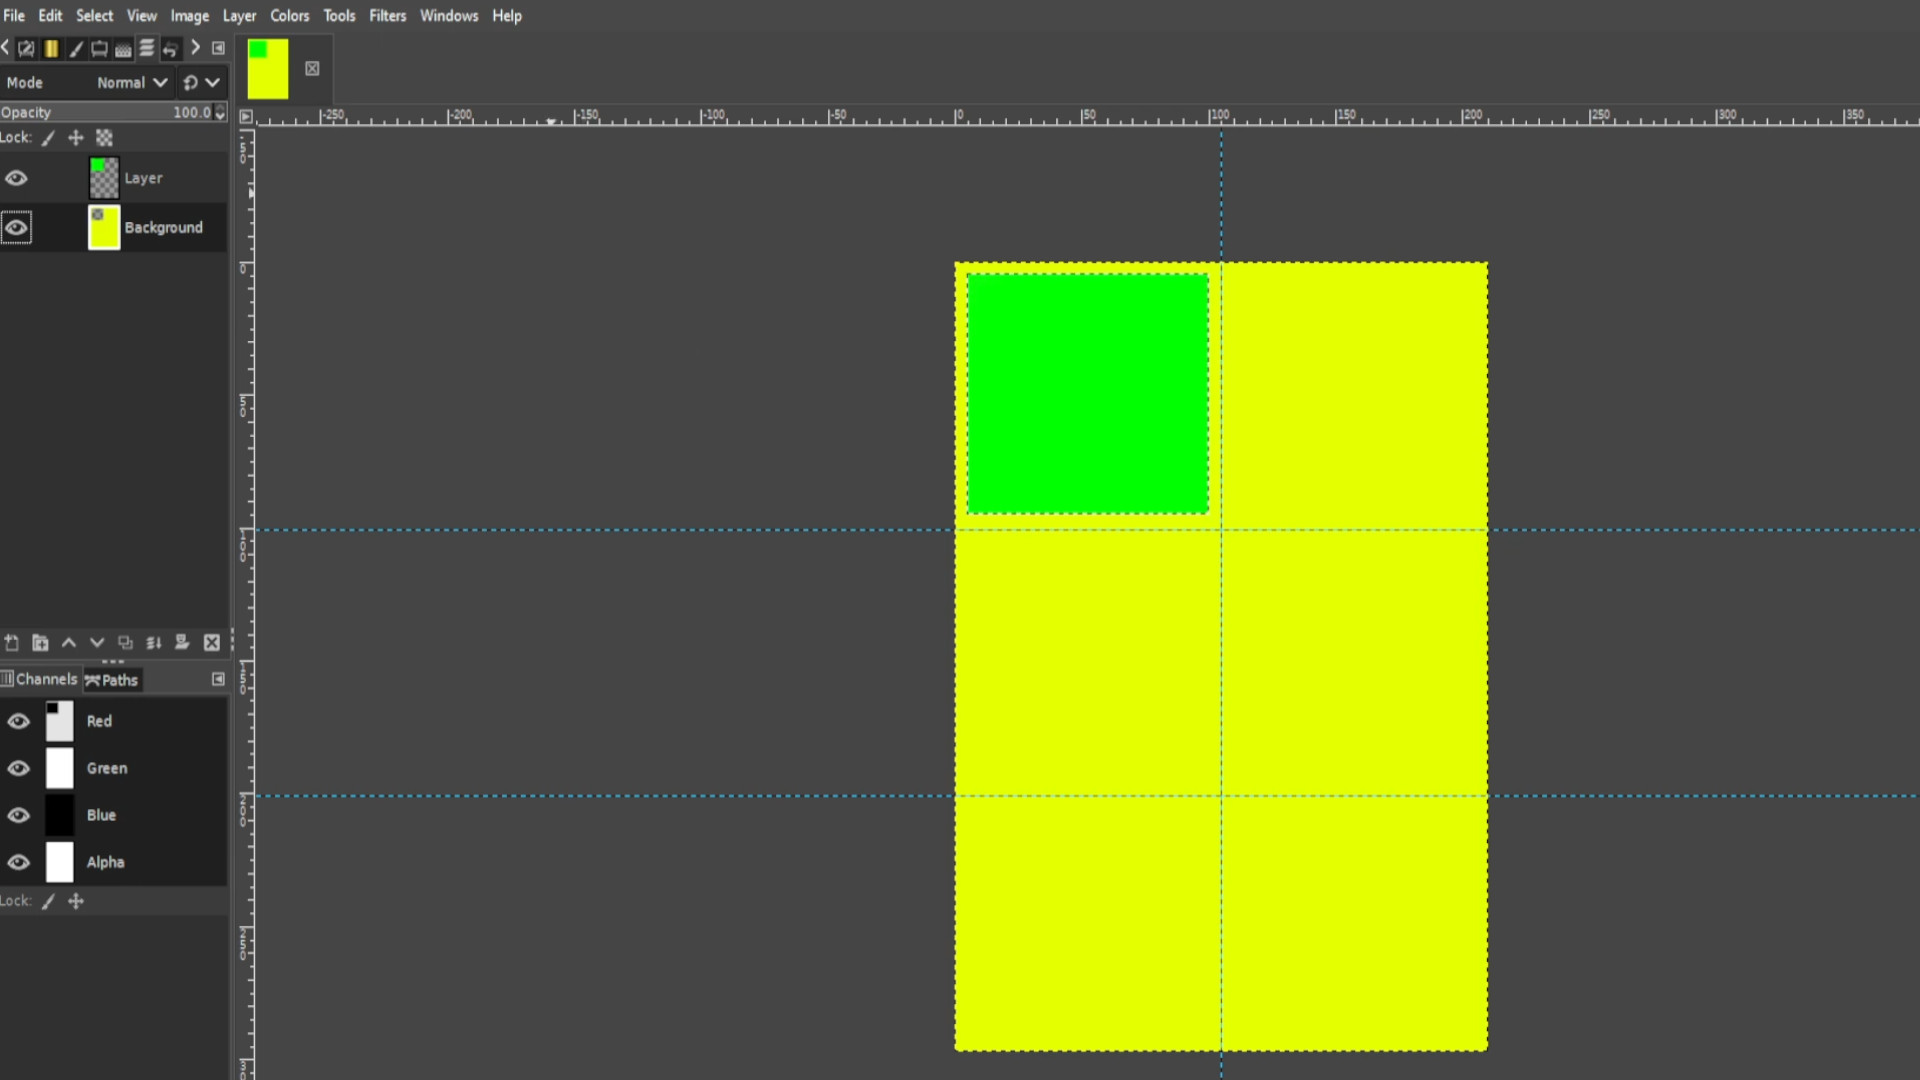
Move the coloured square around the sections and with it highlighted cut each sections main background (the one you started with.) Once done delete the square. 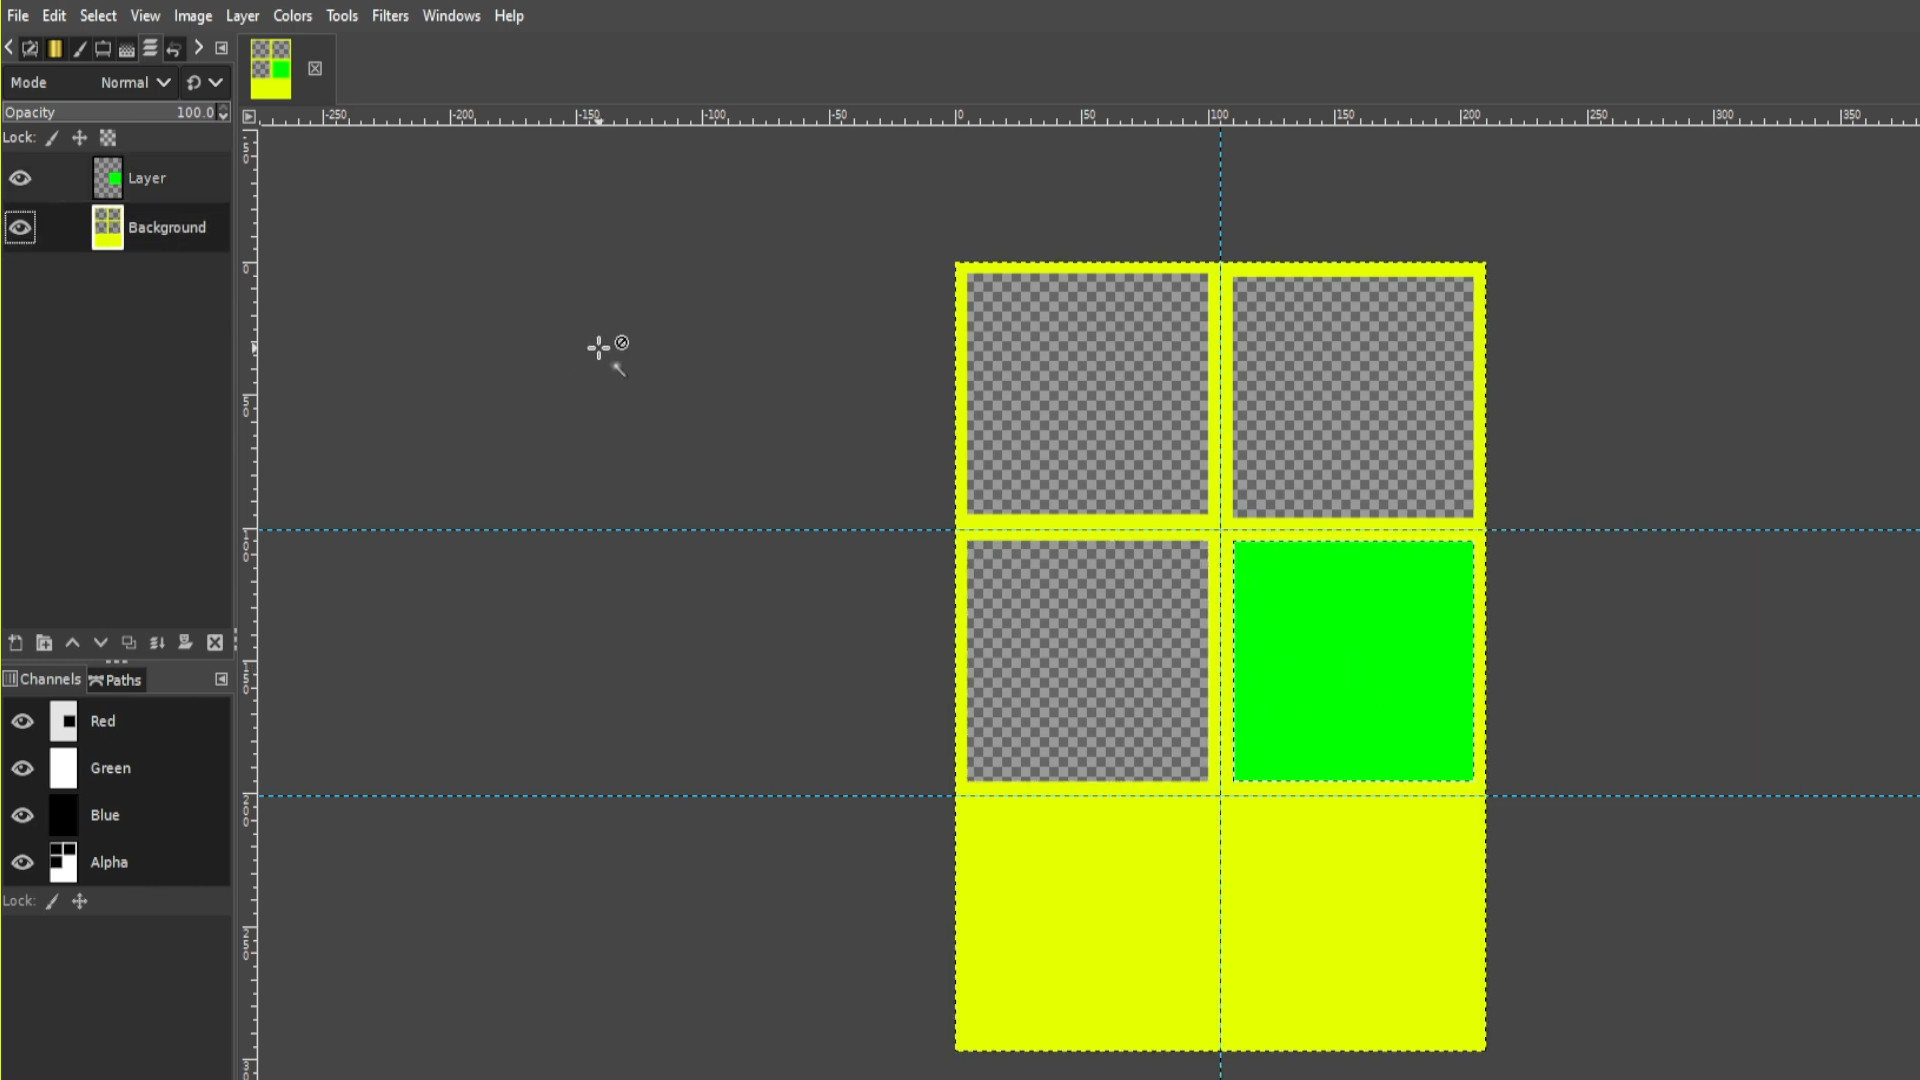
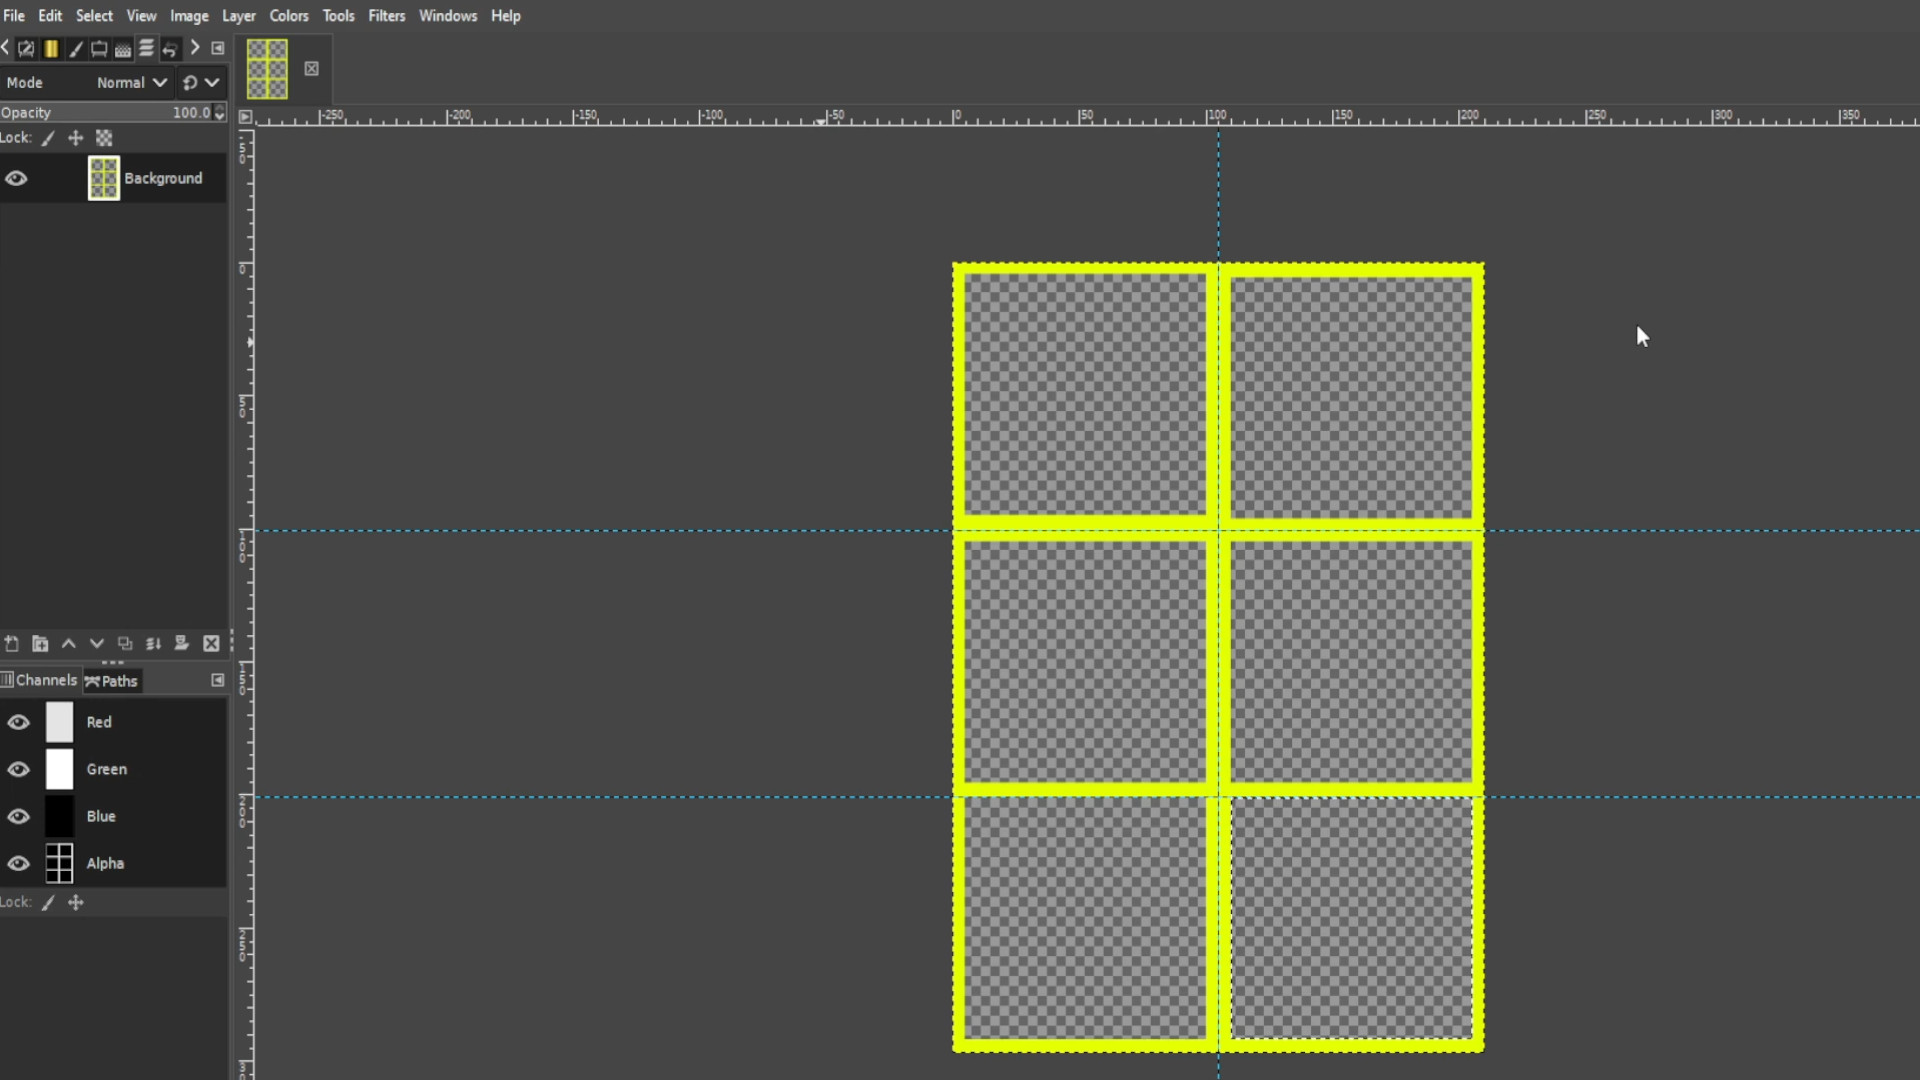
>>>SELECT THE BOTTOM LAYER AND>>>ADD PHOTO 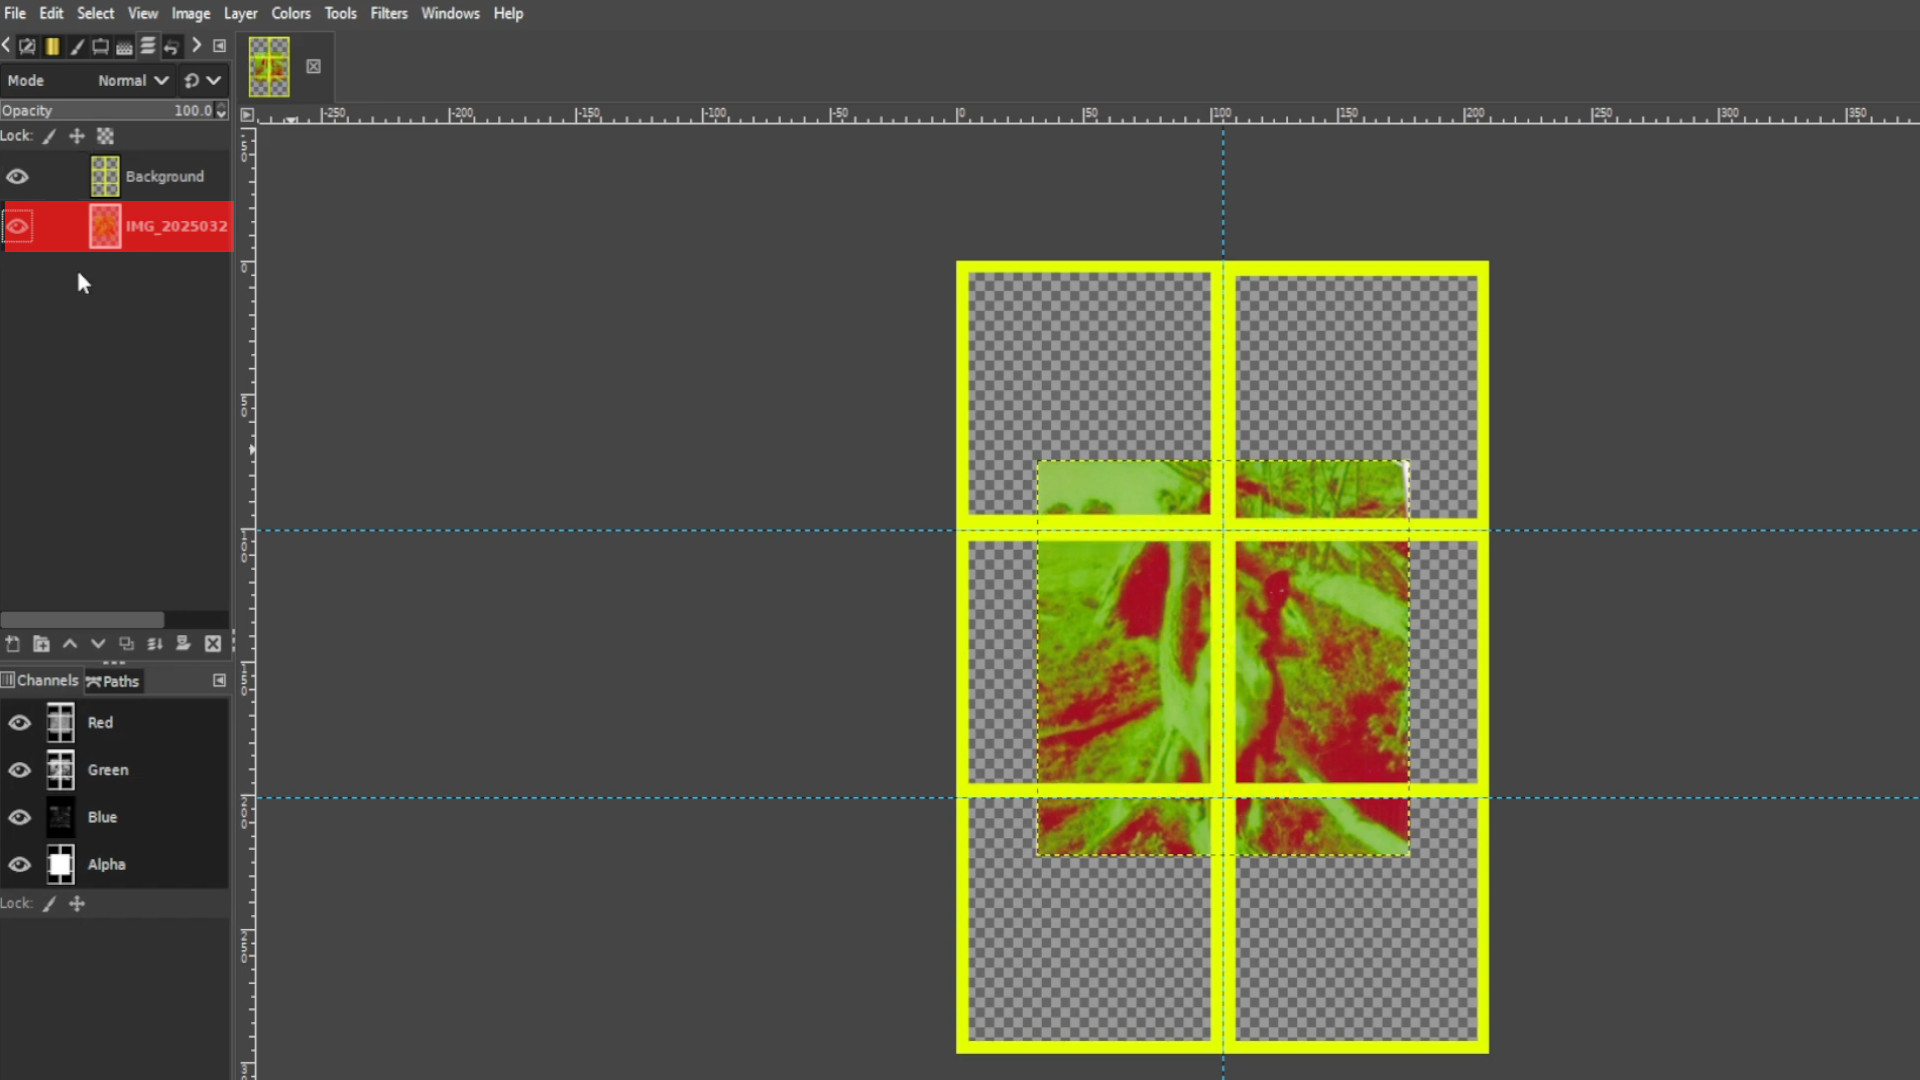
>>>USE THE RESIZE TOOL>>>SHIFT and>>>S to >>>SCALE up or down the image it’s best to work with bigger pictures. 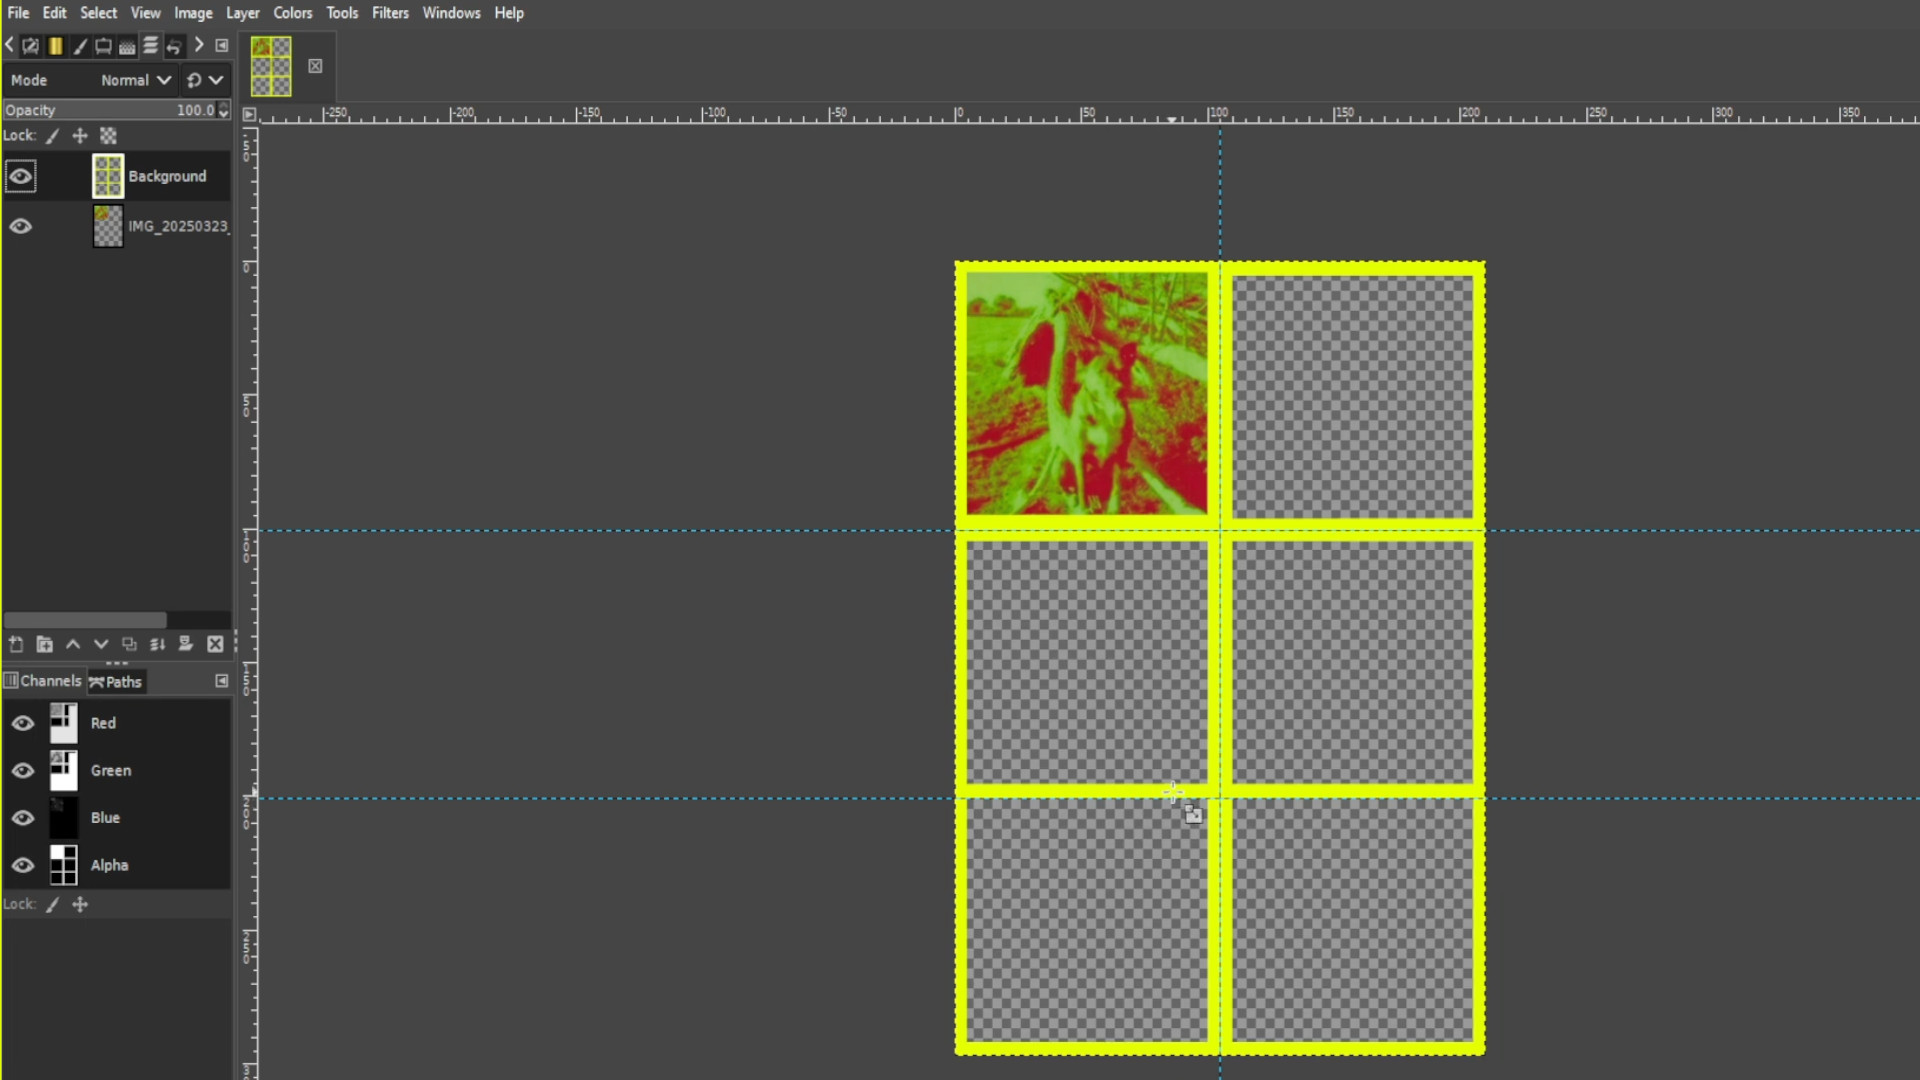
Repeat Steps 10 and 11 until it’s filled out.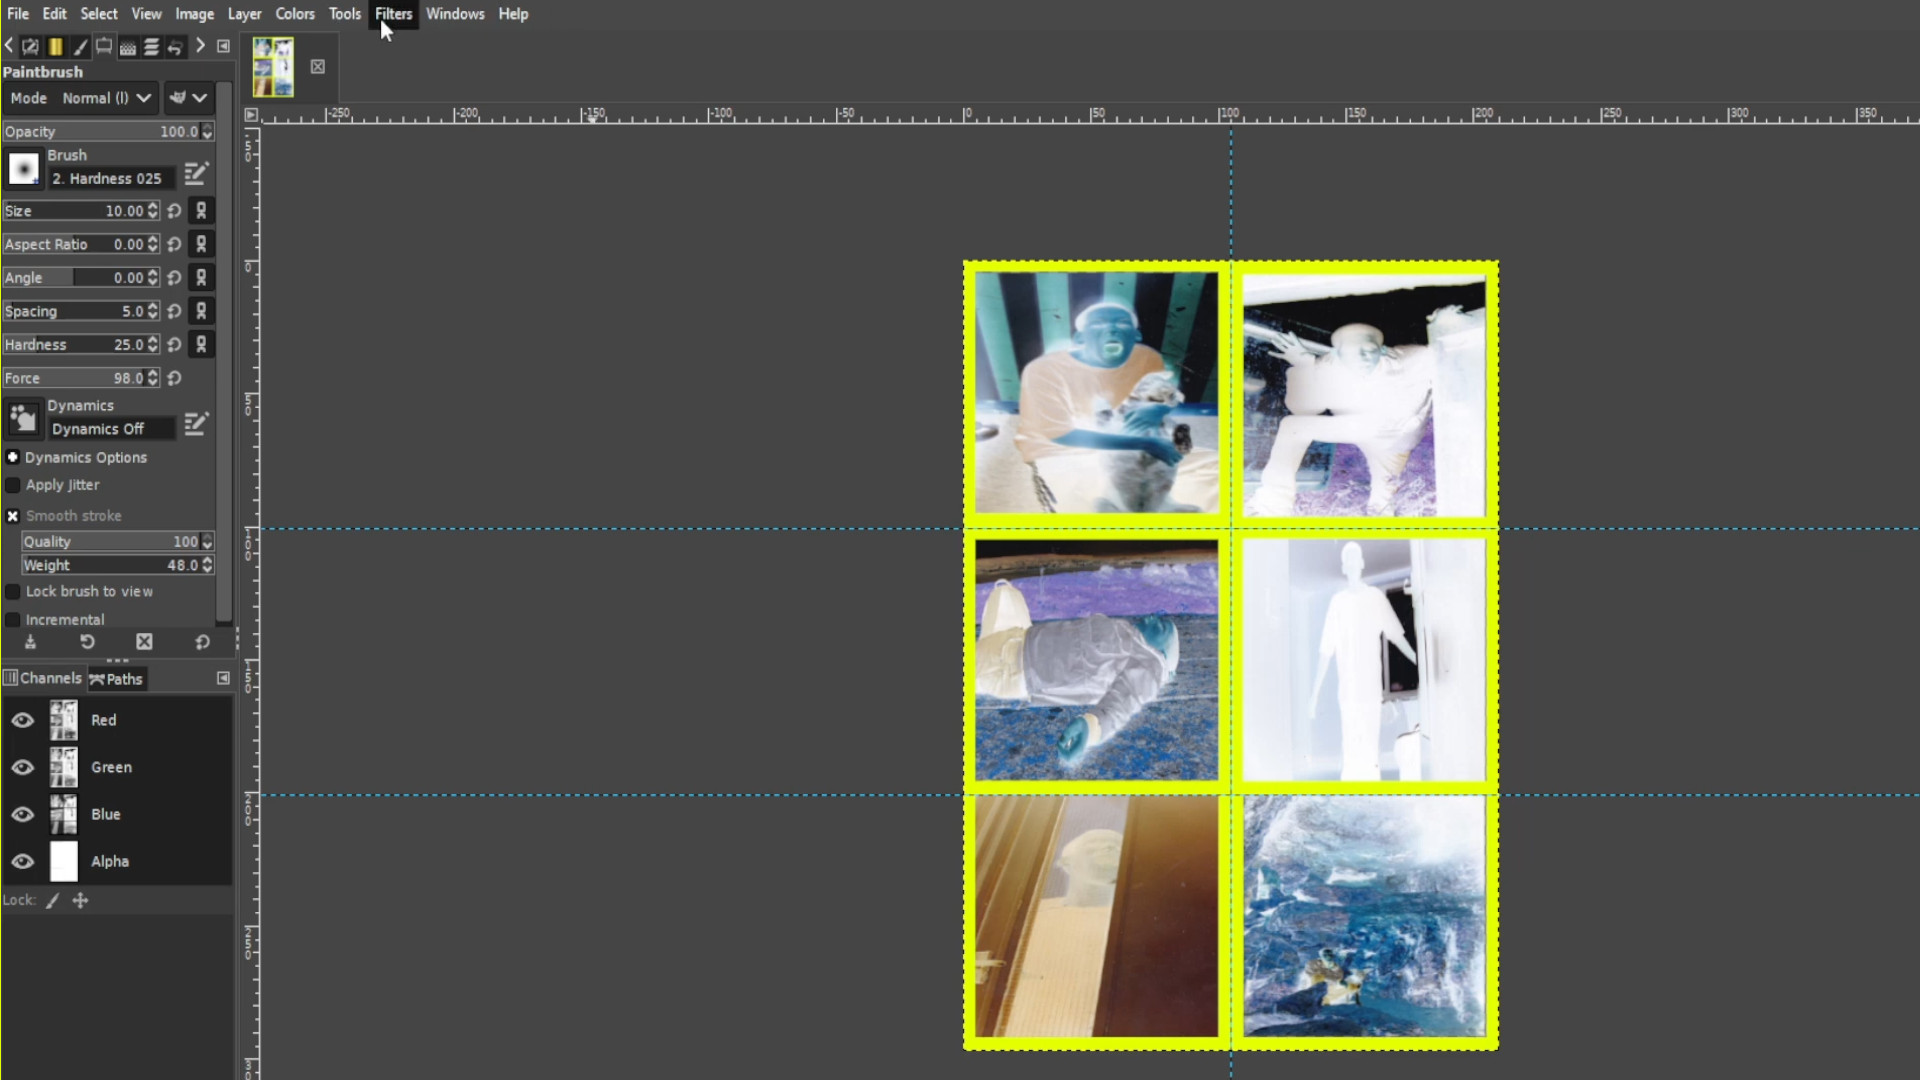
Add texture and stretch it the entire canvas space, make sure you are on the top layer.
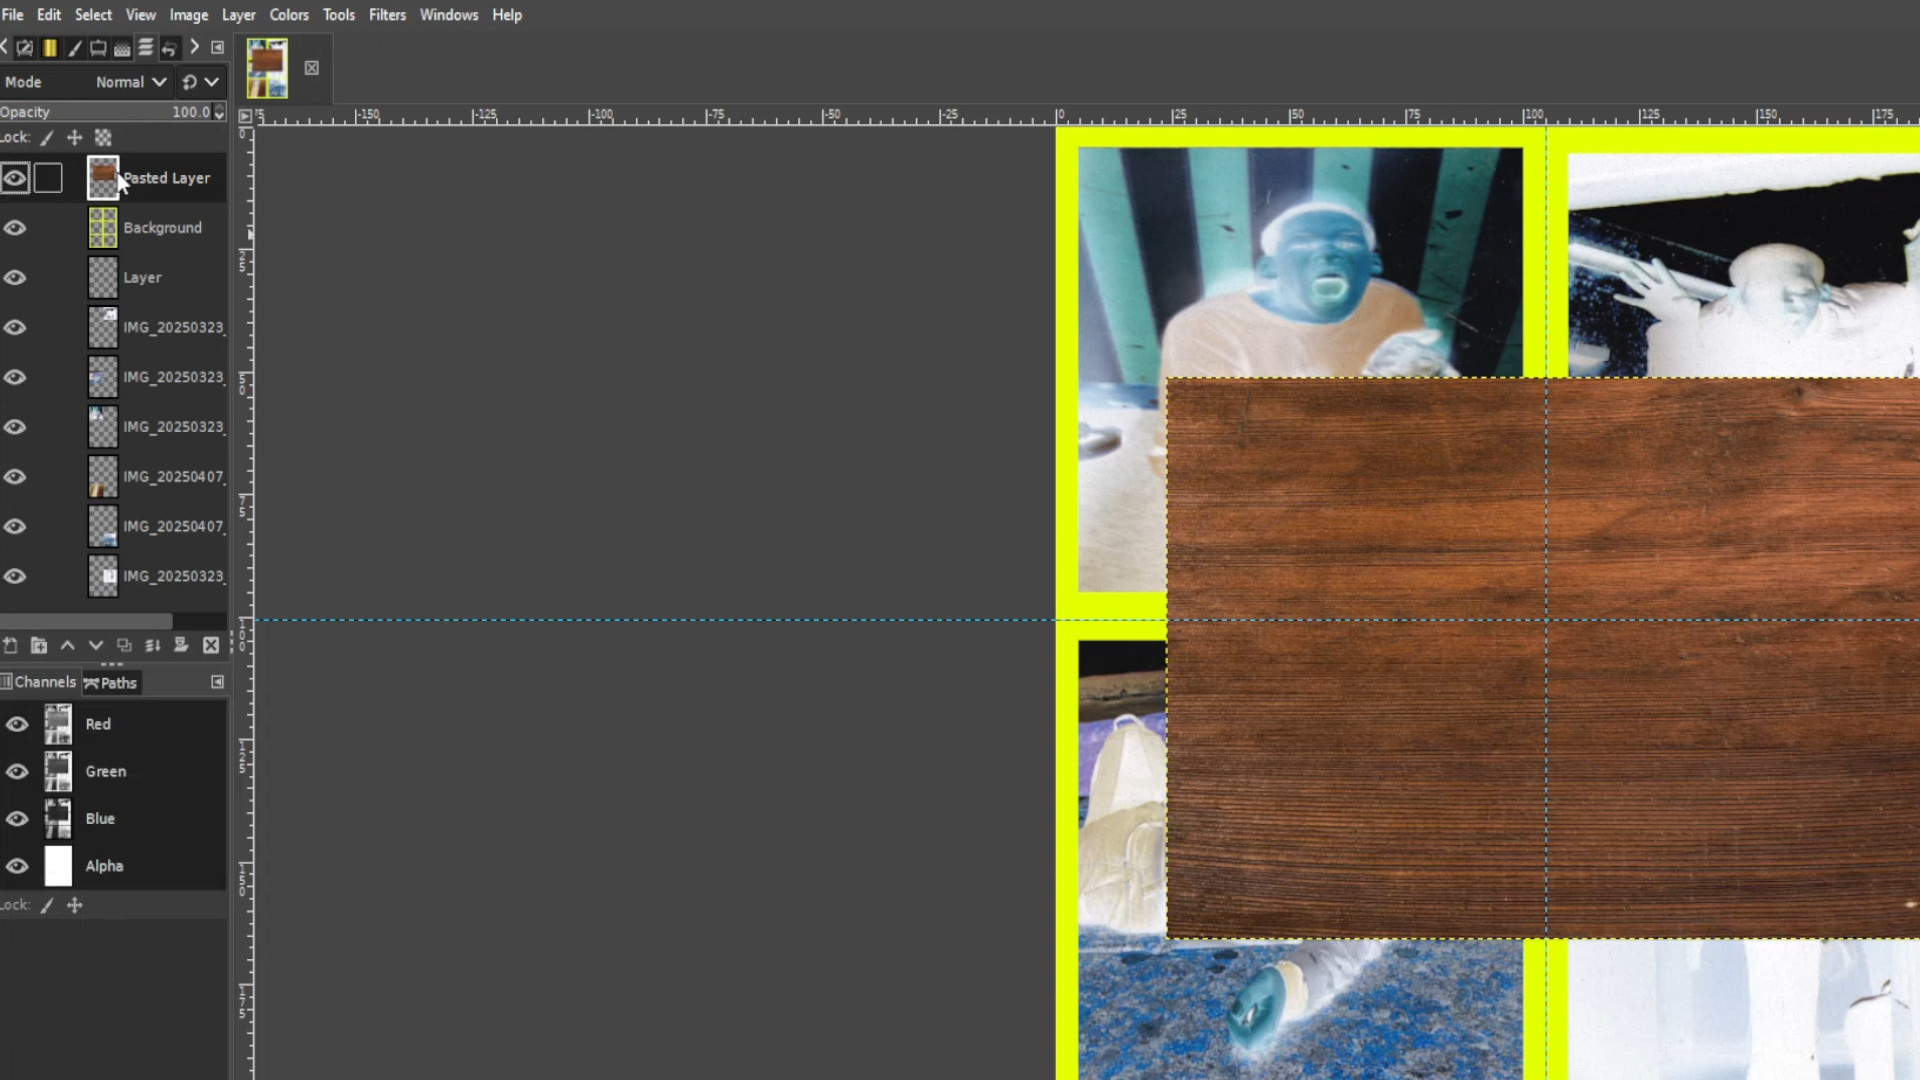
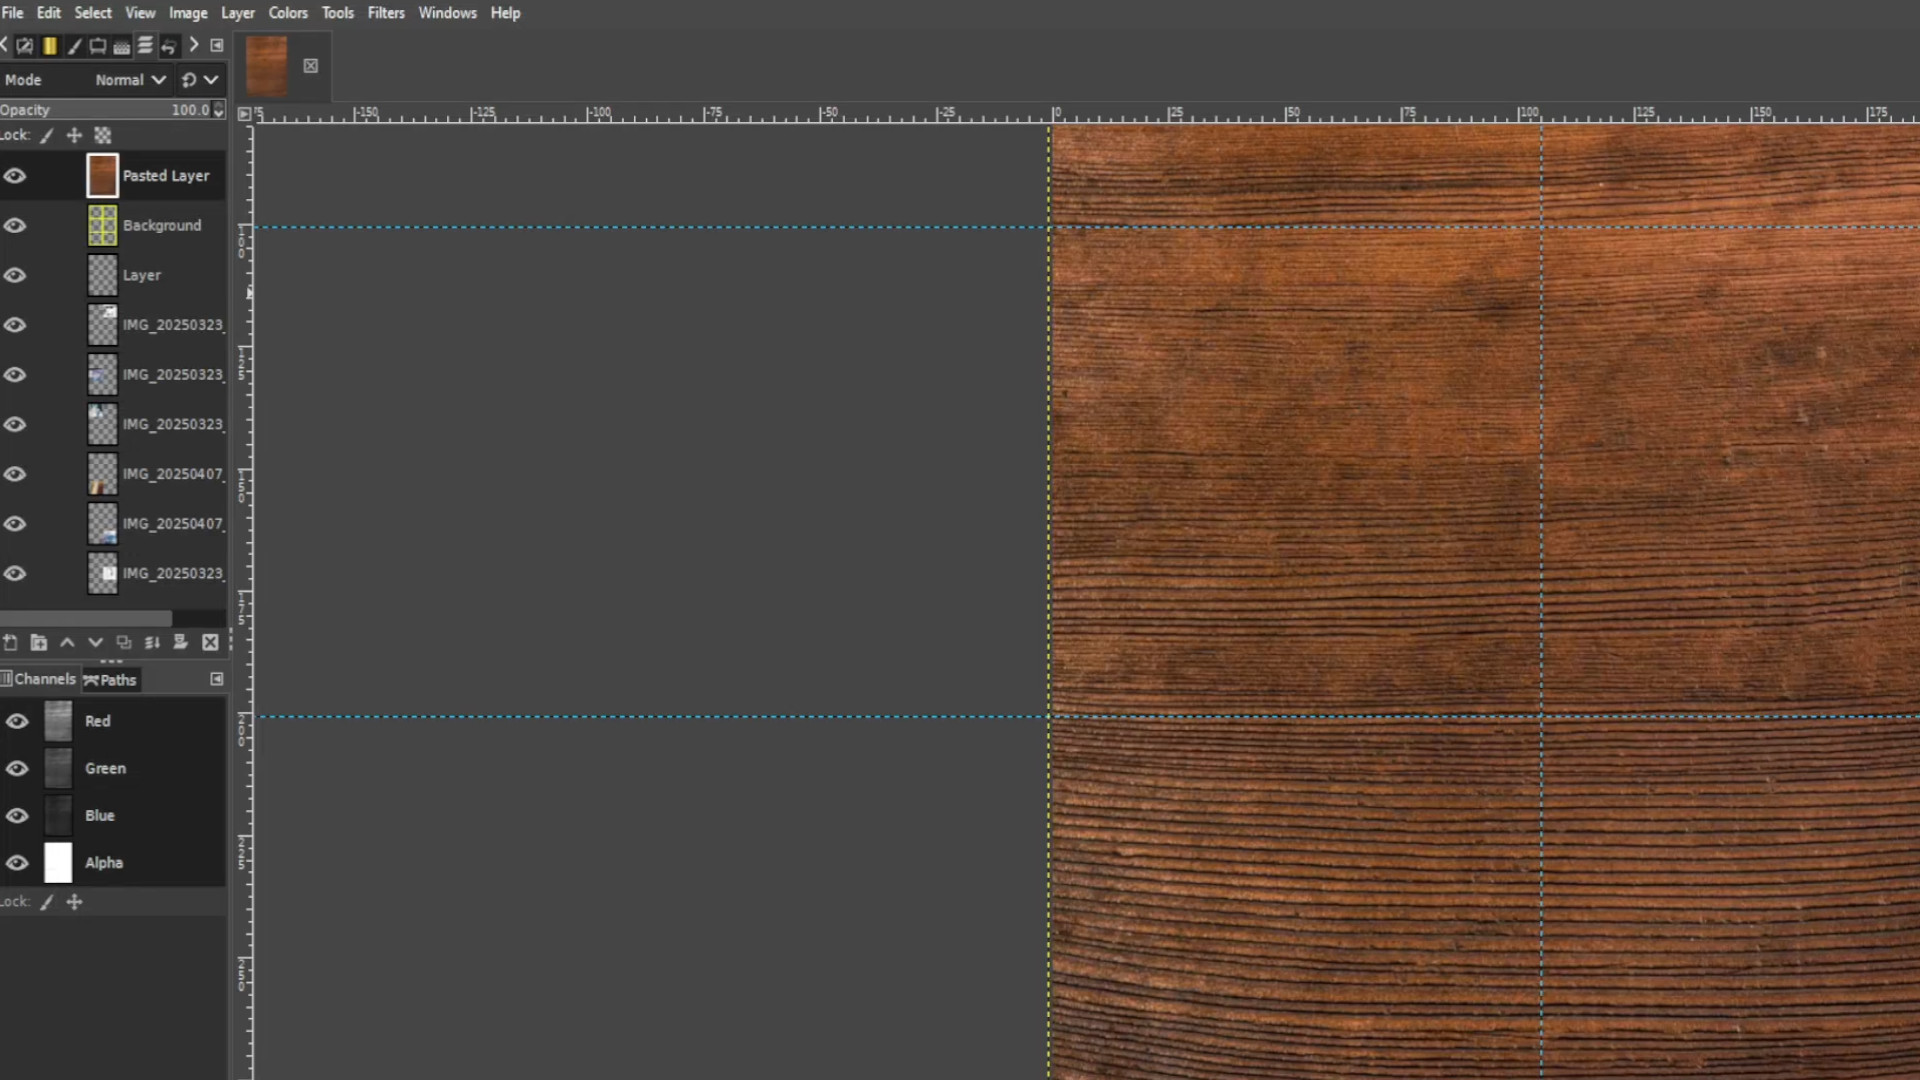
Go to>>>LAYERS TAB and>>>SELECT THE FRAME, the frame should be second from the top.
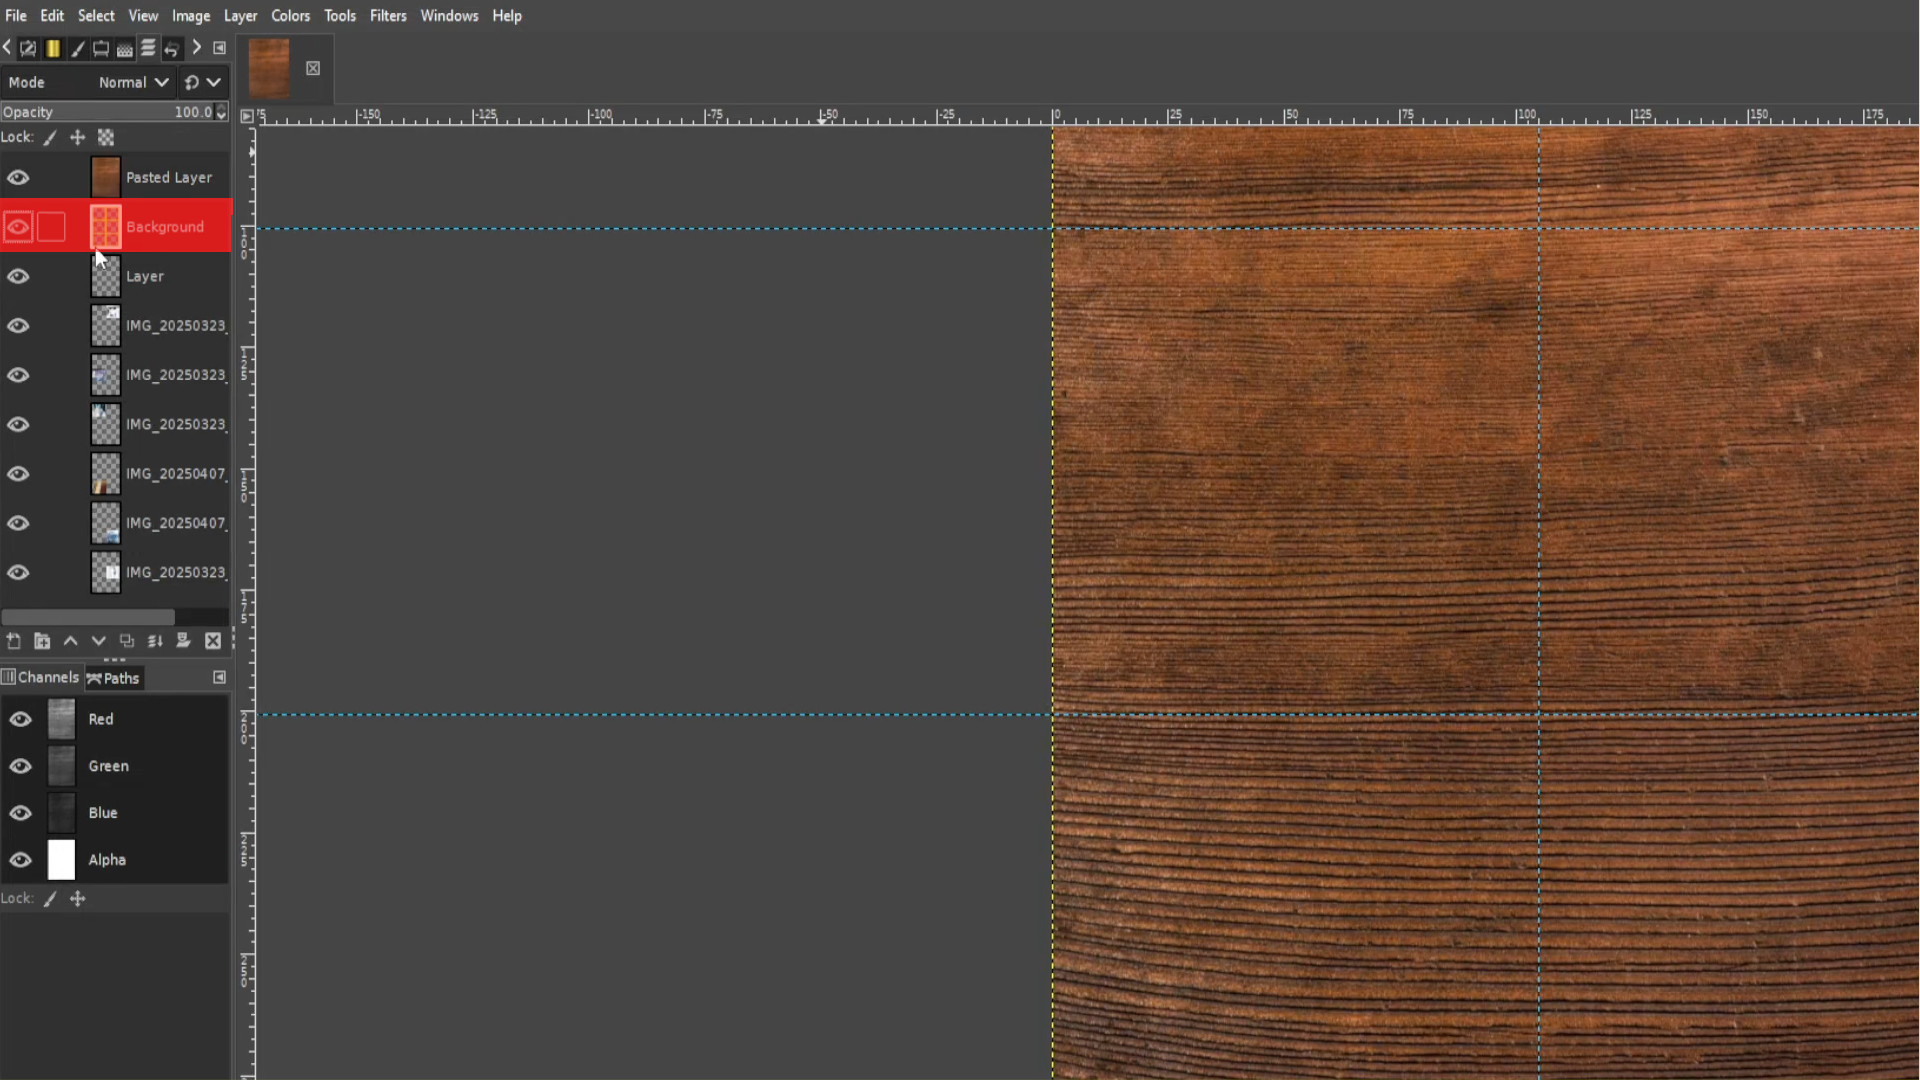
Go to the>>>LAYERS TAB and>>>TURN OFF THE TEXTURE LAYER by clicking on the first eye it should be the top layer in the left hand side layers tab
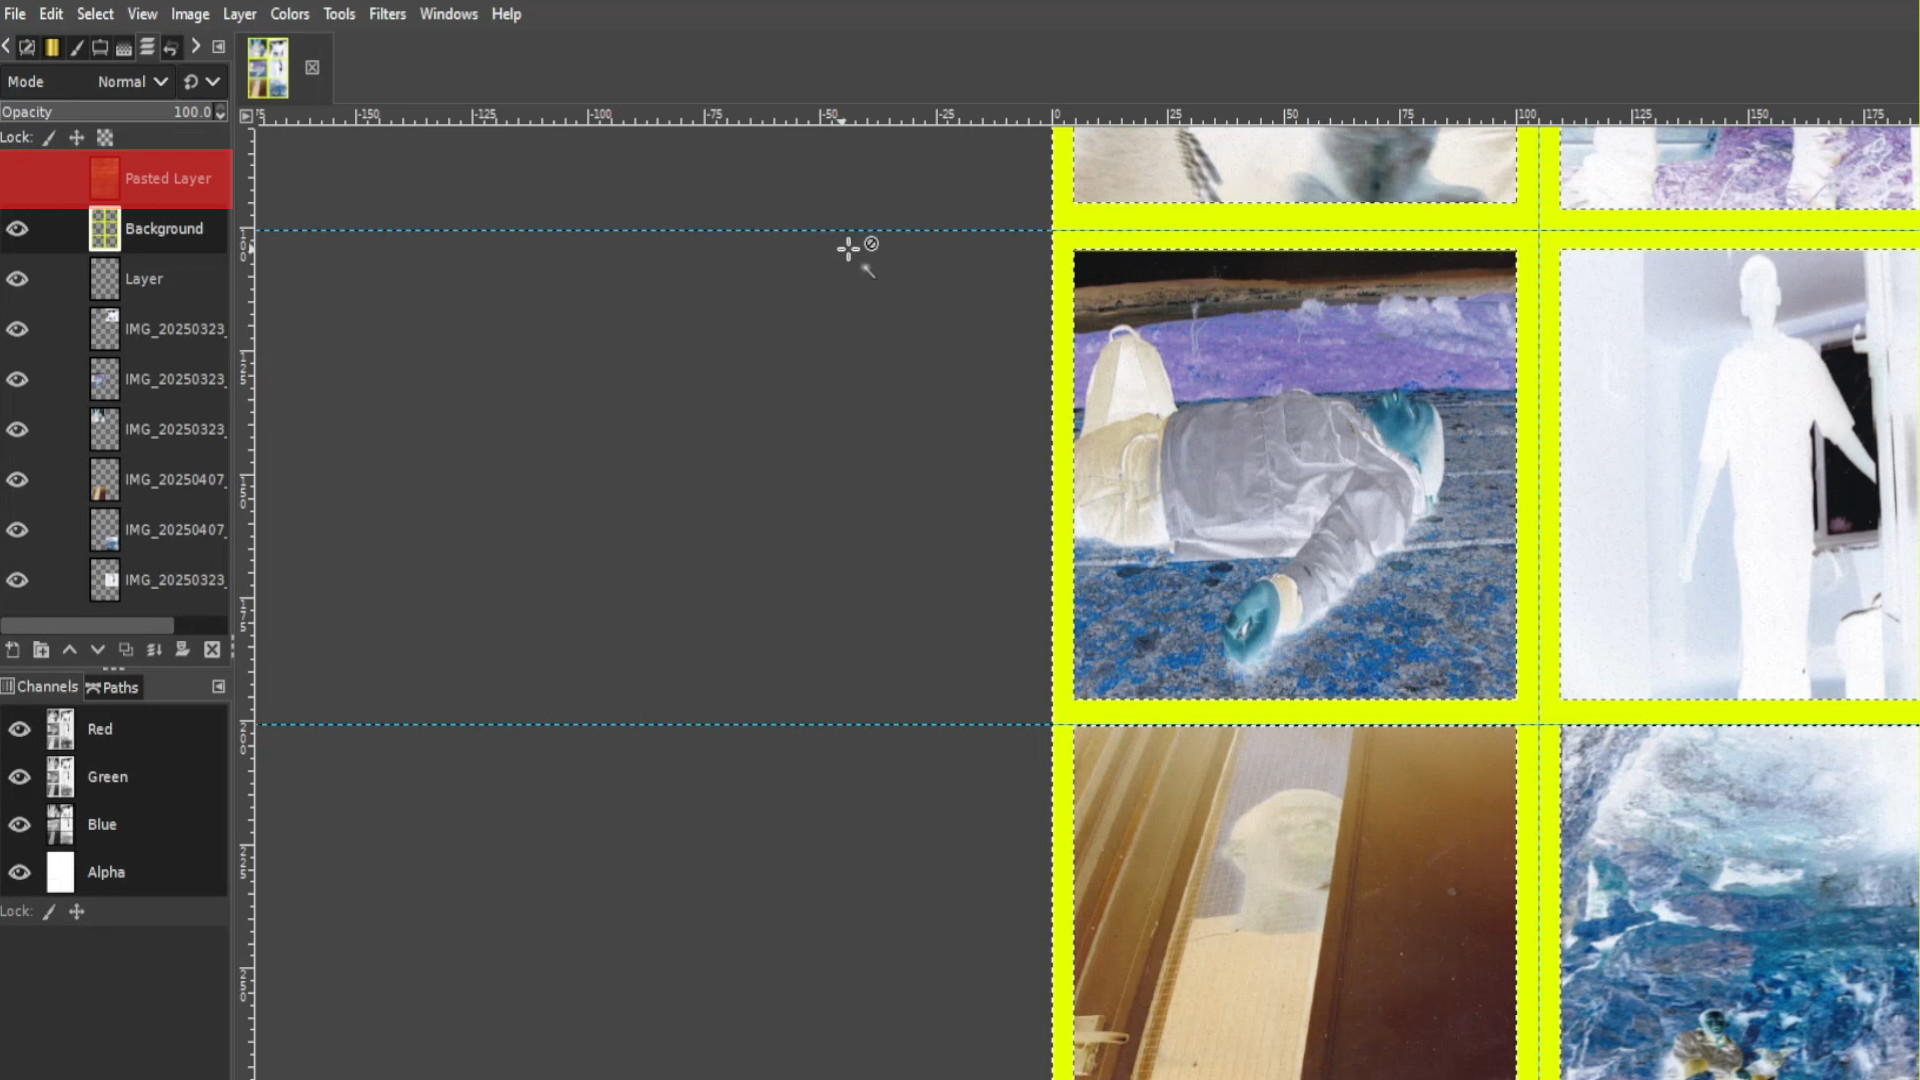
With the>>>FUZZY SELECT TOOL, SELECT a bit of frame and it should highlight the whole frame.
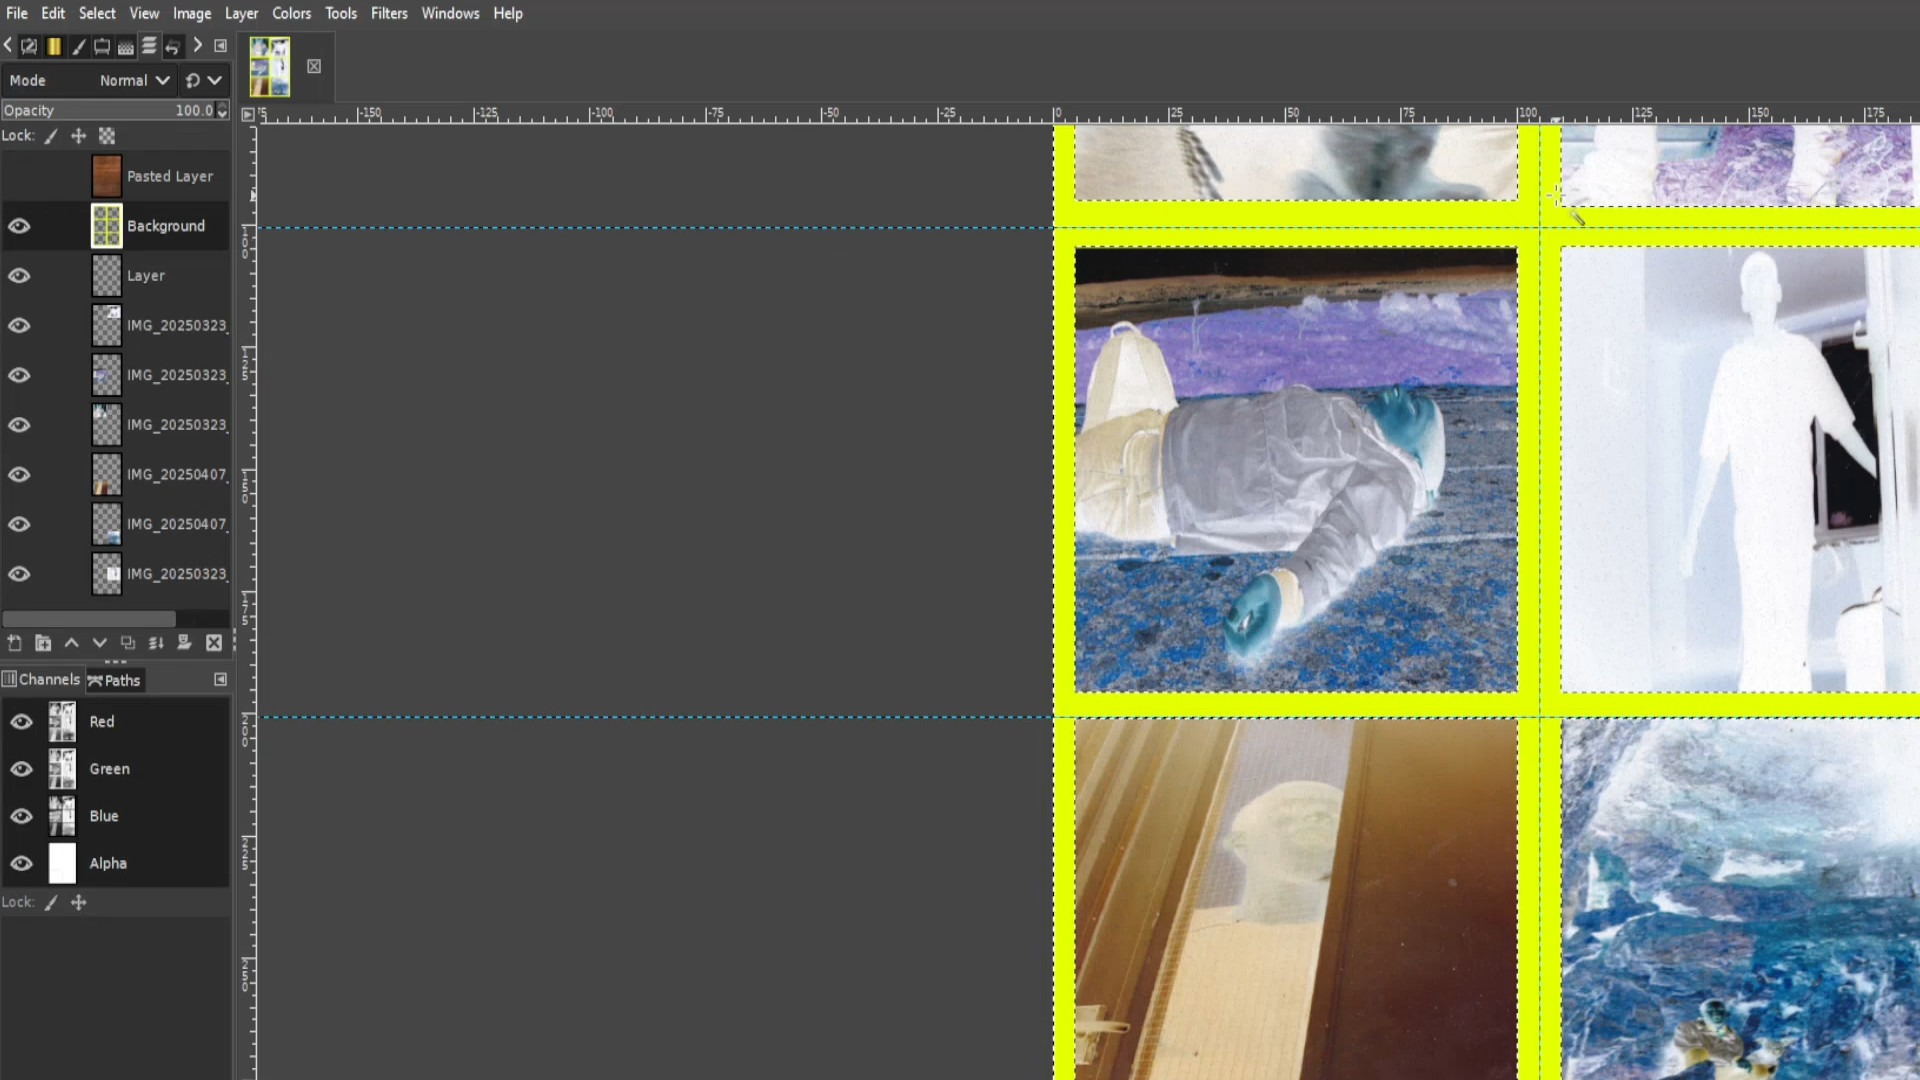
Go back to>>>LAYOUT TAB on the LEFT HAND SIDE and TURN ON the TEXTURE LAYOUT using the EYE. There should now be a highlighted boarder around the texture of choice.
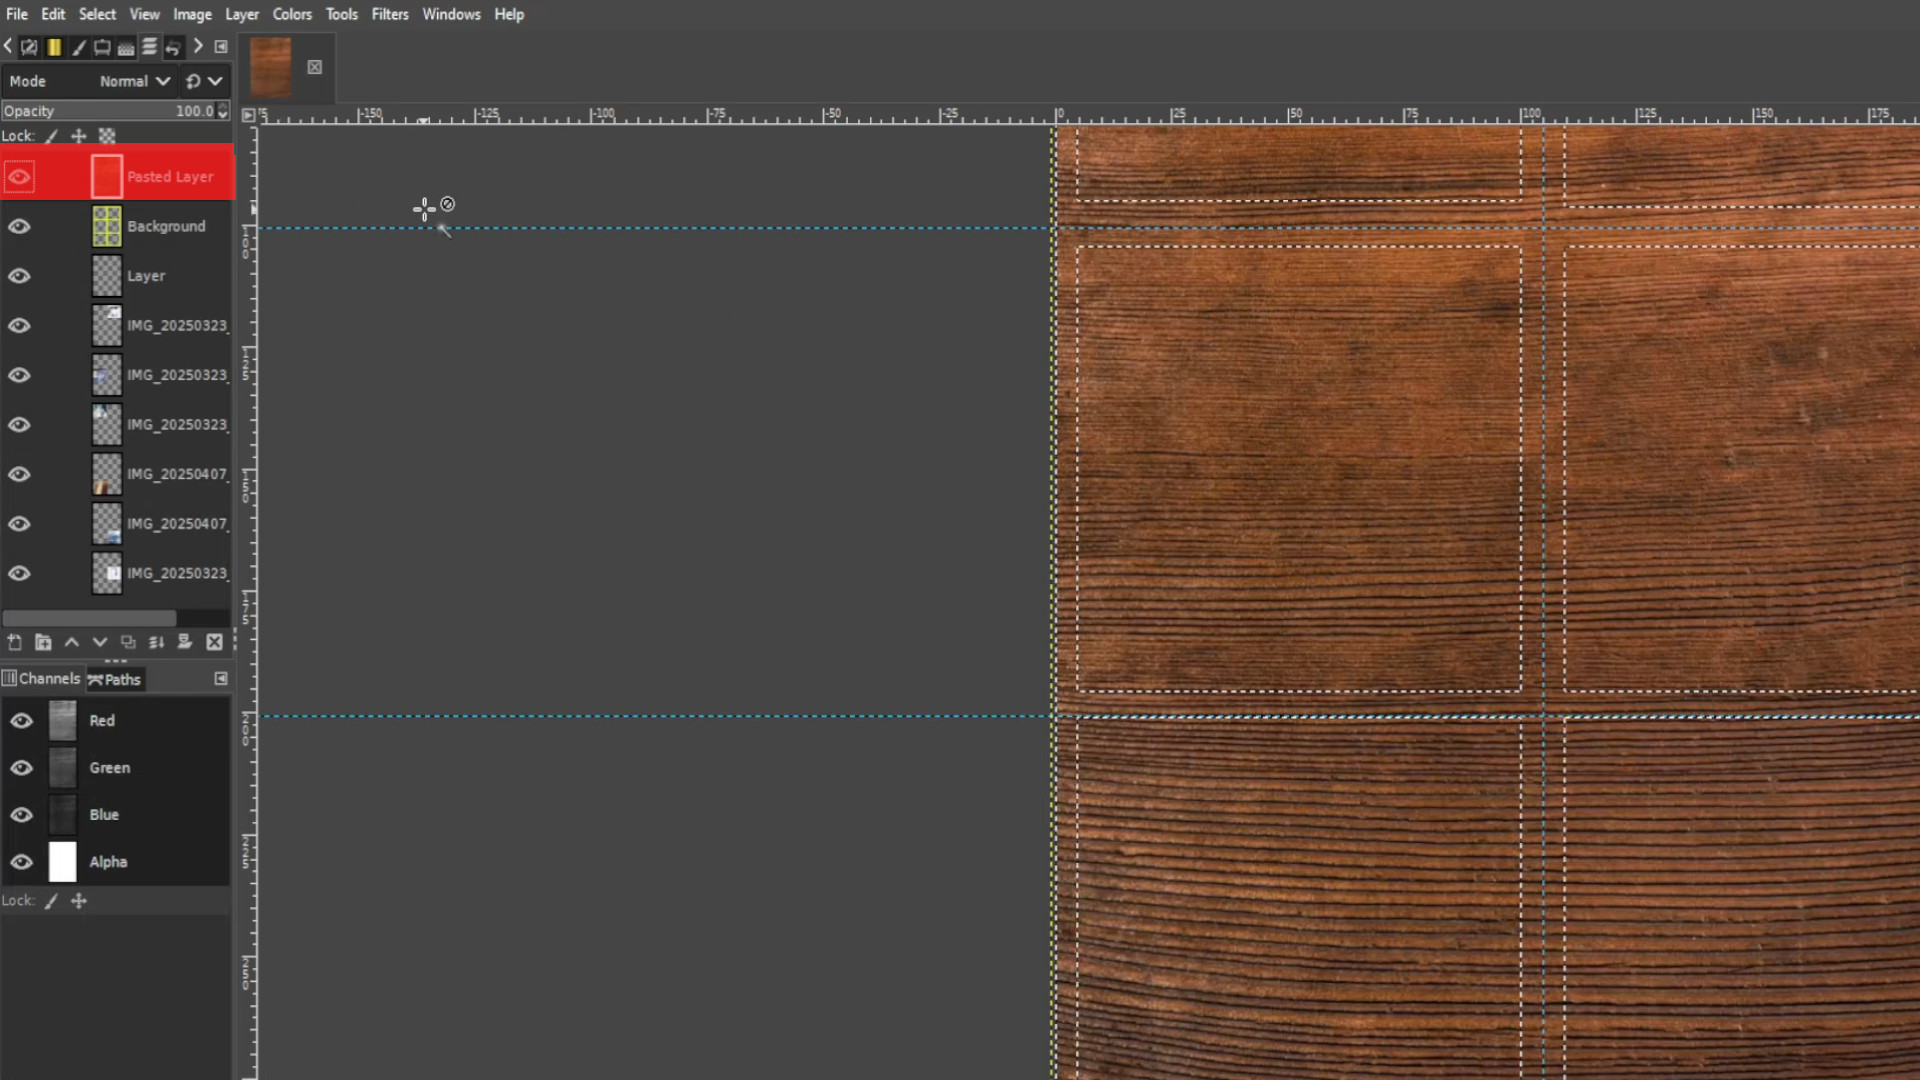
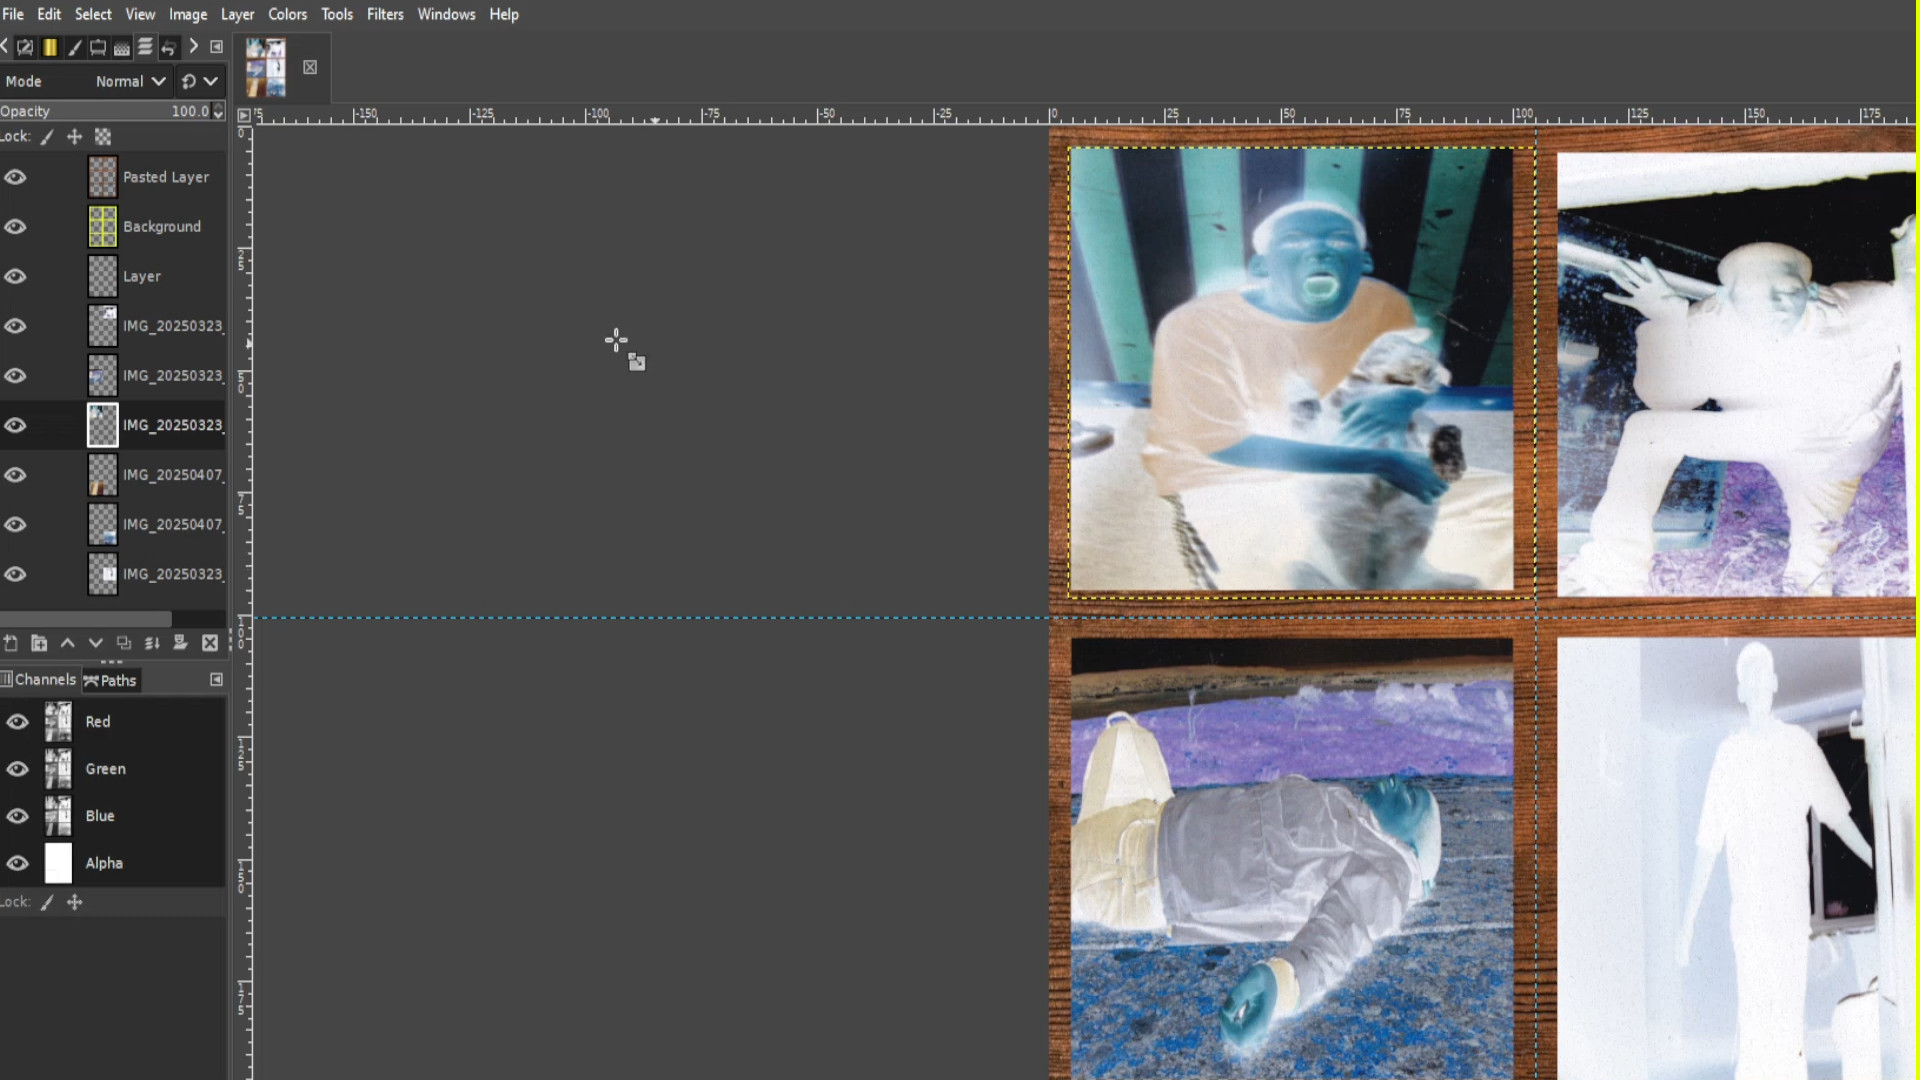
Now highlighted>>>HOLD CTRL and>>>PRESS X to remove the inner texture leaving a frame around it.
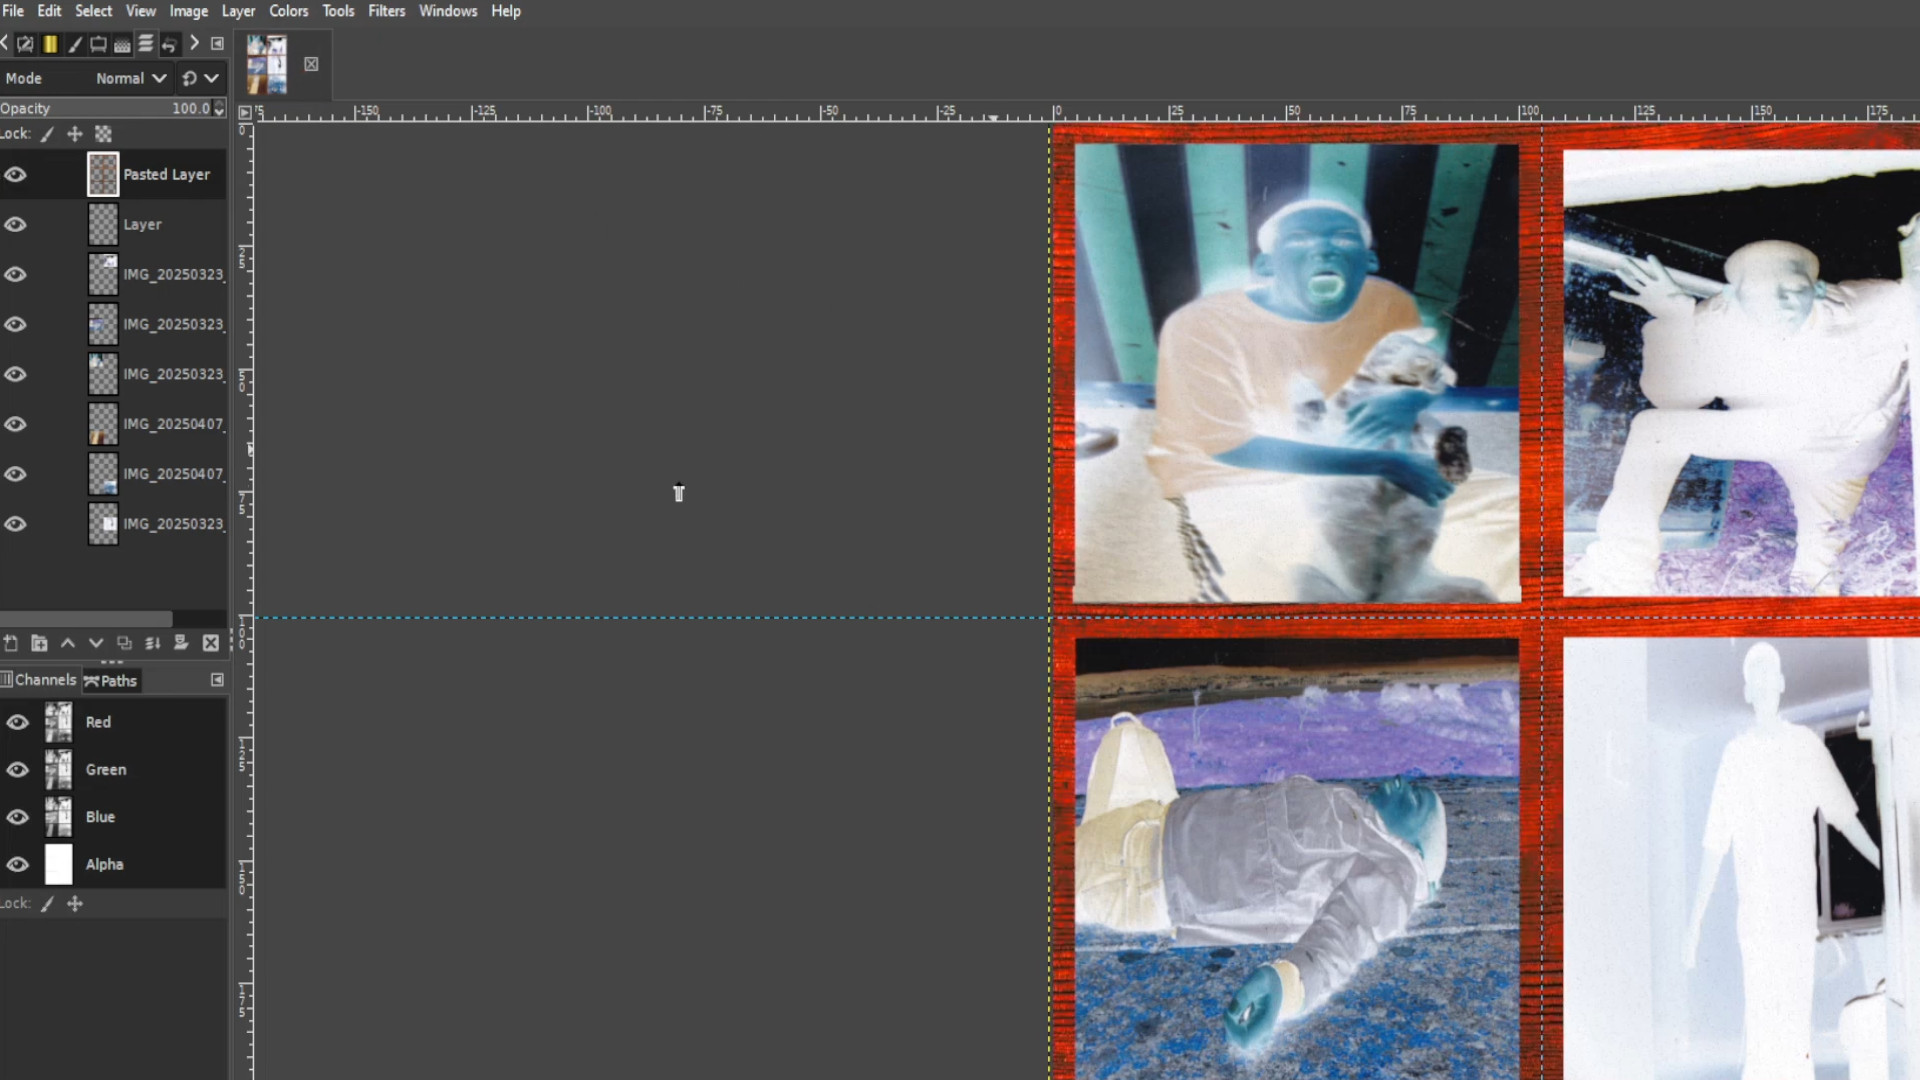
EXPERIMENT with BUCKET FILL, COLOUR and FILTERS to taste.
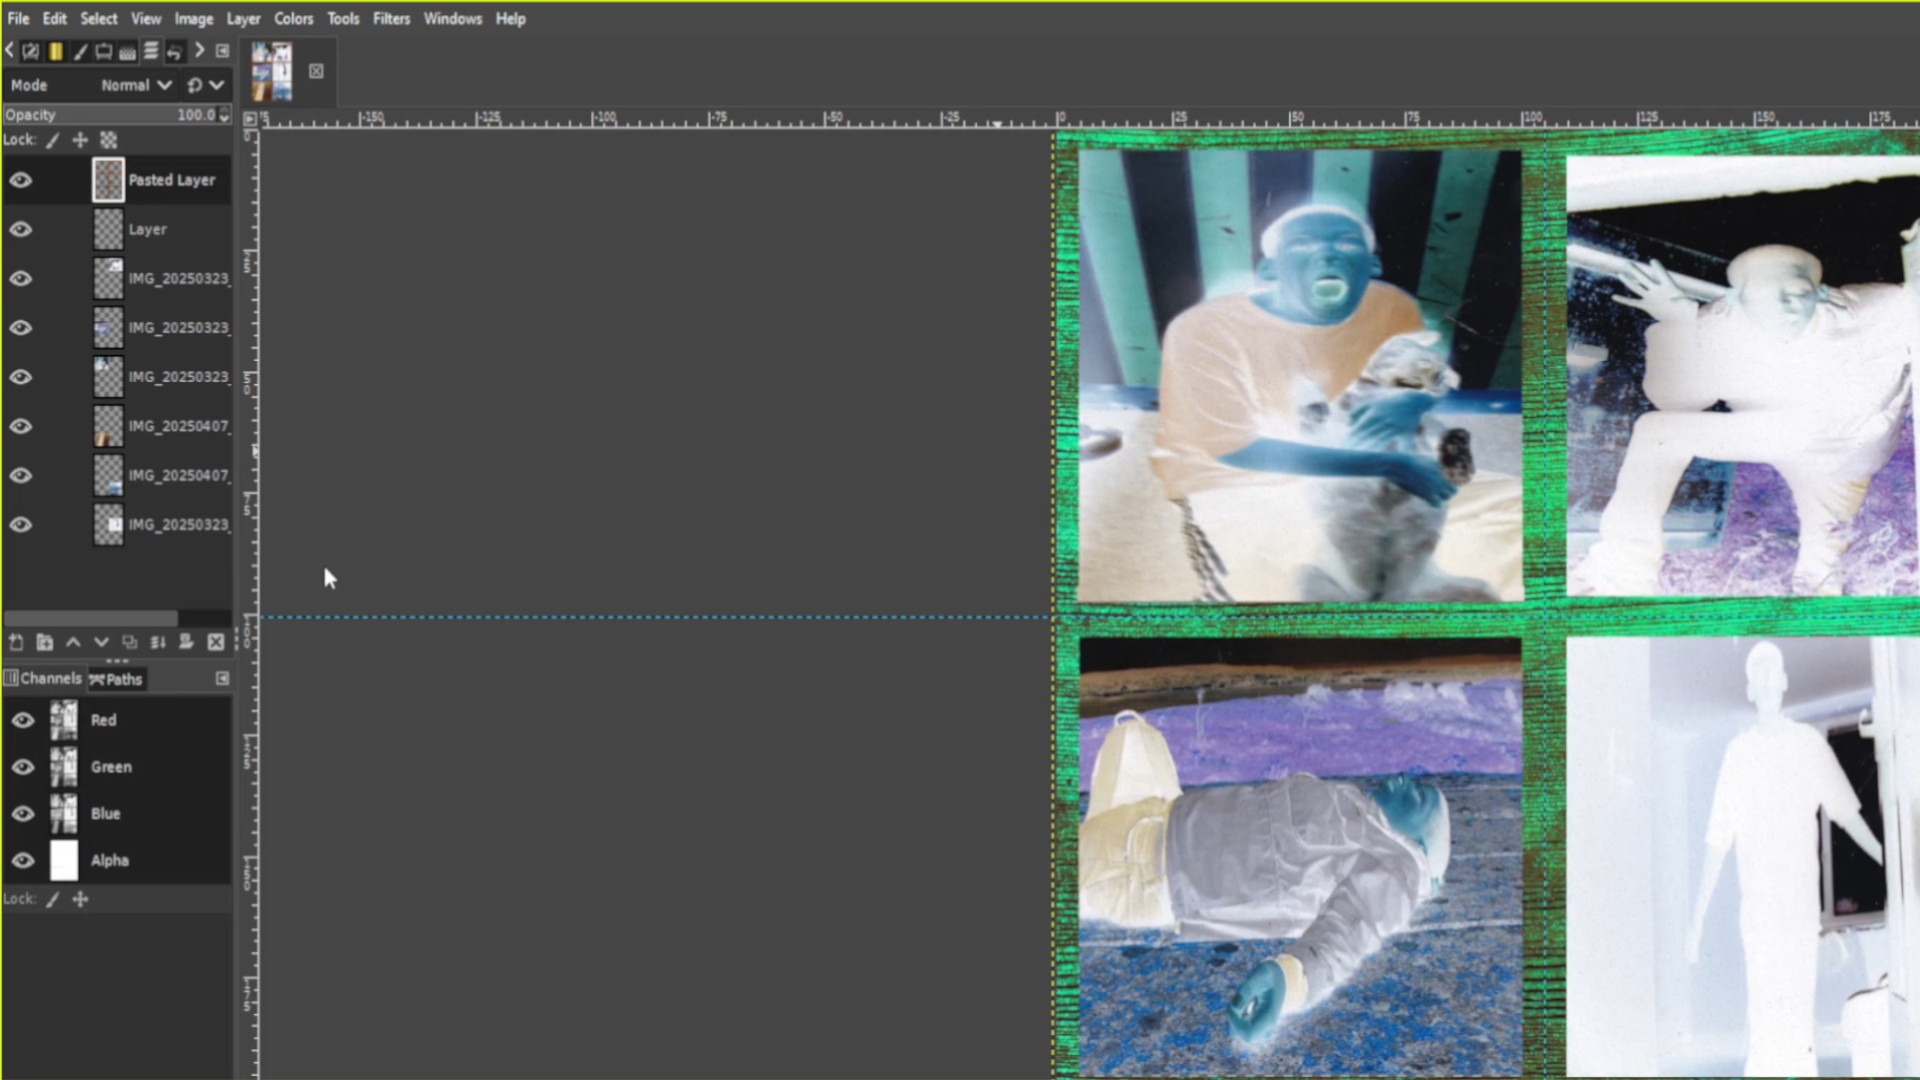
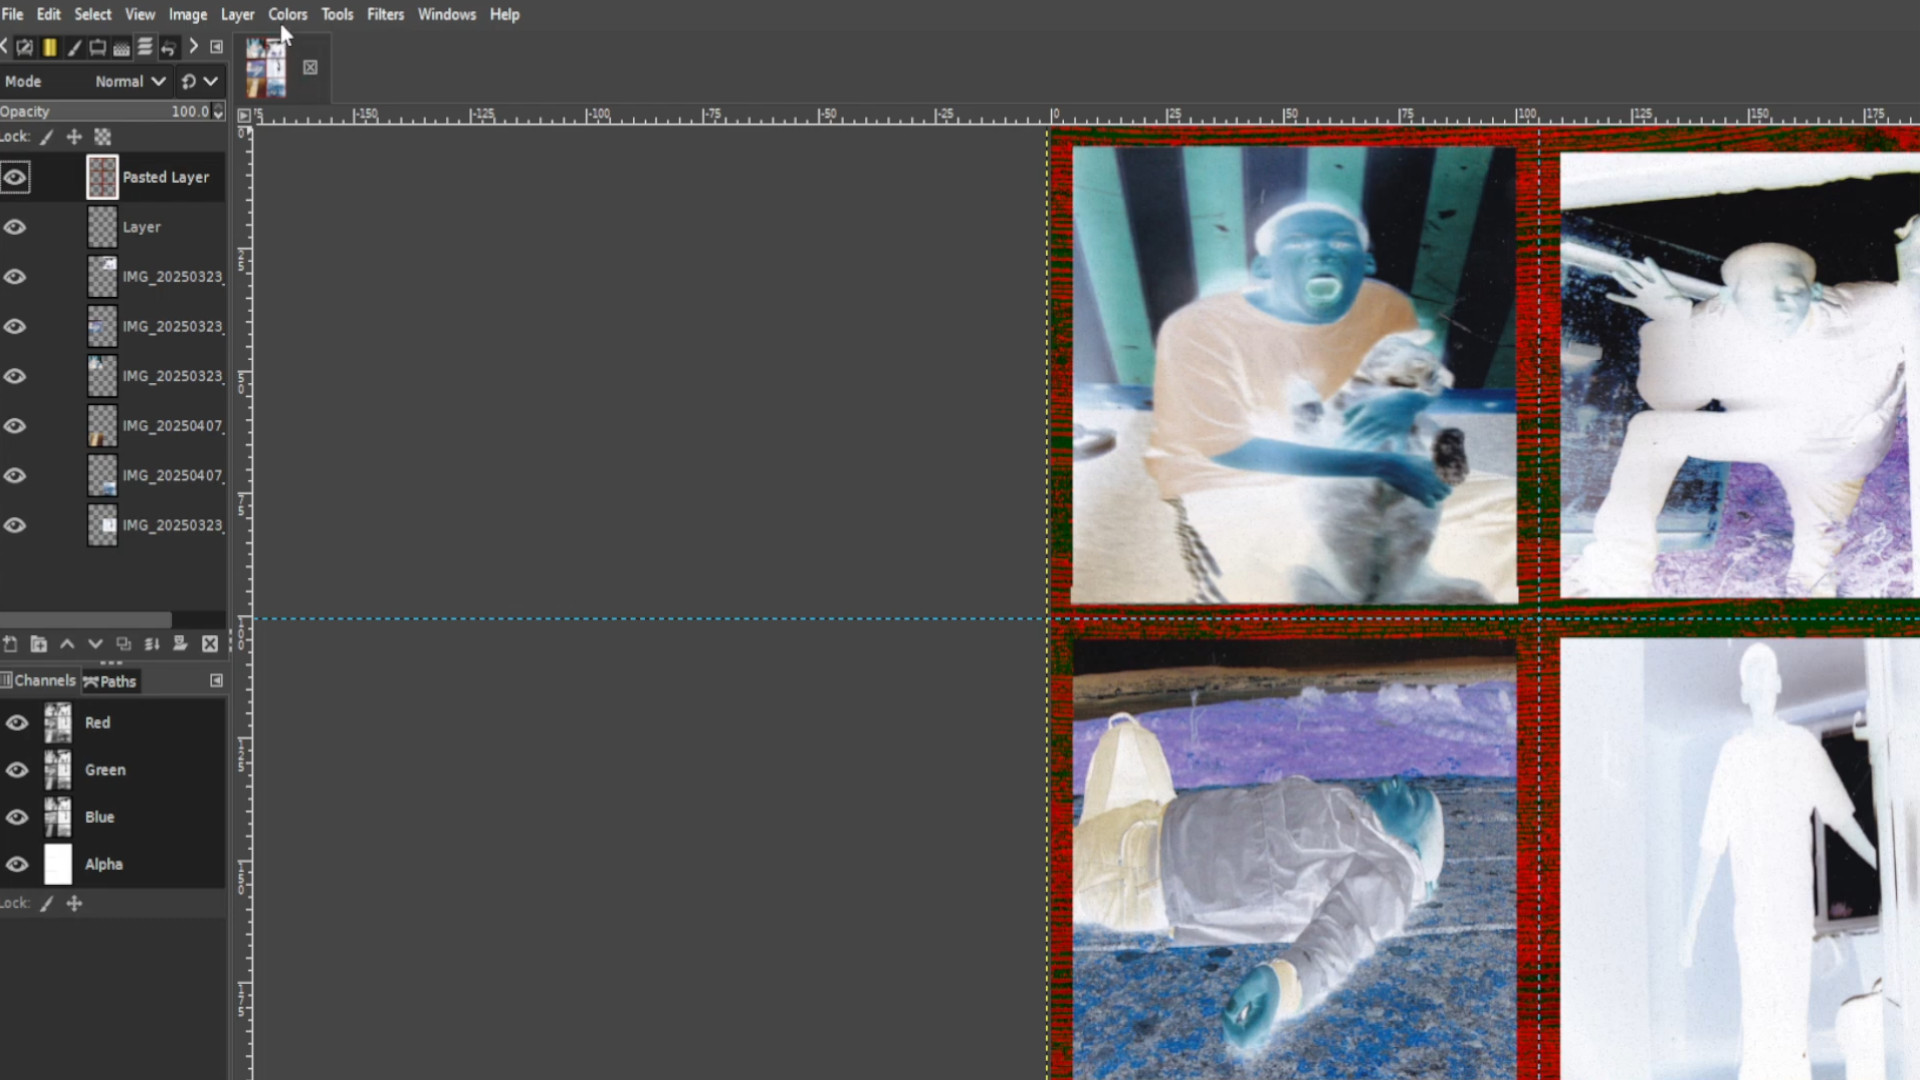
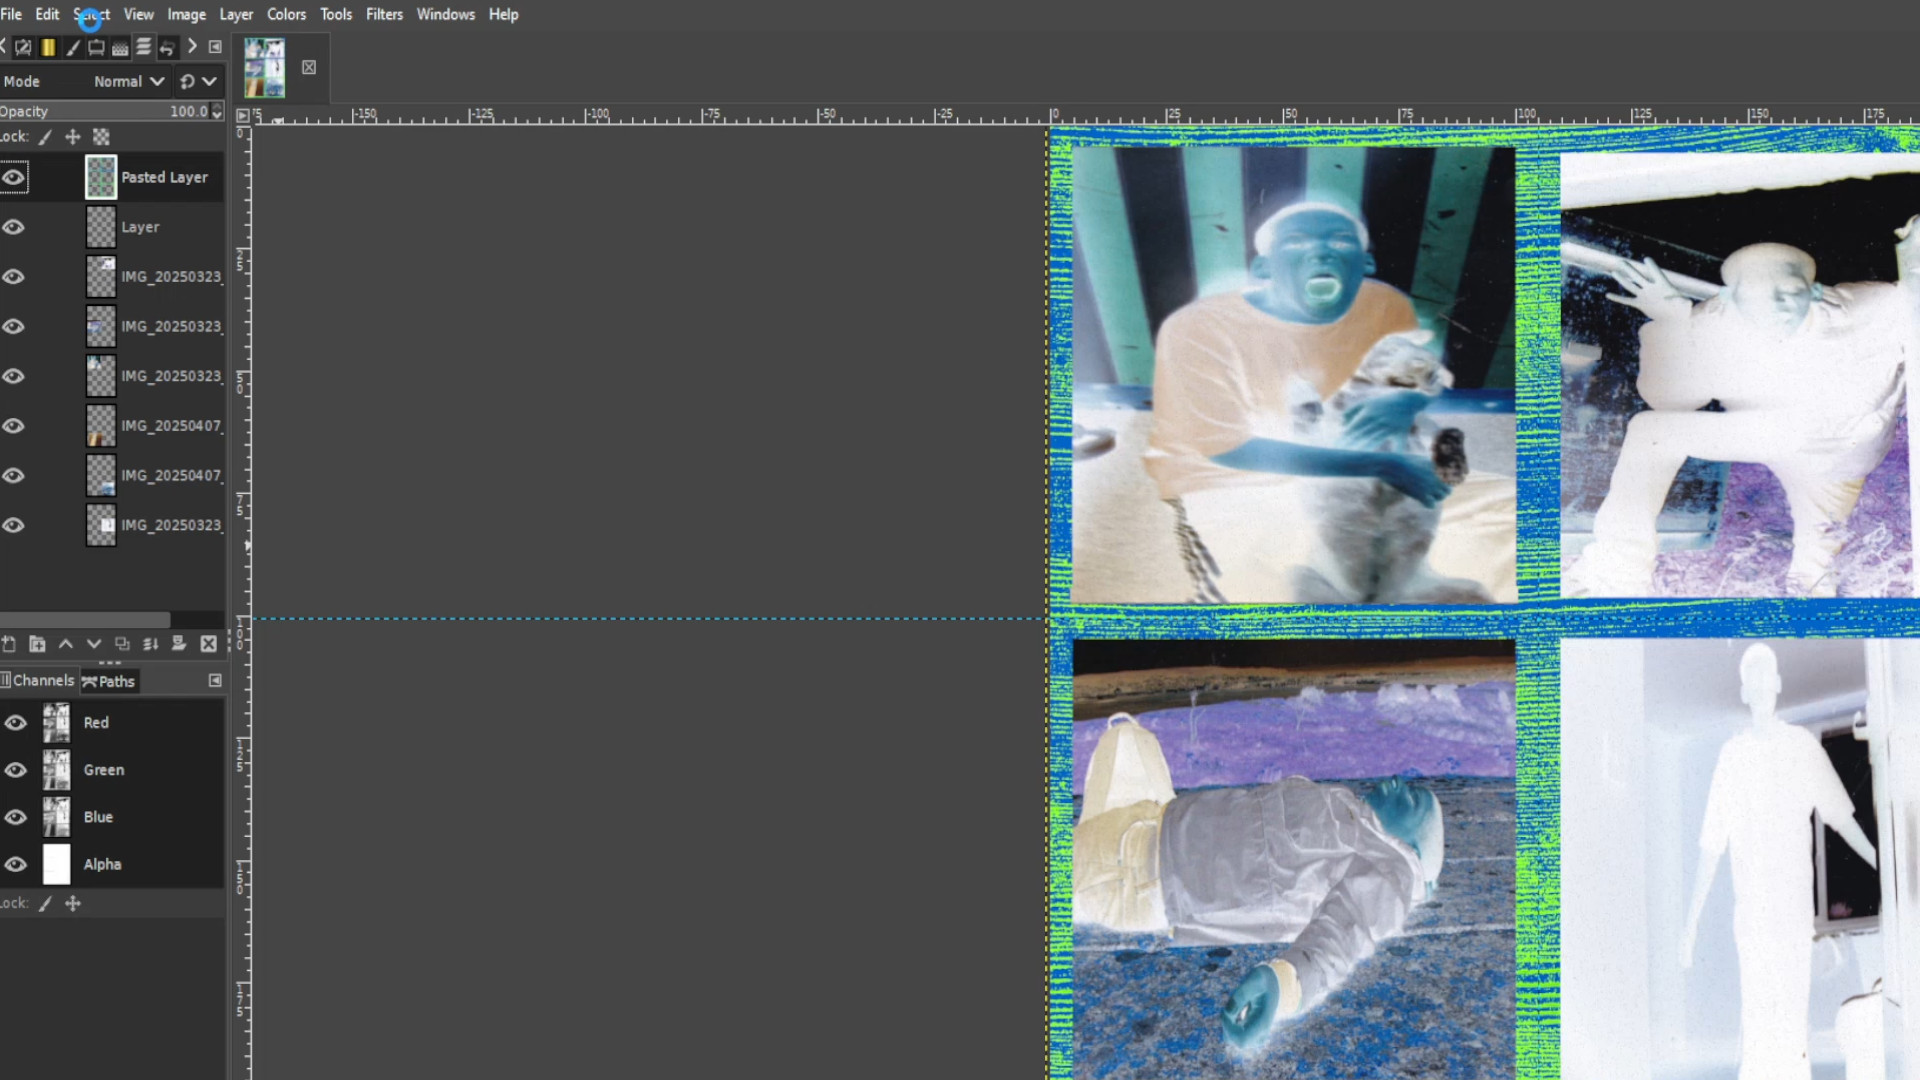
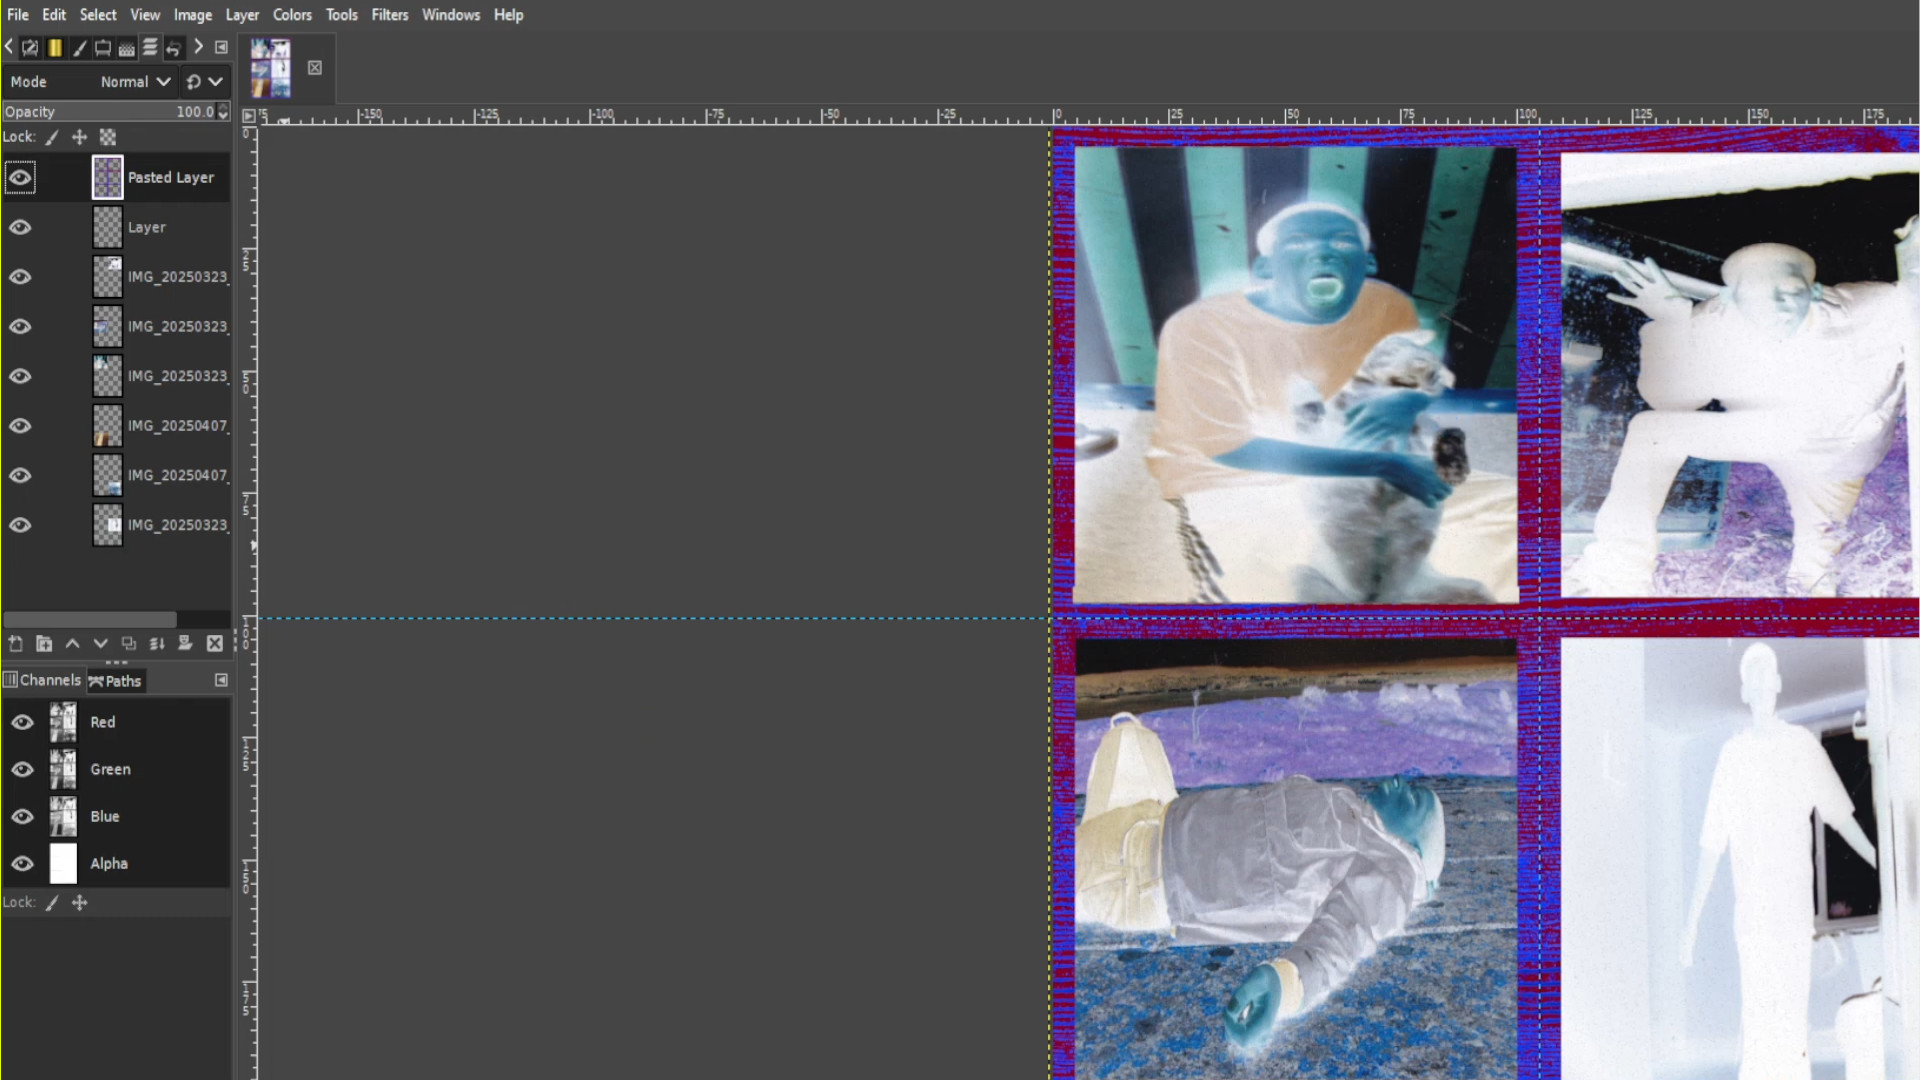
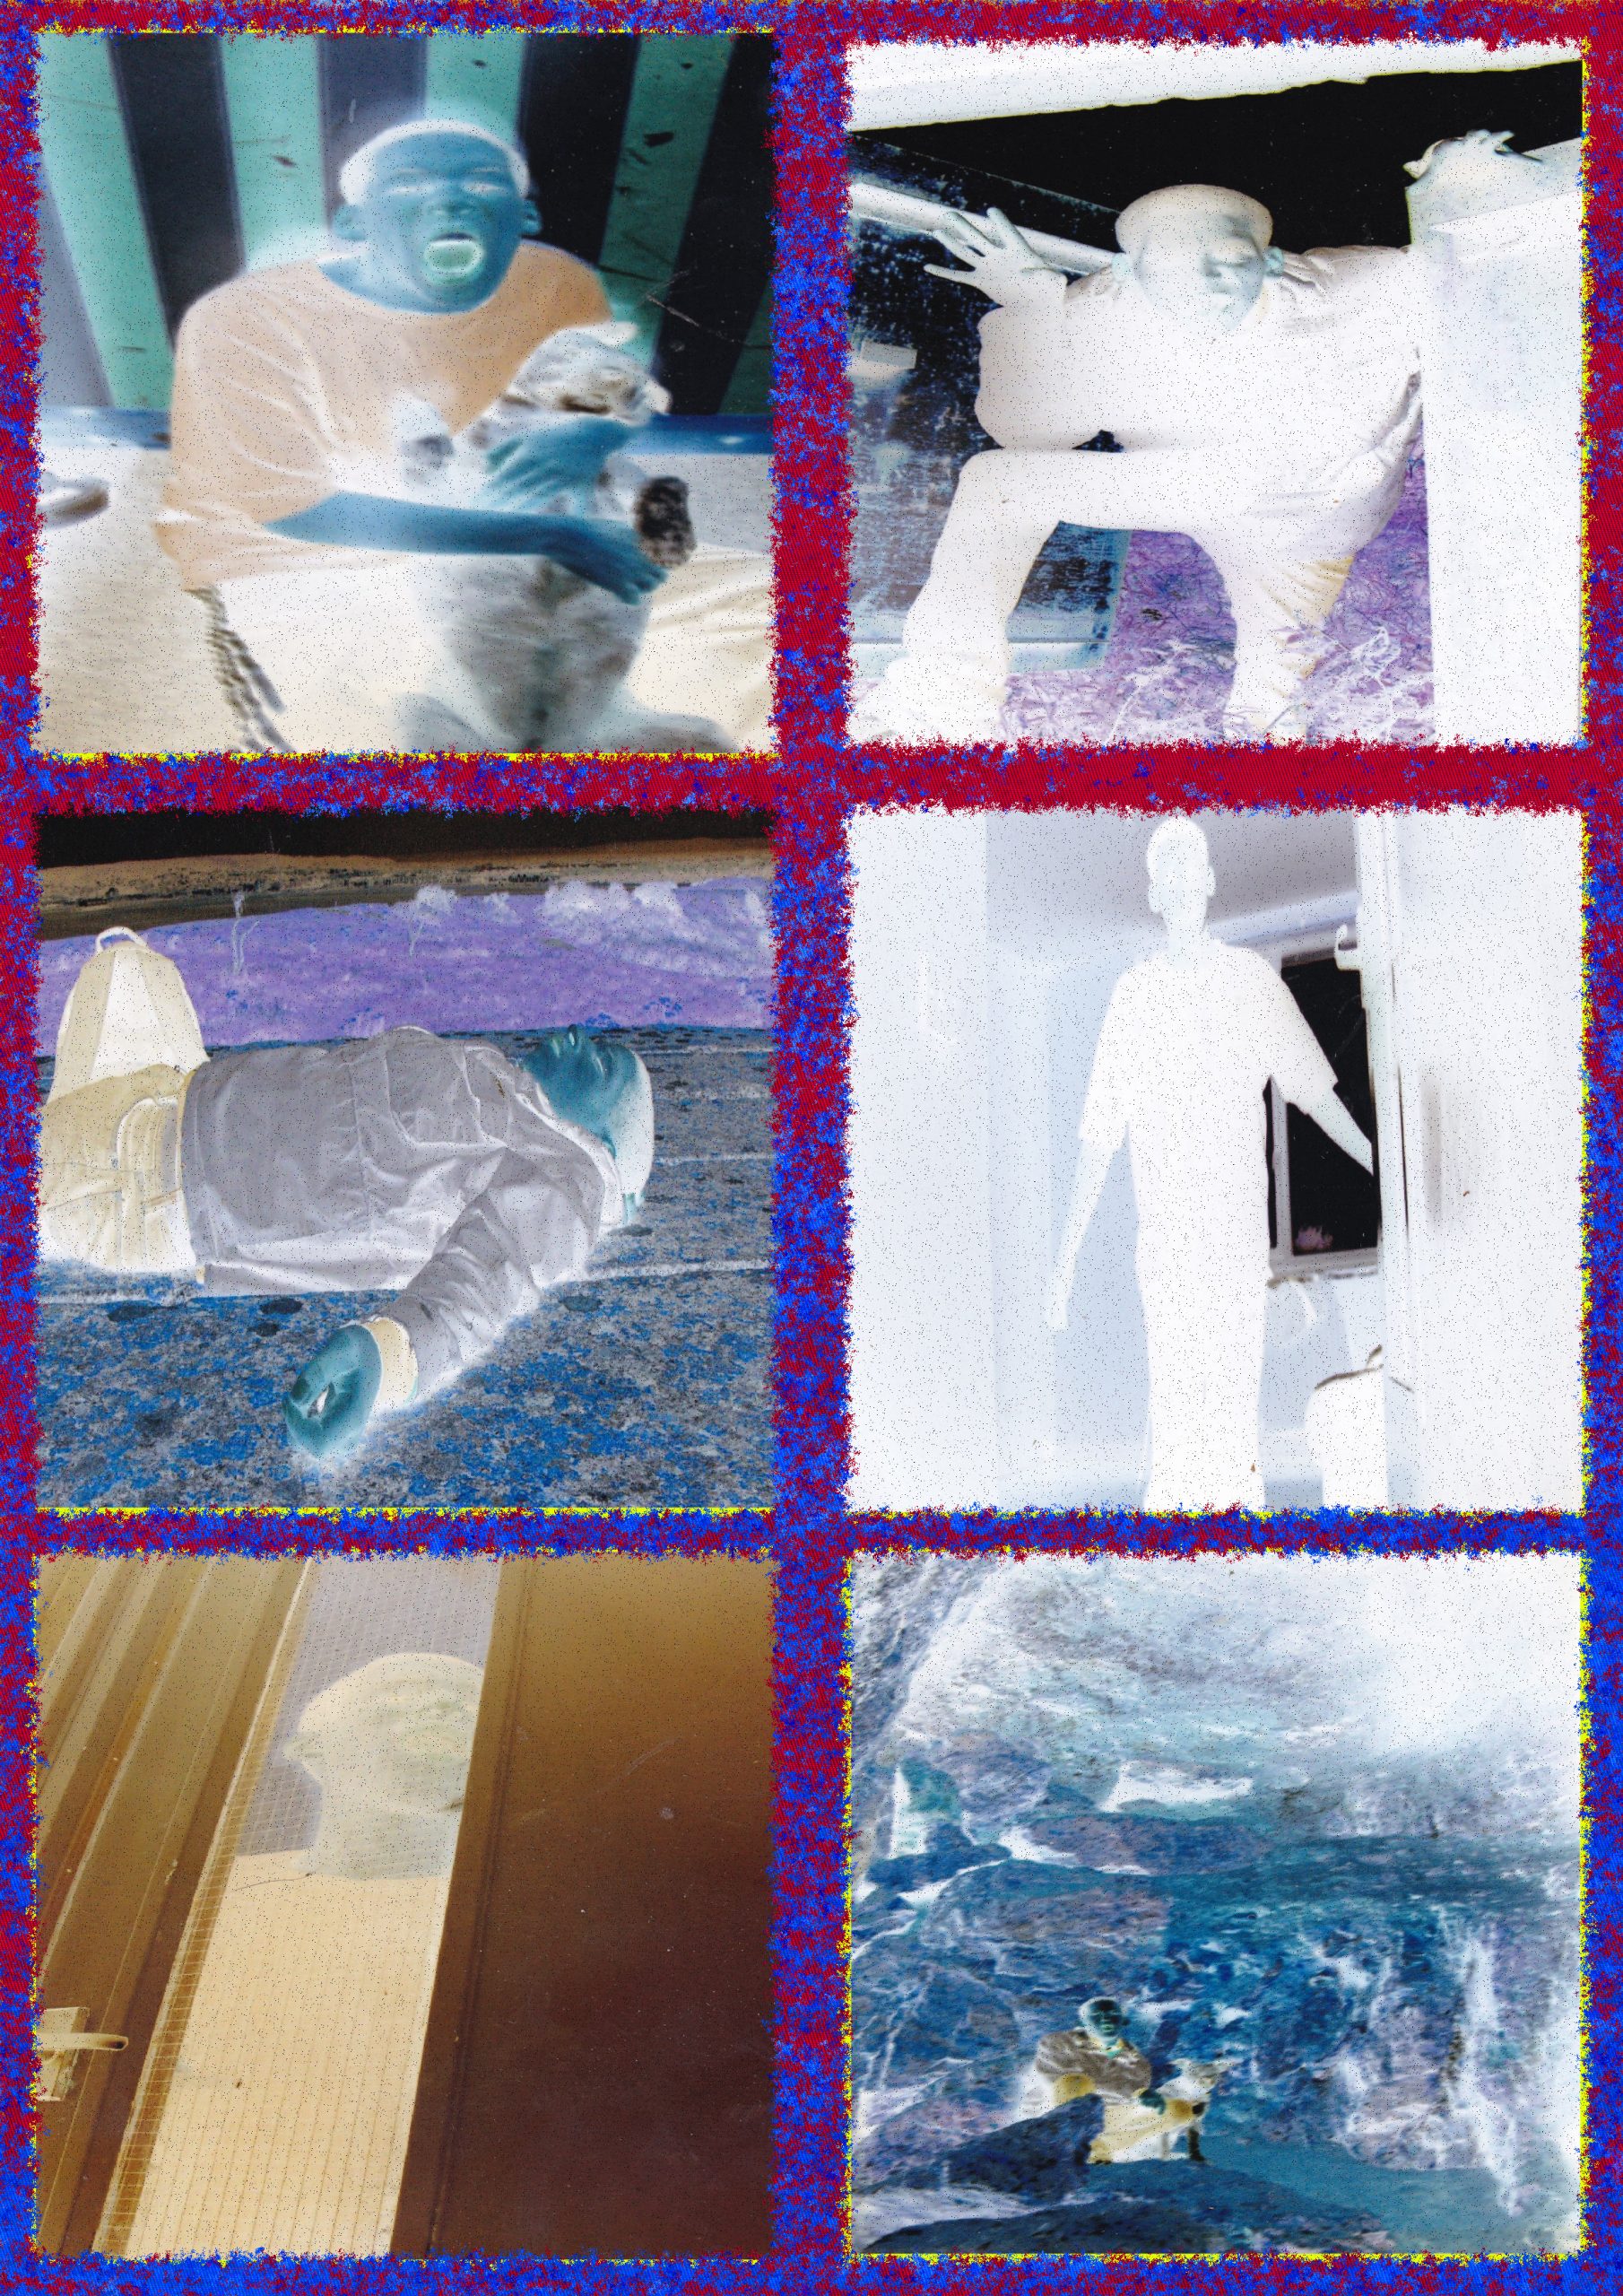
Export image by going to>>>FILE>>>EXPORT TO or>>>EXPORT AS and save with a JPG or PNG extension EG; COLLAGE__INSERT NUMBER.jpg or COLLAGE__INSERT NUMBER.png.
How To Make A Photo Collage In Gimp #1
Open up Gimp and go to >>>FILE>>>NEW>>>TEMPLATE and pick the>>>A4 SIZE;
209.97 Width,
297.01 Height
in mm.
2480 Width
3508 Height
in px
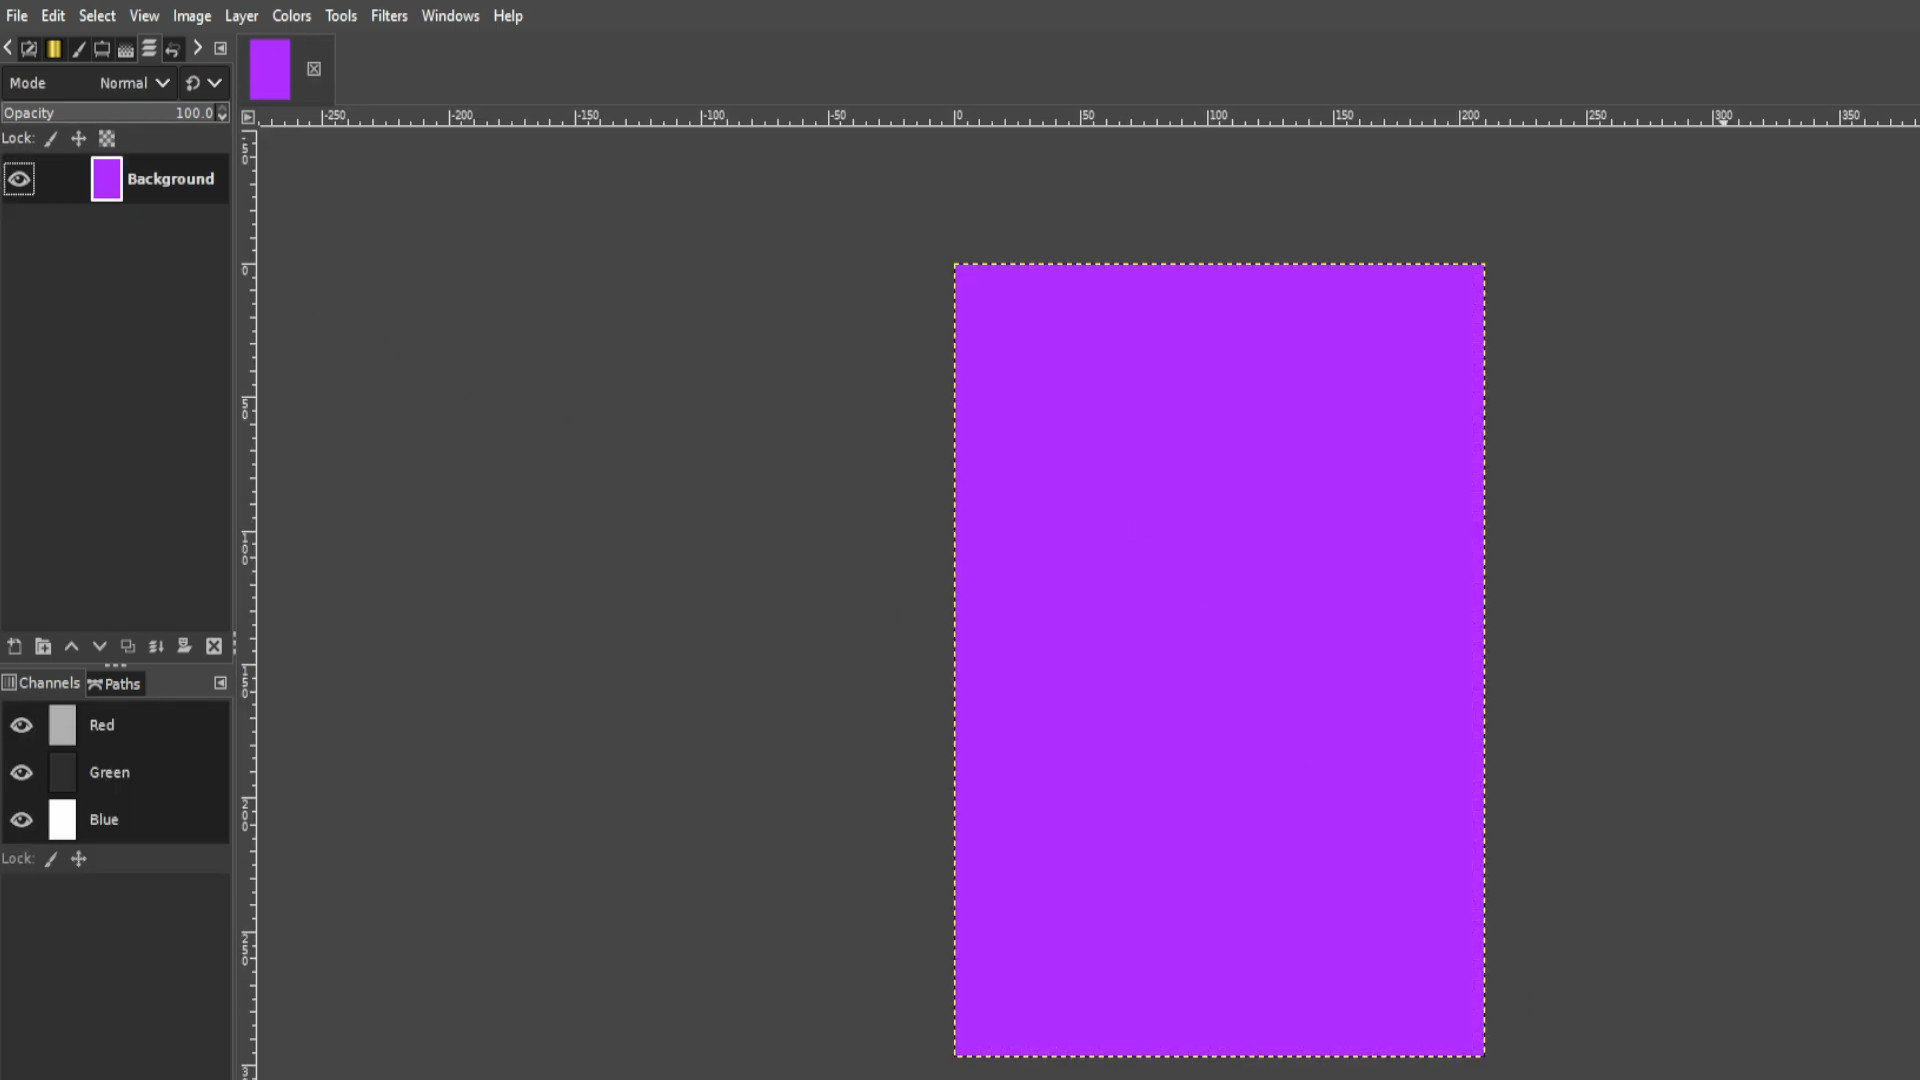
Go to>>>IMAGE>>>GUIDES>>>NEW GUIDE BY PERECENT and pick>>>DIRECTION>>>HORIZONTAL>>>POSTION (In Percent)>>>50.00
And again Go to>>>IMAGE>>>GUIDES>>>NEW GUIDE BY PERECENT and pick>>>DIRECTION>>>VERTICAL>>>POSTION (In Percent)>>>50.00
Repeat this for how many photos you want and spread out the guides evenly over the page. I used eight boxes in total and I >>>HOVERED THE CURSOR over the guide and>>>HELD SHIFT to drag around the guide into sections.
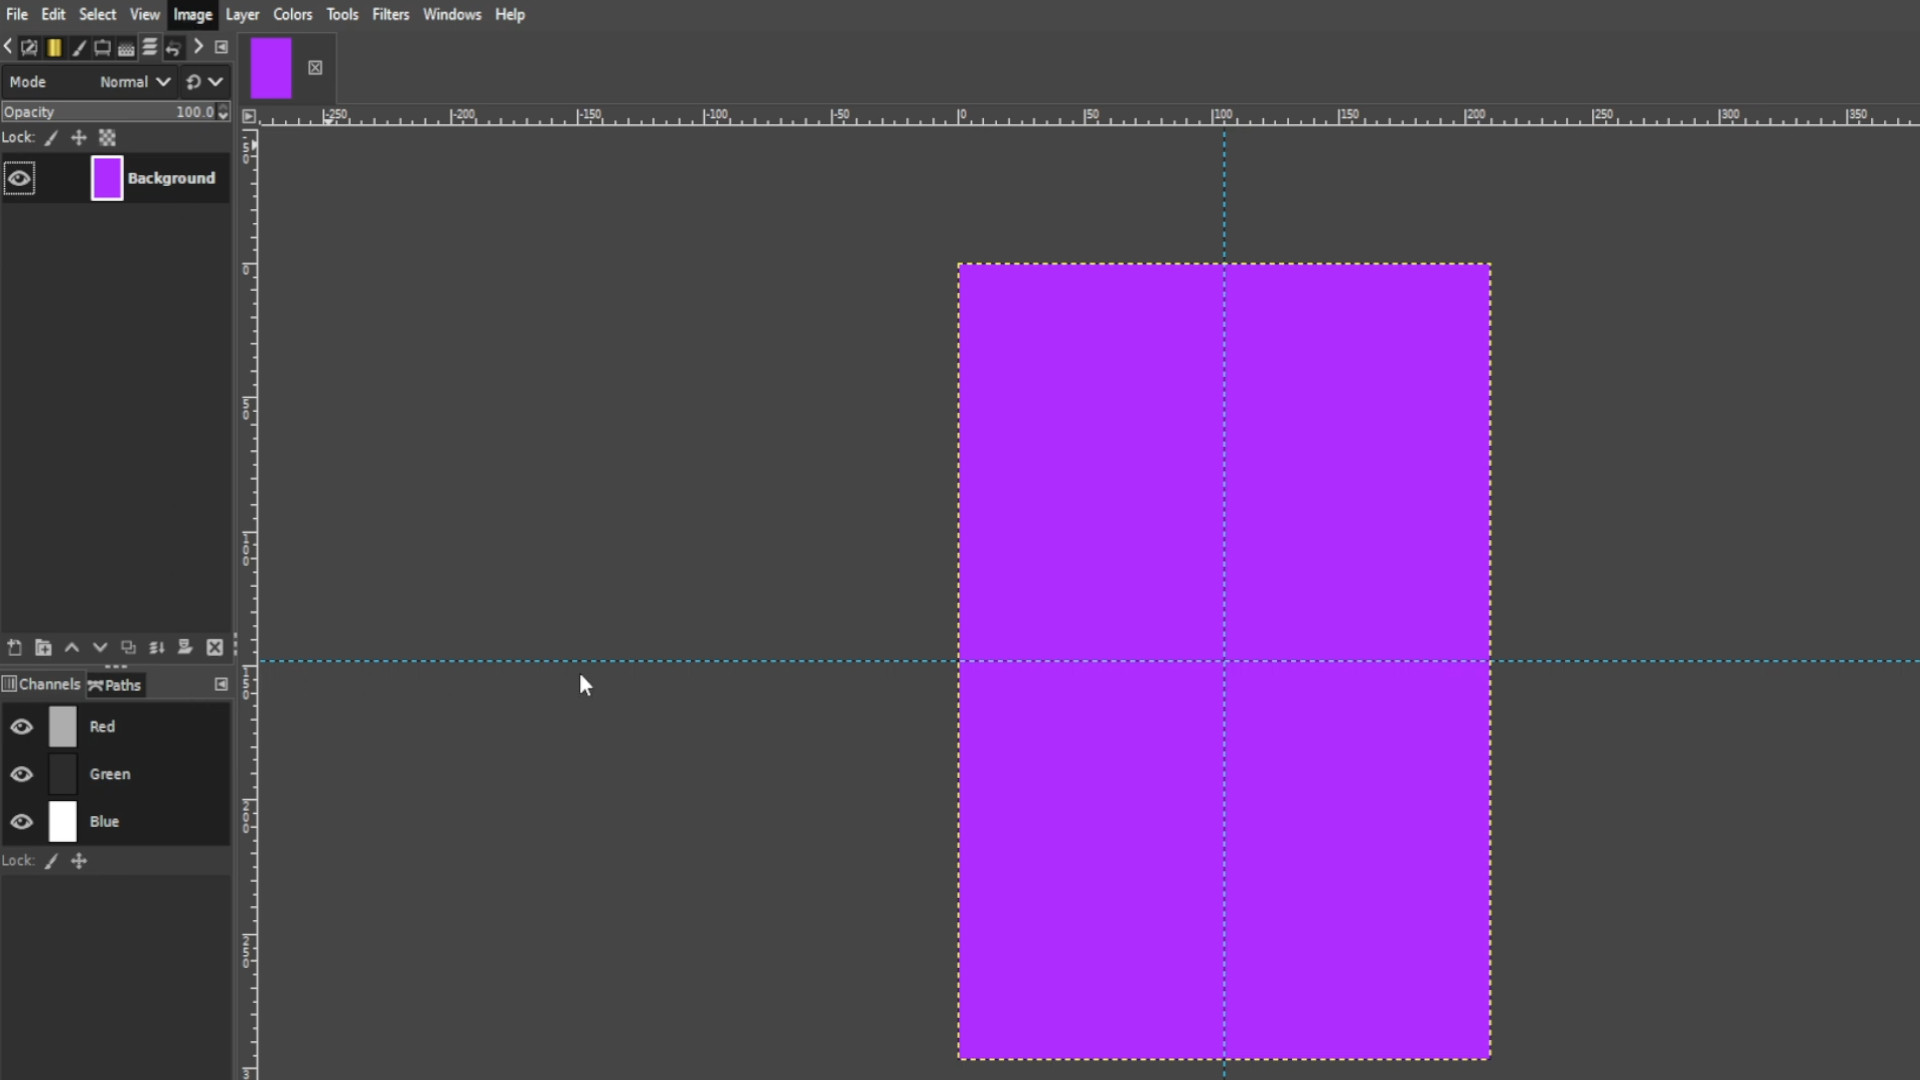
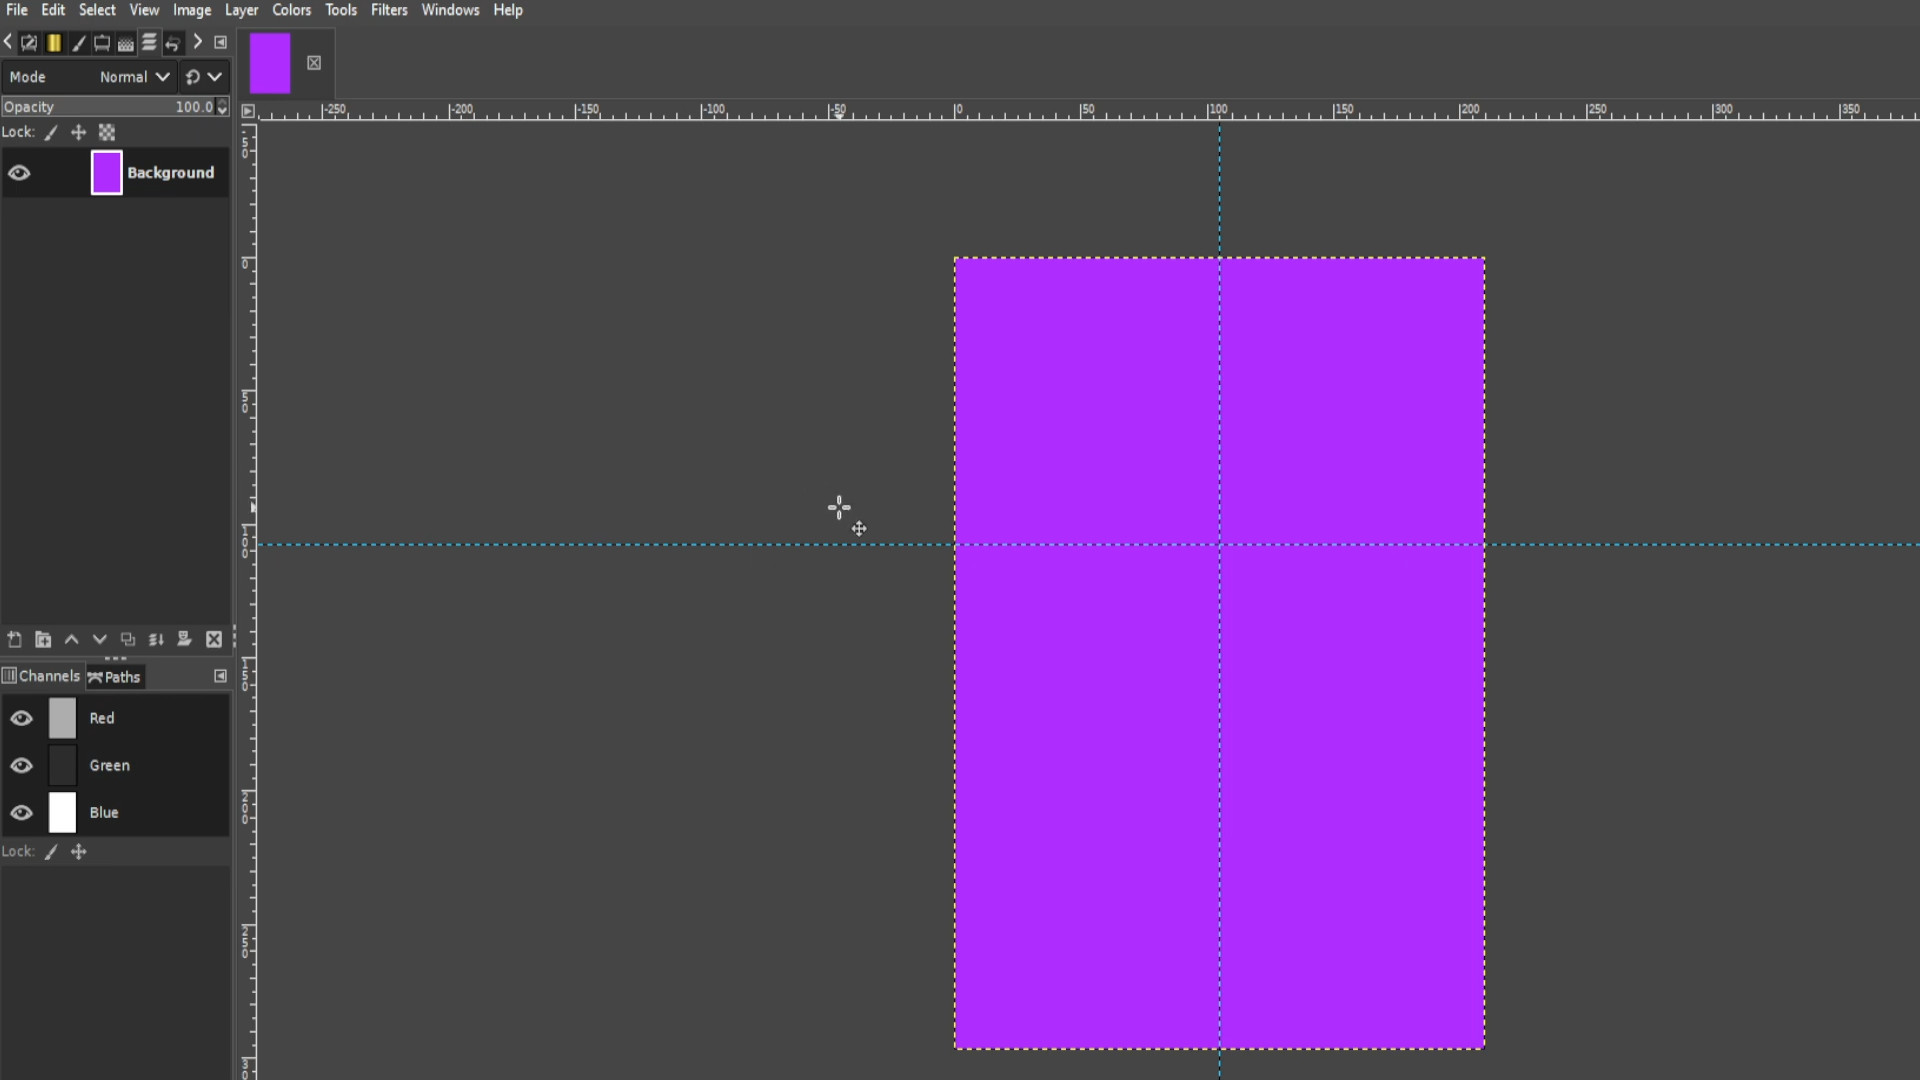
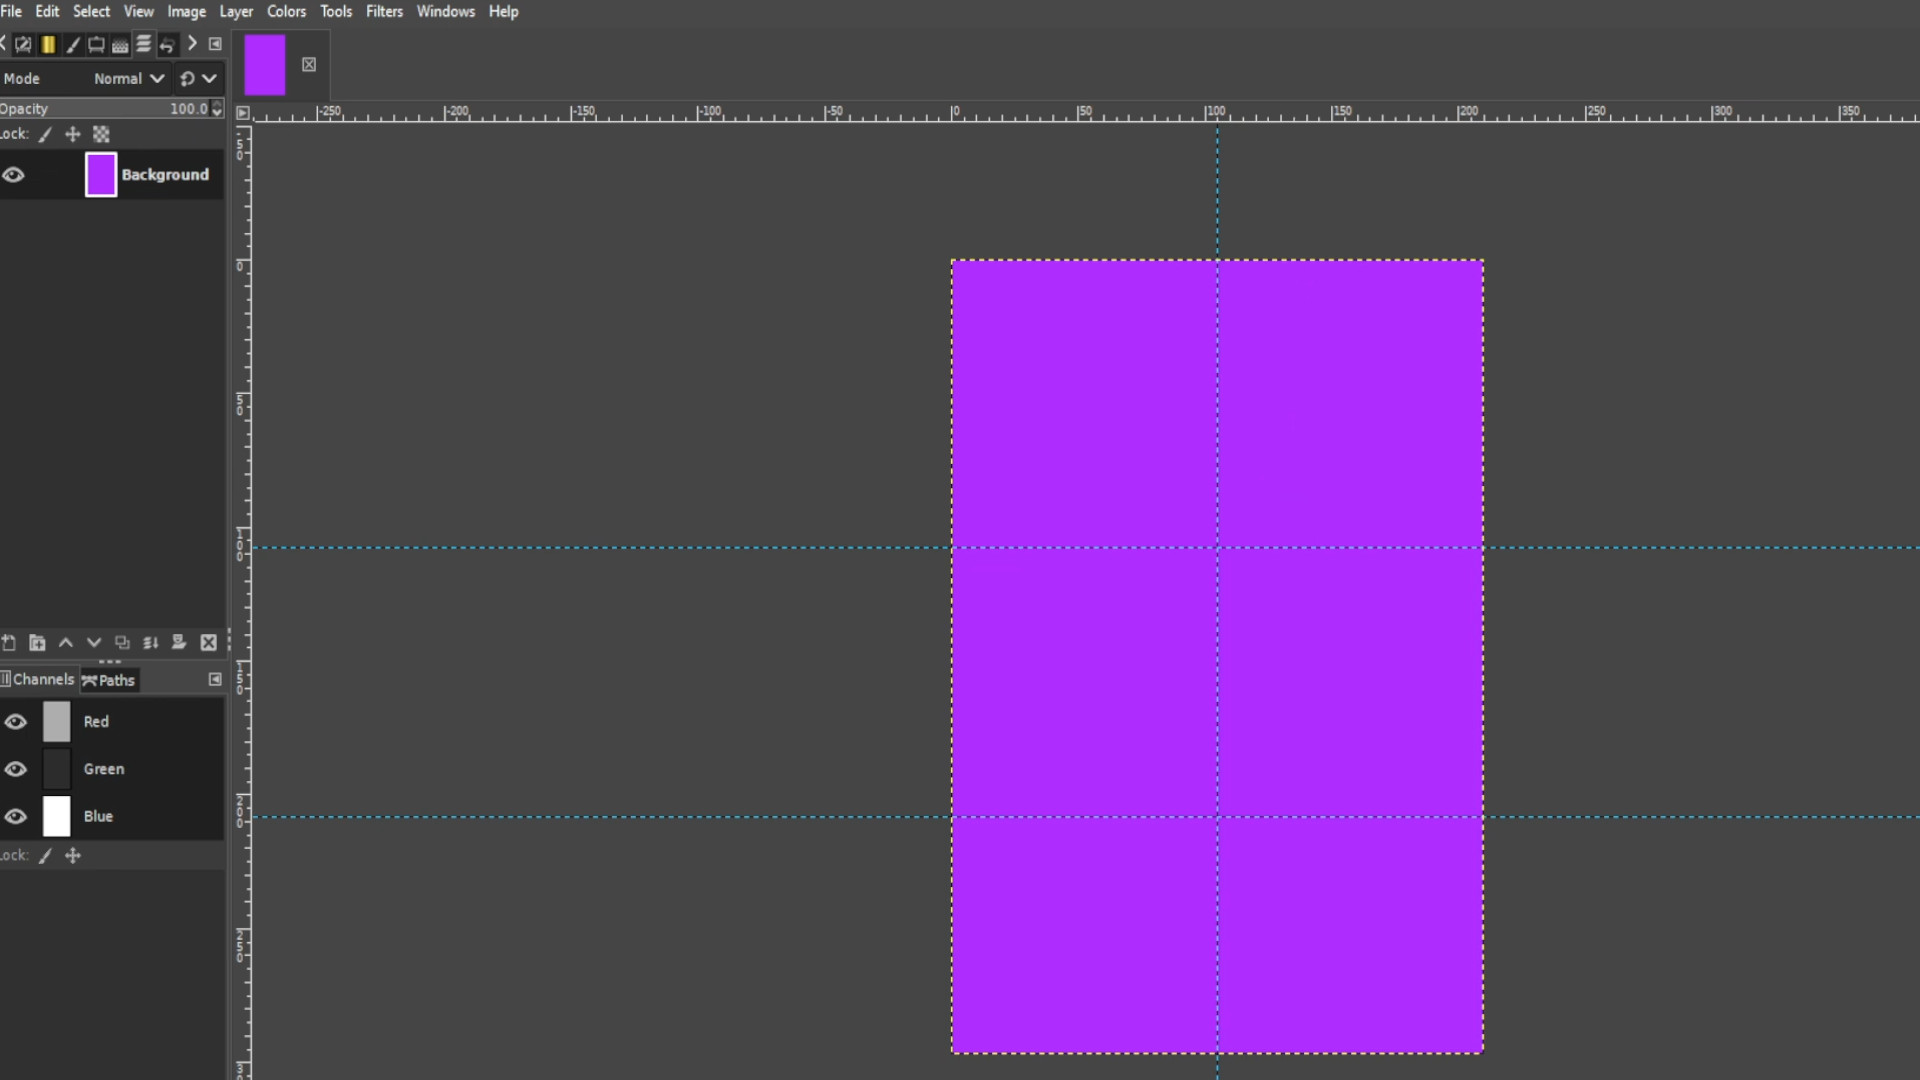
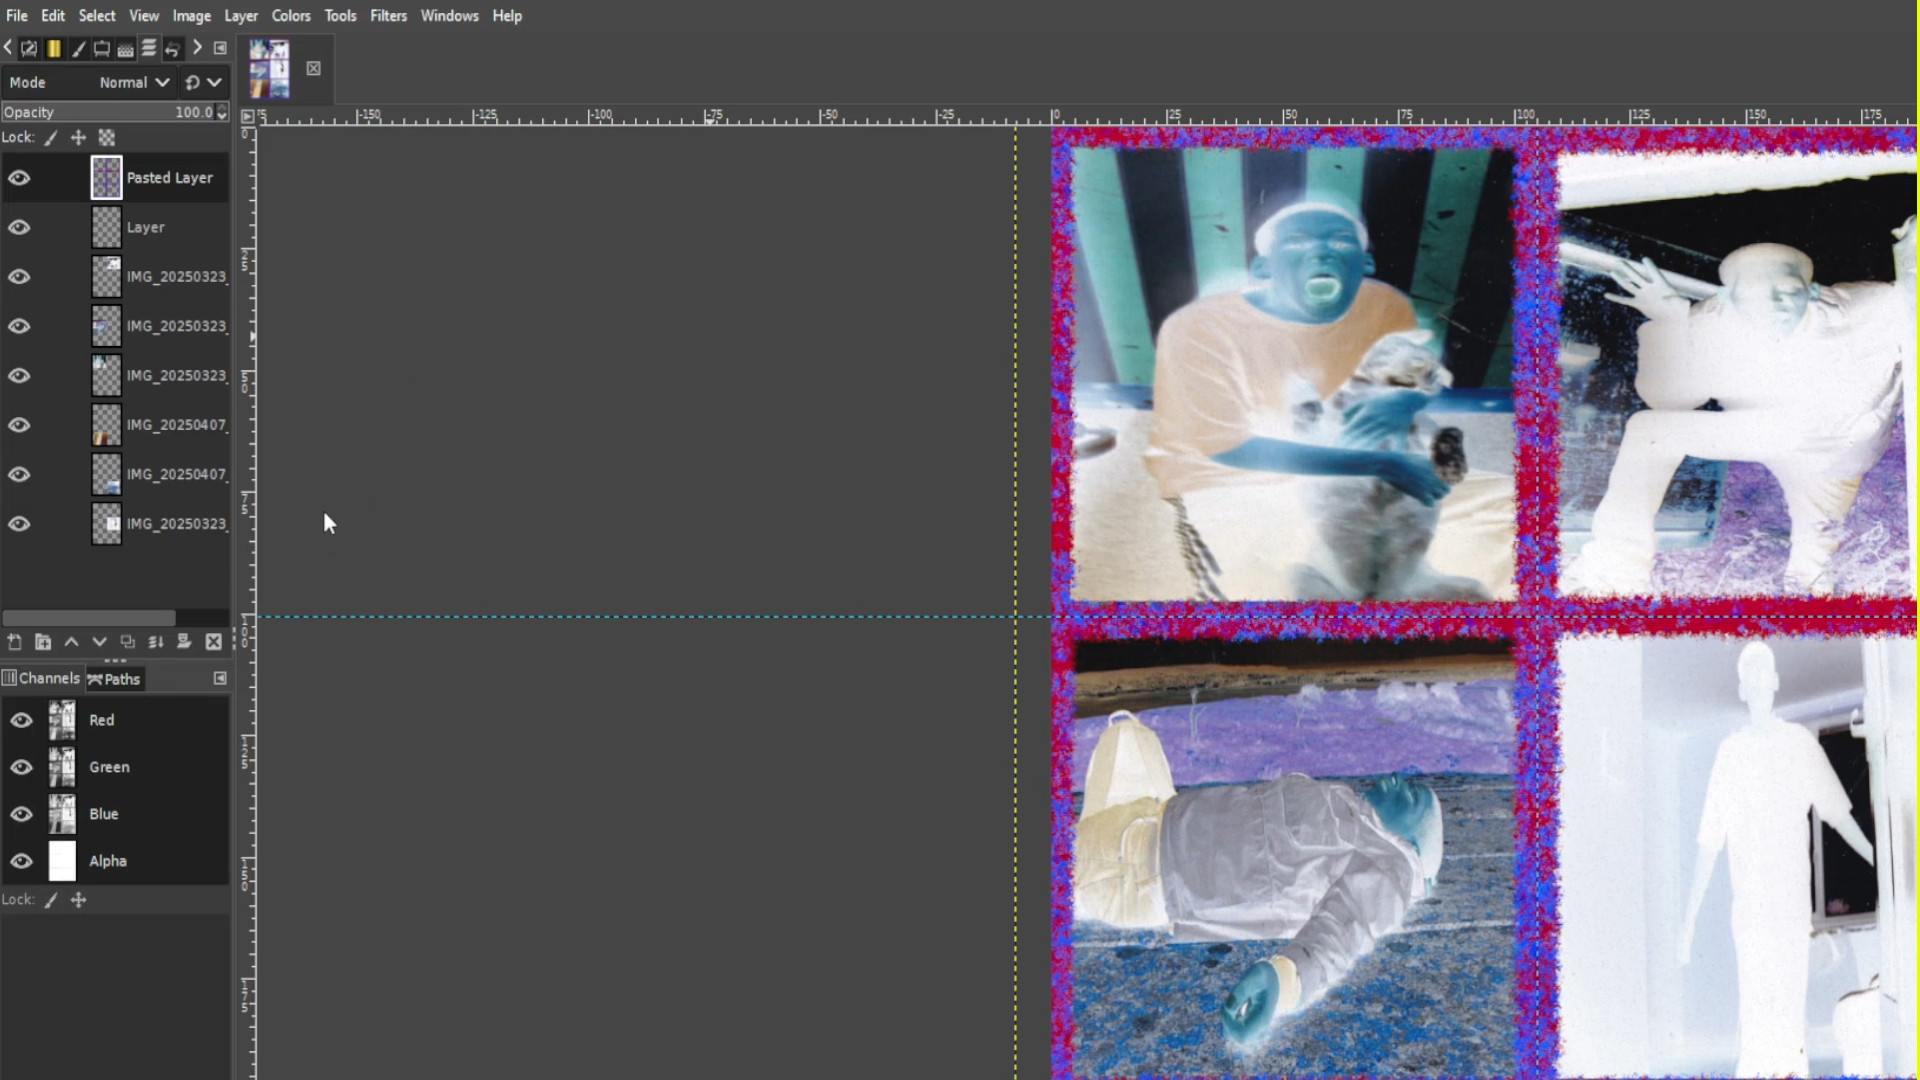
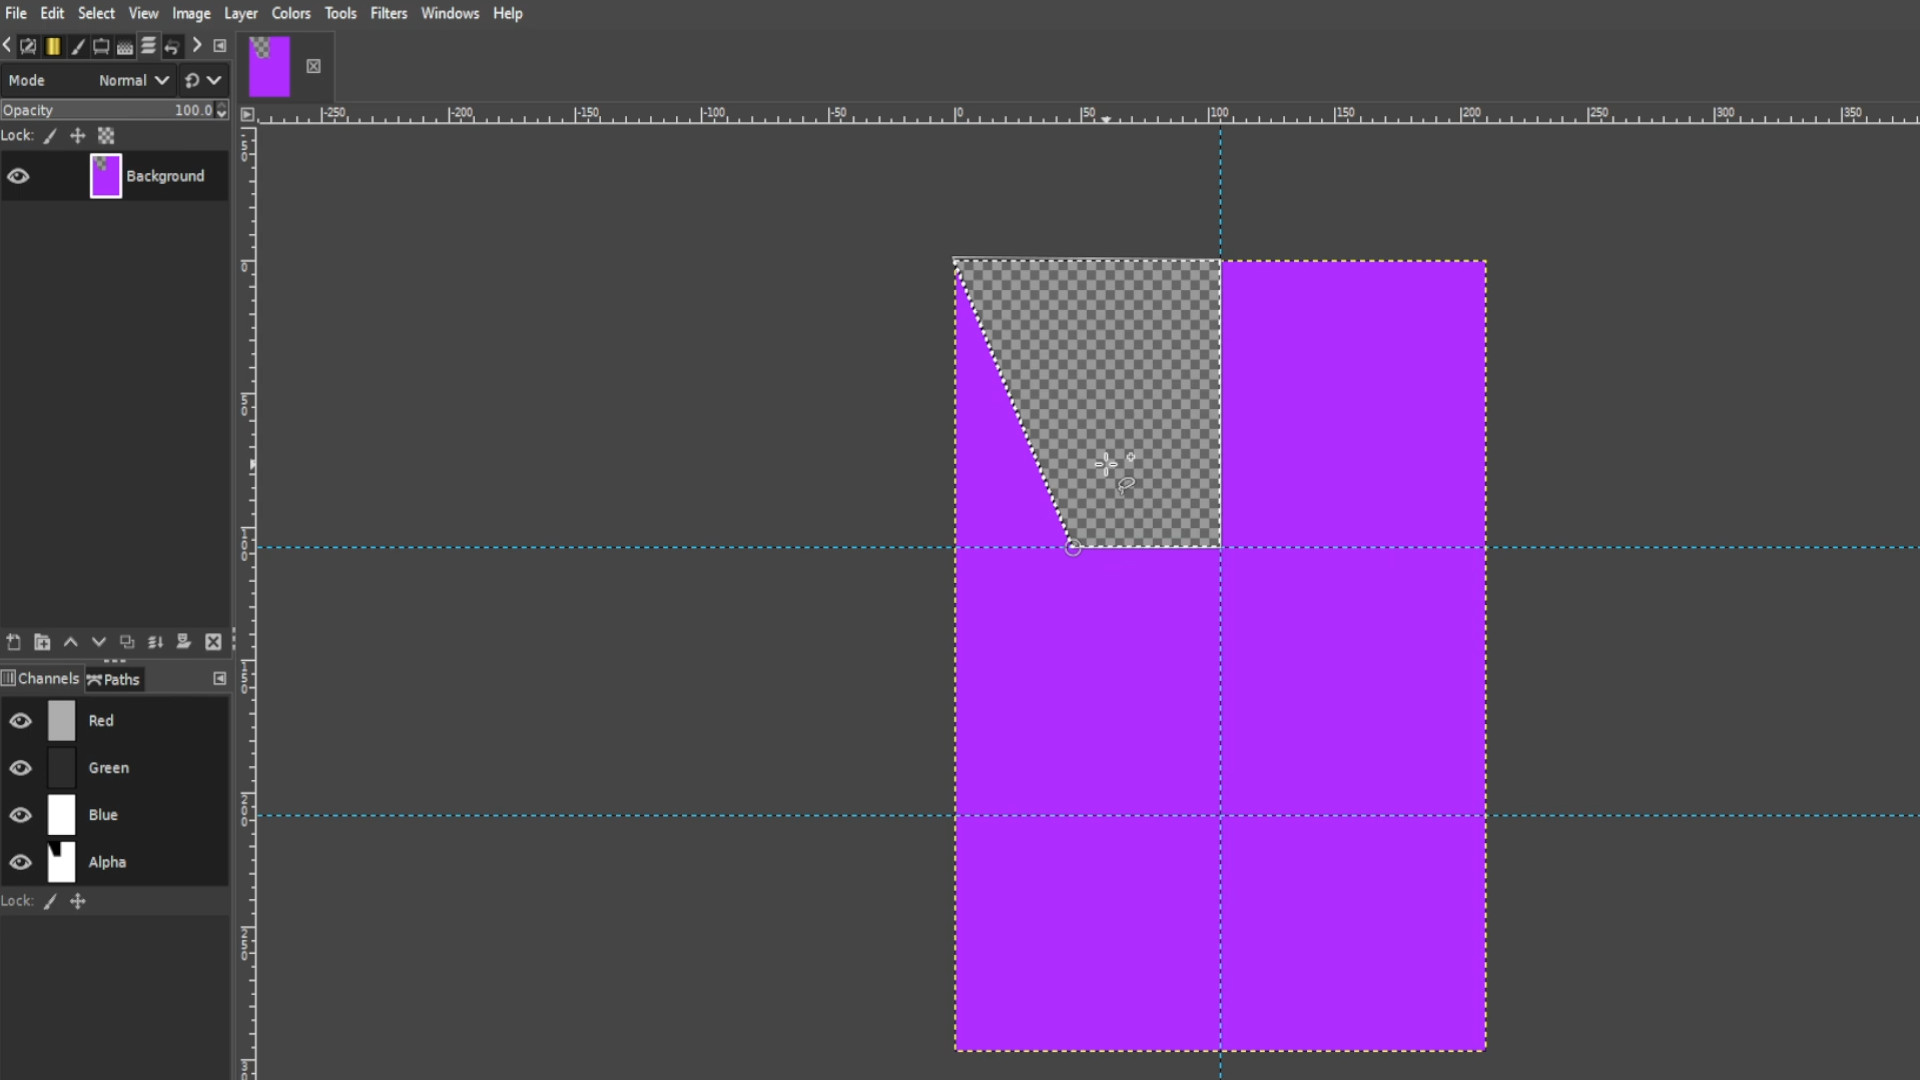
Using the>>>LASSO draw shapes and stick to the guide lines it should snap into place when you draw around the guides.
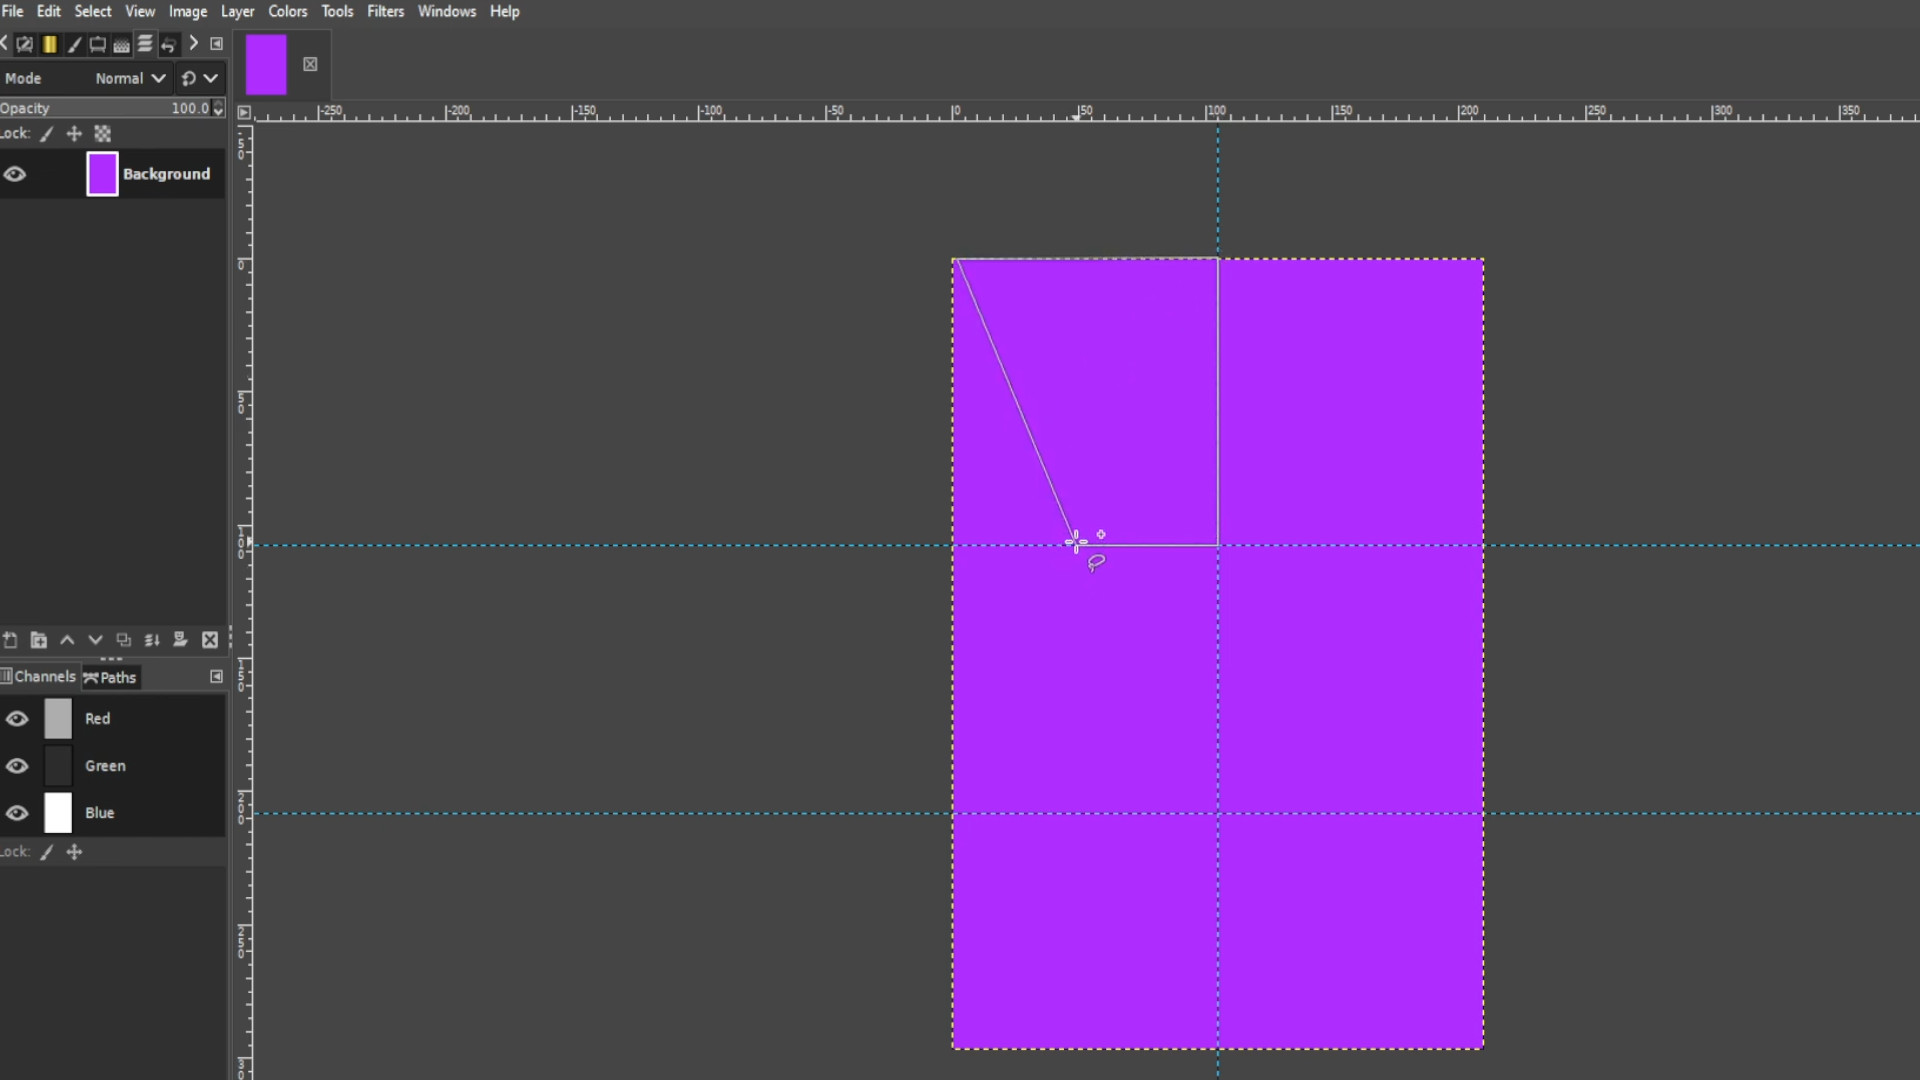
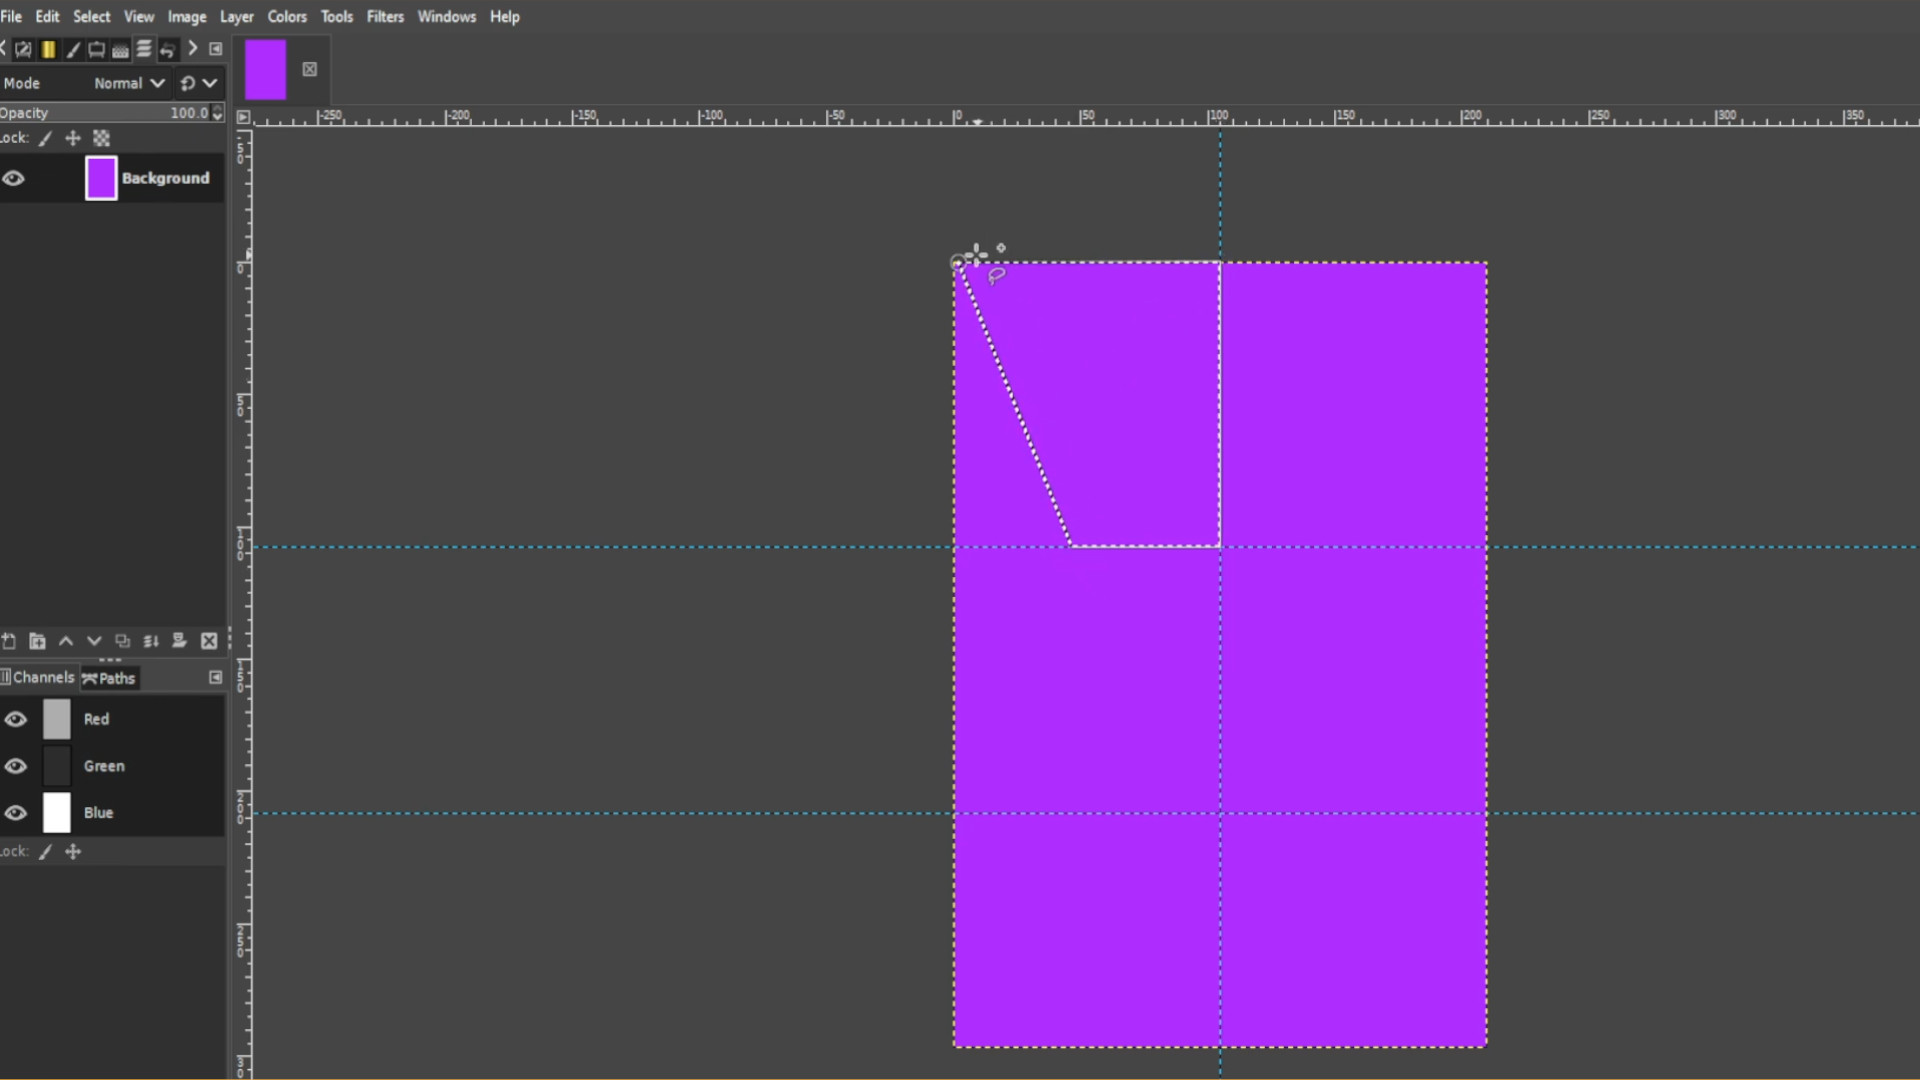
Go to>>>LAYER>>>TRANSPARENCY>>>ADD ALPHA CHANNEL. If it’s greyed out it’s been added and you can ignore this step.
Once you have drawn a shape and it’s highlighted HOLD>>>CTRL>>>and>>>PRESS X to delete the background. If you have more than one layer you may want to swap layers and delete each layer’s background.
>>>OPEN UP first photo or >>>DRAG AND DROP into Gimp. Go to>>>LAYERS on the left hand side panel and put the first photo at the bottom of the layer. If you can’t see layers then go to>>>WINDOWS>>>DOCKABLE DIALOGS>>>LAYERS to get it to appear.
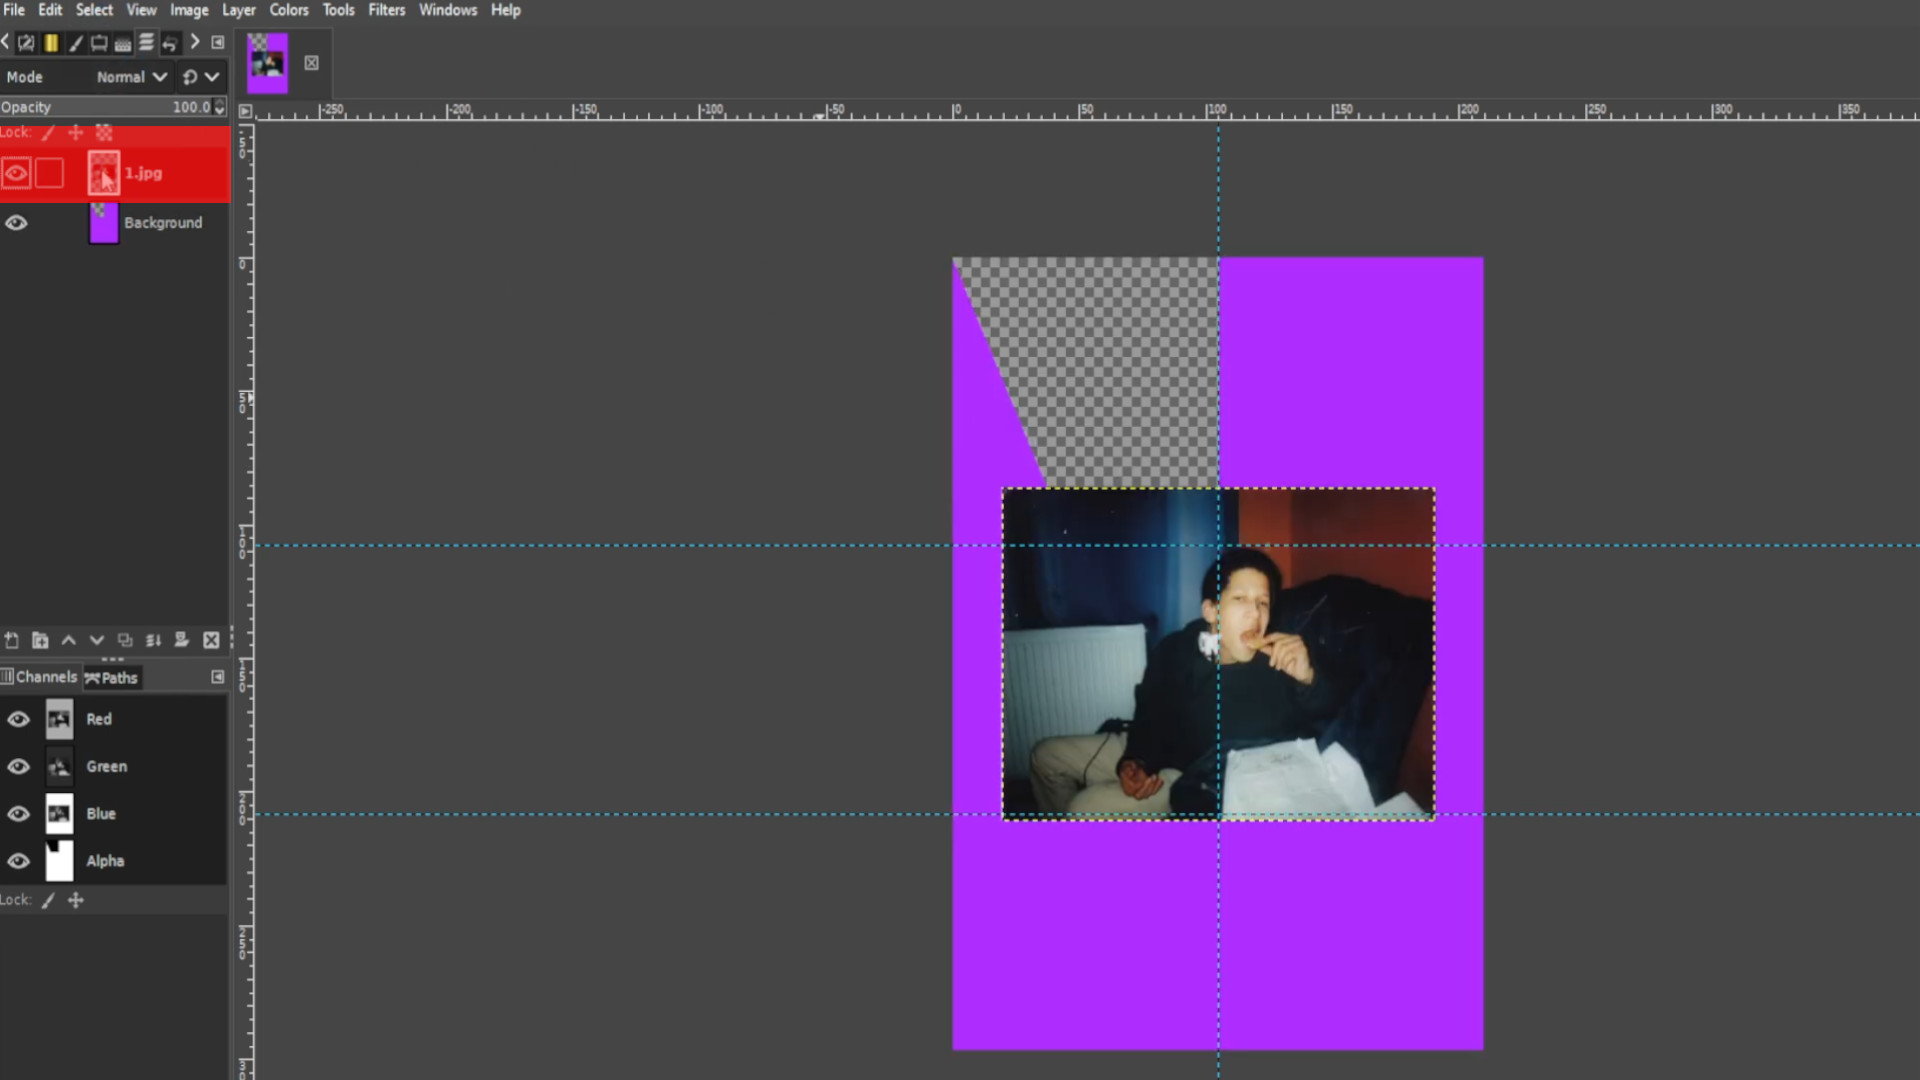
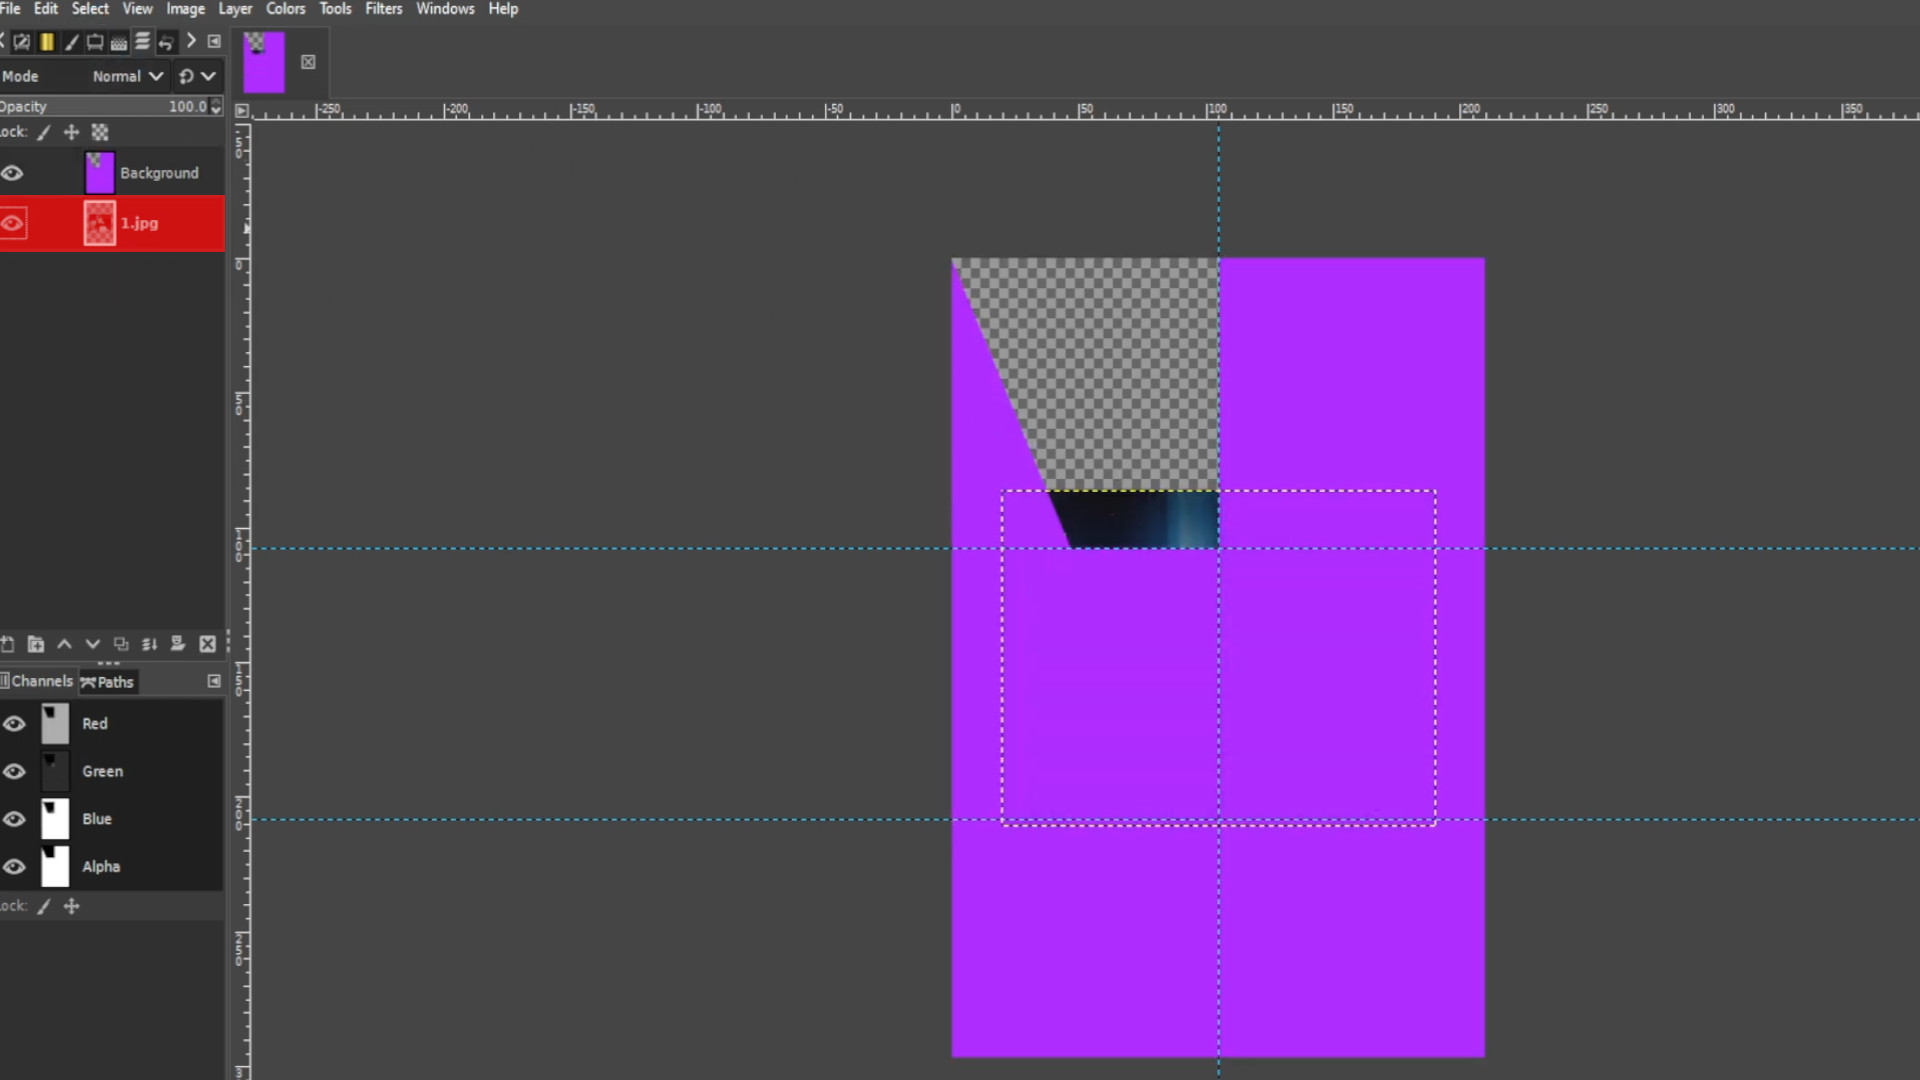
Now with the first photo layer selected use the>>>MOVE TOOL and>>>DRAG INTO POSITION till it’s centred and visible in the transparent section.
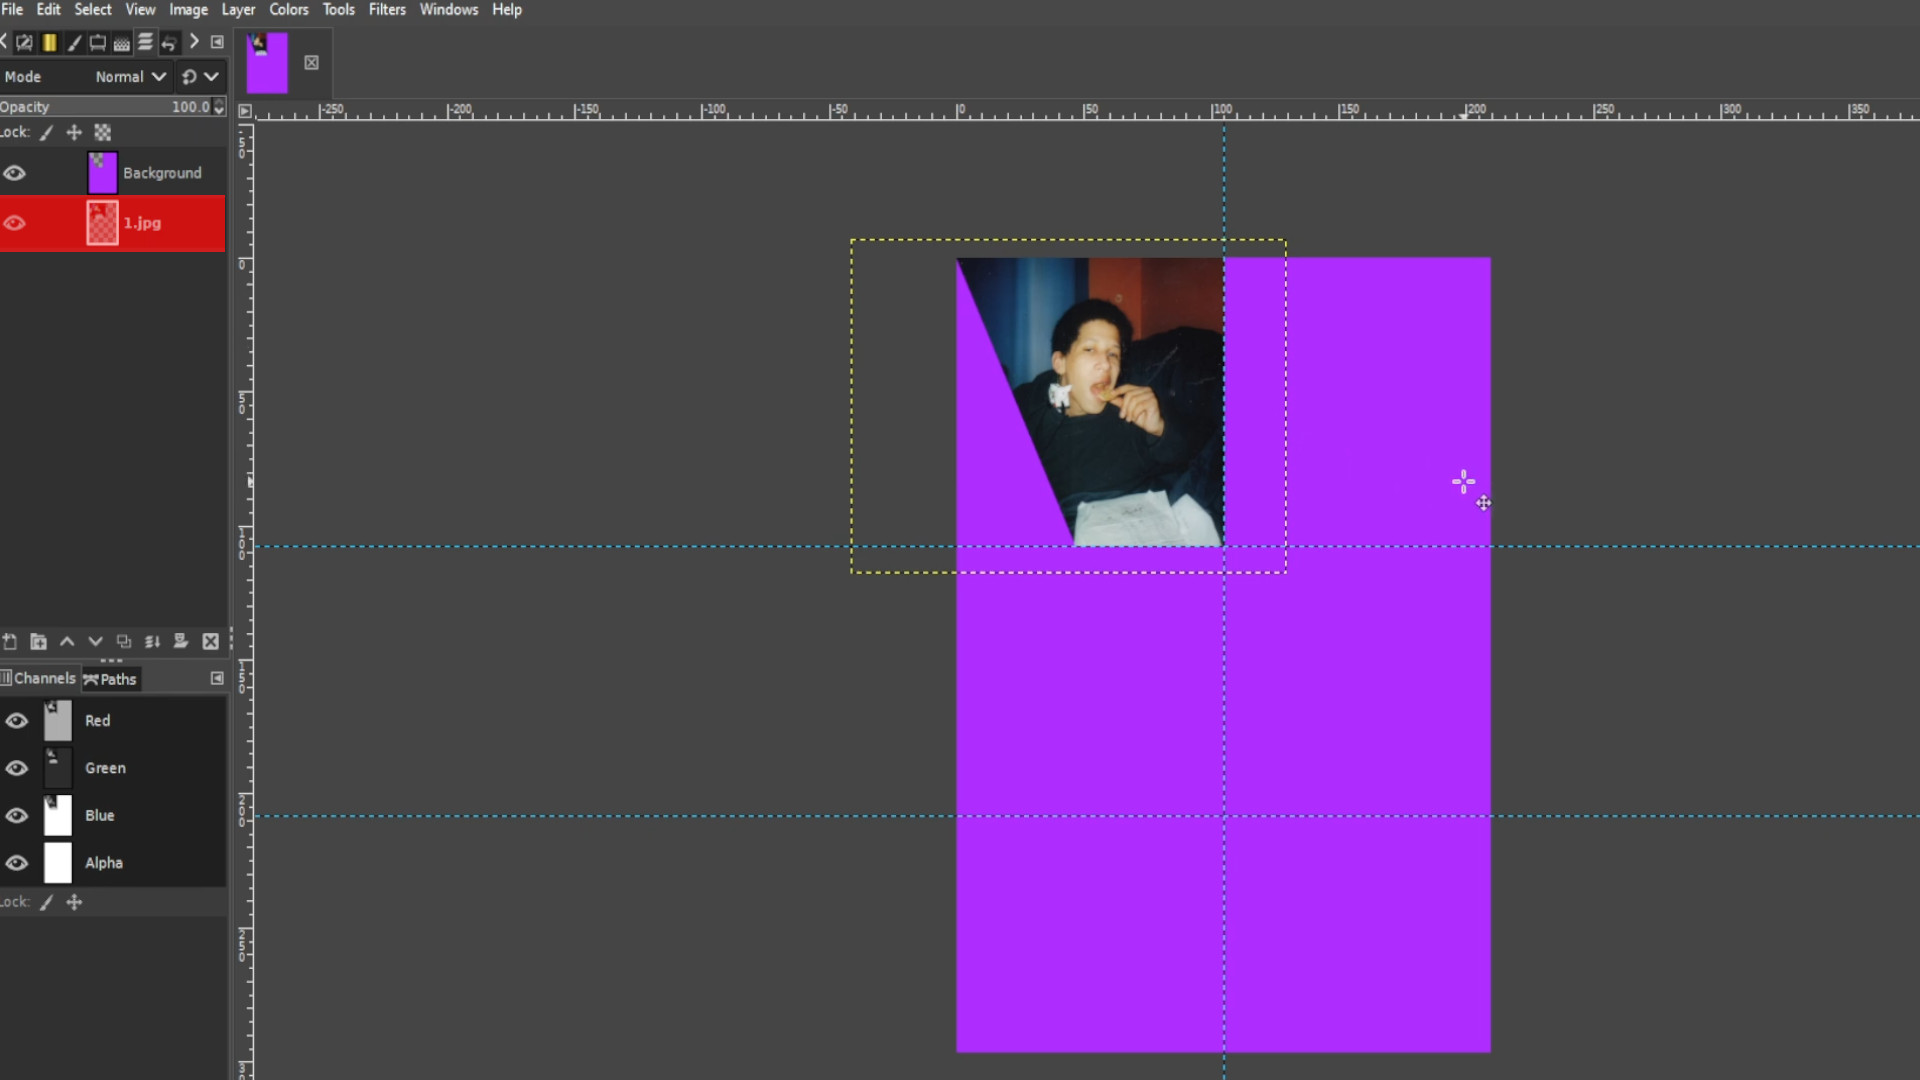
Repeat Step 3, 5, 6 and 7 till you have your it filled out. You will have overlay on each section so remember to>>>DRAW AROUND EACH OVERLAYED BIT with the>>>LASSO and>>>HOLD>>>CTRL and>>>PRESS X to delete any unwanted bits. You must be selecting the right photo or it won’t delete.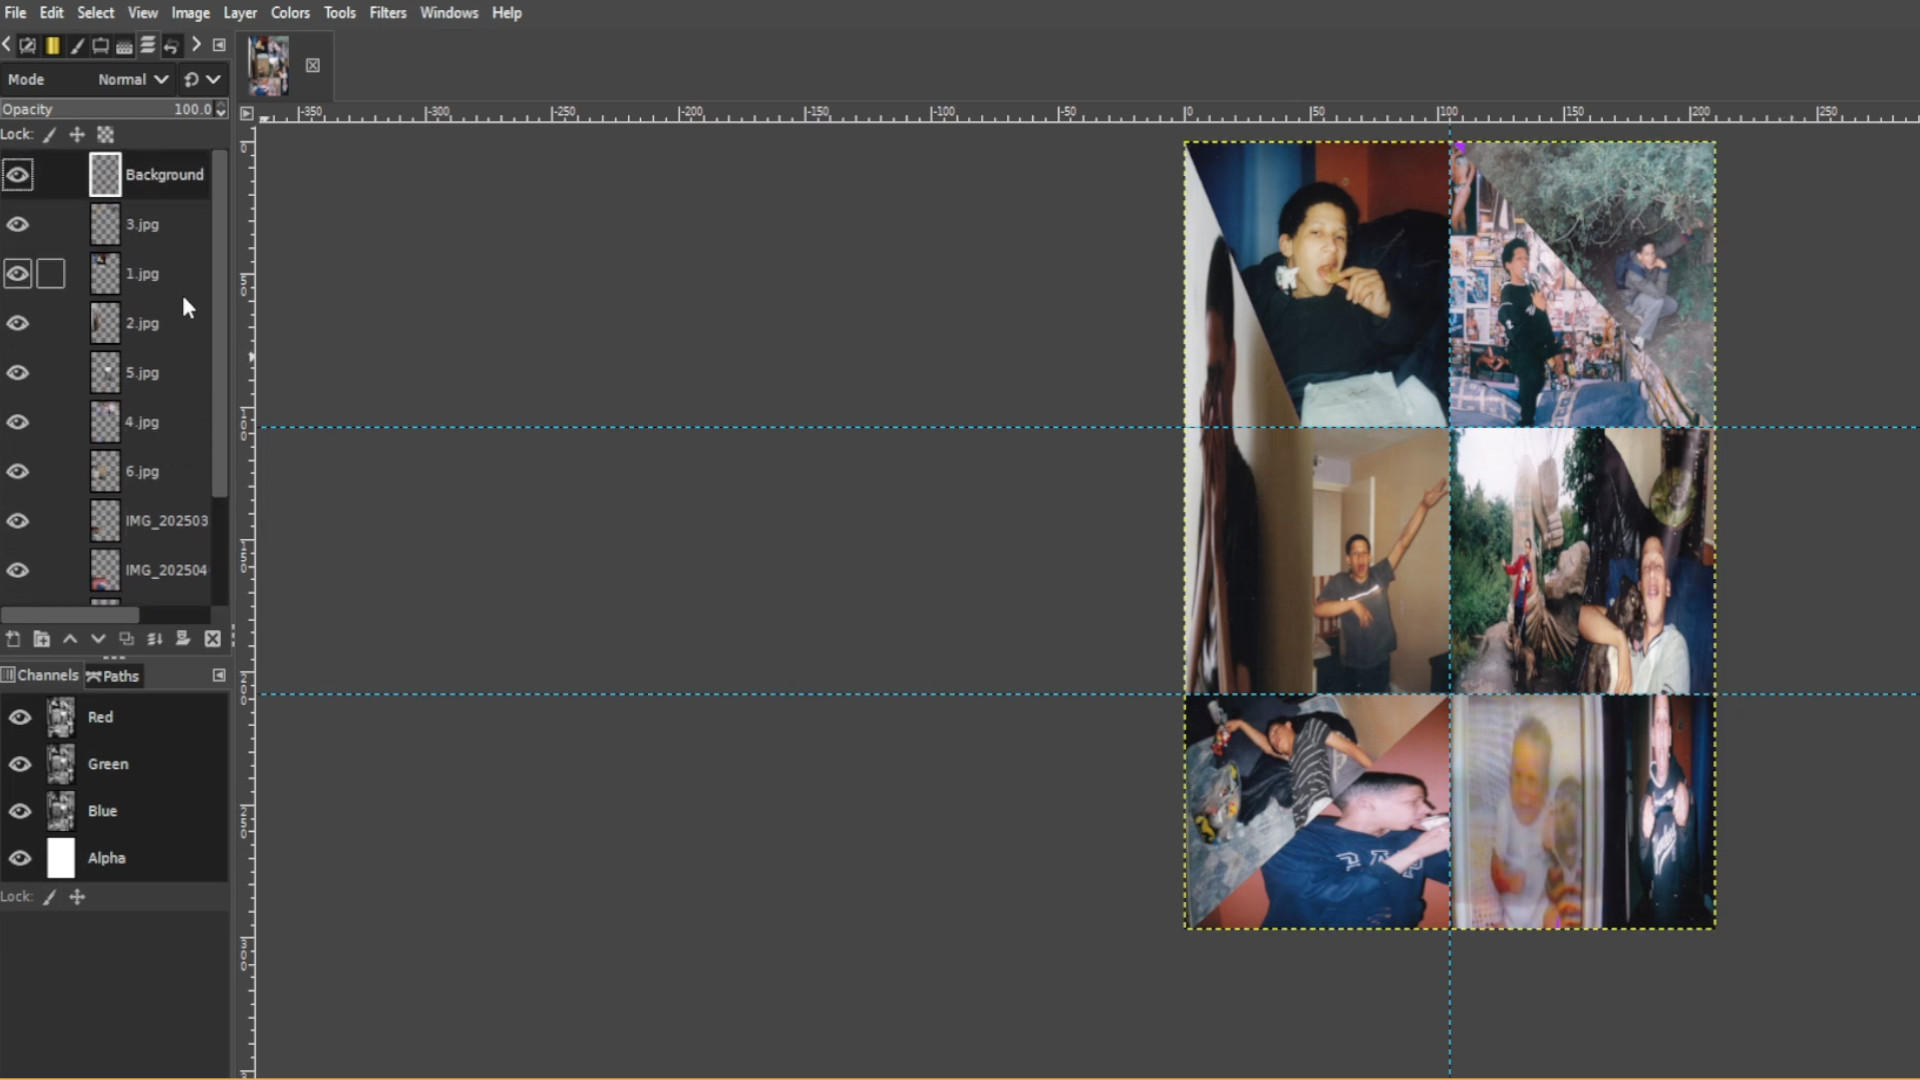
Selecting the>>>TOP LAYER on the left hand side panel go to>>>LAYER>>>ADD LAYER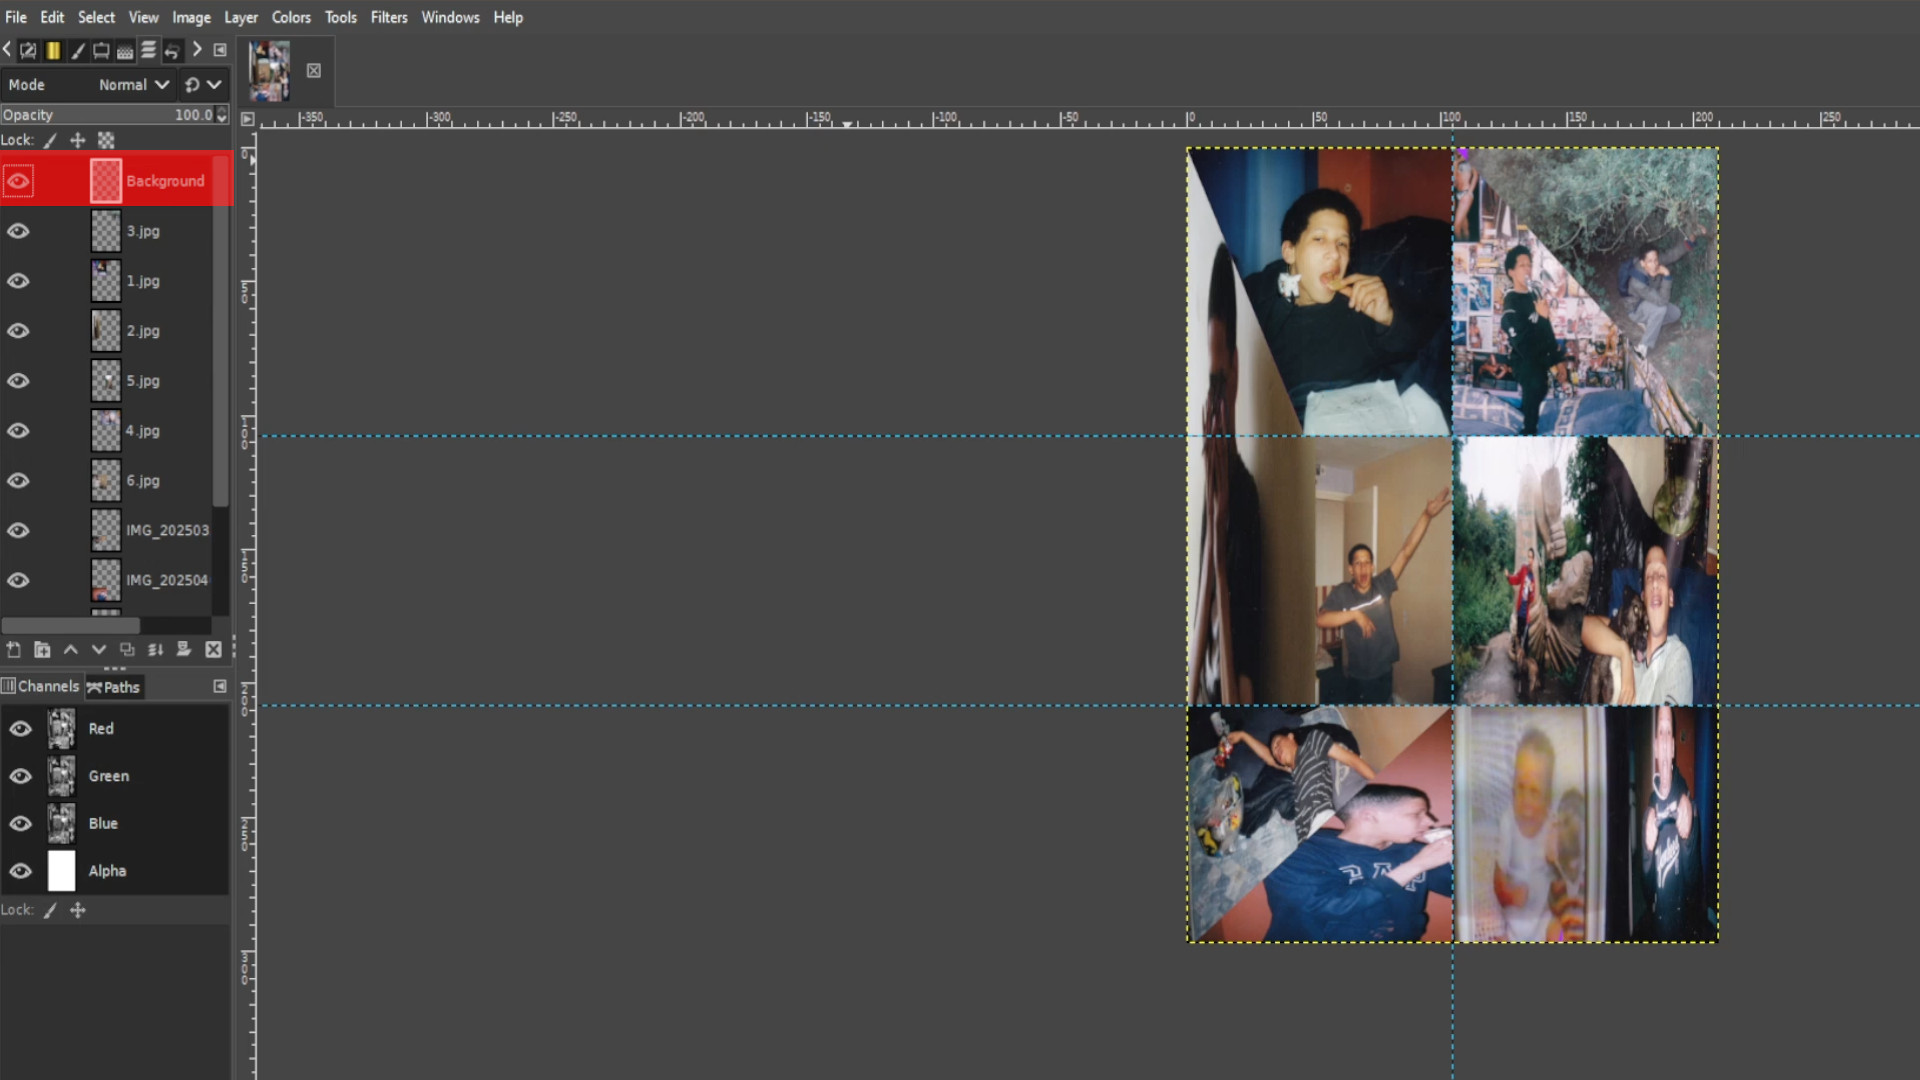
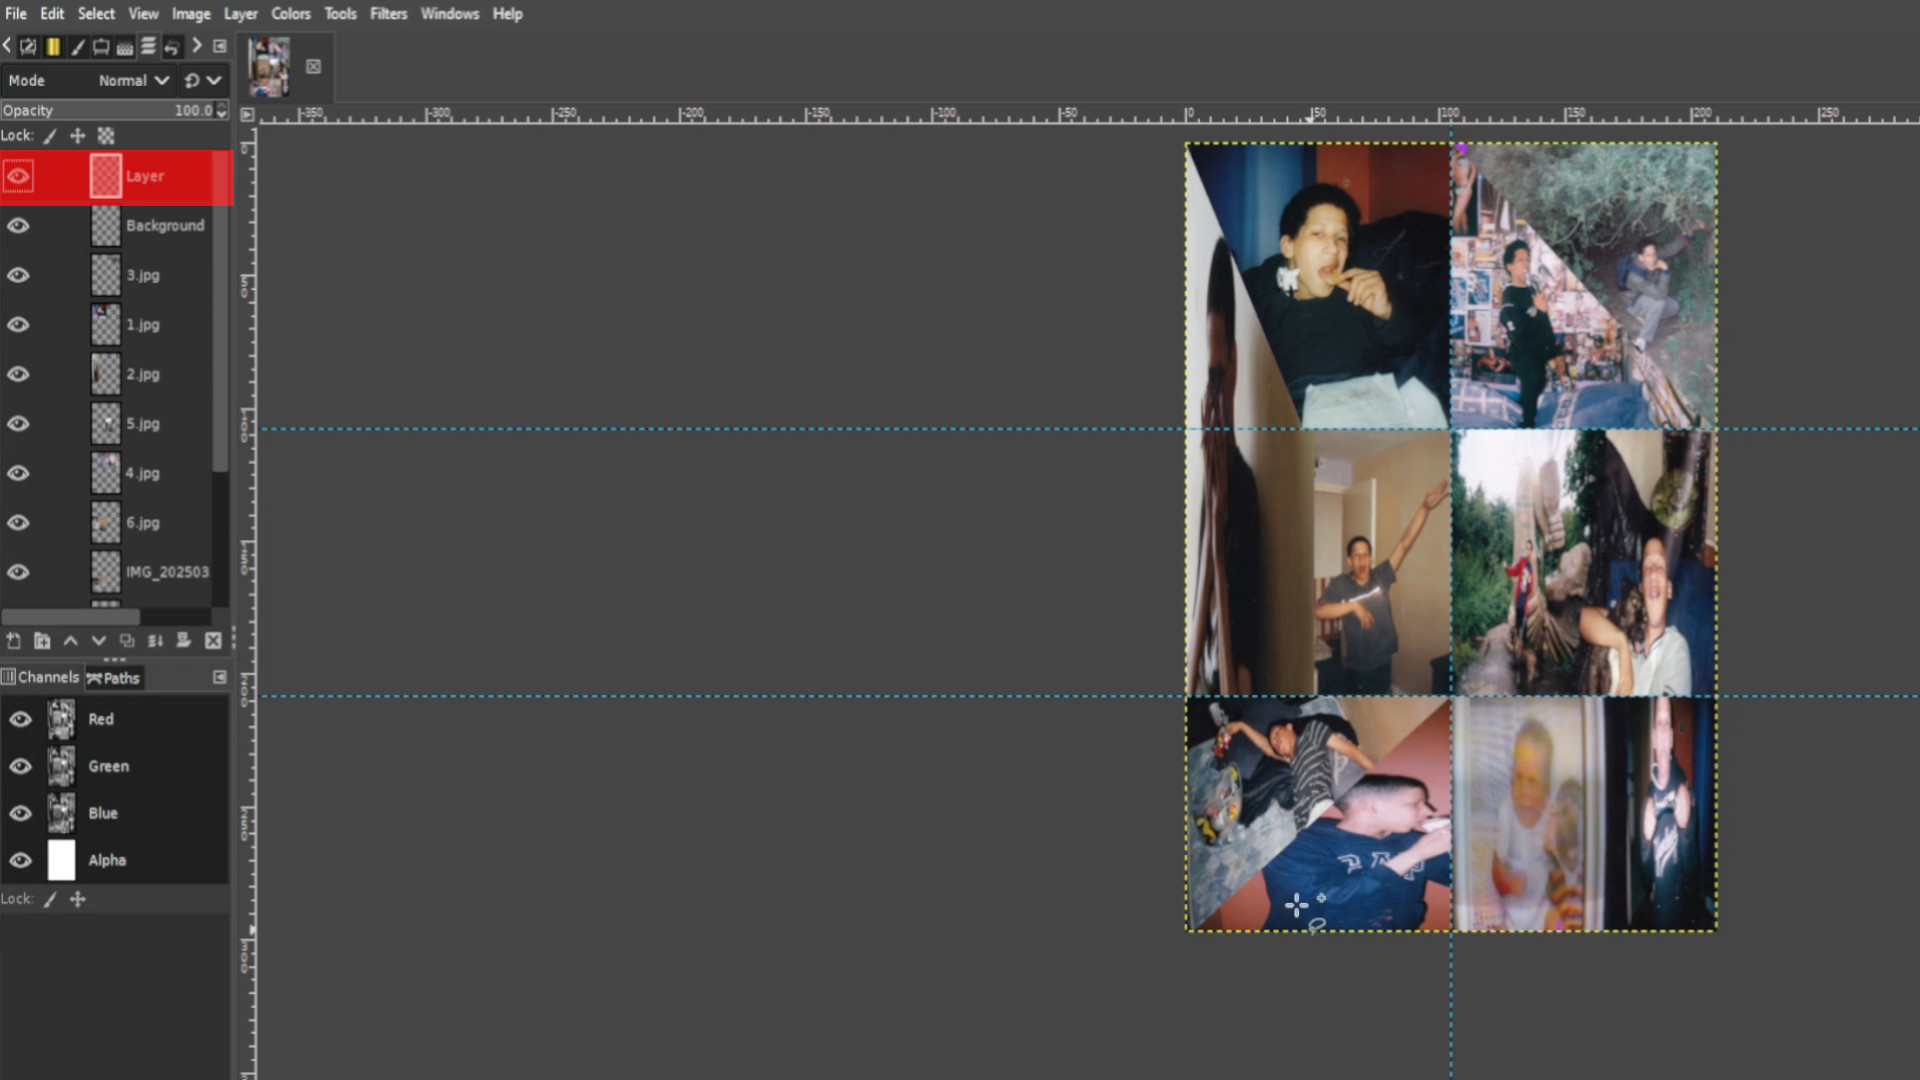
With the>>>TOP LAYER SELECTED and using the>>>LASSO draw around the photos outline sticking to the outer of the photo and making them as even as possible but isn’t important.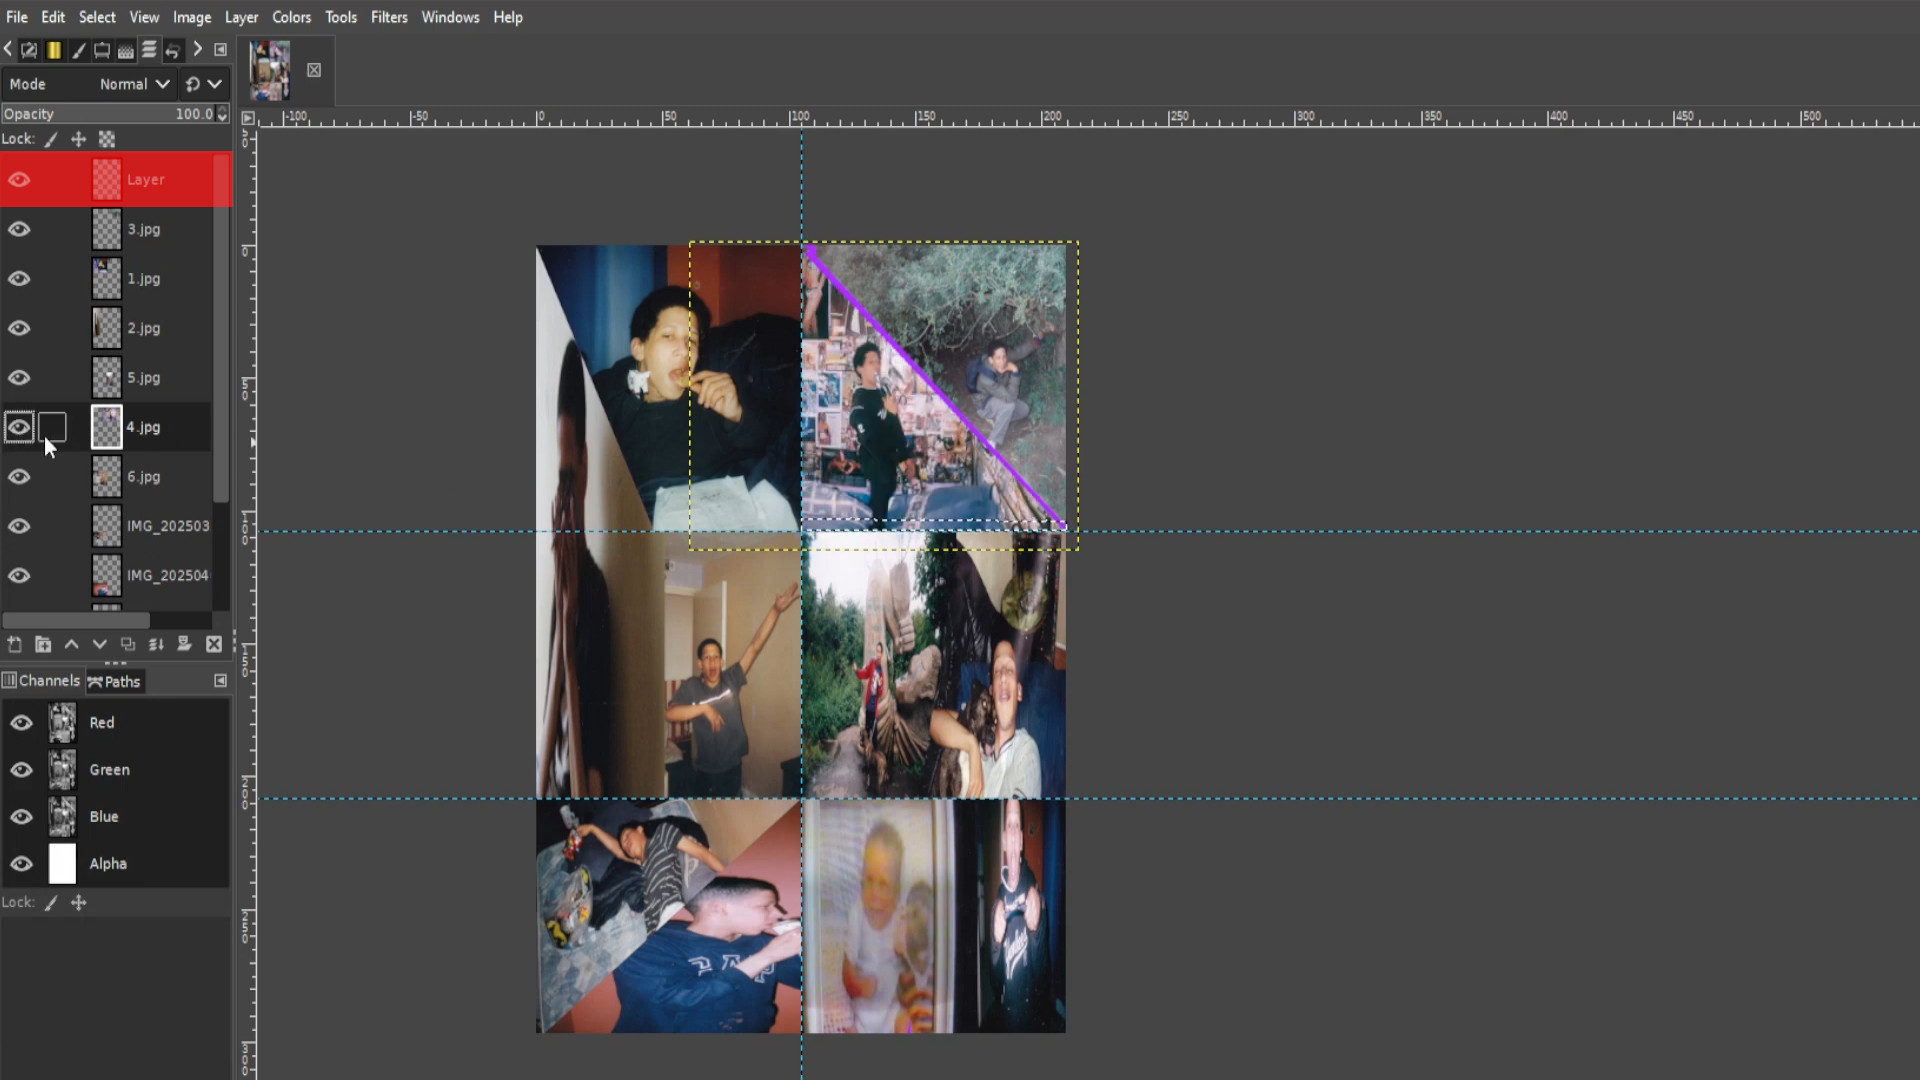
Repeat Steps 9 and 10 until it’s filled out.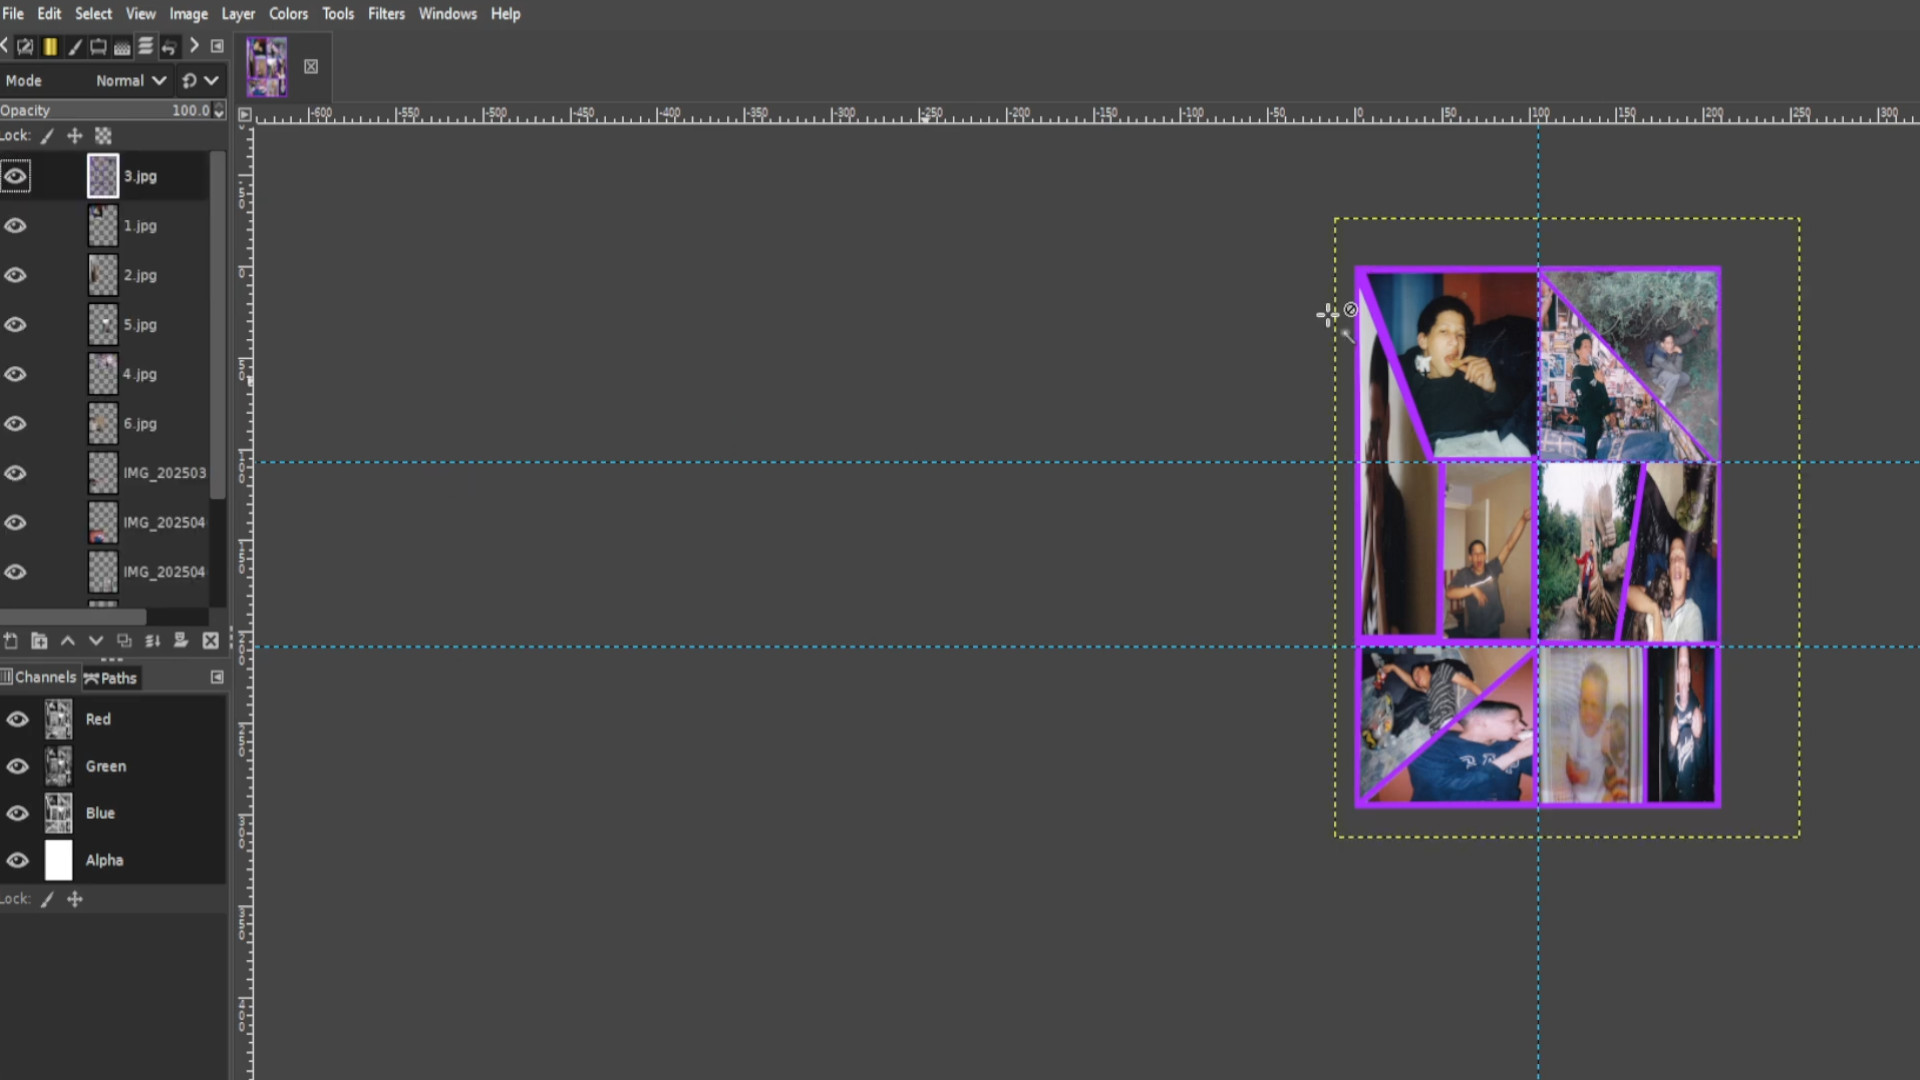
Selecting the top layer and the frames around your photos go to the>>>LAYERS SECTION on the left hand side and>>>RIGHT CLICK ON TOP LAYER and press>>>MERGE DOWN. Do this for each bit of the frame keeping the photos separate. If you are unsure what is the frame then>>>PRESS THE EYE on the>>>LEFT HAND SIDE of the>>>LAYER SECTION for each bit of layer.
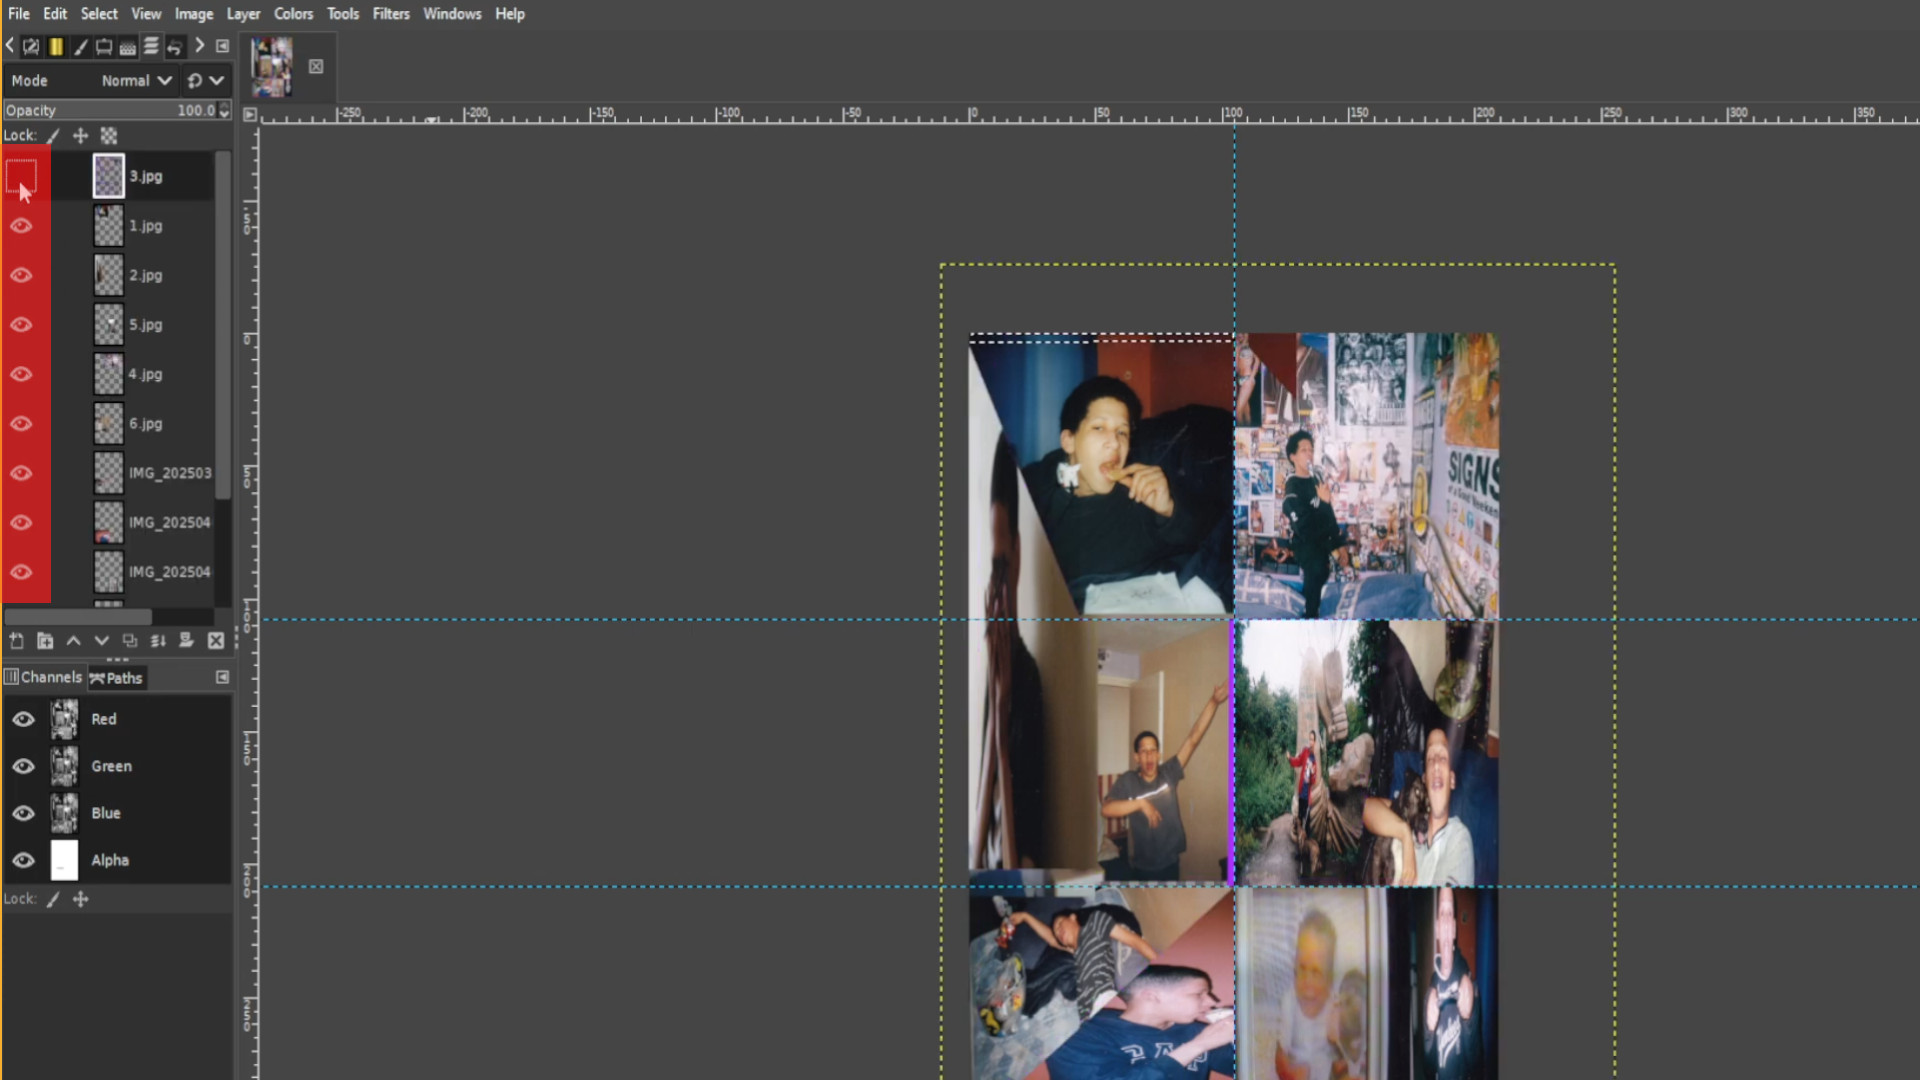
Use the>>>FUZZY SELECT TOOL and press any bit of the frame to highlight all the frame and leaving the photos unhighlighted. With the frame selected use>>>COLOURS>>>FILTERS>>>
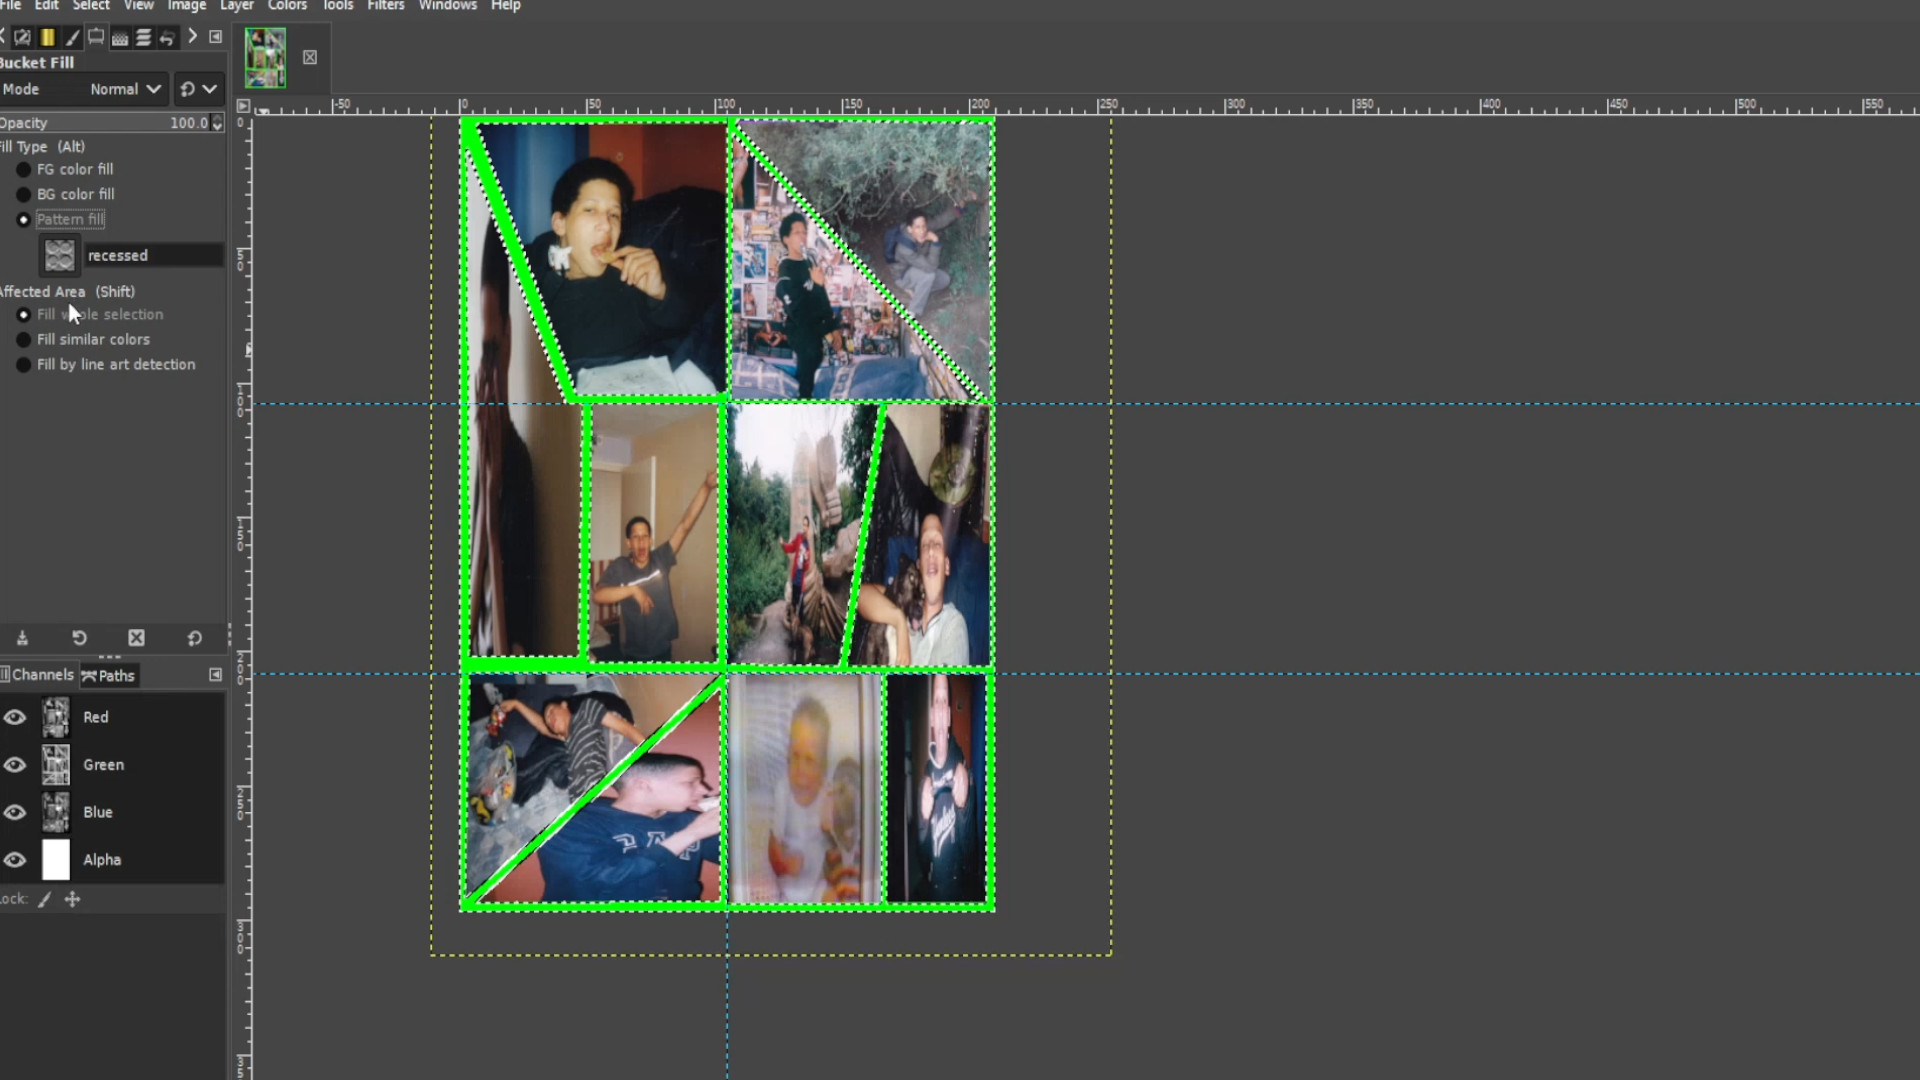
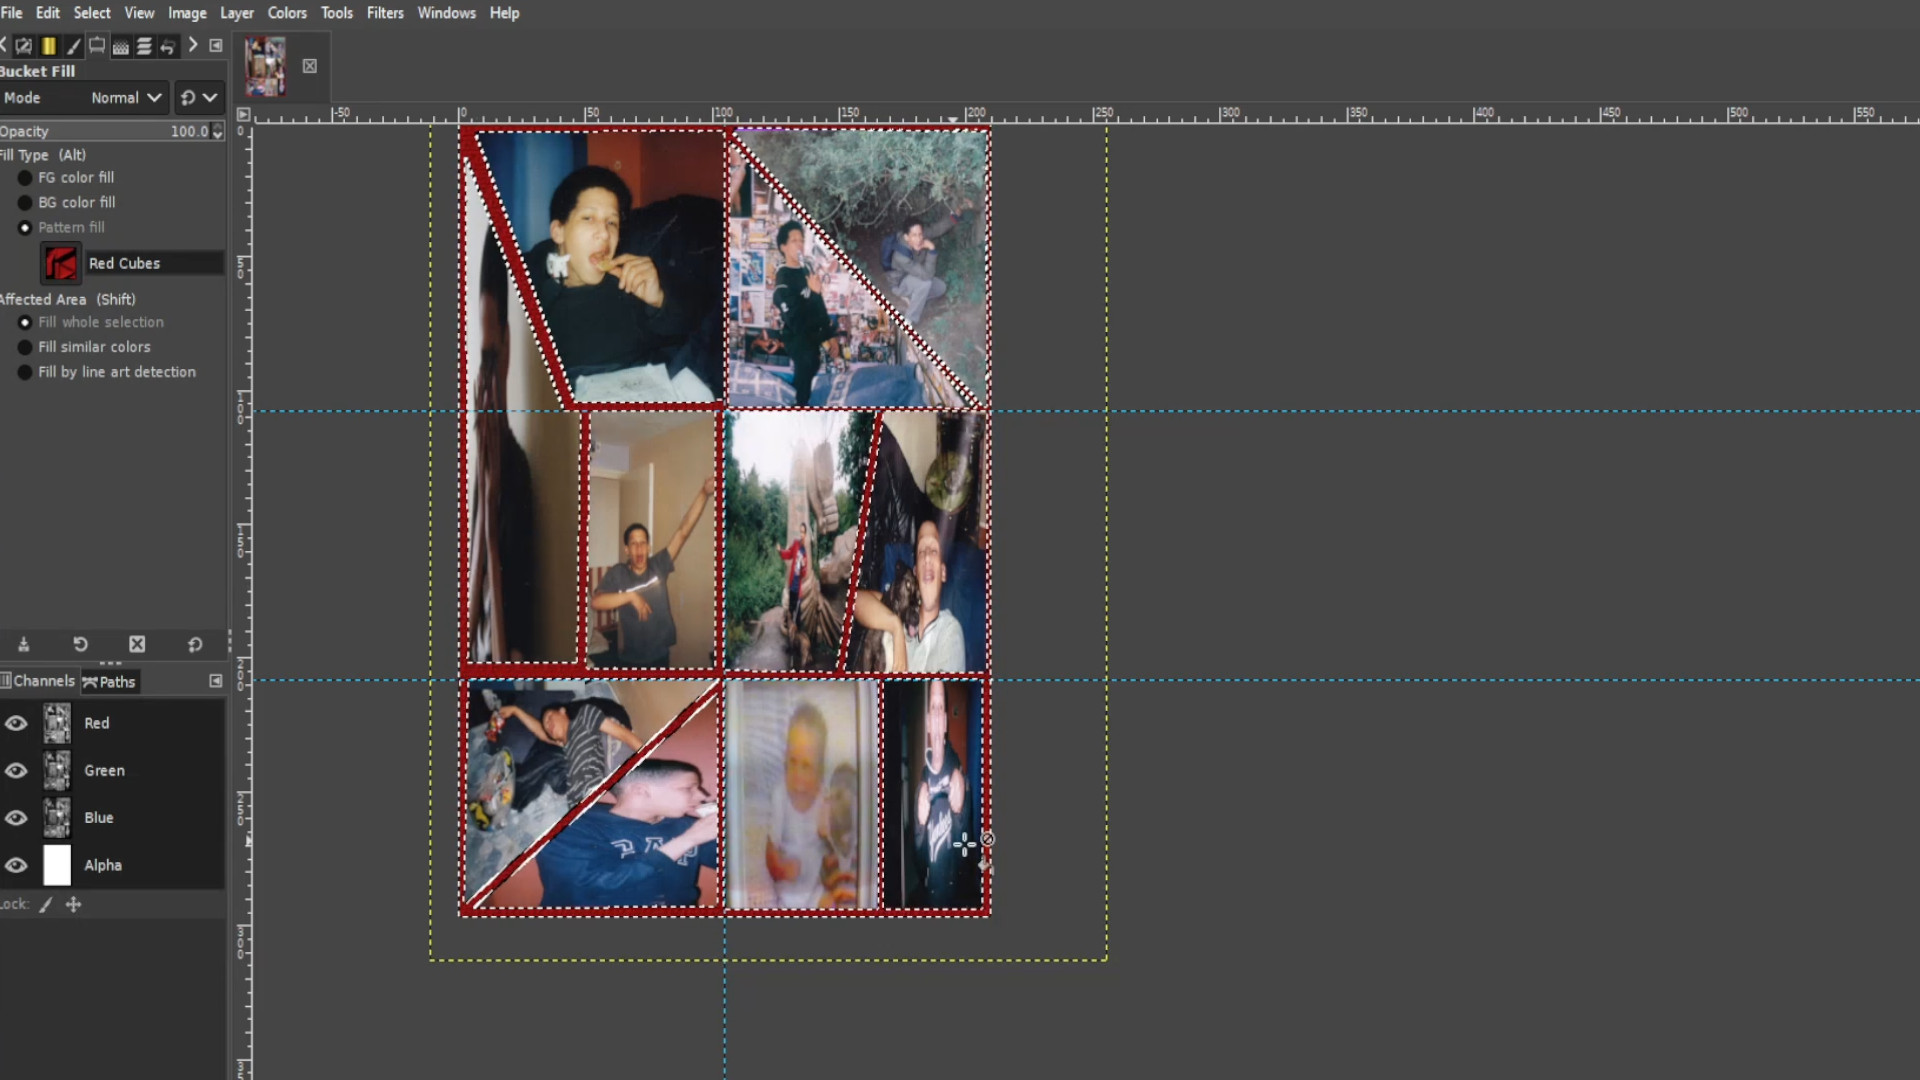
Export image by going to>>>FILE>>>EXPORT TO or>>>EXPORT AS and save with a JPG or PNG extension EG; COLLAGE__INSERT NUMBER.jpg or COLLAGE__INSERT NUMBER.png.
G.F.E. Crosswords #9 – Public Information Films & Safety
>>>>>>INSTRUCTIONS>>>>>>>>
Type in answers from the clues giving.